
 |
|
#1
|
|||||
|
|||||
|
It's time to start a new(isn) thread on my new favourite toy.
I bought CADlights 4 gallon all in one reef system last november with the intention of it being a permanent SPS quarantine. You can imagine how long having an empty box of water sitting my desk lasted. It's the second pico tank I've had, I got in to them after reading the article on Ecoreef One on reef builders, and seeing its detailed write up on advanced aquarist (http://www.advancedaquarist.com/2010/4/aquarium). I did the first pico tank while I was technically homeless between selling our last place and our new house being move-in ready to tide me over on the tank front. Here's a pic of the first pico I ever did: 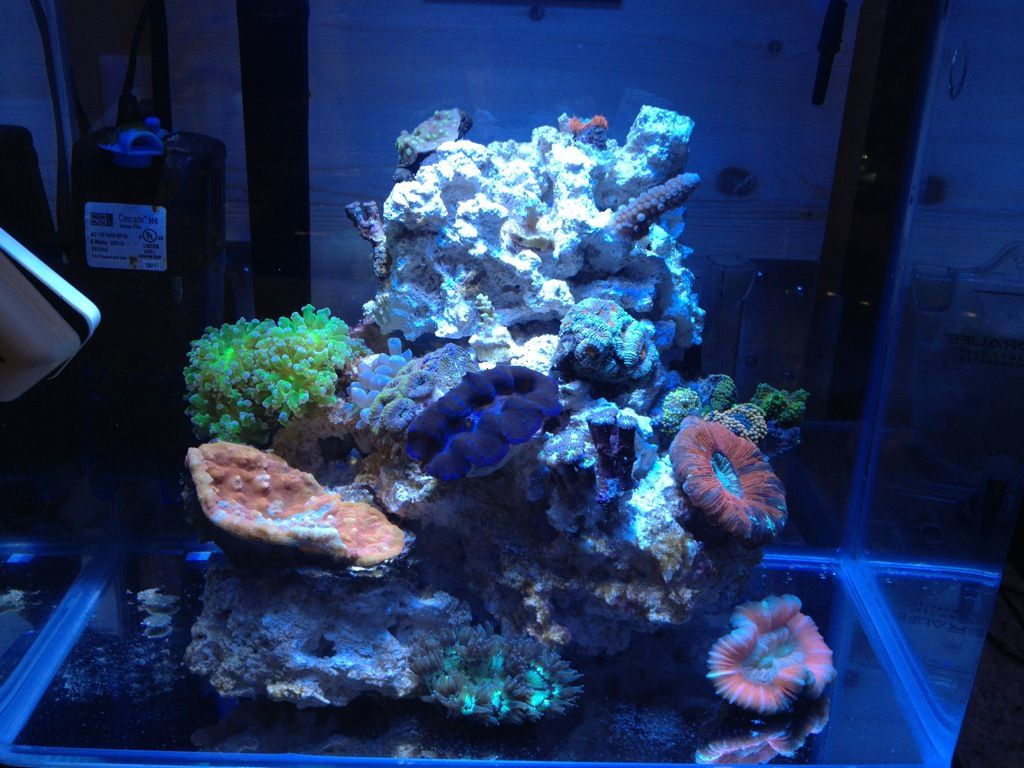 It was incredibly simple - 5 gallon box, a small heater, a small submersible filter that also served as the only source of flow with a floss and carbon filter sections, cheap chinese LED fixture (that broke almost immediately and was a total POS), no water testing except for salinity and temperature, 100% weekly water changes and no fish or motile animals - just corals.This system thrived for 5 months, with all corals growing significantly. However, seeing as I didn't have an R/O unit at the time, mixing 5 gallons of salt water using store bought distilled water and temperature matching it to the tank once a week (a process that involved a stove, and half an hour of careful salt measuring and mixing) was a total PITA, so once the big tank was up and running, everything that you see in that photo was migrated and the system was shut down. I'm happy to report that the frogspawn, one of those acans colonies, all of the ricordias, and the clam are still with us. This gave me confidence in the near zero maintenance method of 100% water changes on a pico system, so when I got the 4 gallon tank from CADlights, I almost immediately started trying to figure out how I could make maintenance on it as a 'permanent' reef more manageable. I realized that I could piggy back off most of the systems that run the big tank, and the only other thing I would need was a single large source of pre-mixed salt-water for water changes, as (perhaps not surprisingly) it's way less effort to make 40 gallons of saltwater once every couple of months than it is to make 5 gallons of salt water once a week. A trip to home depot and a 44 gallon garbage bin with a lid later, and I was in business! The other thing that was a real downer with such a small system was constantly having to top it up, which I would often forget to do on the first tank leading to crazy spikes in salinity, but with this new pico I was able to mod a Tunze ATO that I had bought for a QT system I'm no longer using, so I never have to think about it. The 2 gallon reservoir bucket is hidden under my desk, and I can forget about it for well over a month before needing to worry about topping it up with RO water. Also, since this is an all in one system, all the equipment is hidden from the display area. It's still following the super dressed down 'eco-reef philosophy' in terms of maintenance, but the equipment is a little higher end. Here's what runs the system: - Stock return pump - 25 watt heater - large block of foam in the first chamber of the back-end overflow - small bag of ceramic bio-rings that came with the tank in the middle back-end chamber (same place as the heater) - Modified Tunze ATO - Kessil A150 - this is the third light I've had over this tank, and is my favourite. Enough talk, here's some progress pics: The tank when I first got it - this is when I thought I could keep it as an SPS QT system. HAH! It had woefully under-powered stock lights for SPS. 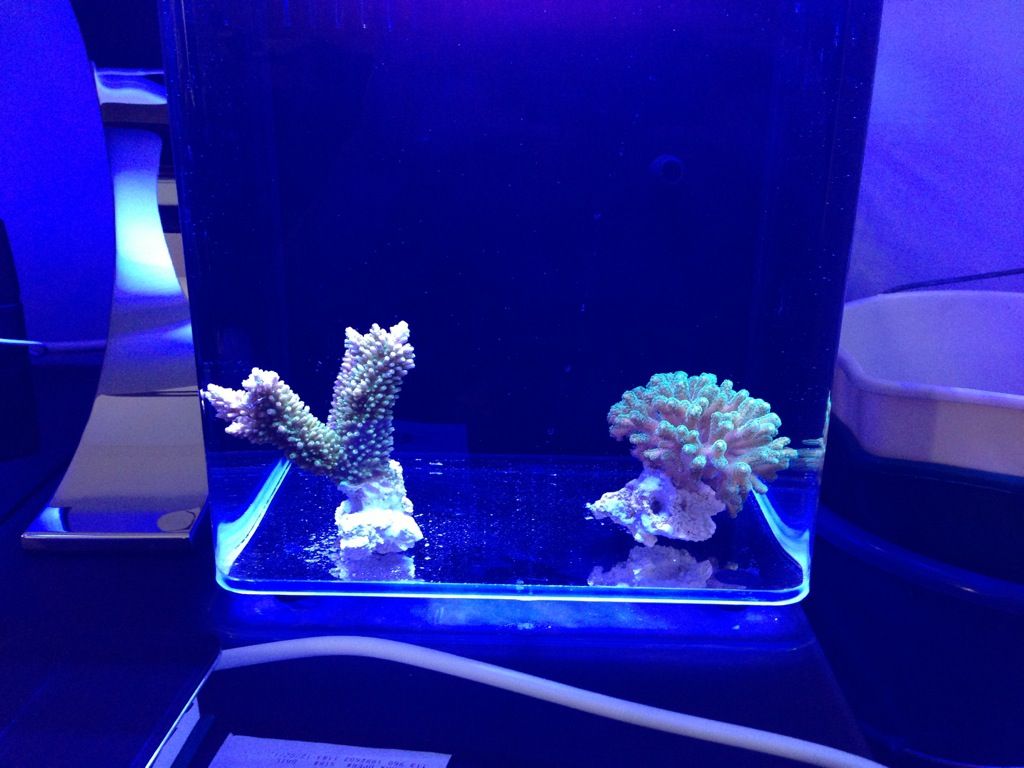 Shortly after building a Marco rock pire for the LPS/softies this tank is now about 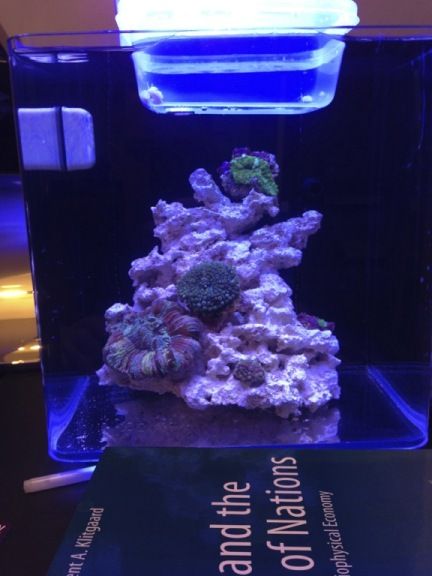 The floating tupperware was filled with berghia that I was harvesting and selling from the big tank. I was using the pico to keep them warm. 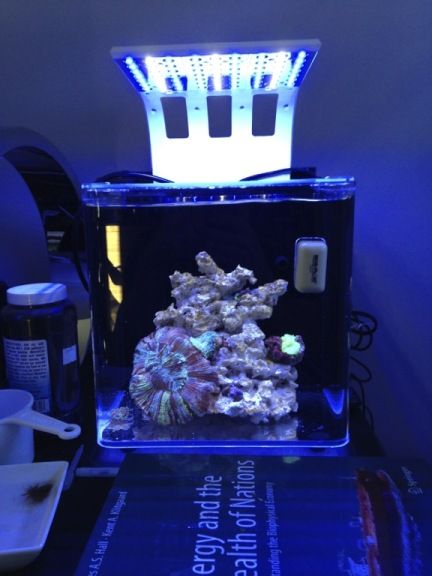 Around christmas I ordered a better light than the one that came stock from NanoBox Reef. The light itself was spectacular, but something about the colours in it just didn't work for me, I felt like they were to cyan-y. 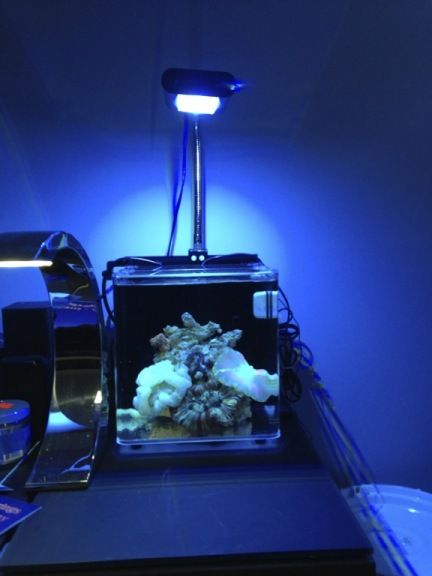 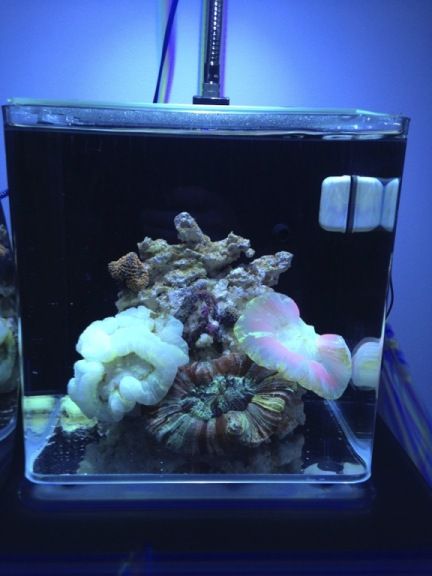 The two open brains on the right and left were rescued from my big tank, which has lights that are FAR too bright, and nutrients that are far too low to maintain colours on many LPS species. Over months they bleached out to near transparent, and I rescued them to the pico. They have improved drastically since those photos were taken. A month or so ago I picked up a Kessil A150 Ocean Blue. I was originally going to use it to spotlight a troublesome anemone in my big tank to try and get it to stay put, but on a whim hung it over my pico tank first and fell in love. I'll keep it until something as good or better comes along. 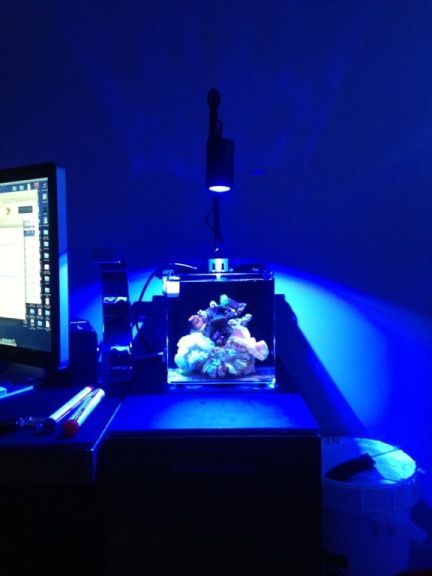 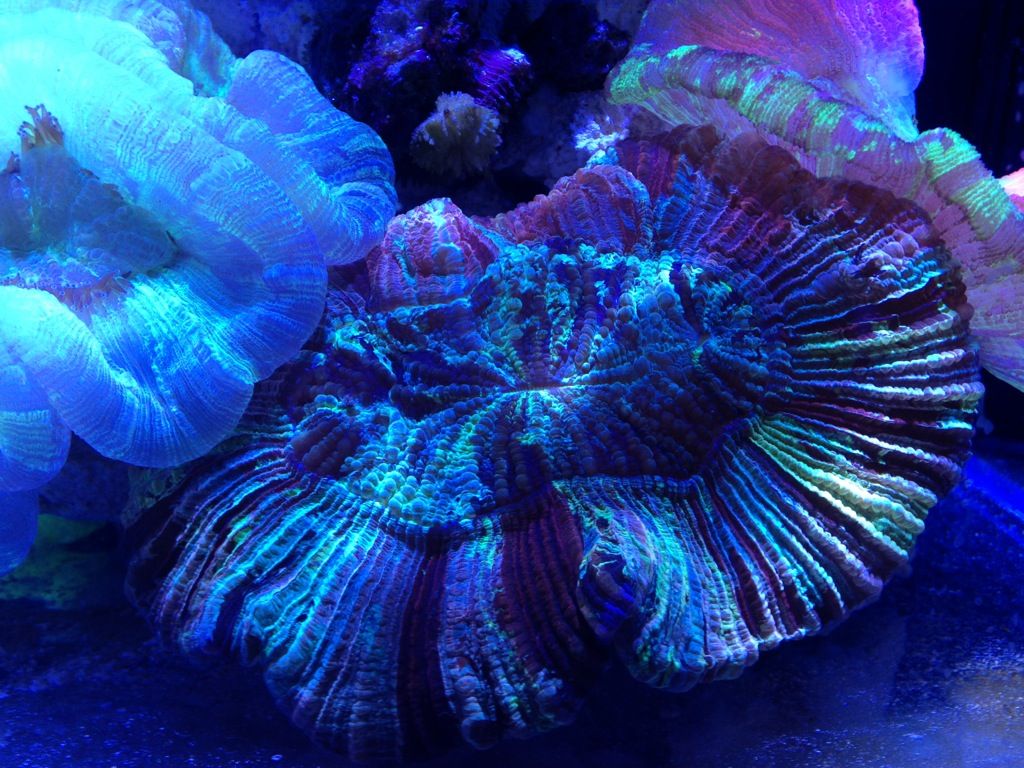 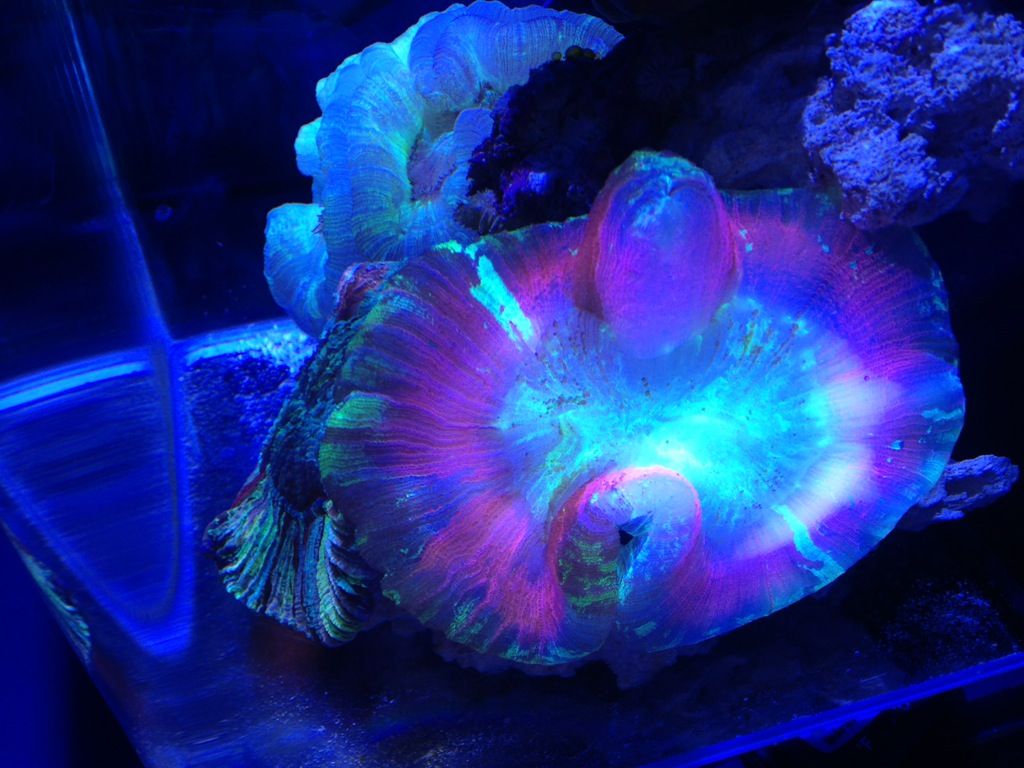 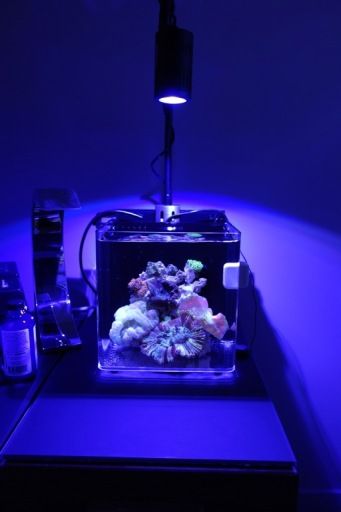 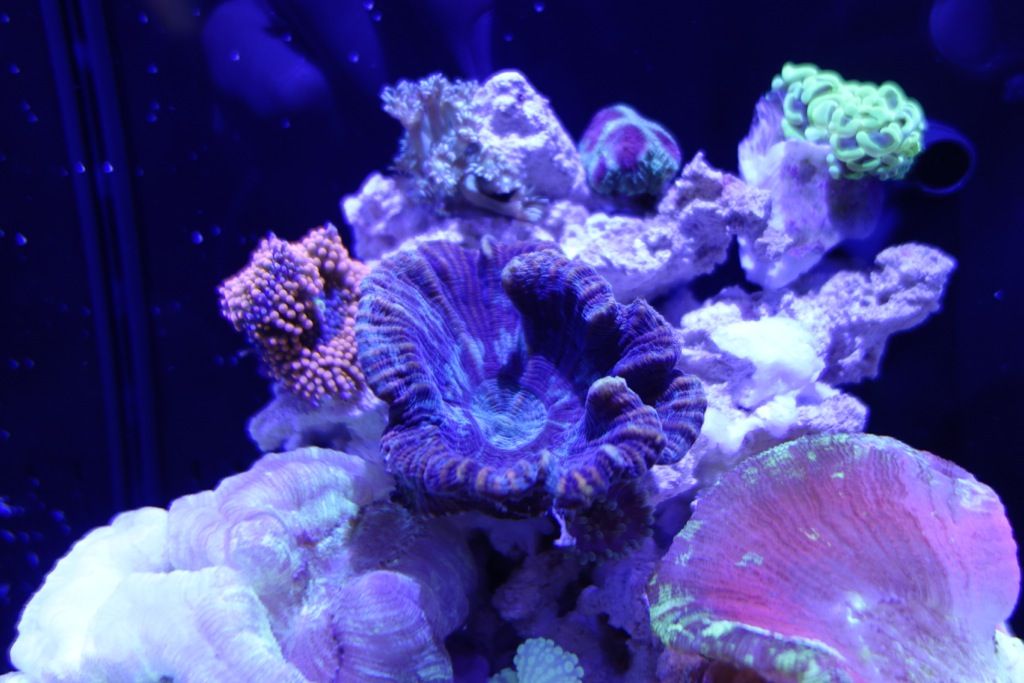 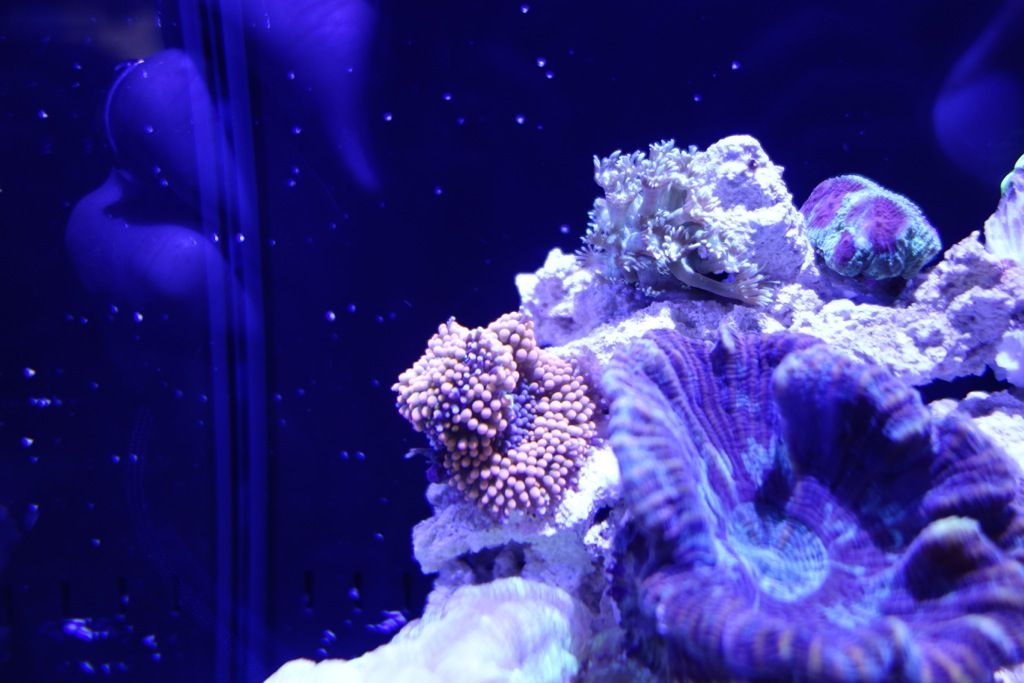 Those are the most current pics I have, but since I took them, the left and right most open brains have only gotten better and better colours. I'm hoping they'll return completely to their pre-bleaching glory in this system. That ricordia in the last picture is actually a baby that fissioned off one of the ricordias from my first pico that grew up in the 275, and has now been transplanted back to a pico. It's in the process of fissioning. This tank thread was something of a whim so I don't have pics of the whole set-up and it's guts, but I'll take pics of everything in a few days. I have to admit that now that I have 40 gallons of pre-mixed salt water in my garage, the only parameter I ever bother checking upon my weekly water change is salinity. I don't even try to temperature match anymore. The 44 gallon garbage bin is in my garage that is kept at 19.5 degrees, and the water seems to hover around 20 degrees. There's no crazy sensitive corals in this tank, and the air temperature in my office is kept at 21, so I figure that when everything is exposed to air during the 100% water change they all cool to around 20-21 degrees anyway. After the water change it takes less than an hour for the heater to bring the water temp of the pico back up to 24.5, and within 1.5 hours, all the corals look as if it never happened. I've taken to feeding everything that accepts food a healthy dose of Acans plus mixed with whatever else I feel like a couple of days before each water change. Water changes take about 10 minutes, unless I want to really scrub down the display glass, in which case I take that rock pire (it and everything on it are all super glued together), put it in a bucket with the filter foam and bag of ceramic rings, and then give the tank a good scrubbing with a sponge and soapy water in the sink. Future plans - upgrading the tank to an 8 gallon Innovative Marine all in one. Drool. |
|
#2
|
|||||
|
|||||
|
Cool! I have a new found love for pico tanks after starting my 2.5g. The Kessil looks awesome over it
__________________
One more fish should be ok?, right!!! |
|
#3
|
|||||
|
|||||
|
Hot damn! That looks awesome (and I did see this before you posted the link in the TOTM quarterly thread
I love that you've tried all those lighting systems. When I first started it was with compact fluorescent, then t5 (tank is 12x12x12, 7.5gal or so) then I talked to Jeff at J&L and he figured LED wasn't worth it. Now the T5 setup is TU and they don't sell bulbs for the compact fluorescent setup anymore (can't find them) so I'm thinking of going to LED anyways. Wasn't planning on doing a Kessil but they seem to be the best bang for your buck. Did you find the flat rack LED system (4th pic down) ok? Thats the one I was looking at because it seemed the least costly but now I'm thinking maybe kessil or whatever is available to me more locally so I can see it before I buy it (I'm picky about color too).
__________________
Christy's Reef Blog My 180 Build Every electronic component is shipped with smoke stored deep inside.... only a real genius can find a way to set it free. |
|
#4
|
|||||
|
|||||
|
Quote:
Quote:
To be honest I think smaller tanks is where LEDs really shine (get it, shine, see what I did there?). The good ones are so bloody expensive that lighting a big tank properly can cost almost as much as an undergraduate degree. But on small tanks you have so many more options and the cost is way more justifiable I think. The key is a) not over-doing it, LEDs are more powerful than they seem and b) getting the mix of colours that will really make what you're keeping pop. The flat rack fixture came with the tank and was pretty basic, the colours looked good, but it was really dim looking and it was soooooo flimsy, I was afraid to touch it, it felt like a cheap kids toy. It still managed to bleach one of my ricordias to within an inch of it's life, but it didn't seem to have the pop to make other LPS look good. It was probably sufficient and since it came with the the $150 tank, it was an extremely good deal, it just wasn't for me. If you're looking at switching I can't speak highly enough of the kessil, one A150 would light a 7 gallon tank no problem, but you get no control over the brightness or colour mix so you have to make sure to buy the colour blend you like, or spend the extra cash for an A350 and turn the intensity way down. There's also some really cool PAR38 bulbs that are incorporating really innovative diode colour blends now too that could easily have enough power. But man I am in love with this Kessil. It's like having a metal halide over the tank, the shimmer is outrageous. There was barely any shimmer from the flat rack CADlights unit because the bulbs were evenly spaced across the fixture. Also the first two lights had noticeable colour separation, and the Kessil has zero. My only real complaint about the Kessil is the hanging options over such a small tank. I hate how massive the gooseneck is compared to the tank, and since my whole tank is only 10 inches front to back (7.5 inches of that is the display) I have to bend the gooseneck in such a way that the light is closer to the water surface than I want to get it to be properly centred over the box. Some sort of custom hanging situation would have been better, but I'm limited in that I can't put holes in the wall and the tank is sitting on a very small wheeled filing cabinet. |
|
#5
|
|||||
|
|||||
|
Alright, last night the green open brain got so heavy that it broke off it's super glue and epoxy base and fell. While that means it's growing, it also meant I had to take it all out and glue it back together, so I figured I'd document the process. This is what a pretty standard 'full-clean' of this system looks like. I normally do this once a moth, the other 3 weeks I just drain and replace the water.
Top down, prior to water change: 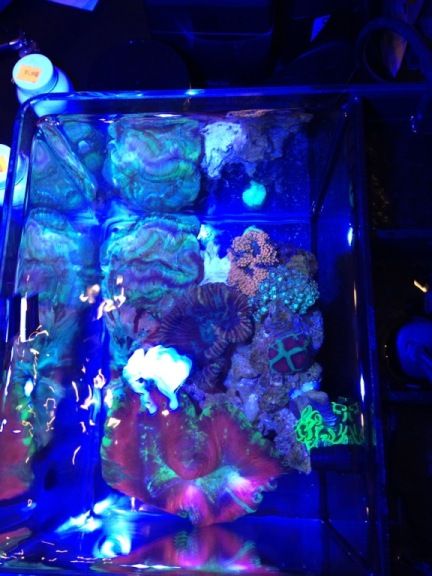 The equipment chambers: 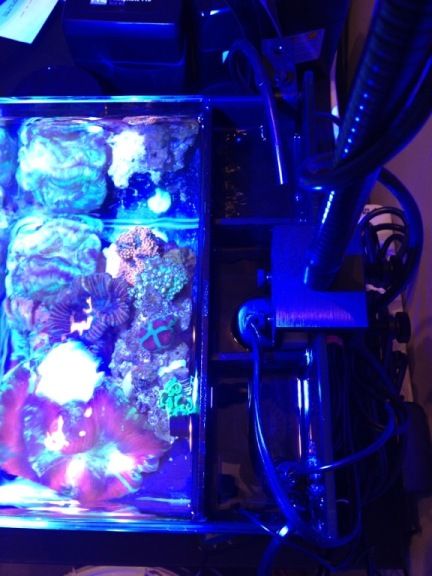 As it looked today, the left brain fell and trapped all the extra goo from me feeding them last night under it. Bad news from a water quality perspective. The colours of the two bleached brains are way better now. 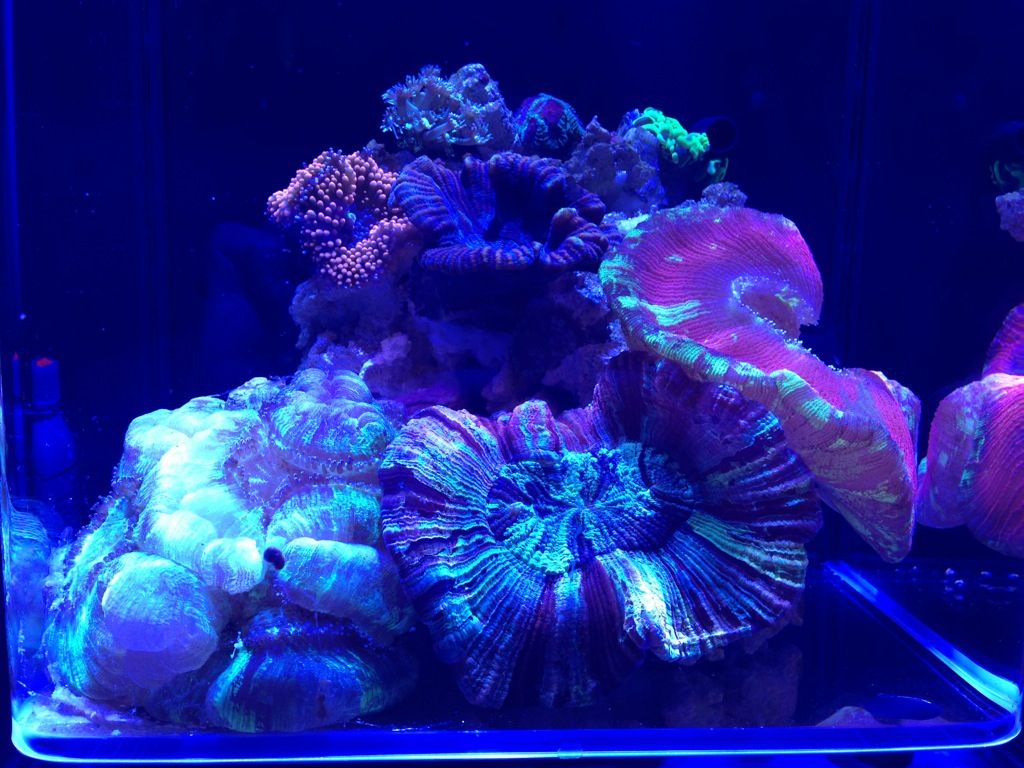 The powerbar that runs the whole thing. I can keep most of these cords hidden from view, but it makes it pretty messy behind the tank 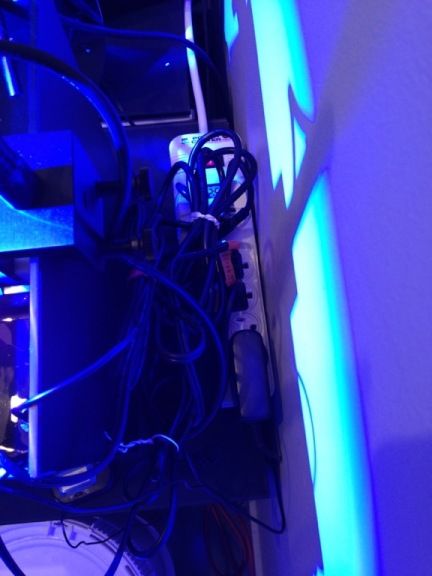 Shut down, ready to go 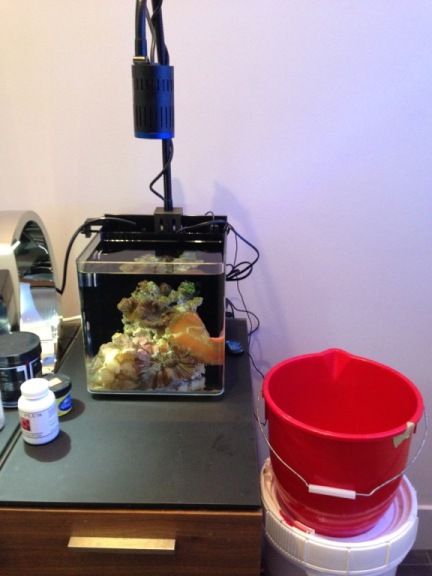 Half drained, water enters the foam block box from slits near the bottom of the tank, and also pours down on top. 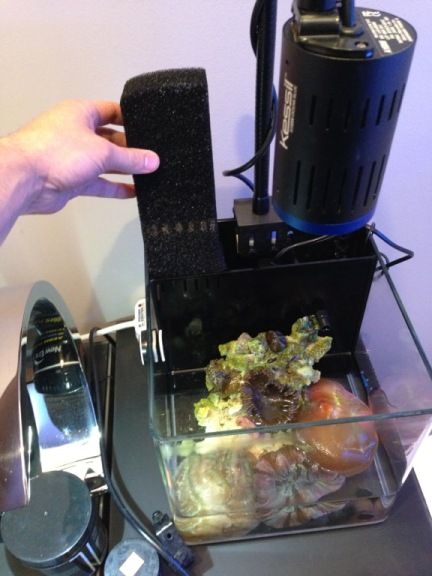 Pire repair! The brain that had fallen sprayed me right in the eye while i was trying to glue it back on to the rock. I also sliced my index finger something fierce on the skeleton of that dark coral. 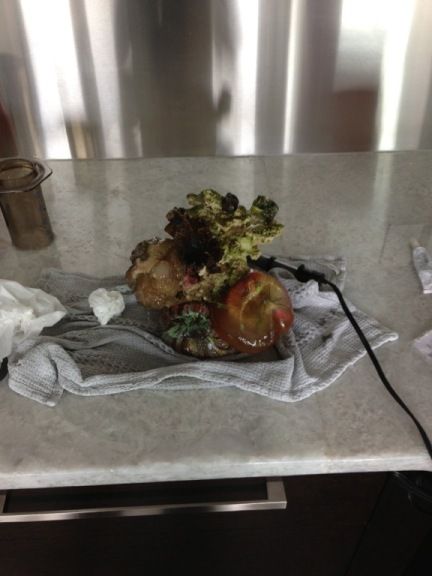 If only cleaning my 275 gallon tank was this easy... Goodbye detritus. 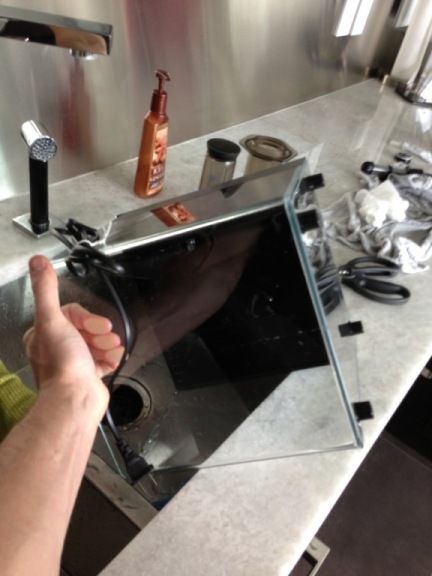 If I'm going to be a while with the box, I usually keep some water that's going to get tossed for the rock, corals, and ceramic bio-rings. 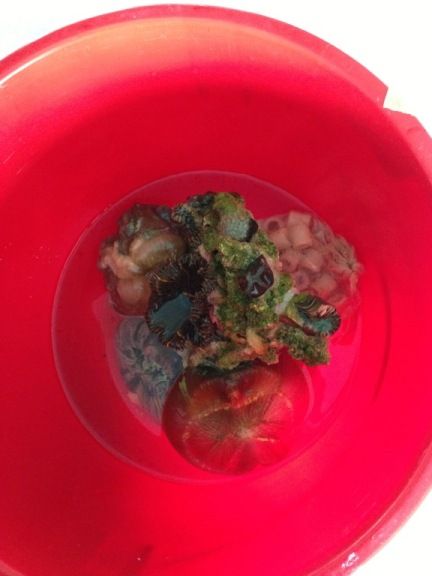 Sparkling clean! 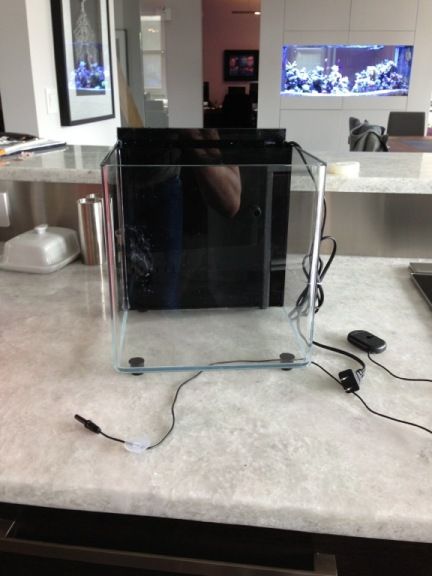 |
|
#6
|
|||||
|
|||||
|
Setting it back up
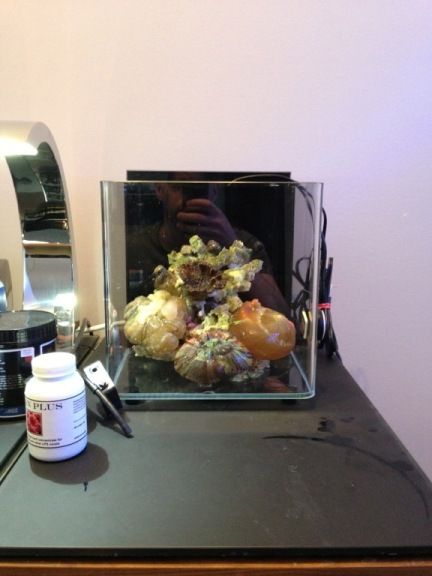 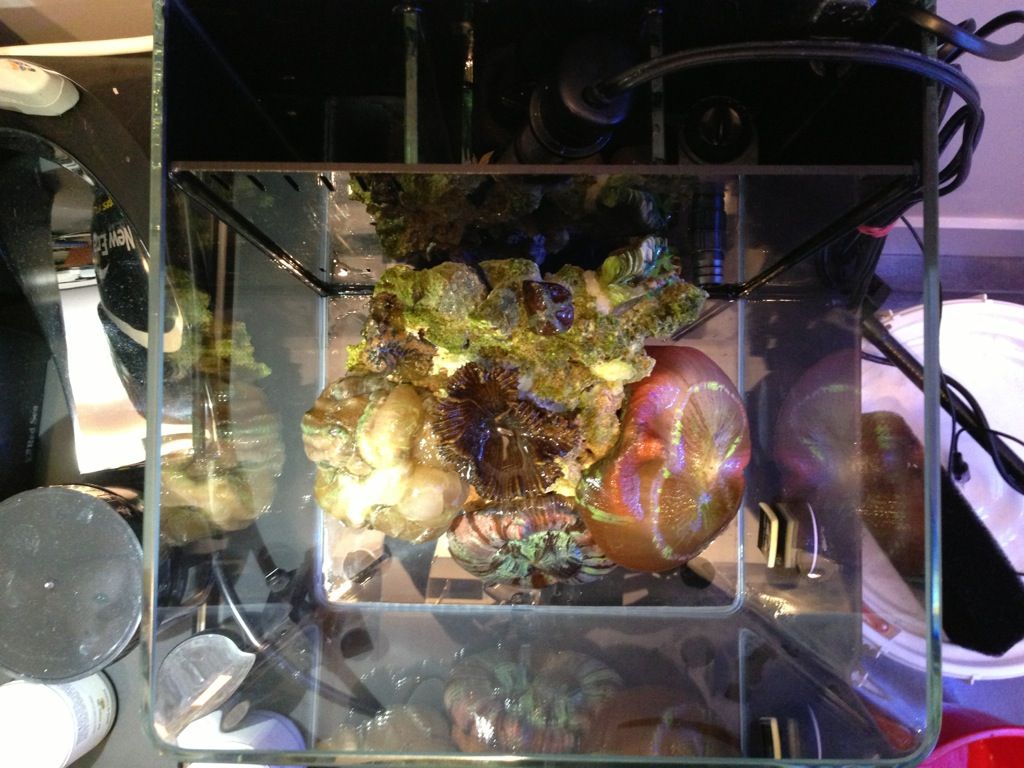 I modded the Tunze ATO by breaking off the sensor holder and epoxying it to the glass. The emergency shut off float switch is actually sitting next to the unit's brain in a metal lip under my desk. Not the safest thing in the world, but I've had a perfect track record with those sensors working properly, so I'm not too worried. 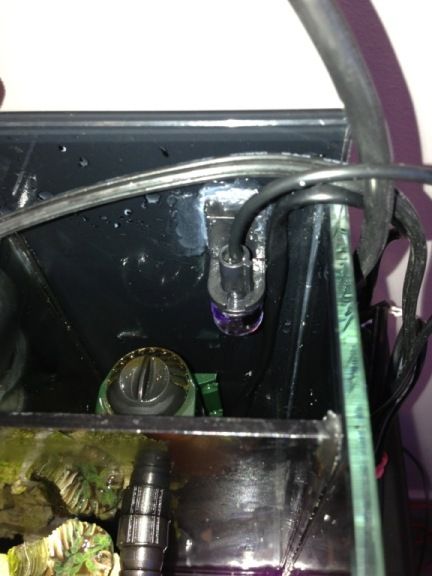 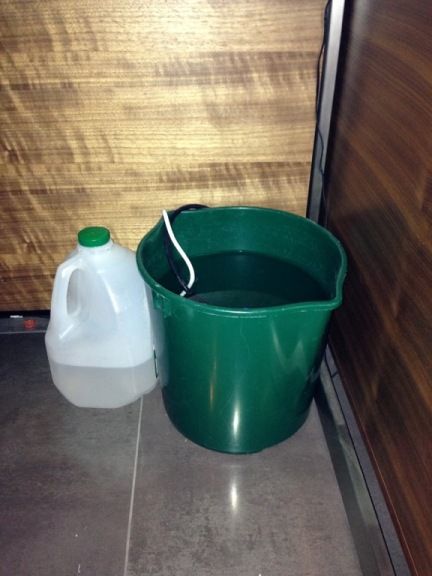 There, all done! Wait, something's missing... 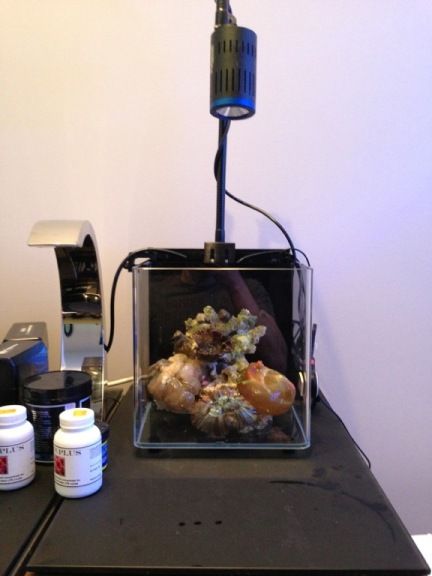 Oh right, water. 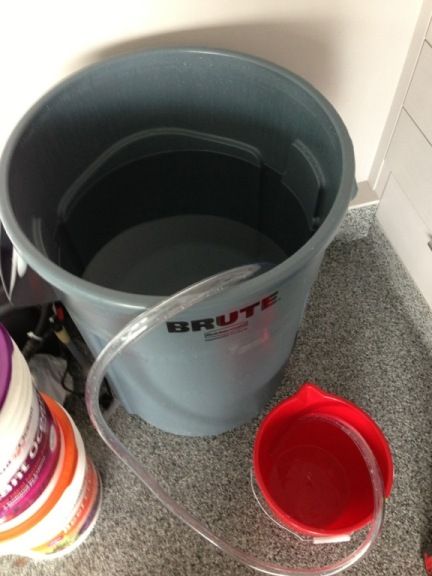 It takes less than 2 and a half of my red bucket (which is around 3 gallons) to fill this thing up 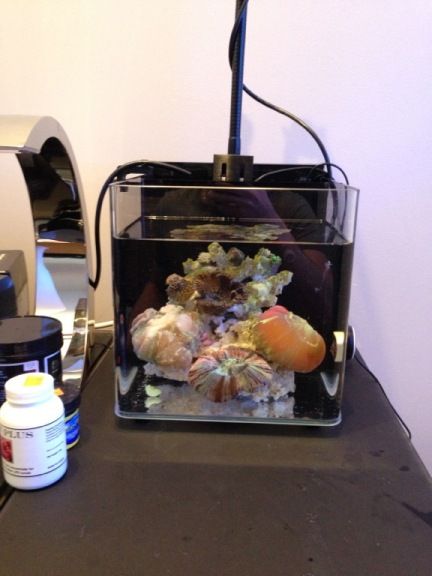 All done for real this time. The tank will look like it never happened in an hour 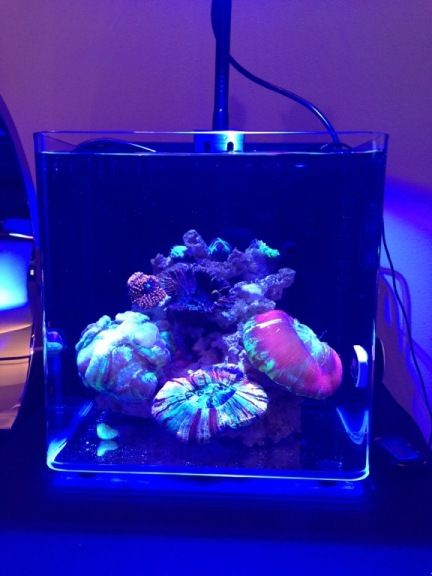 |
|
#7
|
|||||
|
|||||
|
Wow that is slick. I need to glue all my rocks together so I can do waterchanges like that. For some reason my rocks shed detritus like nobodys business. It would be way easier to do waterchanges like that rather than the classic siphon style
__________________
Christy's Reef Blog My 180 Build Every electronic component is shipped with smoke stored deep inside.... only a real genius can find a way to set it free. |
|
#8
|
|||||
|
|||||
|
Wow that's slick... I may have to go find a pico like that!
Very impressive!
__________________
225gal dt with 100g sump. Mitras, vortechs, bubble king, AI Sol and Profilux. http://www.canreef.com/vbulletin/sho...threadid=84782 Will trade subs for frags My other summer hobby: http://www.edkra.ca |
|
#9
|
|||||
|
|||||
|
Quote:
I only do the whole clean once every so often, it's much faster to just siphon it out and pour the water back in, and way less stressful for the corals. The other benefit to taking everything out though is that I can really get in to the rounded corners of this tank with a sponge, it's hard to do them with a magnet. That pire is actually a piece of marco rock that I broke in to 4 pieces with a chisel and then put back together in a better shape with two whole tubes of super glue. I keep waiting for the day when the whole thing fails and the bottom piece falls off while I'm lifting it out of the tank. It would be the perfect excuse to go buy the 8 gallon  Quote:
ETA: and thanks! |
|
#10
|
|||||
|
|||||
|
If anyone's interested, I'm selling two of the corals from this tank:
http://www.canreef.com/vbulletin/showthread.php?t=97597 Three large open brains in a 4 gallon tank isn't going to work long term, so my least favourite is going. I also moved my forest fire digi frag from the big tank to this tank. It hasn't grown at all (not even plating) since i got it, and has slowly been bleaching. It stopped extending any of its polyps about a week ago so I'm testing to see if it's my lighting, or the addition of coral beauty angel to my big tank. |