
|
|
|
#42
 09-29-2012, 05:52 AM
|
|||||
|
|||||
|
Nicely done build so far, lots of details and such
Keep the pics comin' 
|
|
#45
12-23-2012, 07:30 PM
|
||||
|
||||
|
http://www.nano-reef.com/topic/30825...-custom/page-7
Quote:
|
|
#47
12-23-2012, 09:05 PM
|
||||
|
||||
|
Quote:
|
|
#48
12-24-2012, 06:55 AM
|
|||||
|
|||||
|
Quote:
But yeah my nano contest thread is here and my Nano-reef thread is here Thanks everyone for following along and Merry Christmas to everyone!
|
|
#49
11-20-2013, 02:13 AM
|
|||||
|
|||||
|
Hey everyone! first off let me say I'm so incredibly sorry not posting anything in a very long time - at least in this thread! but in an effort to consolidate two threads into one, ill be grabbing the stuff from my nano contest thread and stuffing it into here along with a lot of updated stuff too! so if you don't mind holding on and bearing with me ill get everything sorted out and updated!
|
|
#50
11-20-2013, 02:16 AM
|
|||||
|
|||||
|
alright so here we go! ill try and make this thread look seamless from start to finish!
this is when i started working on the filing cabinet turned sump stand here is the progress so far, 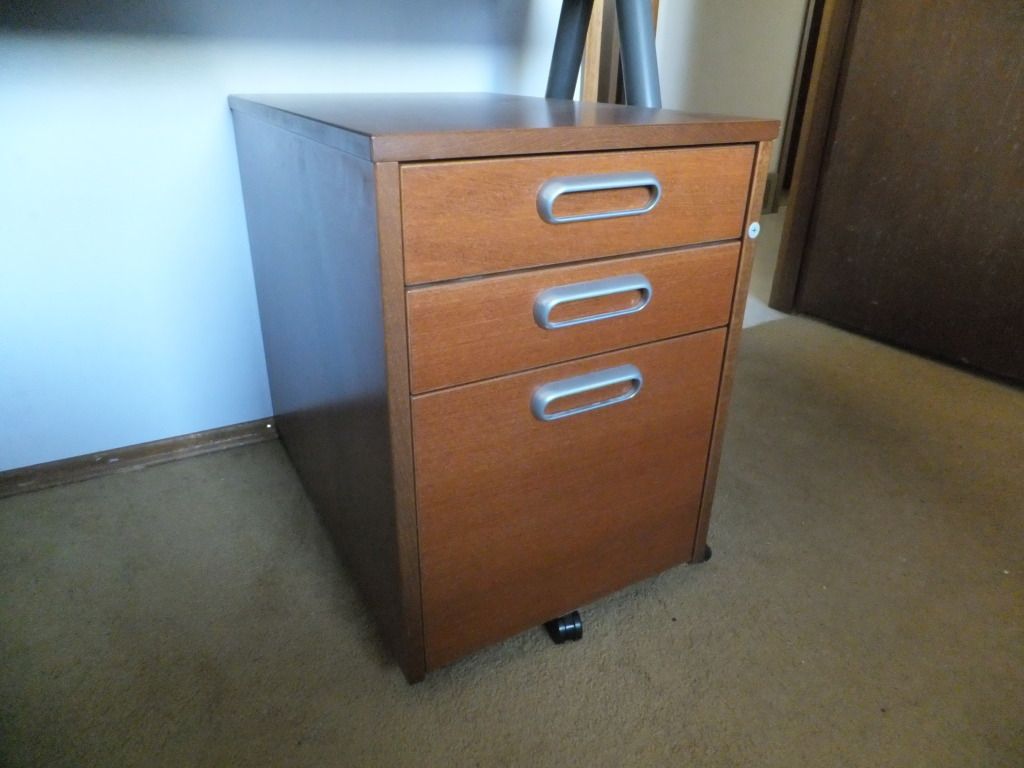  Then I took out all the hardware and the drawers 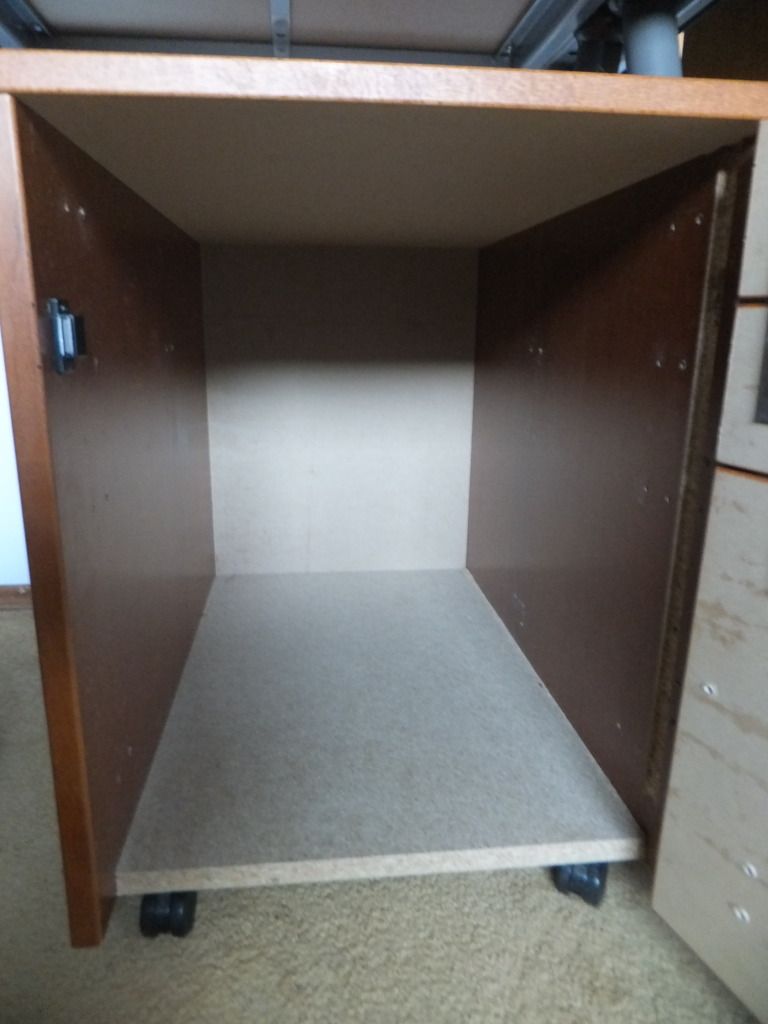 After gutting the cabinet i took all the fronts off the drawers and used them to make the door so that it still looked like the original cabinet 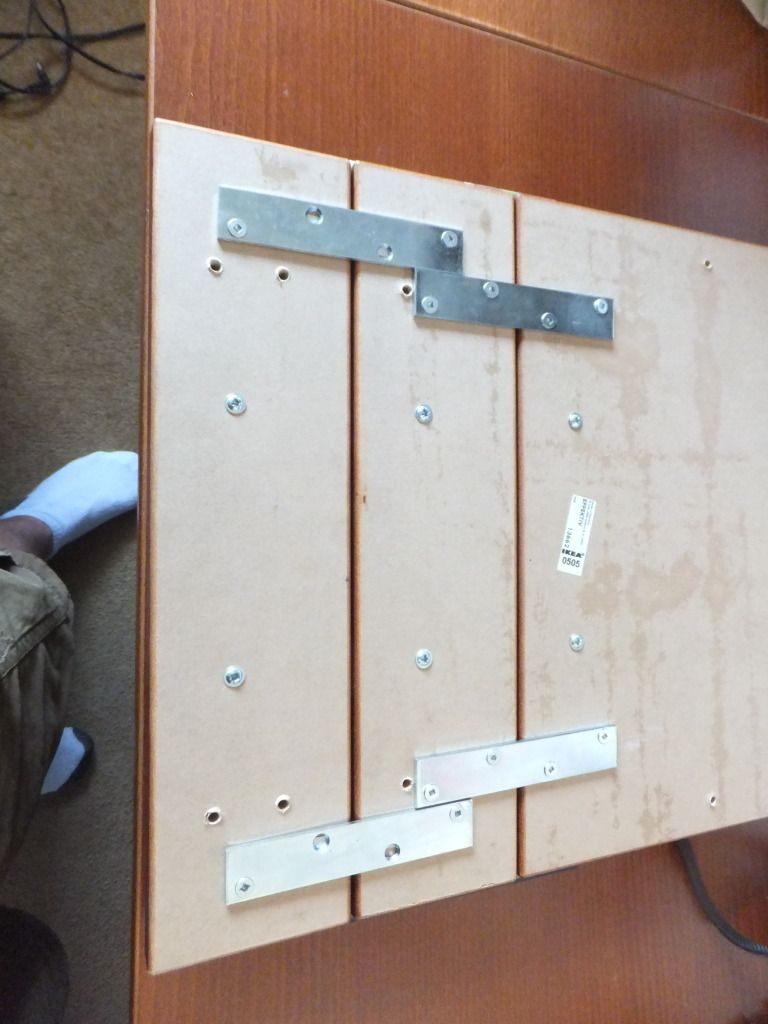 Then I added a magnet lock 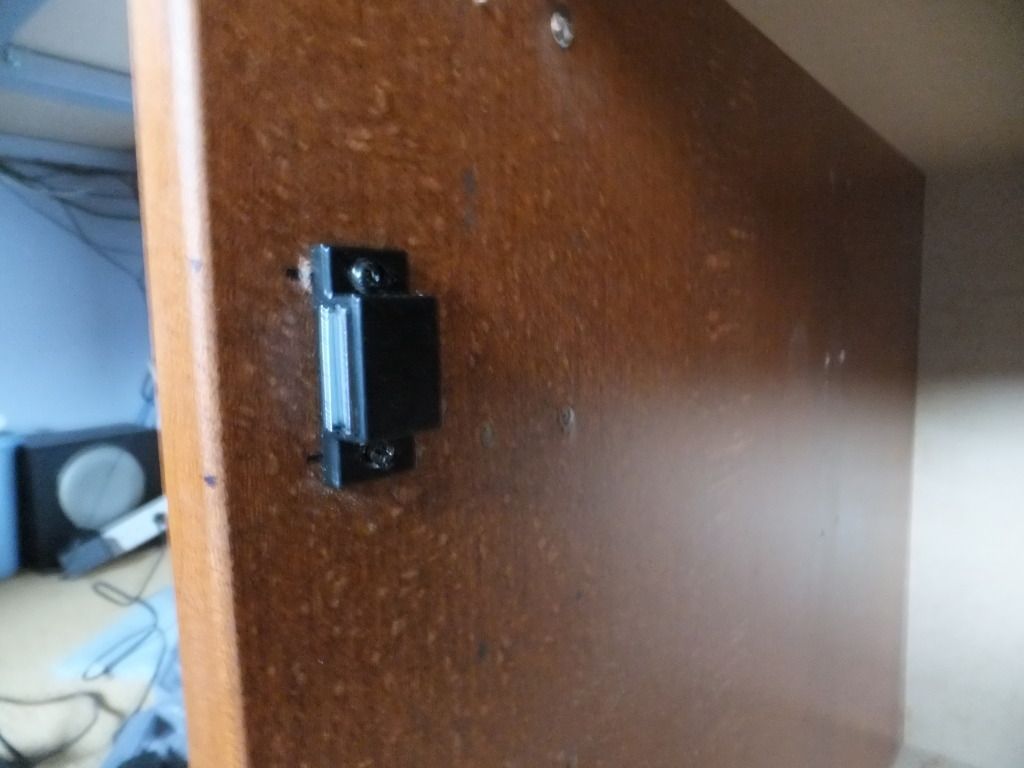 Then I drilled 4 holes in the top of the stand for the overflow and return plumbing to go though 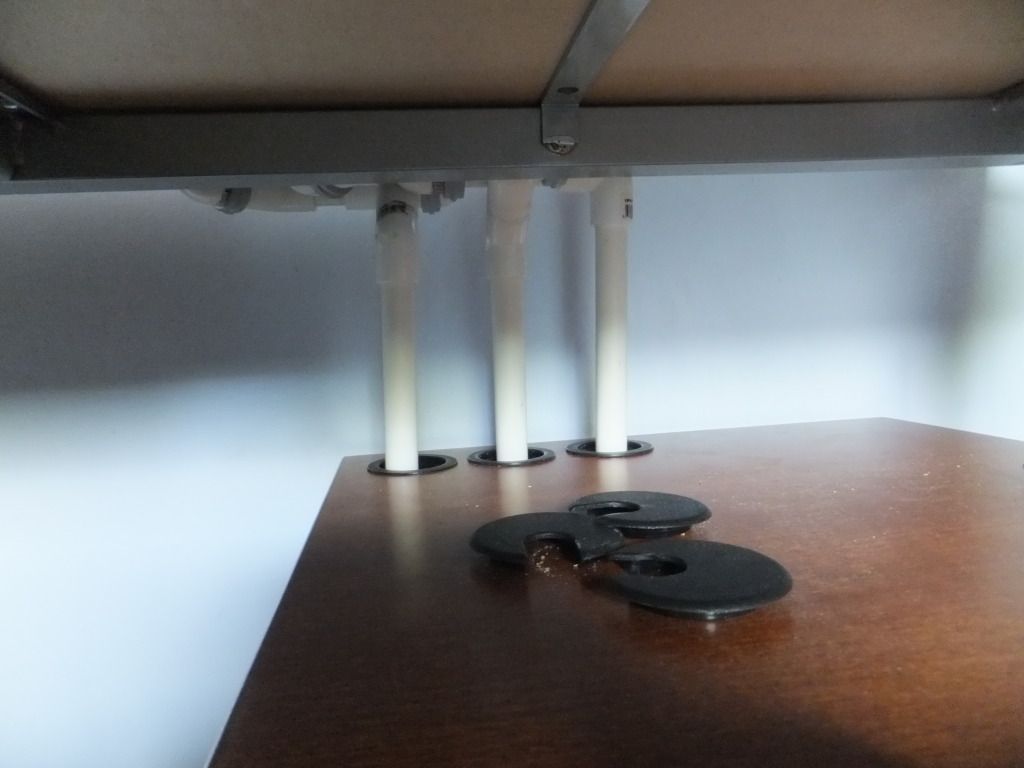 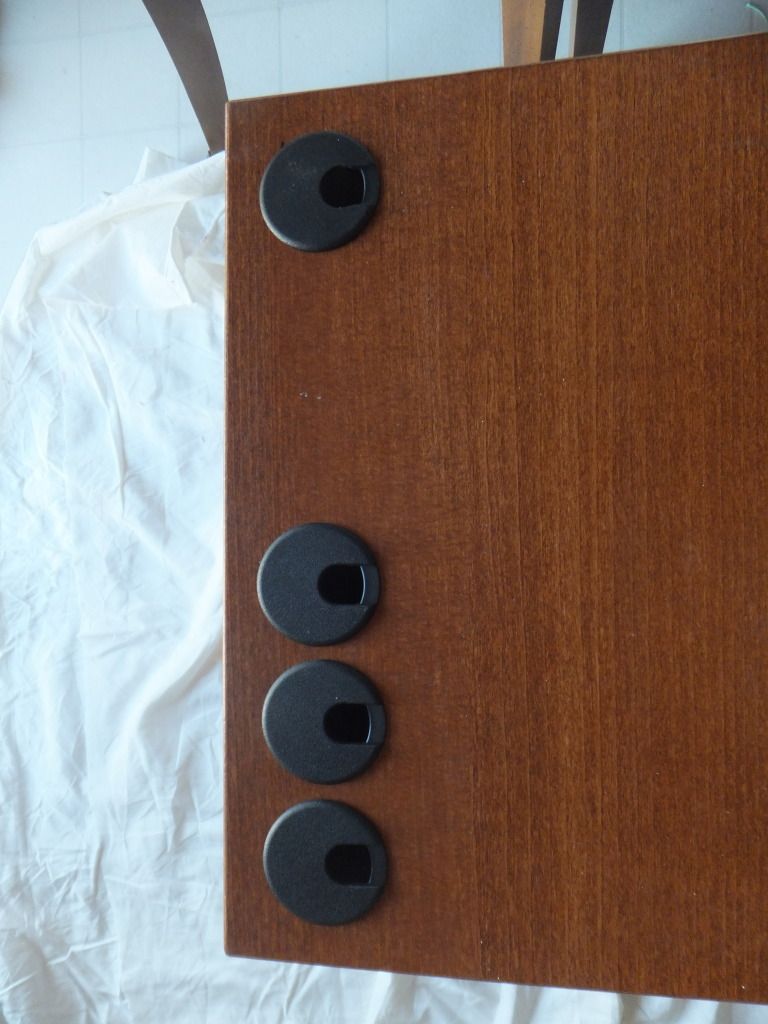 Then it was off to paint! 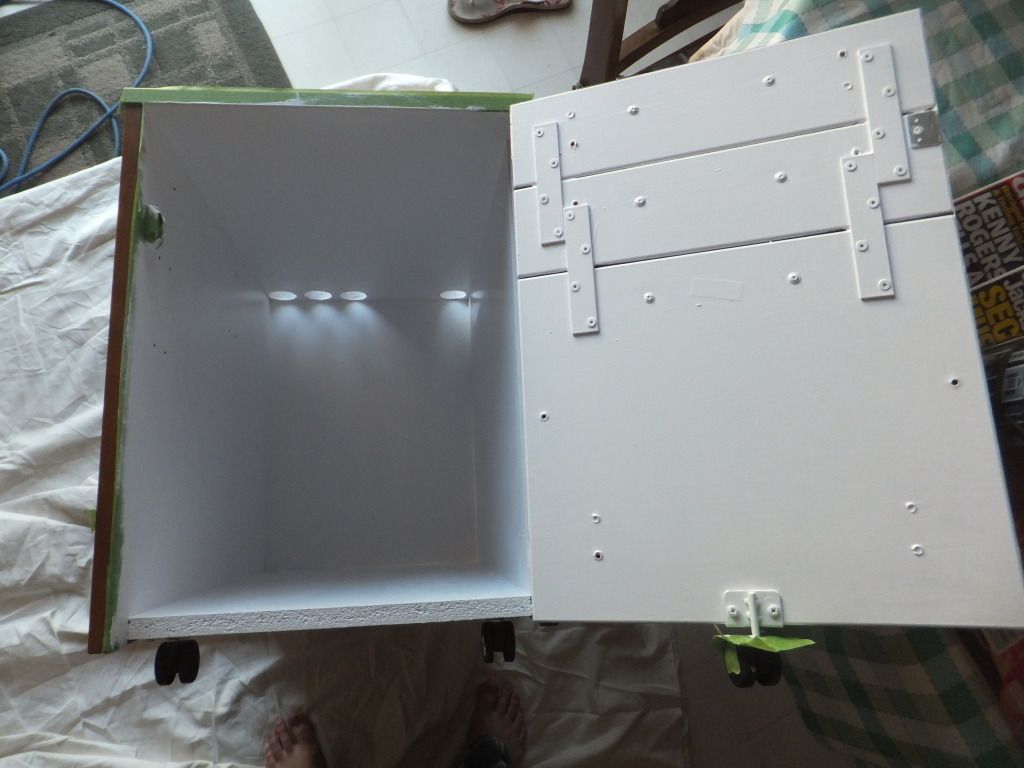  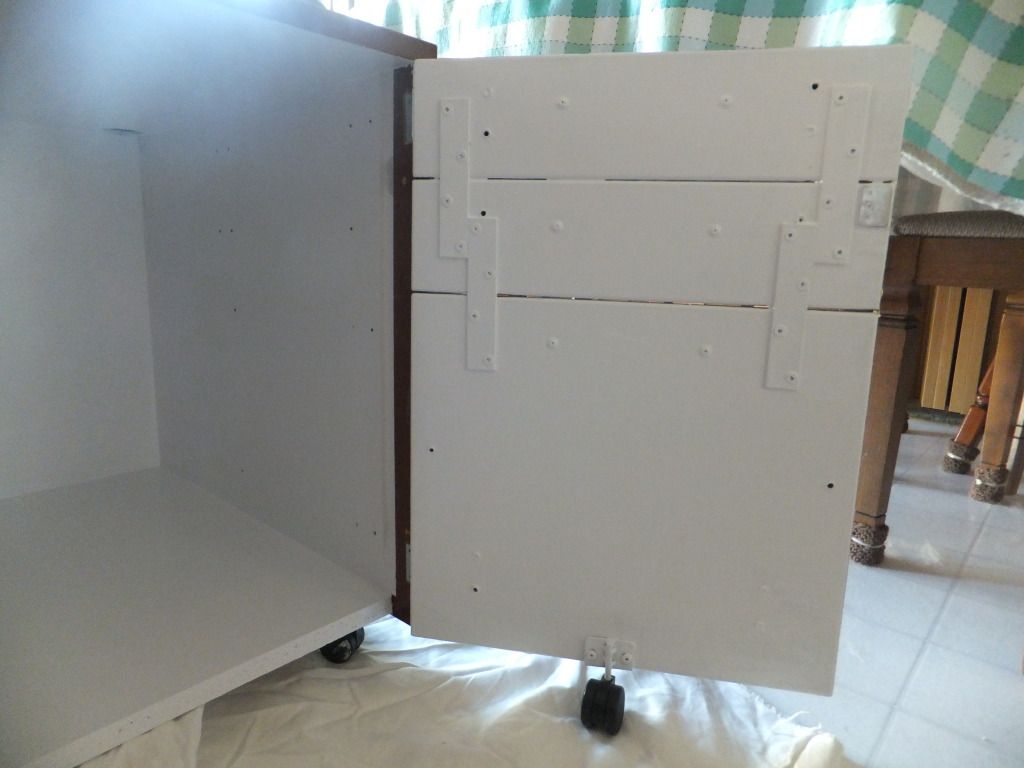 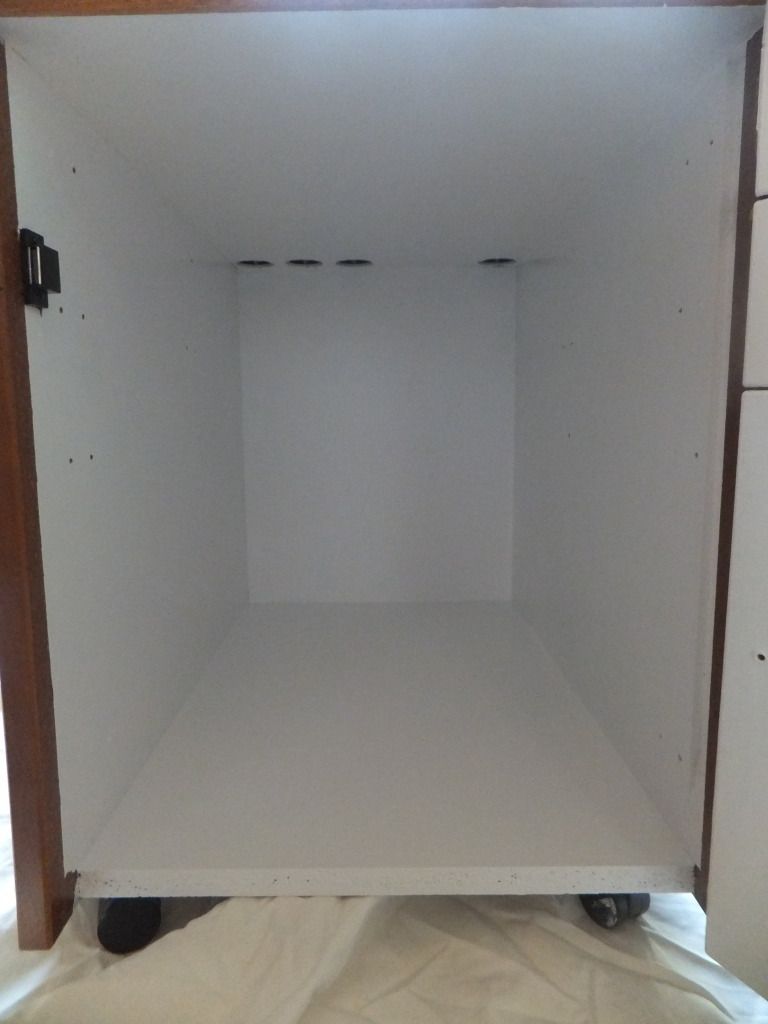 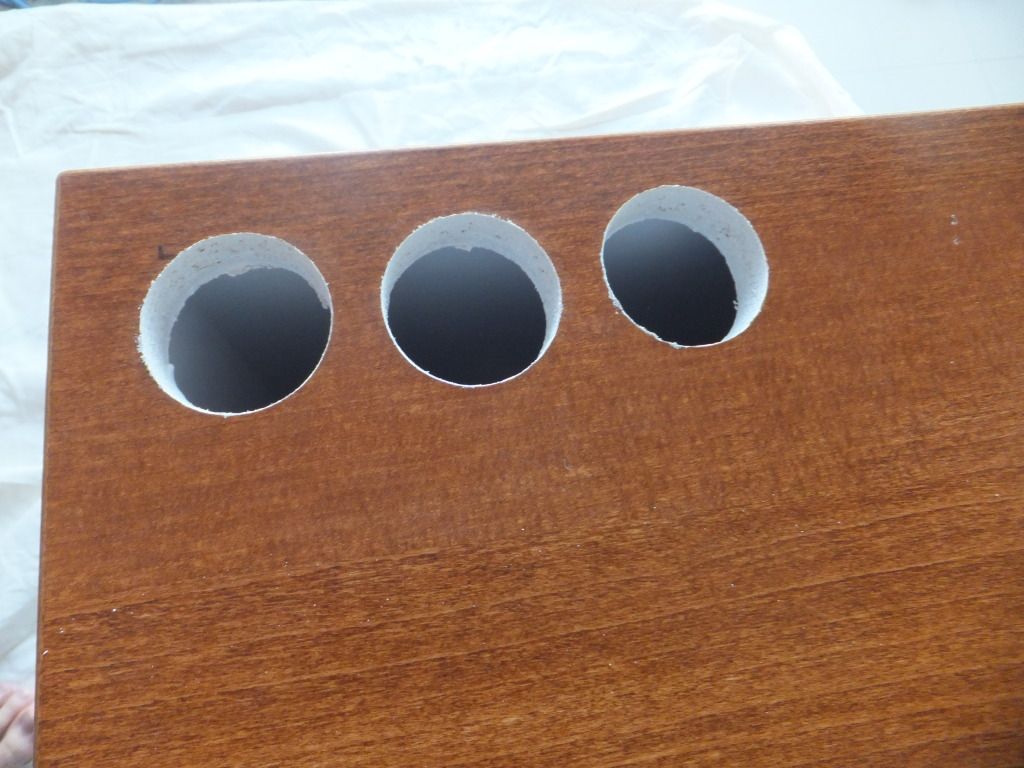 The next thing for me to is wait until its all try then run a seam of caulking around the bottom edge to make it water tight and then most likely cut one or two more holes in the back to add computer fans for a little air movement and circulation.
|
 |
| Tags |
| bowfront, custom, exposed rock, tunze, wavebox |
|
|


 Linear Mode

