
 |
|
#21
|
|||||
|
|||||
|
LOL, I didn't actually do the siliconing while in there, just cutting out the old stuff
 I read in a thread somewhere Grizz mentioning a doohickey from home hardware that goes on the end of a silicone gun to make perfect corners. I found it and tried it out. I ran a couple strips of painters tape 1/4" or so on each side of the corner and ran a bead with the doohickey, and WOW! It works awesome! Perfectly straight runs, nice and clean. Thanks Grizz! |
|
#22
|
|||||
|
|||||
|
Well after staring at this tank all winter and talking to a few people (including Denny at Concept) about a side external overflow I'm biting the bullet and going to see if I can cut the side of this tank. I just got back from a weeks camping and had a bit of time to kill tonight so I cut out the internal overflows. Anyone want them?
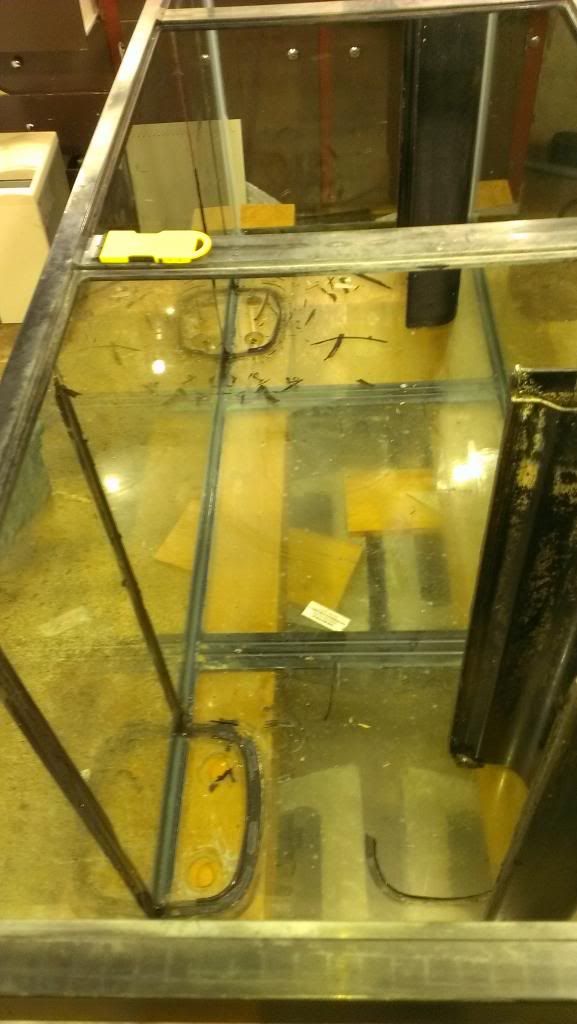 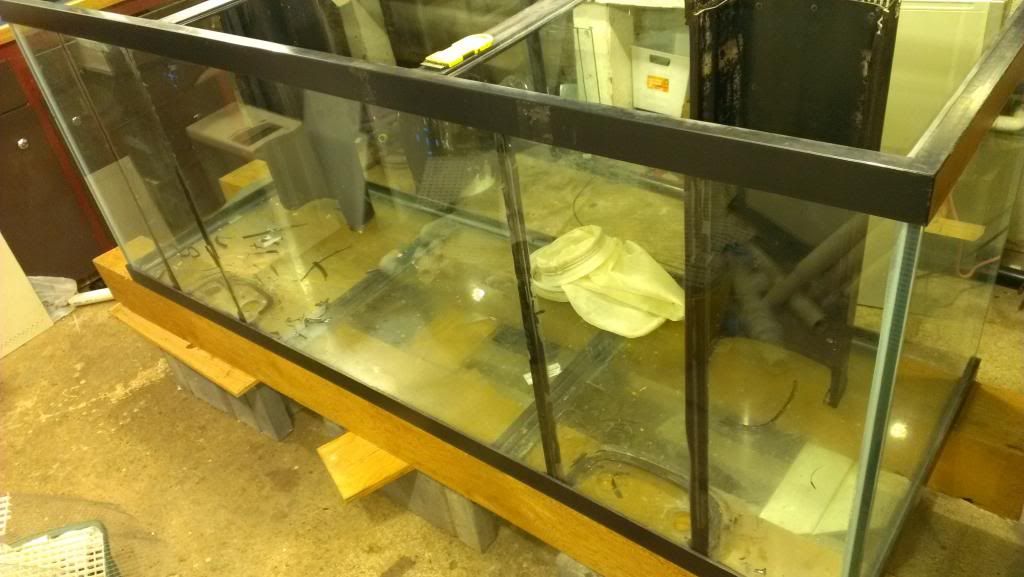 I've also re-thought of the location of the tank when I get it installed and it'll end up being in my front entry way, but very visible from my couch. I'll have to post some pics of the interior of my place to show, but that's another day.... I've also now got a firm idea of how I'm going to build the stand and custom cabinetry and my lights are coming along nicely. I just picked up my final piece of pocket door track for hanging it all. Stay tuned on the Jarduino build thread for that one. |
|
#23
|
|||||
|
|||||
|
Looking good.... How much you want for the overflows?

__________________
Desperately seeking serenity ... 180g custom build http://www.canreef.com/vbulletin/showthread.php?t=81400 50g custom daycare tank... http://www.canreef.com/vbulletin/showthread.php?t=65428 |
|
#24
|
|||||
|
|||||
|
$10/ea sound fair? Plus any shipping. I'll clean them up a bit first. They measure 27 1/2" tall, 10 1/2" wide and 5" front to back. I can get a better pic if needed.
|
|
#25
|
|||||
|
|||||
|
No need to clean I can do that I have a project in mind for them so yes 10$ each is fair ill pm you about it...
__________________
Desperately seeking serenity ... 180g custom build http://www.canreef.com/vbulletin/showthread.php?t=81400 50g custom daycare tank... http://www.canreef.com/vbulletin/showthread.php?t=65428 |
|
#26
|
|||||
|
|||||
|
Well, finished up early on the job for today so worked on the tank this aft. Did a water change on the 77 at the same time. Here's the previous overflow locations cleaned up a bit:
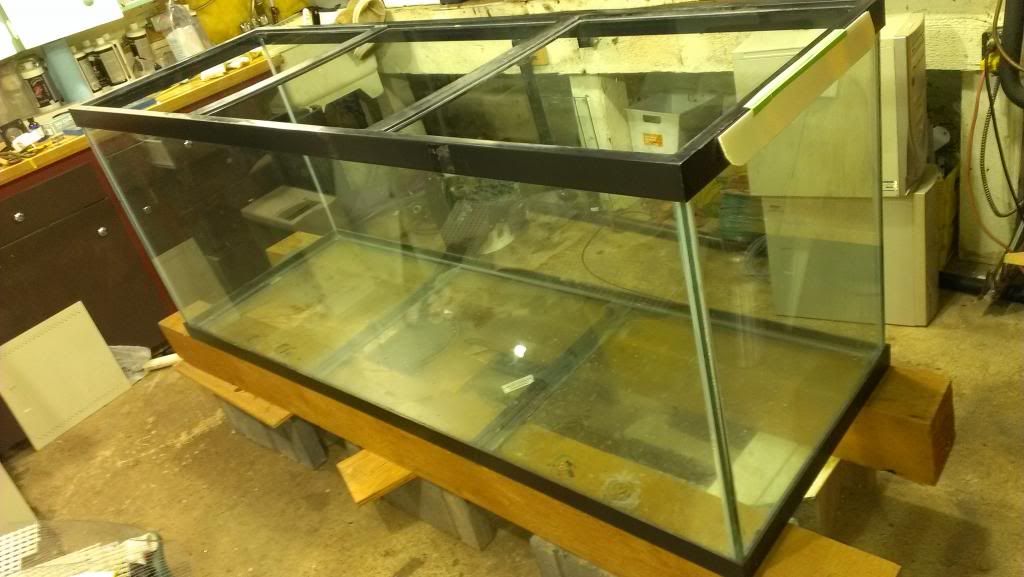 Any thoughts on glass thickness for patching the holes in the bottom??? I was thinking of cutting plugs for the holes and siliconing them in place, then adding a piece of glass on top and underneath with 100% coverage of silicone on them. Maybe wipe the silicone on them with a drywall trowel or something so there's no air what-so-ever in there. Any thoughts??? So here is where the tank was going to go: 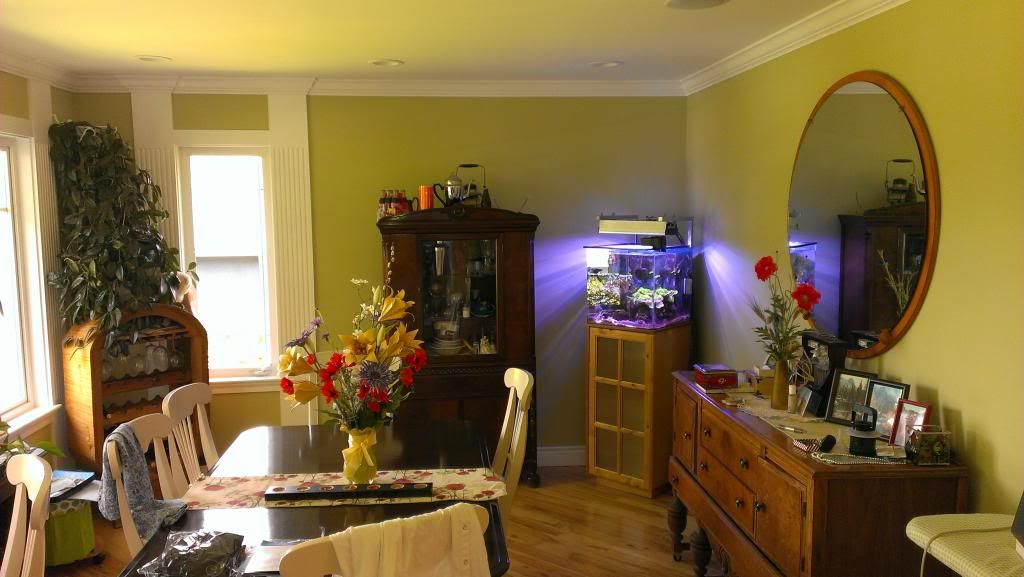 I was going to remove the 20 gal cube and the 210 would sit right up against that white moulding. The distance from that moulding to the right wall is about 98" so there would have been a 24" cabinet on the right side of the tank to house my right side overflow, the MP40 drivers and my Jarduino controller. Part of my problem with that scenario is my wife thought the dining room would look too cluttered and she'd have difficulty finding a place for that china cabinet that her parents got when they first got married. That and downstairs there is a finished bedroom with only 6' 8" ceilings that I'd have to tear down to add more floor joists. And in that bedroom there's a window the tank would have spanned over that doesn't have a header over it (house was built in the 30's). I had planned on flush cutting the floor joists and adding a header in it, but that was a lot of work. By the way I am a renovation contractor and I had an engineer on board that looked at everything and was giving me direction. Do not do this at home kids  By the way, I did all the upgrades of this house my self. Everything got stripped to the studs, reframed the roof from the inside out and vaulted my ceilings, custom fabricated all the window trim and crown moulding, updated everything. This house was a bit of a dump when we got it, but then again that's why we got it so I could do all this. By the way, I did all the upgrades of this house my self. Everything got stripped to the studs, reframed the roof from the inside out and vaulted my ceilings, custom fabricated all the window trim and crown moulding, updated everything. This house was a bit of a dump when we got it, but then again that's why we got it so I could do all this.  So, aaaannnyyy wwaaayyyy..... Here's the next best place, my entry way: 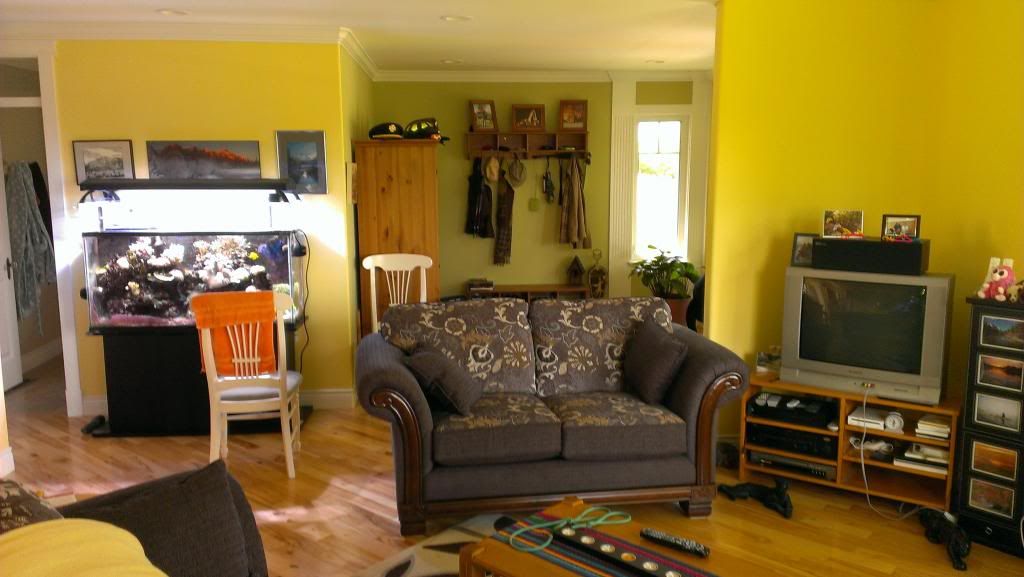 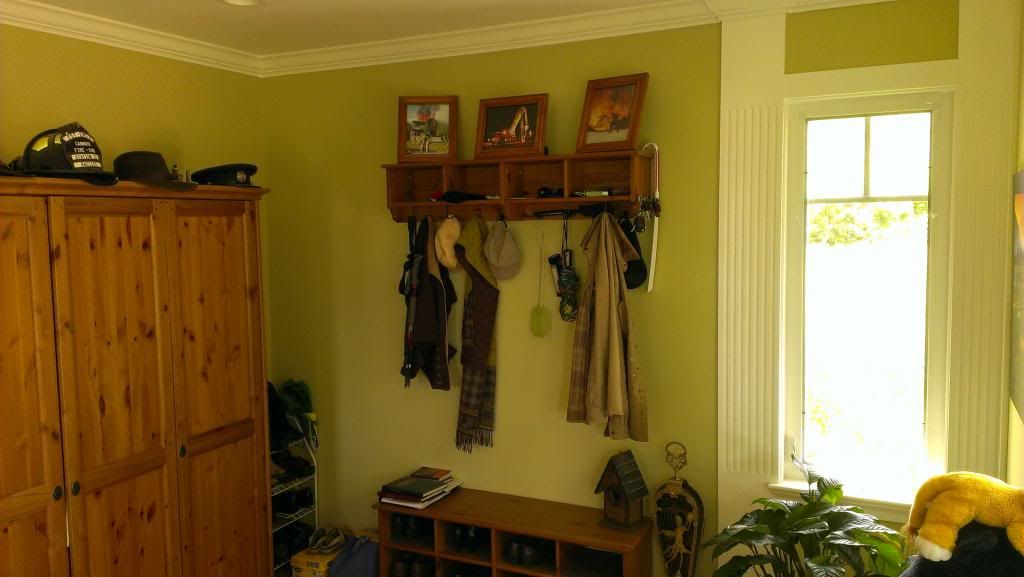 The spot is just a couple inches narrower. The ceiling isn't finished downstairs so joists are easily added, and there's no window to span. My floor throughout the whole house is actually 3" of solid wood on top of the floor joists. 3/4" diagonal shiplap, 3/4" old hardwood that I couldn't save, 3/4" tongue and groove plywood glued and screwed, then the final 3/4" finished hardwood you see there. Even if I don't add any floor joists, my engineered said I'm good, but I'm erring on the side of caution with a 3000 lbs tank. So now instead of having a right side overflow I'll be going left side and there will be a slightly narrower cabinet on the left to house everything. Added bonus of this location is that it almost never gets direct sunlight whereas the first location got about an hour or so every eve in the summer. The only draw back of this new location is that armoire has to go and it'll probably end up in my office  The coat and shoe racks will go where the armoire is now. |
|
#27
|
||||
|
||||
|
12mm glass will be good to block the old holes , you dont need to fill in the hole at all just the square piece of glass laminated over the hole. make the glass squares a fair bit larger then the hole (if hole is 2 1/4" use a 6" square etc.)and use construction grade silicone to adhere the glass, lots of silicone and trim what drys and squeezes out after with a razor blade
looking good dom lots of progress if you need any more help just pm me and i will be glad to help any way i can  cheers denny
__________________
........ |
|
#28
|
|||||
|
|||||
|
Well, sometimes old houses have some issues
 Worked through supper to get my stand done for the 210... WOOHOOO!! Progress! Worked through supper to get my stand done for the 210... WOOHOOO!! Progress!Built the bottom frame and set it on the floor. Had to shim the front left corner almost 1/2" to get it level. So I scribed the whole frame and planed 'er down: 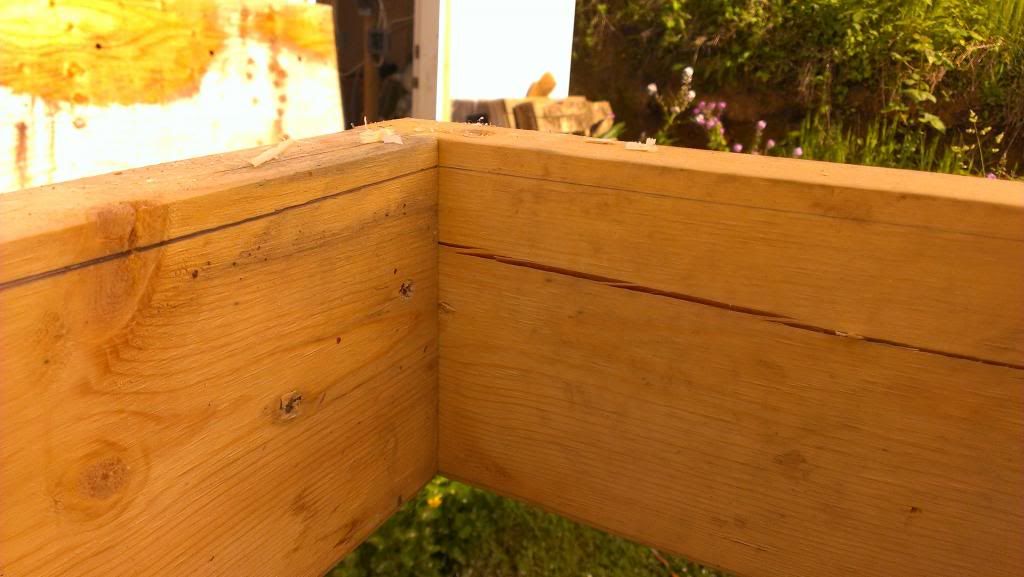 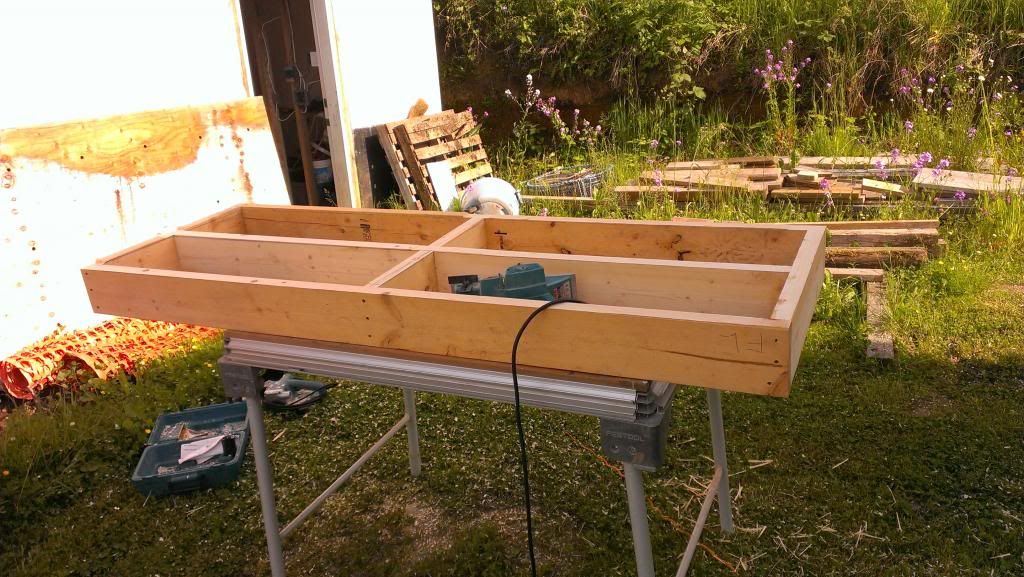 An hour later and a half a garbage bag of shavings and sawdust later this is 100% contact on the floor and a 6' level  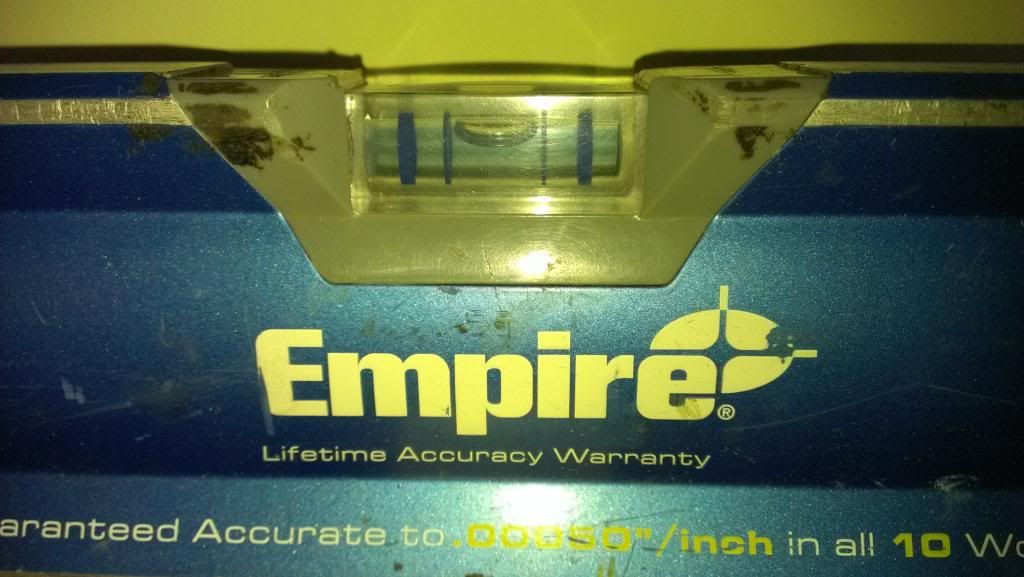 Then goes the legs and top deck and Houston, we have touch down! 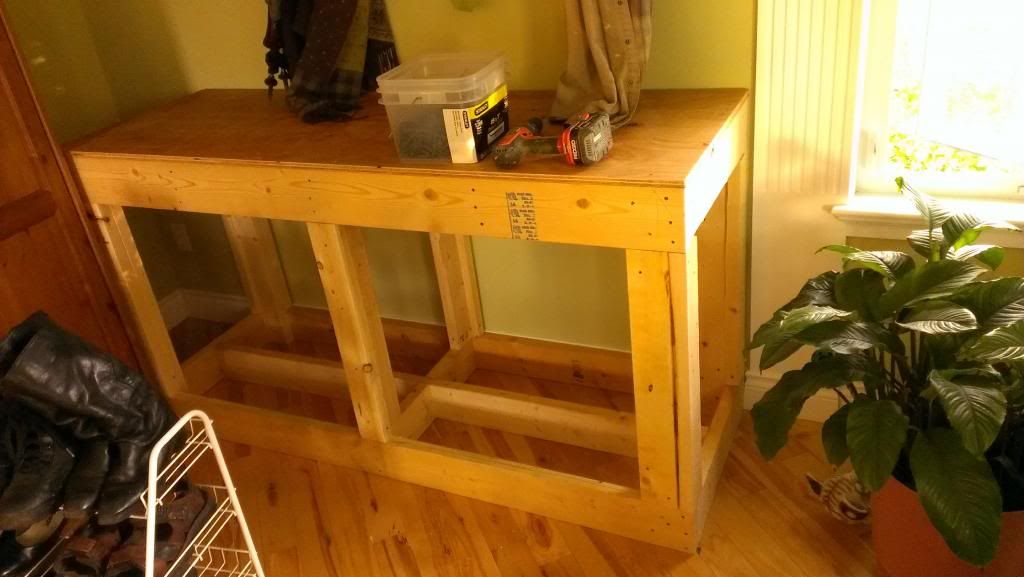 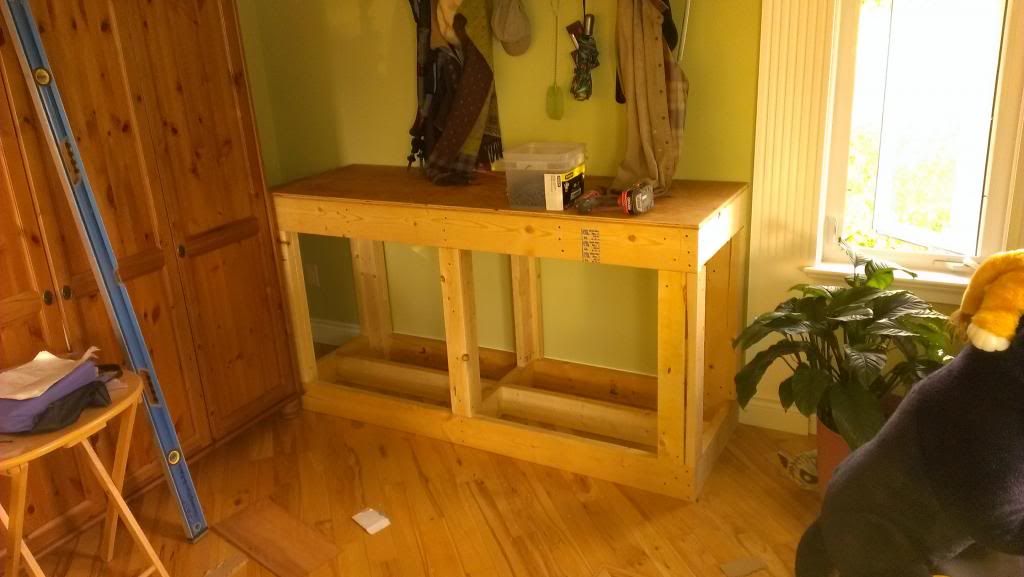 The plan is to do a single sheet of plywood on the front from the left wall to the corner of the stand with 3 squares cut out of it. 2 will match the holes in the stand the 3rd will make another cabinet door between the stand and the wall. This left side of the cabinet will go 18" higher than the tank. Then make 2 cabinet cubes that will slide into the holes in the frame. Skin the side with another sheet and trim out the one corner and have the matching base board wrap around the bottom to make it look totally built in. I'll also carry matching crown mould across the top and matching window sill around the bottom of the tank. That is, if everything goes according to plan.... Stay tuned... |
|
#29
|
||||
|
||||
|
Looking great and that bit of sun that will shine in at certain times of the year will be cool if it shoots through the tank.Well doing ( not done yet)
|
|
#30
|
|||||
|
|||||
|
wow that's one heck of a level you've got there! makes my 4 footer look like a child's toy lol.
are you notching the tank for an external overflow? looks good so far and keep the detailed updates coming i love the diy stuff. |