![]() |
|
#1
|
|||||
|
|||||
![]() Ok so here are pics with the camera and not the iPhone. Gone are the strange shadows. Now depending on monitor settings a bunch of other things your mileage may vary but to my eyes these very accurately show how the tank looks in person. I will probably reduce the cool white to bring the overall look a bit more into the blue.
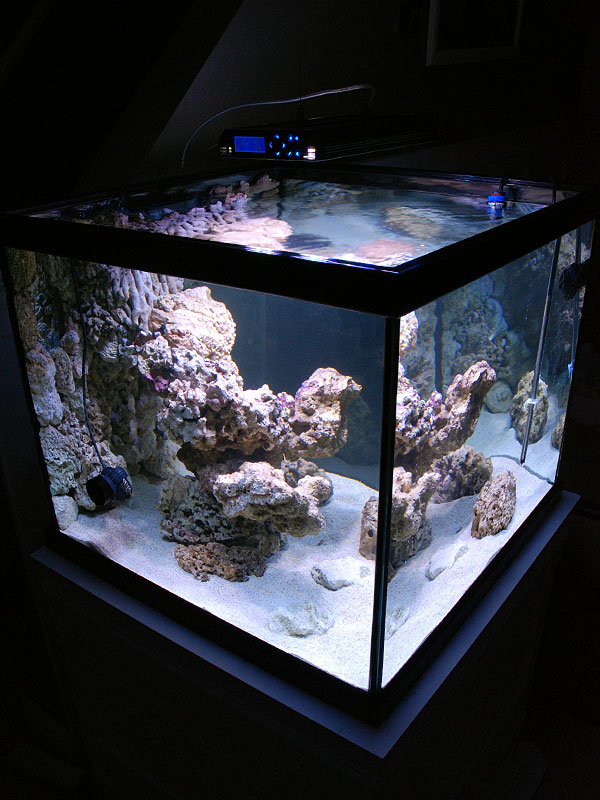
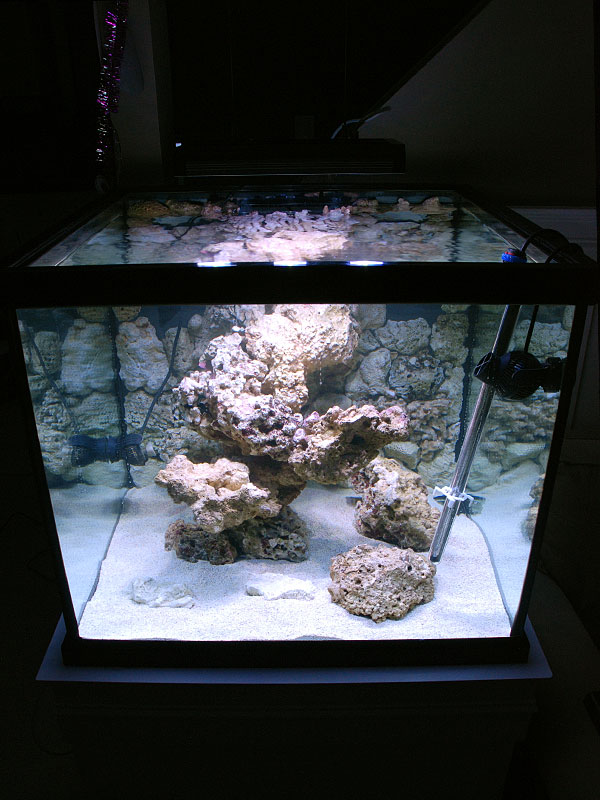
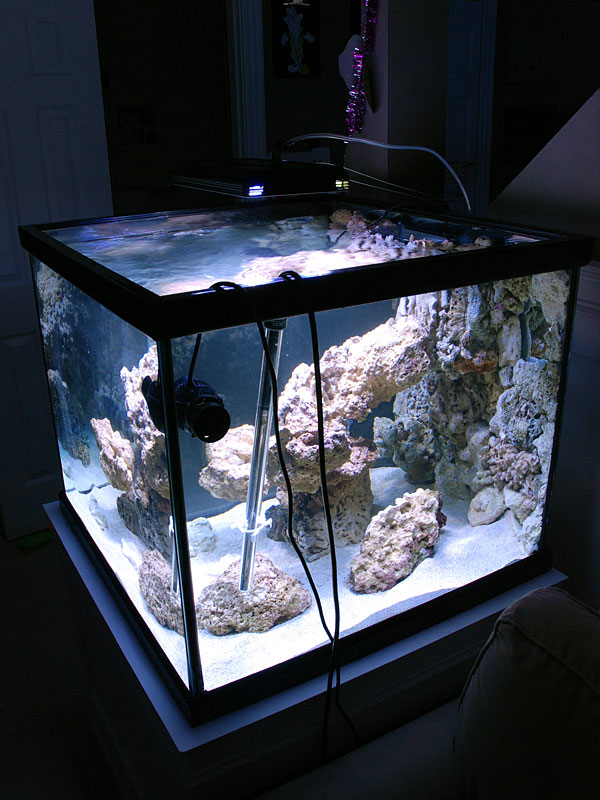
![]() ![]() ![]() Here you can spot some of the yellow highlights on my rocks. The banding is almost entirely in the yellow spectrum and hardly noticeable. There is no seperation on my sand other than in the shadows behind the tower. None on the tower or rocks on the sandbed but a bit on parts of the rock background. ![]() |
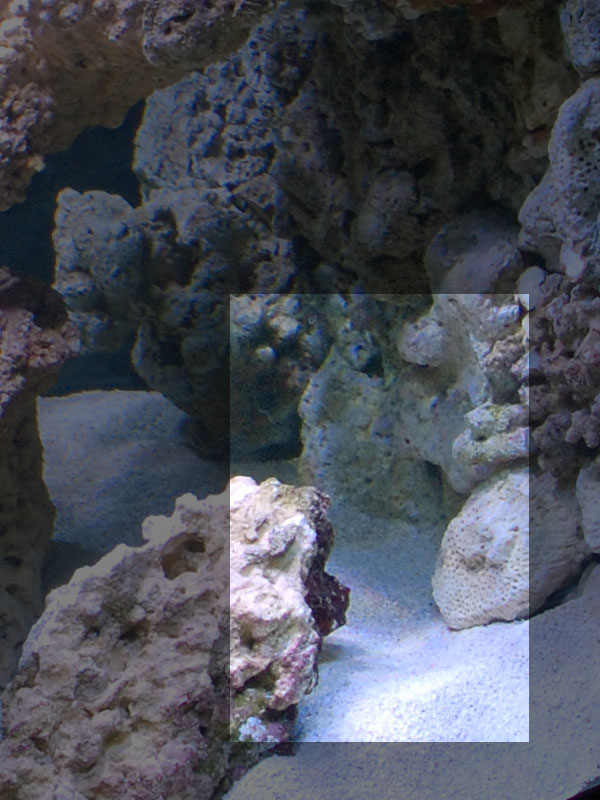
#2
|
|||||
|
|||||
![]() Ok what dark magic is this. My channels i manually set before to 100% are at 60 now lol. It must have some default dimming program on it lol.
|
#3
|
|||||
|
|||||
![]() Just spent an hour with the light composer app. Totally blown away at the control this thing gives you.
I have all the channels set to ramp up over two hours starting at 2pm. Full intensity lasts from 4 till 10 when they slowly ramp down over two more hours. Then the moonlights are on until ramp up again. You can even program the backlit screen lol. It's at 30% when my moonlights are on and 80% the rest of the time. You can also set the overall output % and while its currently at 100% just for staring at it looks like with a few clicks I can acclimate my corals by increasing it from a much lower starting point over a month etc. Totally impressed! I really wish the software ran on a Mac tho. It pained me to pull out my wife's ancient netbook. |
#4
|
|||||
|
|||||
![]() You're right, I think I can see the Orange-spot in there somewhere
![]() Have fun with your lights ![]() |
#5
|
|||||
|
|||||
![]() Having so much fun LOL. Watching these things ramp up and down is pretty freaking cool. I'm sure the tank's inhabitants will behave differently when they sense things getting dimmer. Moonlights look rad too... royal blues are puuuurdy.
Here's my super fancy fish room! It fits almost entirely where my old salt mixing bucket used to go lol. How embarrassing. A standard 90 is going on the bottom shelf to hold my ro/di. Small tank is my weekly 10g water change. Ro/di will go behind the 10g tank exactly where it used to be. ![]() |
#6
|
||||
|
||||
![]() Really like the rock work and the sump room looks great. Keep the pictures coming on the sump room.
__________________
120 G sps reef, looking to build bigger. ![]() |
#7
|
|||||
|
|||||
![]() My plumbing is nearly done! All that's left to do now is wait for the paint to cure on my return manifold and glue it to the flex pipe behind the tank.
Behind the tank. ![]() Here's the manifold. It's got 3/4" threaded outlets which will each connect to a pair of locline flares to direct flow towards the overflow etc. The trim on my tank is nice and tall and will hide it really well. ![]() Here's a shot of the two lines for my herbie and the return line heading into the sump. ![]() And two sump shots. There's a speedwave 2640 in the back and a vertex omega 150 and vertex rx-u 1.5L. I'm hoping I can tune the thing to run both carbon and gfo otherwise I'll add one more. The skimmer is built as well as my old sm250 I'm super impressed. I am waiting on a part that was missing from the box however so I can't comment on it's operation yet. ![]() ![]() |
#8
|
|||||
|
|||||
![]() Have fun adjusting that gate valve
![]() Did you use purple PVC primer on the return manifold first? |
#9
|
|||||
|
|||||
![]() I've run herbies before how will this be more difficult?
No the primer I had is clear. I don't keep anything in my tanks that will scrape the paint off. Only the bottom 1/4 - 1/2" of the horizontal runs will actually touch the water. |
#10
|
|||||
|
|||||
![]() |