
|
|
|
#1
 11-11-2006, 01:37 AM
|
|||||
|
|||||
|
What's needed:
After searching and searching for a Regal lighting fixture in Canada, I decided to give up, and try a DIY with fixture actually available in Canada. I've decided to use the On Guard, 500 Watt Halogen Flood Light, available at Rona and Home Depot. 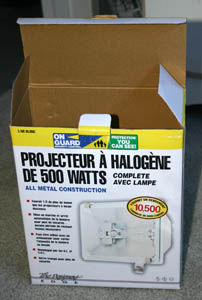 ------------------------------------------- The flood lights I've found in canada have spring loaded bulb clips, rather than slide in clips like in the American floodlights. The canadian models need more work to mod, but they work in the long run, and considering the 1 hour of total work required, you're saving yourself at least $80  First, I removed the covers over the bulb clips. To get the width needed for the bulb, you move the stationary bulb clip so it is resting against the outside of the fixture. You can keep the clips held in place by reusing some of the clip holding flaps that you removed. Cut little pieces to be stuffed in diagonally to hold in the ceramic clips like shown: 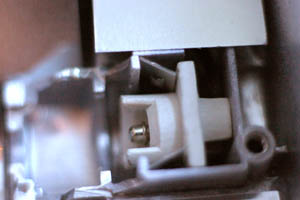 ------------------------------------------- One problem I noticed, though, is the bulb clips are fine and safe when using the fixture as is, but when you move the clips, you expose more of the bare wire. So for safety's sake, I put two pieces of electrical tape on the back of each clip to prevent the wires from making contact with the fixture. They're on the very back of the ceramic clips, so I don't think they'll be a fire hazard.  ------------------------------------------- The spring for the second clip needs modification as well. I cut the spring back to two spirals (fewer than shown in the picture), to make putting in the bulb much easier, and prevent damage to the bulb from fighting the spring loaded clip. 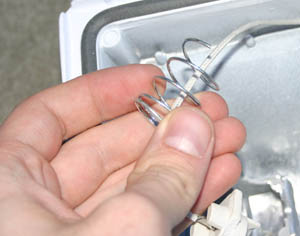 ------------------------------------------- Finally, to have the bulb fit in the fixture, you gotta cut cut cut. You can figure out what has to be cut by holding comparing the fixture to the bulb. Just keep cutting until you can get the bulb into the fixture without the bulb touching the metal. Make sure you don't cut the portion of the fixture holding the bulb clips in, or right through the fixture  All in all, you have a finished fixture that only cost like $13 canadian! It has a UV shield included, and hangs perfectly ballanced if you rotate the arm towards the back of the fixture. Temperature shouldn't be an issue, since the fixture was designed for 500W halogen lamps, while here it's only modified for a 150W MH. Plus they're weather sealed, so they should be perfectly fine to suspend over open water, as long as you make sure it doesn't drop in 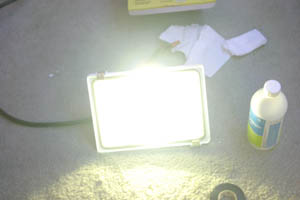 Happy modding! AND DON'T TRY TO FORCE THE BULB IN! If it's not going in yet, either cut more of the stuff jutting from the fixture, or clip the spring back further. You want it going in nice and smooth . It's better to spend an extra 20 minutes sawing away at the crap inside the fixture than to try to FORCE the bulb in and have it crack on you.
__________________
Everything I put in my tank is fully dependant on me. Last edited by kwirky; 11-11-2006 at 03:07 AM. 
|


 Threaded Mode