
 |
|
#1
|
|||||
|
|||||
|
My introduction to marine aquariums started a long time ago. I was in Puerto Vallarta and did a snorkel over a reef in the Pacific and absolutely fell in love with the reefs and began to research how to build a reef in my own home. I began to research and obsess over the vast amount of information about all kinds of marine environments.
I browsed my local online ads and found a used 15gallon aquarium setup on the cheap, bought some RO water and mixed my first tank of water. 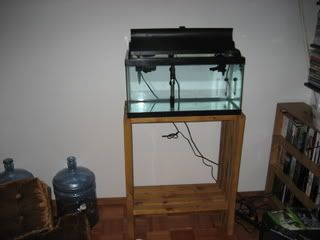 I settled on a 15gallon tank, picked up 12 pounds of live rock and waited for it to cycle. Wanting to keep things inexpensive, I made the executive decision to keep a Fish Only tank, likely with just two clownfish for inhabitants. Everything I had read warned about how finicky small, skimmerless nano systems were, and I didn’t want a bad experience to ruin my first foray into the hobby.  I was a university student at the time, so I did things on the CHEAP. All my equipment (except a Koralia powerhead) was bought used. No sump, no skimmer, no money, no problems. 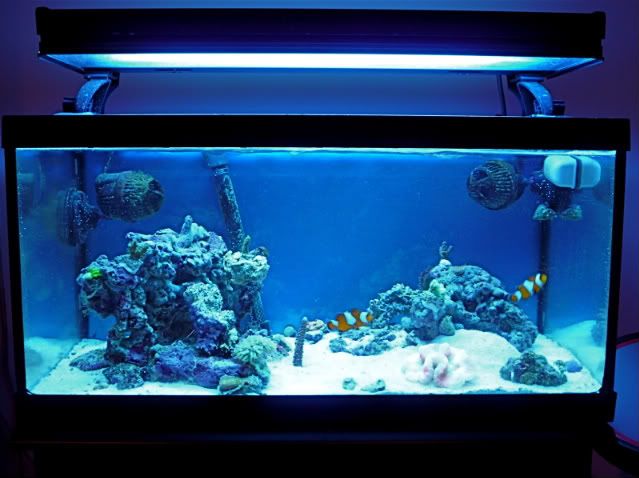 Well, one thing led to another, and I had soon upgraded from T8s to Compact Fluorescents, then to T5HO and finally on a Metal Halide pendant. There was nothing wrong with my T5s, however I had an opportunity to upgrade to a new cube set up and my t5 light would not fit in the stand, giving me an excuse to “upgrade” the lights again. 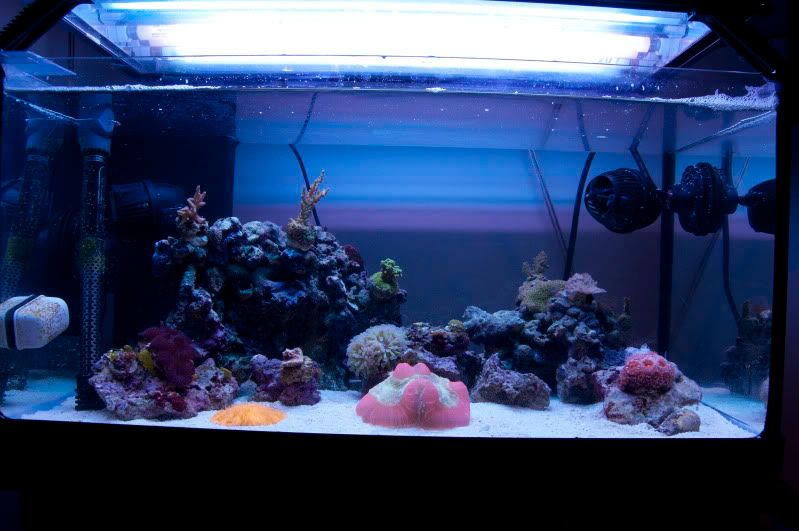 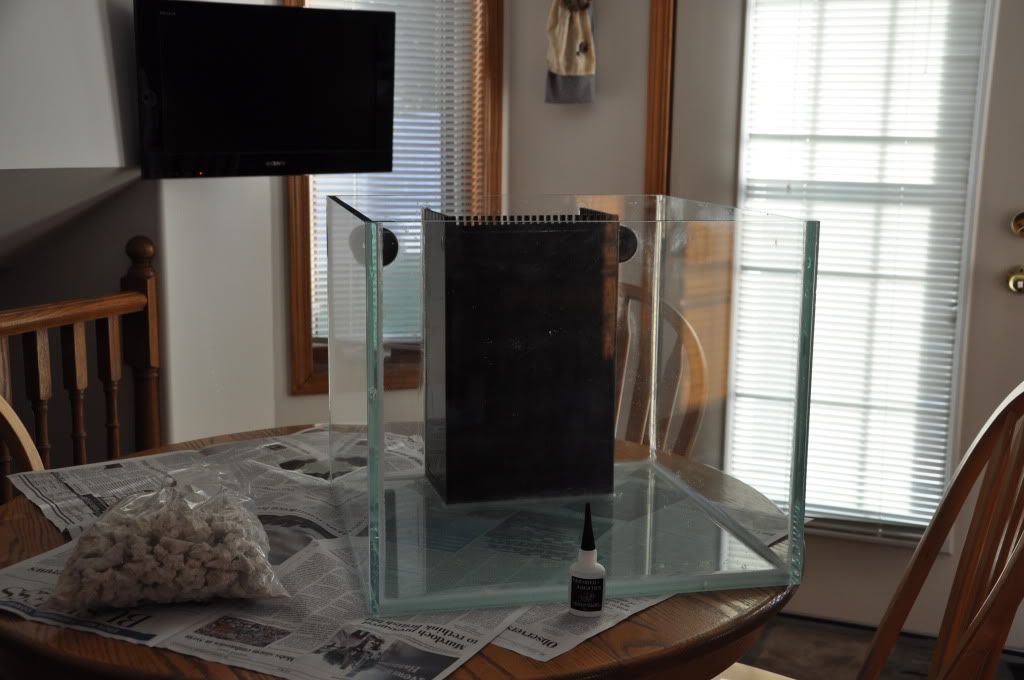 I kept my 22gallon semi-cube for more than two years. Everything was pristine, I was seeing excellent growth and my SPS were becoming nice little colonies. Excellent colouration and healthy inhabitants showed that I had made a nice, mature nano tank. I was looking forward to see how the colonies grew together in the limited space. 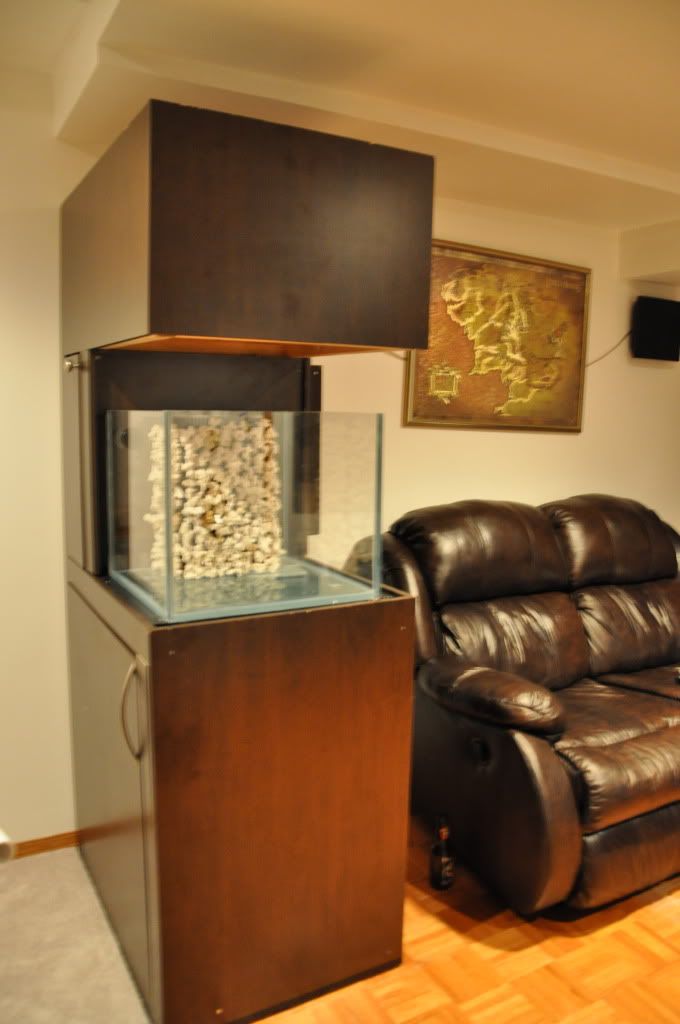 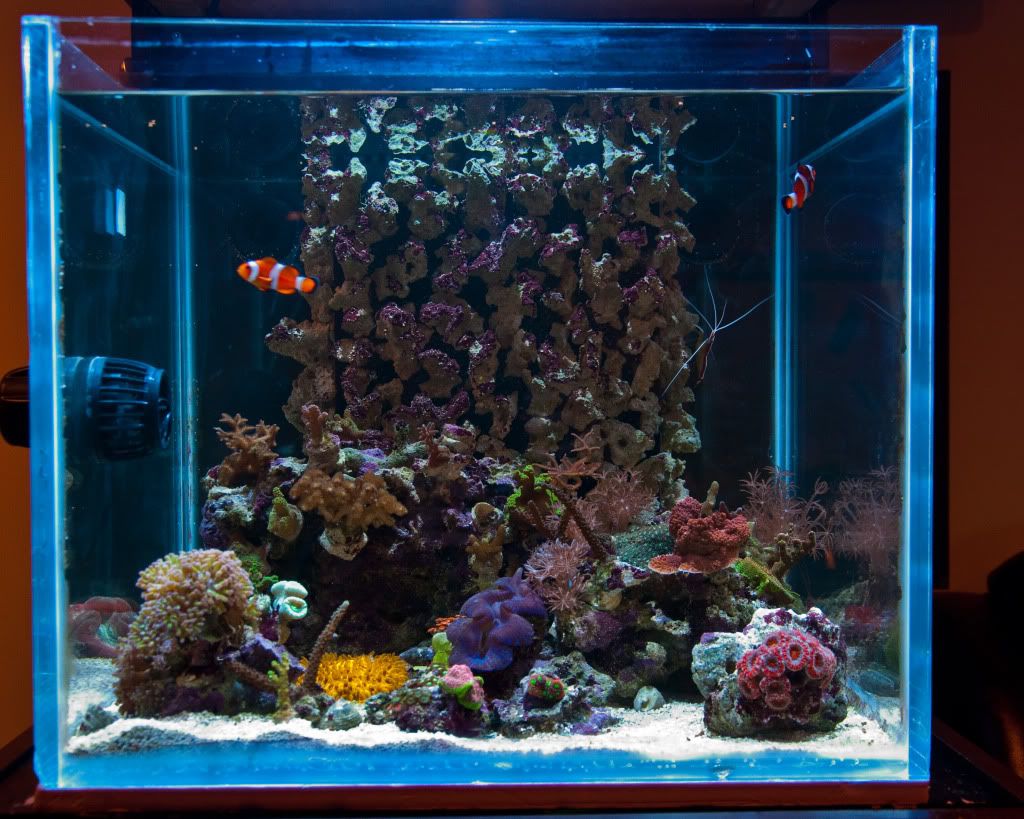 Until… disaster. I woke up one morning to several dead fish and cloudy water. It seems my Maxima clam had decided to reproduce and expelled its Gametes into the water. As they died, they burned all of the usable O2 left in the water and created a 25gallon apocalypse. It was a complete crash - I even lost the first fish I had bought: a yellow watchman goby that I had owned for over 4 years. 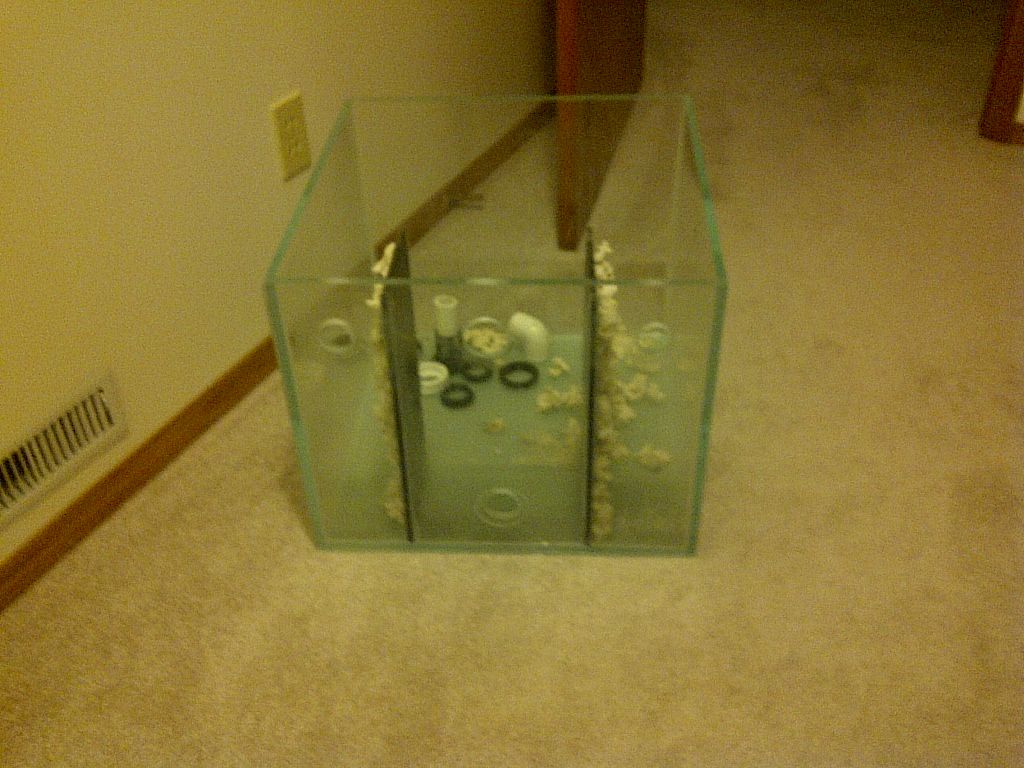 So I was running empty. I knew I’d get my feet wet again, but for now, all of the equipment was boxed away and all of my live rock was out drying in the sun. As everything as dry, I had decided that I was going to upgrade my existing tank to convert to an external overflow as I had always been annoyed with the large center overflow that presently existed in the cube. Ideally, it was my preference for a large open sandbed, for larger LPS corals such as open brains, plate corals, or scolys. The Rebuild! Equipment List: DIY Full-Spectrum LED Light (LEDGroupBuy LEDs) Reef Angel Plus Aquarium Controller Vortech MP10ES Bubble Magus NAC-3.5 Cone Skimmer Eheim Return Jager 125W Heater Titanium 125W Heater ATO (Controlled by RA+) I ordered a new glass pane with an overflow notch and a single return. I cleaned up the existing silicone from the old cube and prepped it for the addition. But the more I looked at the existing dimensions, the less interest I had in limiting myself to that particular size. I’d might as well go bigger. I live in an apartment, so I was going to be limited on the size of the tank. I didn’t want to go too large either as I love the idea of the nano tank (I have little interest in larger fish, too, so I don’t need to be concerned with accomodating tangs or heavy swimmers). My new dimensions are 19.5” x 24” x 16”, which is roughly 31 gallons. It will be plumbed into a 3-chamber (Intake > Skimmer > Return) sump housed in a 15gallon tank. I will not be running a refugium. I had already ordered the back pane with the weir and external overflow, so I simply chose to go with 24” dimensions and crafted a peninsula-style tank. There will also be a 5-gallon RO tank for an automatic top off that will be controlled through the Reef Angel. |
|
#2
|
|||||
|
|||||
|
2. DIY Tank Building - "It was the best of times, it was the worst of times."
I ordered my tank glass from Dynamic Glass in Saskatoon. They were one of the only places locally that would make my tank using non-tempered glass (the other places I contacted refused to make glass for an aquarium if it wasn’t tempered, which was warning sign for me that they had no idea what they were doing). I chose to do a “peninsula” style tank. My rear and bottom panes are normal glass and the front and sides are starphire/low iron.  - "Everything fits! Where's the silicone?" My overflow measures 7" x 4.25" x 6" and is drilled for two ¾” holes that are in a “herbie” set up (I think). Theres the normal drain, which has a strainer to ensure that nothing escapes into my sump, an emergency overflow and a return line. The flow is going to be controlled with my Vortech, so my return pump is just there to cycle the water. The “notch” is two inches deep. I wanted to experiment with water level a bit, so I cut it deeper knowing I can silicone a piece of acrylic with teeth later if I want my water level any higher. This was my first attempt at building a tank and I needed a lot of confidence before my first attempt. I probably did about 20 hours of reading on how to prep/silicone a tank. Sorry for the lack of pictures during construction, if there’s one thing I learned it’s that it is VERY easy to use too much silicone.    I actually did the inside twice. I was unhappy with how my first tank looked and thought that if I was planning on keeping this setup for a while (I am… my wallet can’t handle another upgrade!) that I might as well be happy with how the silicone looked. The problem was that I siliconed everything at once and, when I eventually got to the place where I used my finger to smooth the seams, I had left it cure a bit too long and the front side silicone looked atrocious. Fixed on the second attempt and I’m much happier now:  And on goes the overflow:    I tested the display for leaks over the course of a week. I filled 25% and kept it for two days; 50% for two days, 75% for the rest of the week. Everything was A-Ok! The Overflow is tight also, so after many months I’ve completed my custom tank!  |
|
#3
|
|||||
|
|||||
|
Great job
Looking forward to more build pics |
|
#4
|
|||||
|
|||||
|
+1... me too, this looks smokin' hot!
 |
|
#5
|
|||||
|
|||||
|
Small Update:
The sump was next on my list. It’s a standard 15 gallon tank with baffles siliconed in. I took out the old baffles and adjusted the chamber size a bit. My baffles are currently perfectly sized to keep an optimal height for my skimmer. I’ve also sealed the central chamber in the event I wish to add a fuge at a later date. While I do not doubt there are benefits to a fuge, I can’t be certain I’ve seen any evidence that the benefits outweigh not having one. I might toss some Chaeto in one of the chambers eventually, but currently there are no plans for a dedicated fuge. Very simple setup: 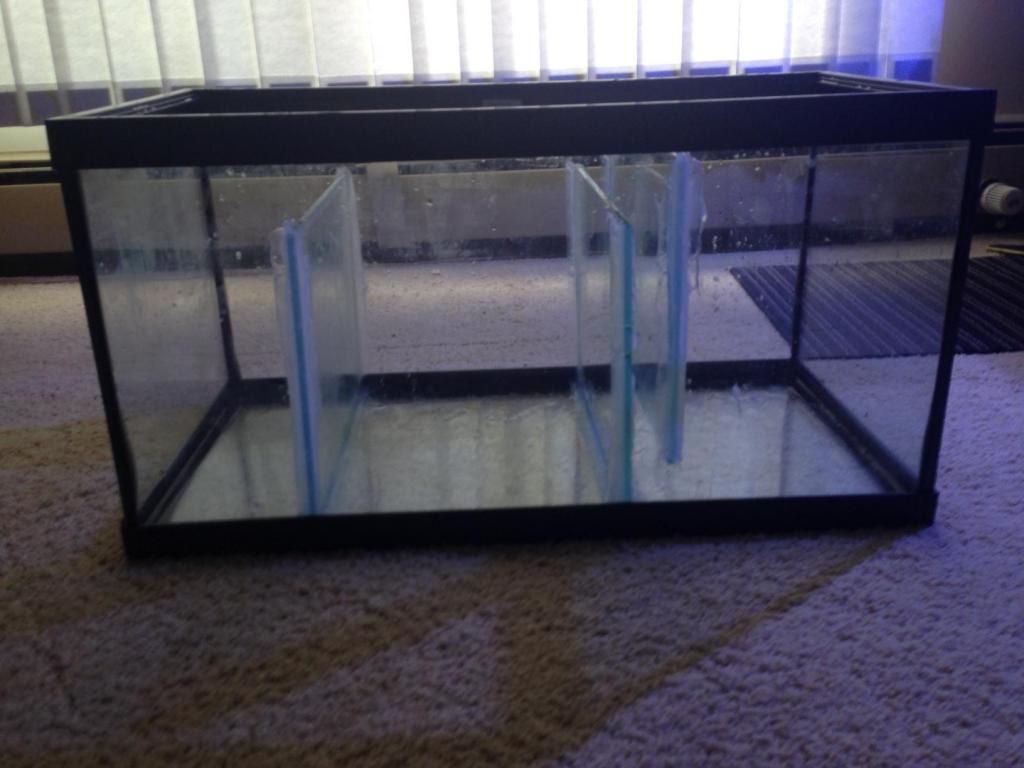 The tank will drain with a couple 1" PVC drains into the first chamber which will be filled with live rock rubble. It will then enter the second chamber which will house the skimmer before entering the 3rd chamber for my Eheim return. It's going to be plumbed back on a 3/4" return. As I'll be using a Vortech MP10 for flow, the Eheim will just be for water turnover or aimed in a spot for water circulation if necessary. Next update will document the construction of of my DIY full spectrum LED Fixture. I've got one last order of materials incoming; after that I should have some time to share some equipment porn of all my goodies. |
|
#6
|
|||||
|
|||||
|
PART III: DIY LED Light
I’ve been excited for LED lighting for some time and following along the testing and development of LEDs in the Reefkeeping community has shown that many of the initial concerns regarding LEDs have been dealt with without issue. The gurus over at Nano-Reef have very well documented plans and ideas which was the basis behind this build. I had considered buying a pre-made fixture for some time, but without an affordable option for a full-spectrum light at the time, I made the decision to go home made. I’m not hugely talented with building things like this, so I went with a “solderless build” and had remarkable success. It’s unbelievably easy to put a light like this together and would encourage anyone not afraid to get their hands dirty to go. My “kit” is based on the following: Makers LED Heat Sink Kit (includes: fan, heatsink, finishing components, hanging kit, etc.) LEDs (all solderless): 3 x “Ocean Coral White” (3-up star includes 3 leds per unit which is a Red/Blue/White hybrid) 6 x “3-Up” (Each has 2 x Royal Blue; 1 x White) 6 x “Hyper Violet” Meanwell Drivers (2 x 60-48P; 1 x. 60-27P) on PWM Dimming Signal for use with Reef Angel Controller. After laying out the pattern for the lights (with room for expansion), I affixed them to the heatsink with a thermal paste and screwed them into the slots. As you can see, the heat-sink is designed for “plug and play” DIY-ers. Here’s my layout. Designed for an even spread.  Wiring the LEDs is easy. Cut your wire (I used 20 or 22 gauge solid core) and strip about ¼-½” from each end. Carefully insert the wire into the solderless connection. You’ll feel a ‘click’ as the wire slides into the catch and is “locked in”. Give a light pull (just to make sure it’s secure) and if it is, connect the wires! The only problem I had was that the OCW and the 3ups are not wired the same way. The OCW has positive starting on the right-most side and the 3ups have the + on the left. Once I sorted this out, I had no issue powering the lights.   To attach the LEDs to the heatsink, I had to apply a small amount of thermal paste, to ensure proper heat exchange and cooling of my LEDs. You only use a small amount and spread it evenly and thinly with a firm plastic card (similar to a credit card).   Then place the LED on the heatsink, align with the rails, and attach with an included screw. No drilling, not mess!  I wired my Hyper-Violet lights to the 60-27, and split the remaining lights between the two 60-48 Drivers. The Reef Angel comes standard with two dimming channels, with the option to upgrade with an expansion pack. I only need Daylight and Actinic for the time being, so I wired the Hyper Violet LEDs and the OCW LEDs to the same channel and left the Blues on their own actinic dimming. Ideally, I will run the Actinics for a moonlight setting.  To be continued in... PART III: DIY LED Light II: Electric Boogaloo |
|
#7
|
|||||
|
|||||
|
DIY Light: Part II
Unfortunately, I encountered some issues with the lights that I hadn’t anticipated. First, there was a lot of wires. In fact, six strands are necessary here to power the LEDs from the + and - on their drivers and I also have the LED fan to power for cooling the unit. I needed a way for the unit to look “professional”. I didn’t want it to look like a DIY build. I had thought of trying to run the wiring down through the conduit used to hang the light, but it still wouldn’t be consistent with the “rimless” look I was going for. Moreover, what about storing the drivers and those connections? When I picture well-designed systems, the owners give careful consideration to cables and wiring. I wanted the same. I ordered a poly “project box” from an online retailer. I think it was $30 shipped. I stuffed everything inside and Dremel’d some holes for the power cables.   With the lid secured, it almost looks like something you might pay for! (I've since wiped off the salt spray for a glossy finish.) 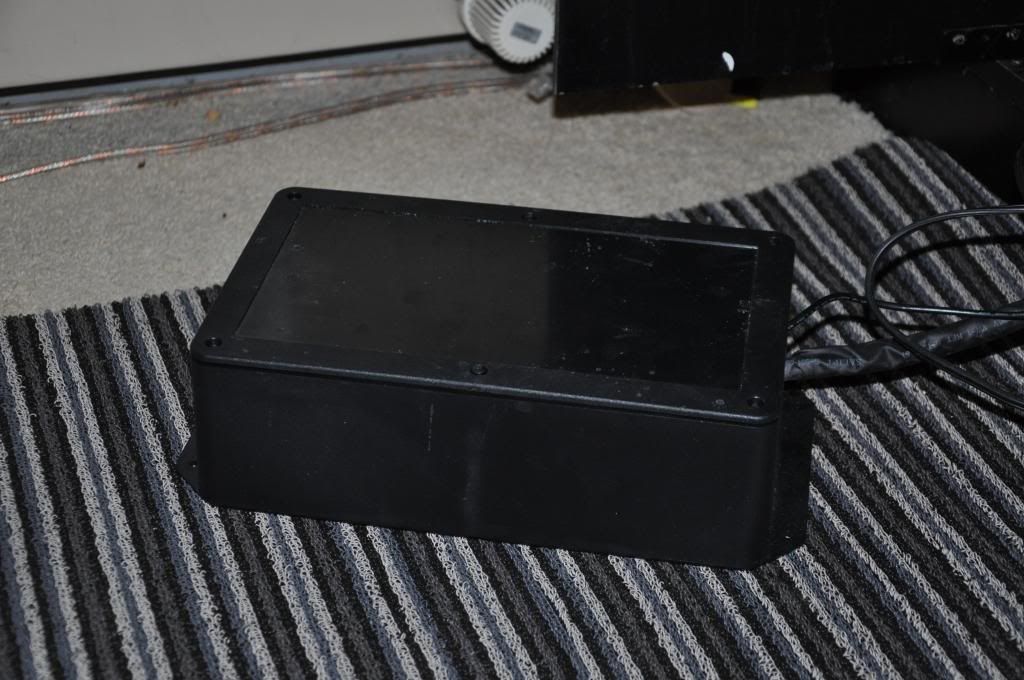 I still had to get power up to the LEDs, though, and I couldn’t think of an answer. I knew I didn't want to have to worry about running individual power wires up to the light (8, including the fan). It wouldn't look clean. I ended up seeing a very interesting possibility to power the LED lights from a user on Reef Central. I’d never seen a DIY solution such as that before and was astounded that no one asked for more details about it. I contacted the user and he offered all the assistance he could in spite of a language barrier. The solution for this is using a standard 9-pin computer monitor cable to connect the wires:  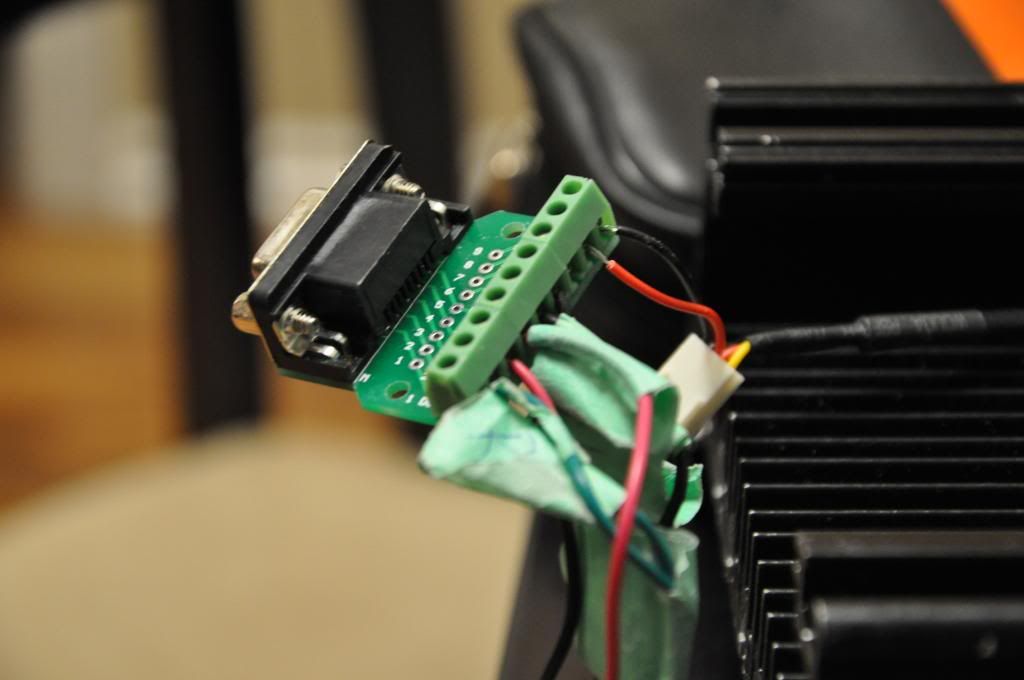 As you can see above, all you need to do is map out your wires. As you can see (squint!), they are numbered 1-9. Make sure both sides are the same and, when you connect… well… I hope this works…  GREAT SUCCESS I’m actually surprised more people are using this as a method as it was alarmingly easy and inexpensive. A word of caution: find your cable before ordering your connections. I assumed it would be like an HDMI cable, where the cable was Male-Male and needed Female receptacles for the connection. Not so with 9-pin cables. Evidently, the common 9-pin cable is a Male-Female and not Male-Male. As a result, I scoured eBay looking for such a connection and found only one seller to help. The cable is grey (vs. Black) but I’ll have to make do. I found a seller selling the female connection hubs for less than $3 each, so this DIY tip can make your fixture look “Pro” for as little as $10:  Ta Da! I have three strings of lights and the cooling fan all powered through the VGA cable. I find that this gives the unit a very professional look and it’s now prepped for a finish. I haven’t made a final decision about how I’m going to finish the light just yet, although I have a good idea. The light is going to be controlled through my Reef Angel Controller. Adding a controller to my tank was something I knew I would want to do and I based the DIY light on the fact that it can be controlled with custom code from the Reef Angel. Currently I have the light scheduled to be on moonlight over the night with the actinics ramping from 5% to 65% over 4 hours starting at 7am (and going from 65% to 5% over four hours starting at 5:30pm); and the Daylights coming on (from off) at 10am and doing a two hour ramp beginning at 10:00 maxing at 40%. At 5pm the light begins its sunset from 40% to 1% for two hours and goes off entirely at 7pm. I’ve also added custom code for simulated cloud/weather/storm periods. Based on how corals react to the light intensity, I will have to adjust the percentages accordingly. |
|
#8
|
|||||
|
|||||
|
Great job man! Looks good. I did something very similar but I found for my application the wire rating wasn't big enough with the 9 pin so I went with a 20 pin aircraft connector and a 18/20 wire
 If you're interested, have a look... http://www.canreef.com/vbulletin/sho...light=jarduino |
|
#9
|
||||
|
||||
|
This looks great! I love the detail on your DIY led build. I did DIY as well and haven't looked back.
__________________
Mark...  290g Peninsula Display, 425g total volume. Setup Jan 2013. |
|
#10
|
|||||
|
|||||
|
Quote:
Quote:
My only reservation now is with respect to resale. Sure, I managed to save $200 on my light by doing it DIY, but realistically, I'm probably going to have a tough time reselling the unit down the road because it isn't AI, Ecotech, etc. It shouldn't be an issue as I don't intend on upgrading at all in the future, but it's something I didn't consider initially. |