
|
|
|
#11
 03-03-2015, 01:02 AM
|
|||||
|
|||||
|
Quote:

|
|
#13
03-03-2015, 02:05 AM
|
|||||
|
|||||
|
thats kinda cool i was looking on some google pic and some of those look pretty sick
__________________
Current tank---125 gallon mixed reef 60 gallon sump, Reef octopus nw200 skimmer, Rapid LEDs, Maxspec gyre, Mp10s, Fuge, Biweekly 20% WC, QT everything
|
|
#14
03-03-2015, 03:48 AM
|
|||||
|
|||||
|
you shut your reef down Steve ??
|
|
#15
03-03-2015, 04:06 AM
|
||||
|
||||
|
Quote:
|
|
#16
03-03-2015, 05:48 AM
|
|||||
|
|||||
|
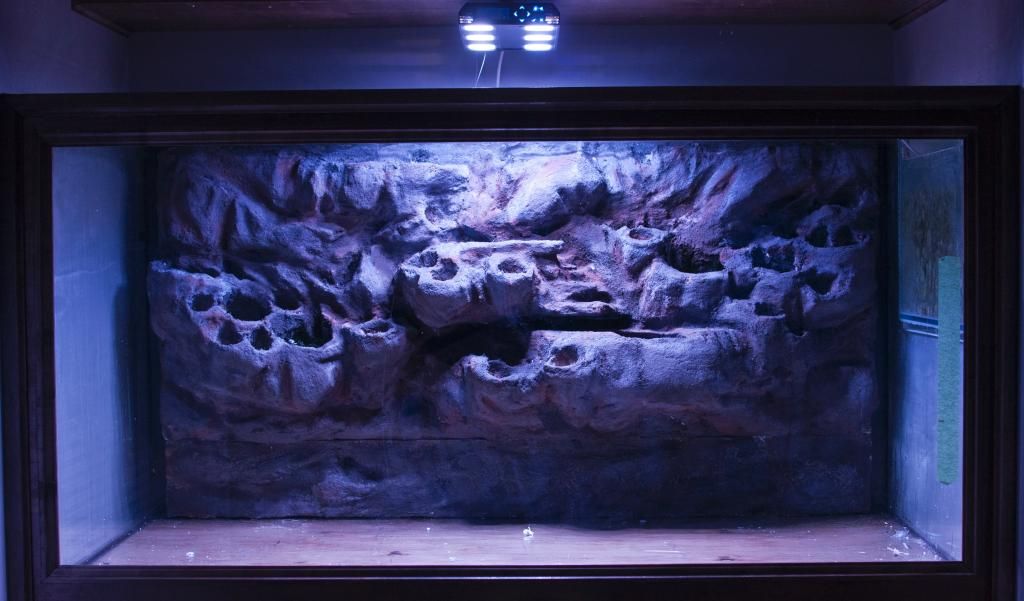
After looking up that word, [Paludariumcan] had to paste it can't spell it lol or not trying. Amazing tanks from what you have started with this should be a show piece, maybe look into making statues lol looks amazing I'm very impressed.
|
|
#18
03-03-2015, 02:40 PM
|
|||||
|
|||||
|
Quote:
Quote:
|
|
#19
03-03-2015, 02:45 PM
|
|||||
|
|||||
|
Quote:
Quote:
|


 Linear Mode

