
|
|
|
#91
 03-14-2014, 09:52 PM
|
|||||
|
|||||
|
Quote:
Well in the mean while I should build my lights.. |
|
#92
03-14-2014, 09:57 PM
|
|||||
|
|||||
|
Quote:
Both power heads are hidden by rocks and with easy access from both sides of the tank. There will be no equipment showing at all in my display system. AS for the depth I love it as it gives the 3D look with the rock work being as some are taller in the front and will be filled with corals throughout and some spots need to angle look at it.. |
|
#93
03-18-2014, 01:35 AM
|
|||||
|
|||||
|
I am still working on my DIY skimmer but here is what I got so far its exsactly 40" tall with a 16" base wide...after modding it yesterday its pulling wakky brownies
  |
|
#95
03-18-2014, 01:47 AM
|
|||||
|
|||||
|
Quote:
i like how you put the white led above it to make it shine. |
|
#96
03-18-2014, 02:06 AM
|
|||||
|
|||||
|
Quote:
Quote:
Last edited by eli@fijireefrock.com; 03-20-2014 at 08:23 AM. |
|
#97
03-18-2014, 02:49 AM
|
|||||
|
|||||
|
I just got the heatsinks for the DIY 100w LEDs
Here a quick photo Top view showing the fan 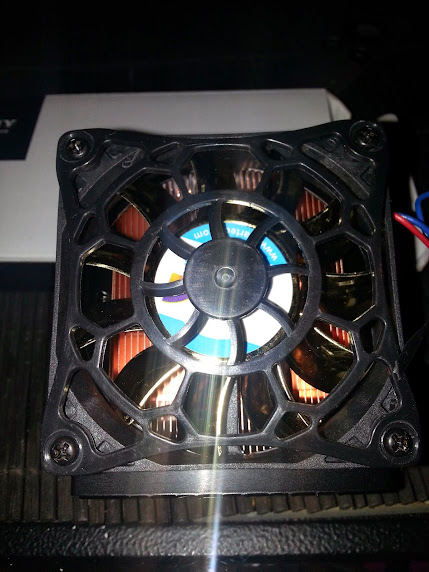 Copper plate LED mounting side  Side view showing the grill sizes 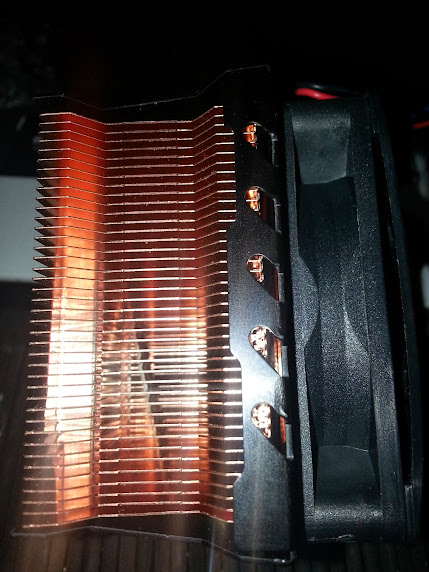 |
|
#98
03-18-2014, 05:09 AM
|
||||
|
||||
|
Dude that's nuts u'll need sun tan lotion just to look at ur tank lol.
__________________
riceboys 82.7 gallon sps dominant tank -concept built 3'x2'x22" full starfire tank with starfire 1 piece eurobrace and built in wave box, 1 jebao wp25, 4 mp10wes, ati led Hybrid 8 bulb fixture, csc 250 skimmer, Magdrive 18 return pump, apex lite, custom sump from concepts, biopellet reactor and carbon and gfo,bubble magnus doser and jbj ato, custom acrylic frag tank with 6 bulb t5 http://www.canreef.com/vbulletin/showthread.php?t=70851 |
|
#99
03-20-2014, 08:36 AM
|
|||||
|
|||||
|
Quote:
Well I just received my LEDs and drivers not expected that early at all thinking couple more week...well I might start the array build this week end ...I took few photos of the LEDs, drivers, and heat sinks with the fans.I will have better shots in the next couple days. And tomorrow my dry rock would have been 10 days running in the tank...water testing time tomorrow and will post the results. You should be able to see the lenses yes they are still in the wrappers. LEDs 6 X 445nm and 4 X hybrids 10 dimmable drivers 10 copper as I know better than aluminum I tested in the past. 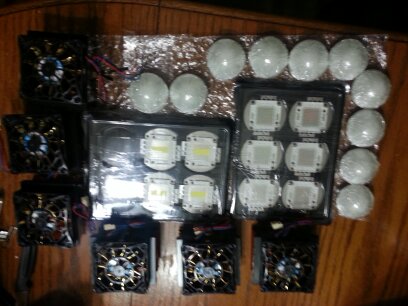 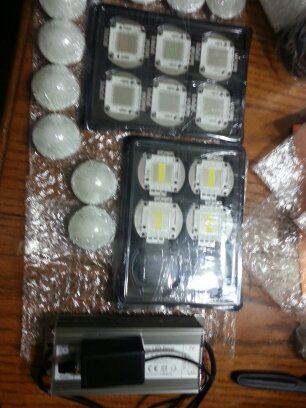  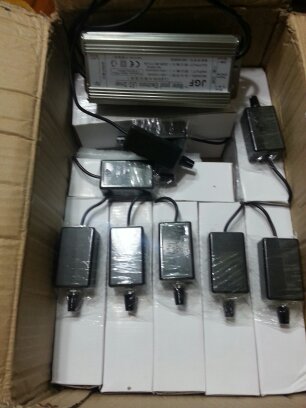 |
|
#100
03-21-2014, 05:52 PM
|
|||||
|
|||||
|
Last night I was suppose to get some water tested but that didn't go so well especially when all the LEDs sitting there in front of me
well didn't take long to decide to put one emitter together and test it...love it and for having all 10 over my tank, I think it's going to be plenty...yes I know photos ...they are coming...I will take specific photos of the LED building today as I plan on building 6 arrays. plus I need to get water tested today ...will keep you posted.. by the way I moved my clown fish into the tank a couple days ago and he is loving but seems lost between all that rock in the tank.I think I will move couple more fish tonight. |
|
|


 Linear Mode

