
 |
|
#1
|
||||
|
||||
|
Hello,
In December I got the idea to try my first saltwater tank and gear it towards clams. I went to Concept Aquariums on Boxing day and Denny gave me a great run down on what I would need but also what options I had to upgrade. I am a pretty easy sell and I chose to upgrade myself on a lot of the items. I originally went in with the intention of buying a 90 gallon RR tank they had on special and ended up with a 70 gallon Starphire tank with a one piece eurobrace. I should be picking up my tank and sump this weekend so I thought I would start off my journal with the gear I have. Here is a shot of my 48"W x 26"D x 32"T stand which "The Grizz" made for me to my weirdo specifications. 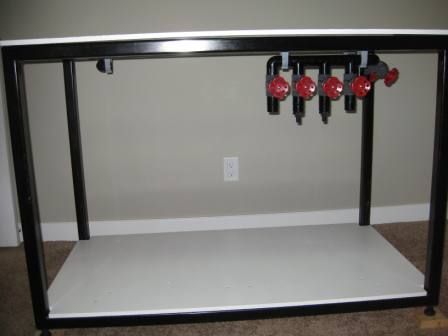 I got antsy so I put my manifold together and attached it, I sure hope my calcs are right on the location...LOL 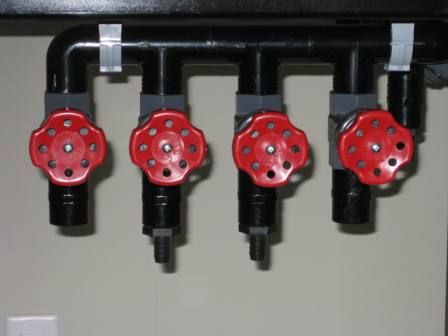 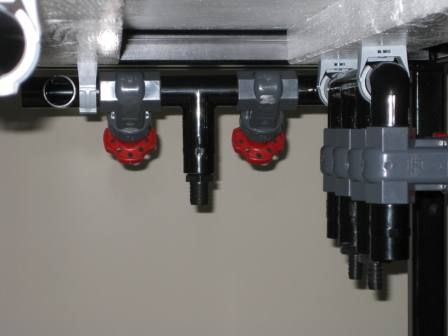 That's about all I got for now, I'll cover all the details of my gear as it get's flanged up. Thanks for looking and wish me luck. Ron |
|
#2
|
|||||
|
|||||
|
I love the pipe stays! It looks very neat and organized already. Good luck!
|
|
#3
|
||||
|
||||
|
Quote:
The Clic clamps are awesome, holds the pipe very securely and they can be release quite easily with a phillips head screwdriver. Ron |
|
#4
|
||||
|
||||
|
Got my tank and my sump today.
70 gallon (40" x 20" x 20") DT, 3 sides Starphire, one piece Starphire eurobrace, CNC black acrylic background, transparent silicone and black vinyl bottom. 55 gallon (36" x 22" x 16") custom sump. I got home and got to plumbing it. 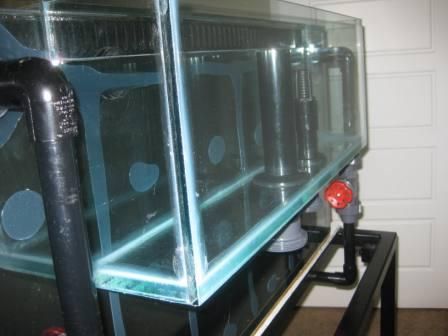 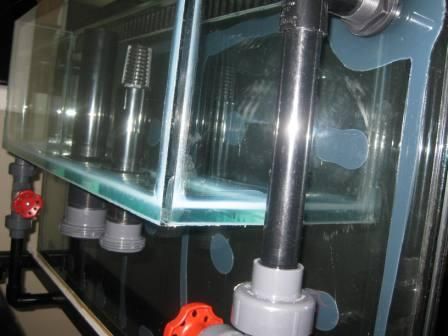 Herbie 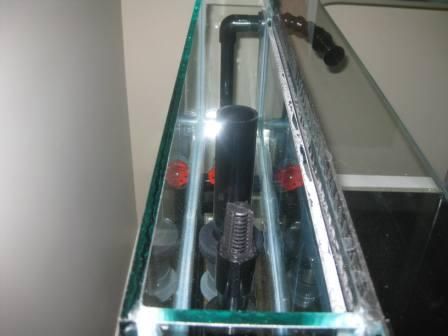 Pretty simple underneath 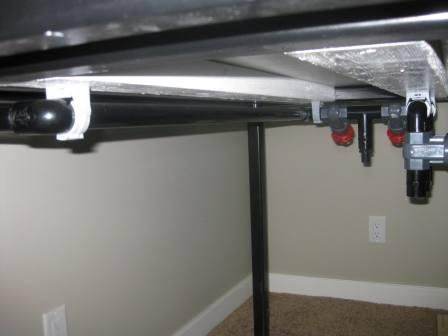 I haven't cleaned it yet but here is a FTS 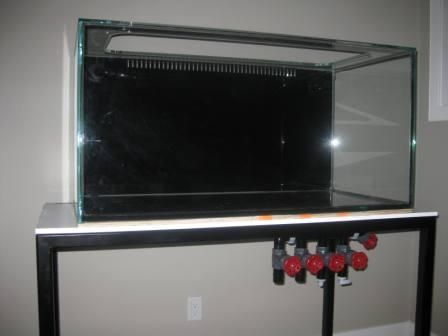 Big thanks to the guys at Concept Aquariums, they definitely made emptying my wallet seem like it was the right thing to do....LOL. Bigger thanks to my wife who helped me get the tank downstairs so I could start working on it. Next I'll clean up the sump and get the reactors plumbed in, hopefully wet before the Super Bowl is over. Thanks, Ron |
|
#5
|
|||||
|
|||||
|
Looking good Ron!!!
__________________
Feed the bear goodies, make a new friend, don't feed the bear............... 8' - 165gal Reef DIY LED's Build 2012 Nano Contest Winner Febuary 2013 POTM Winner 300 gal + 60 gal Complete DIY Build |
|
#6
|
||||
|
||||
|
Thanks Grizz!
Here is a pic of with the drain pipes, I like the bigger stand so I can slide my sump back and have the drain pipes come straight down without any elbows. I was planning to put the main drain valve above the union but I rushed the last couple connections and screwed it up. I was seriously considering hacking it off but them I would have to get another bulkhead and use up another union and valve. 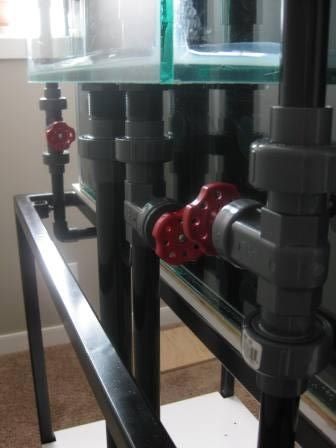 I prefer the look of CNC'd teeth 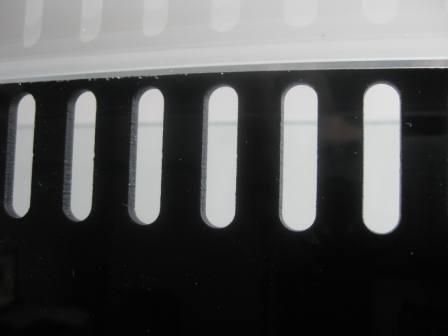 I really like the transparent silicone, pic to compare to unsiliconed eurobrace Thanks, Ron |
|
#7
|
|||||
|
|||||
|
I'm following along for this one. Nice job so far.
Sent from my Nexus 4 using Tapatalk |
|
#8
|
||||
|
||||
|
Quote:
Well I got the sump cleaned up and hooked up to fill up the system. 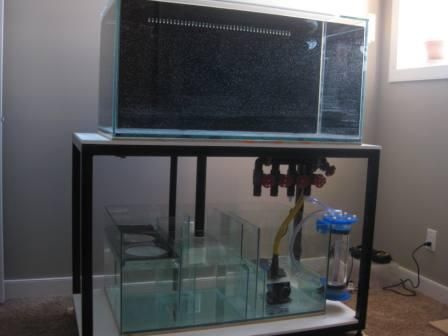 Found a couple leaks, one was the emergency drain. I thought it might be a problem joining the bulkhead, which I think is ABS, to the PVC. The other was a very small leak on one of the returns. The system ran for a couple hours and there wasn't enough built up to flow off of the elbow. So I've drained the system, I'll fix the leaks and move it into it's place. Almost time to fill it up with RO/DI water and get salty. Thanks, Ron |
|
#9
|
|||||
|
|||||
|
Looking good
|
|
#10
|
||||
|
||||
|
Well I hooked up my second reactor. I went with NextReef as I don't trust TLF reactors not to leak. For the extra $40 per reactor, it was an easy decision to upgrade to these. The will look funny with the less than cup of media that will go in each.
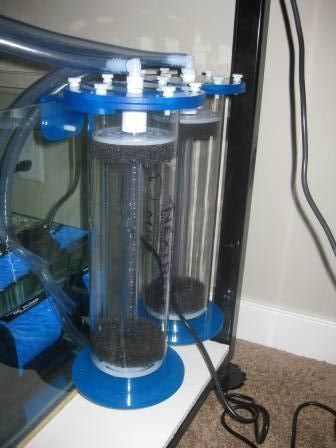 Concept's got my skimmer in today so I rushed on over so I could get it home and give it a bath. 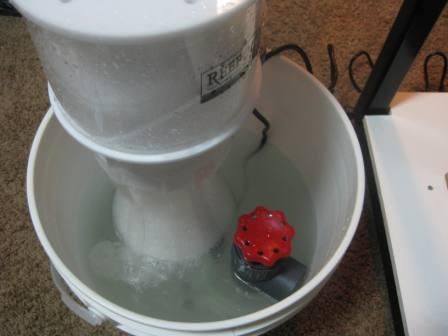 I guess next I will get my water to temp and add salt. Thanks for sticking around. Ron |