
 |
|
#11
|
|||||
|
|||||
|
@Ultra, yes they are MP40es and I agree... get another to work together
Everything makes sense and I appreciate the input OK... NEW QUESTION on cutting GLASS What I have just noticed though is the sump is too high for me to take the skimmer cup out and would like to cut the glass lover for that compartment by about 3". The glass is 1cm thick. Any ideas? Just etch and tap out? This is outside my comfort zone, but I want to be able to clean my skimmer regularly. |
|
#12
|
|||||
|
|||||
|
Drill 2 holes for the lower corners then cut the rest with a dremel & diamond saw bit. At least that's how I do it Steve.
__________________
Feed the bear goodies, make a new friend, don't feed the bear............... 8' - 165gal Reef DIY LED's Build 2012 Nano Contest Winner Febuary 2013 POTM Winner 300 gal + 60 gal Complete DIY Build |
|
#13
|
|||||
|
|||||
|
Thanks Greg.. finally got all the bits to do that! Wont have time to drill away prolly till Sunday.
|
|
#14
|
|||||
|
|||||
|
Starting the plumbing... tank is 3/4 full at proper salinity.. lots of water and salt mix ready once everythings in place.
Then to clean and sell that beautiful 75g one piece euro that Concept made for me just over a year ago... Sad to see it go, but there's no way I can take time to care for two tanks! |
|
#15
|
|||||
|
|||||
|
Quote:
|
|
#16
|
|||||
|
|||||
|
the 75g. not the 165 :-)
|
|
#17
|
|||||
|
|||||
|
the 75 is 3ft long, 24 high, 20 deep
Nicely designed sump with refugium. Plumbing has quick connects to dismantle. |
|
#18
|
|||||
|
|||||
|
Cleaning up the 75g. Will sell with sump, stand and can include now "live" marco rock (tank has been running over a year), sand. May sell skimmer. The tank is starfire on all 3 sides and of course one piece eurobracing. This isnt an official add, but thinking 700. This tank was designed to be displayed in a main living area... so very purty thanks to Concepts incredible workmanship!
|
|
#19
|
|||||
|
|||||
|
Time for an update... after leaving the corals from the 3ft'r "thrown" into the tank haphazardly for over a month, I finally had time to arrange things.. Still work to do on the lighting mount for the Radions (5 of them).. very much jerry-rigged right now and quite high over the tank. Overflow emergency drain needs to be finished (right now the drain sounds like a waterfall). I also will be selling off some corals after things settle more in the tank.
How the heck did I fit most of these in my smaller tank!! My Ca and Alk use has almost doubled despite only a small increase in corals..sign of a growth spurt?? Heres a few pics. If you're interested, the photobucket link is on the bottom. 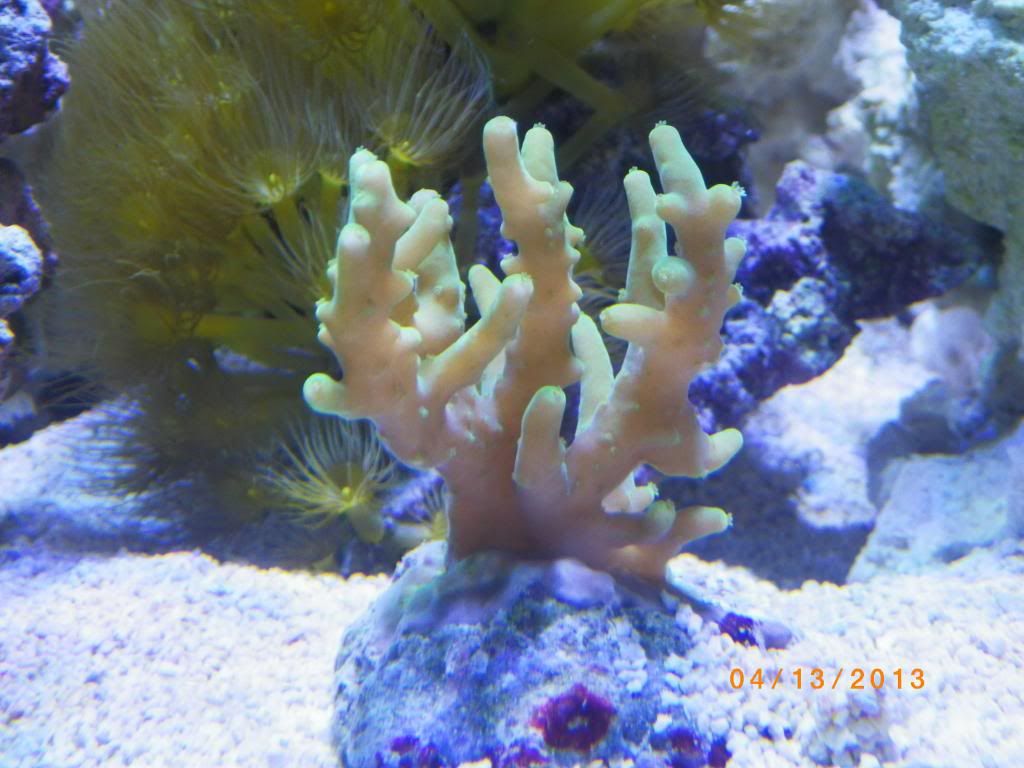 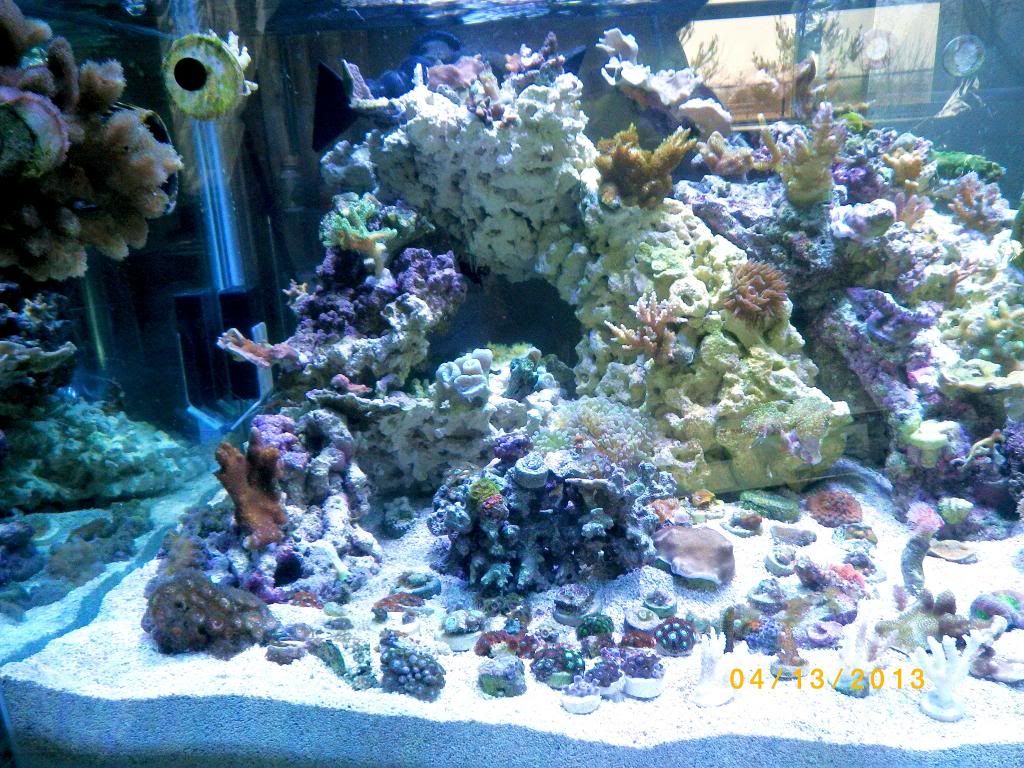  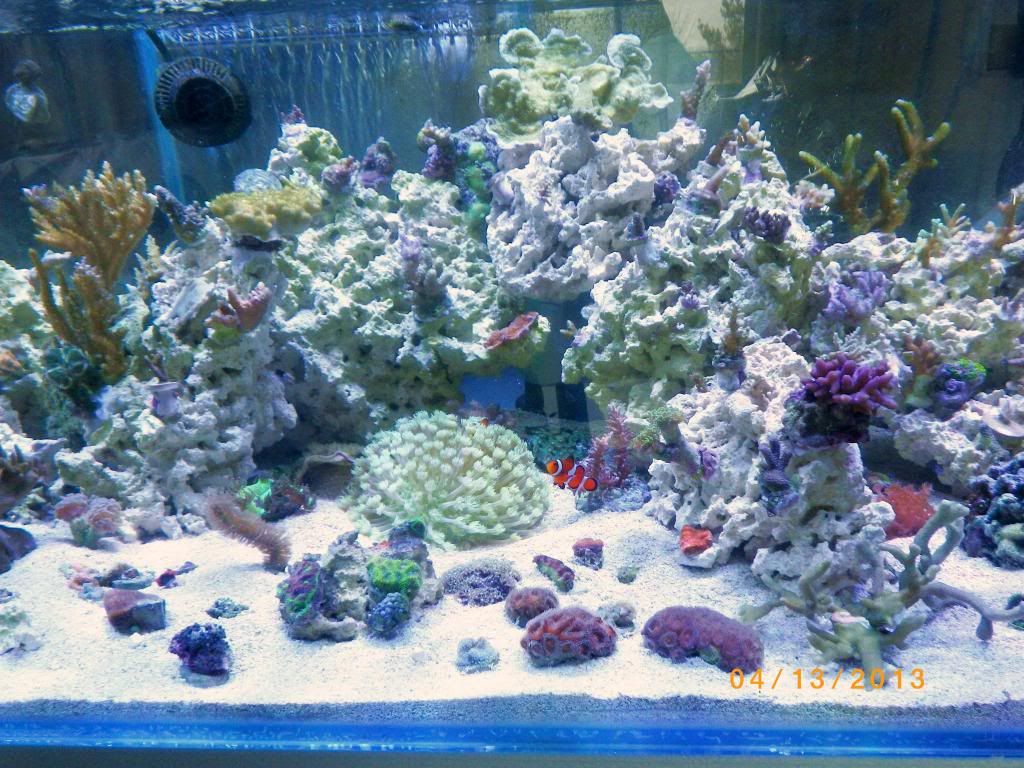 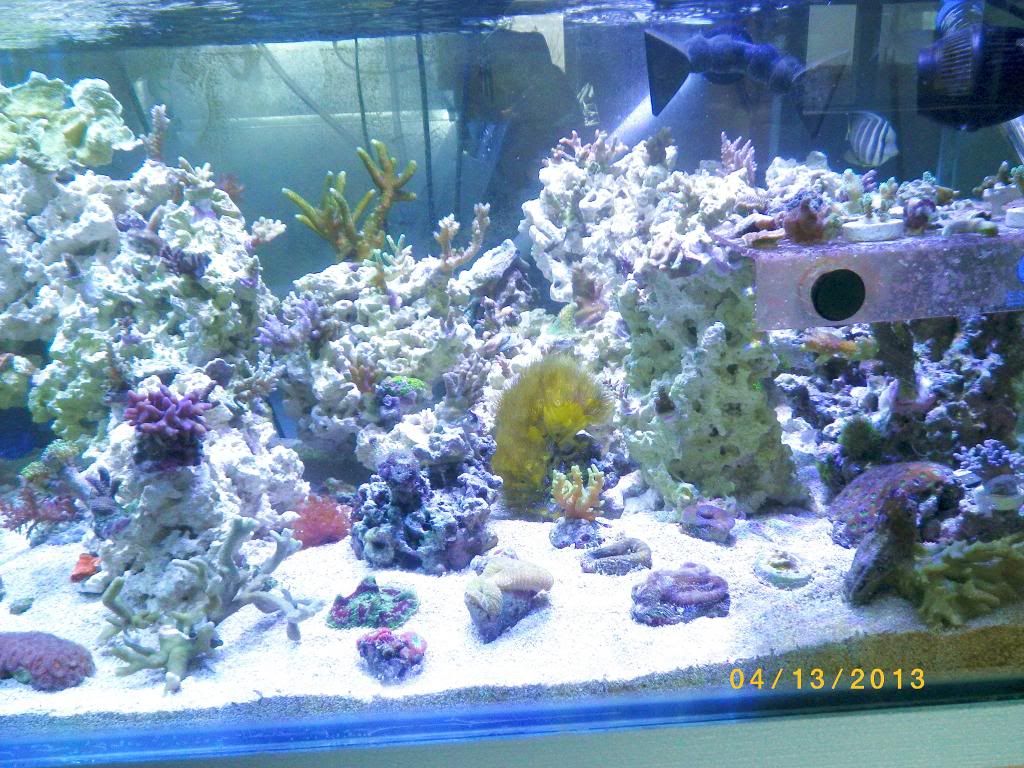 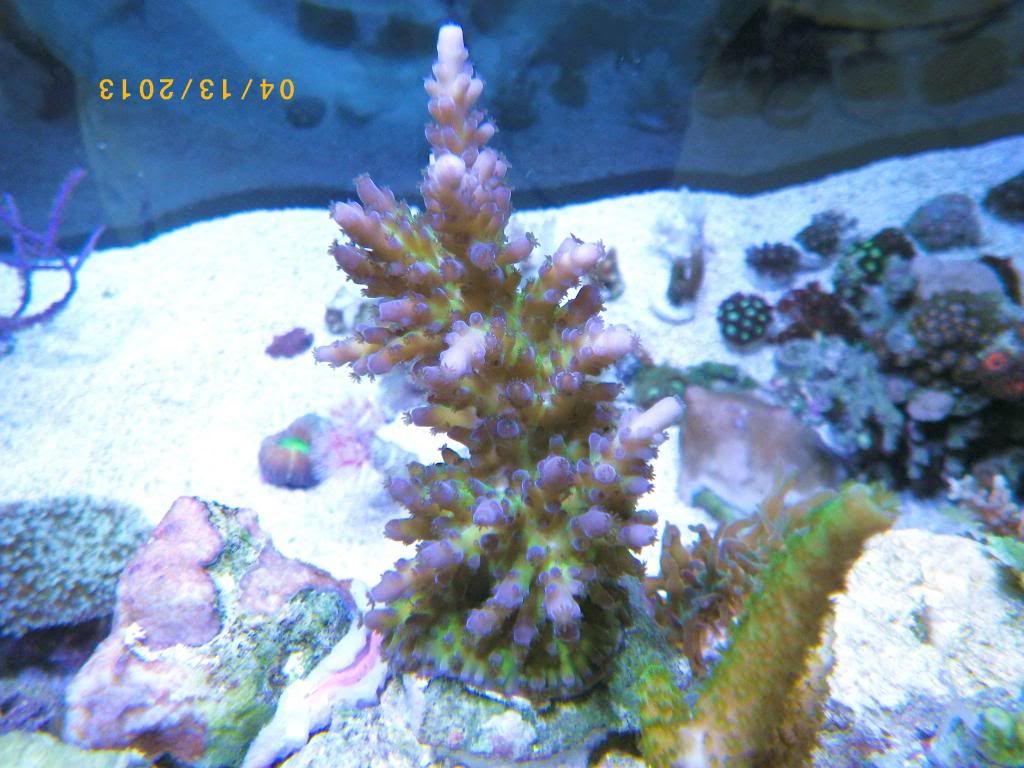 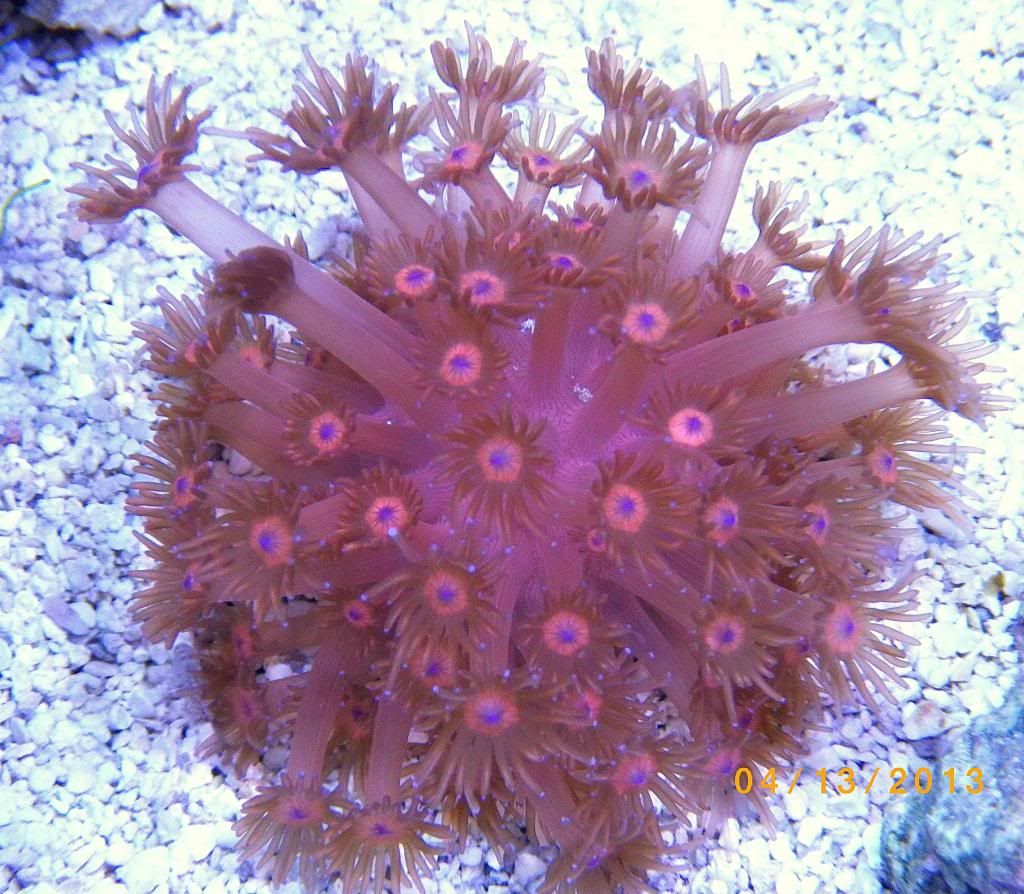  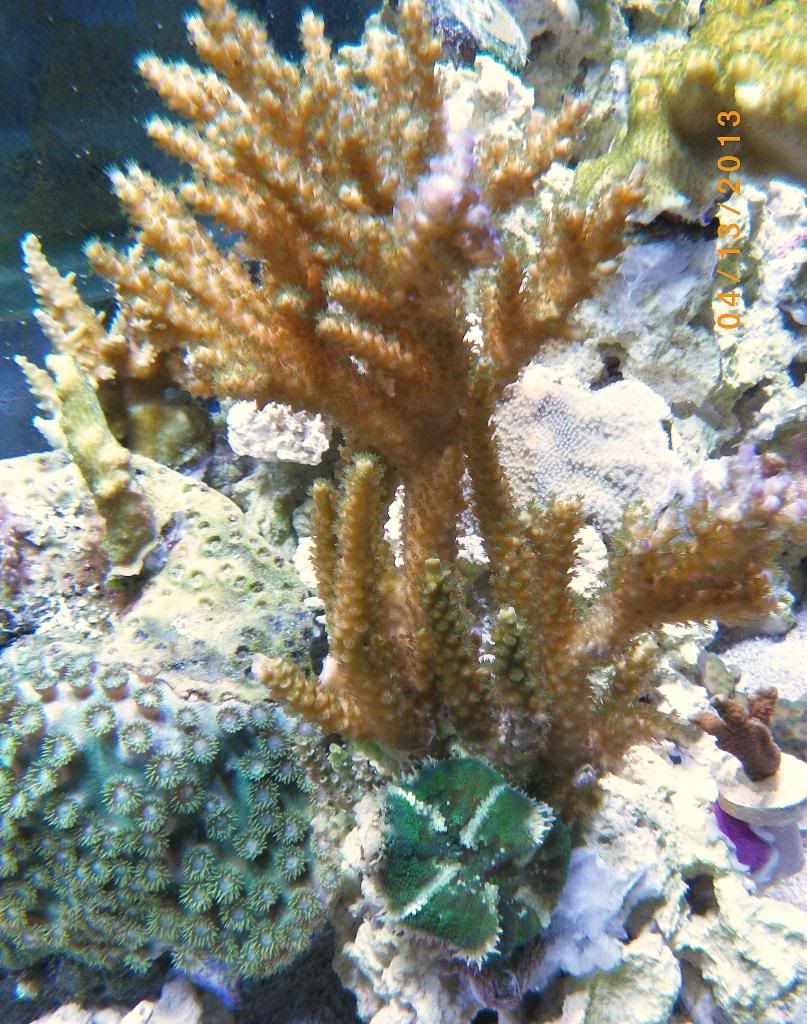 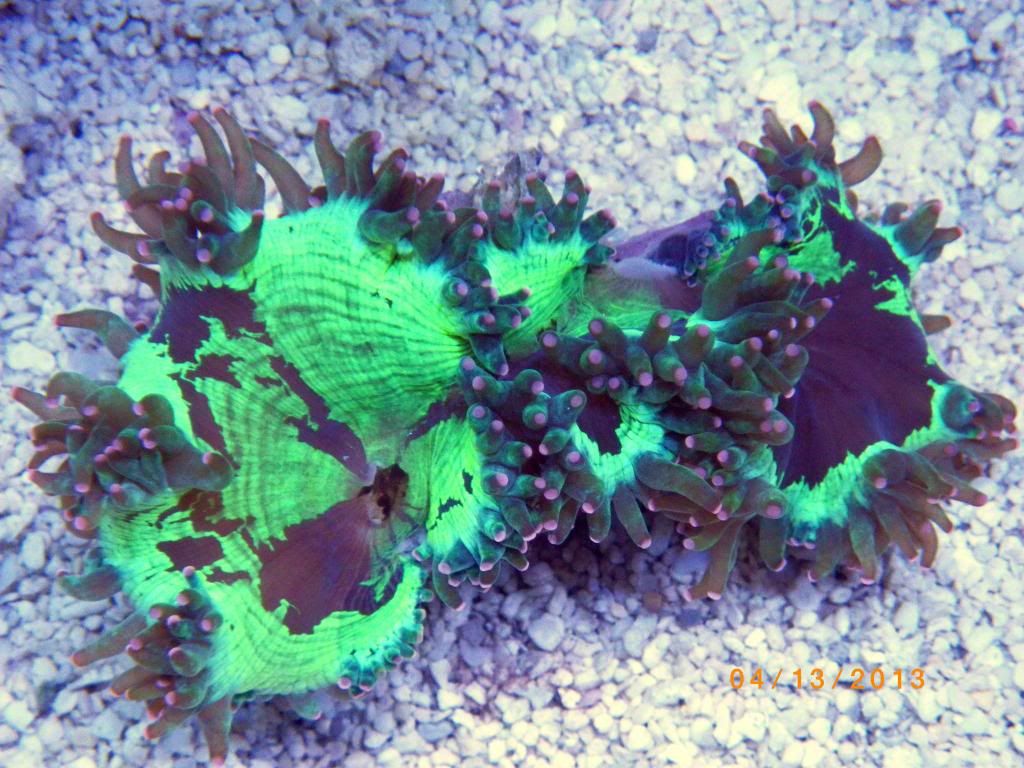 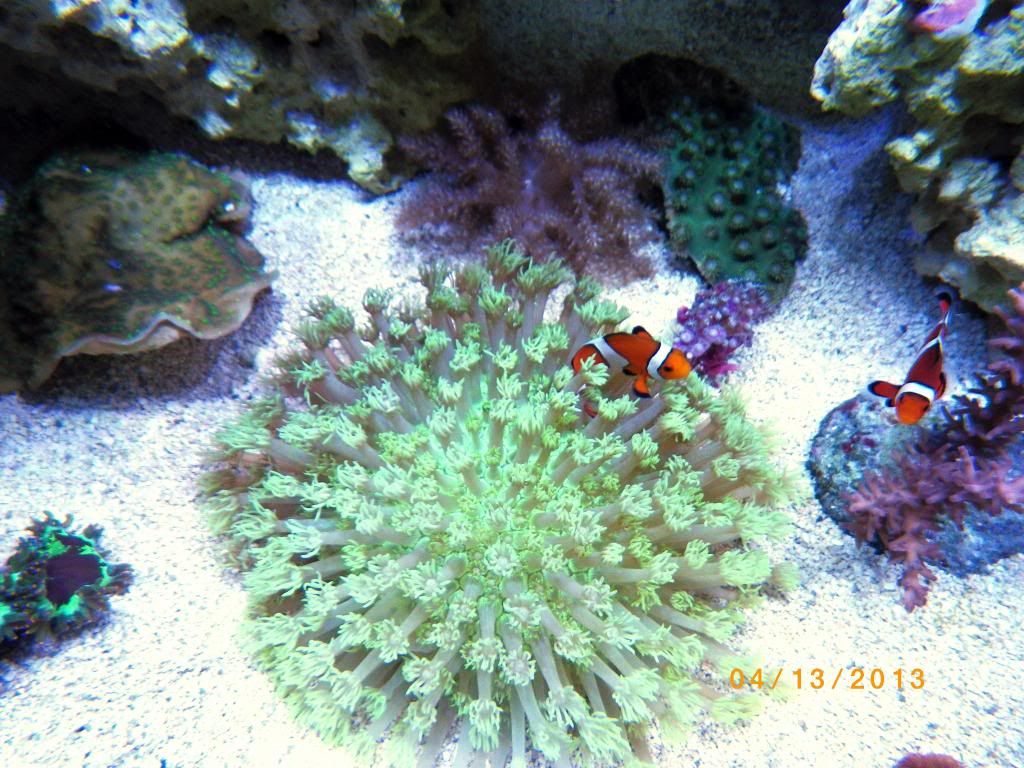 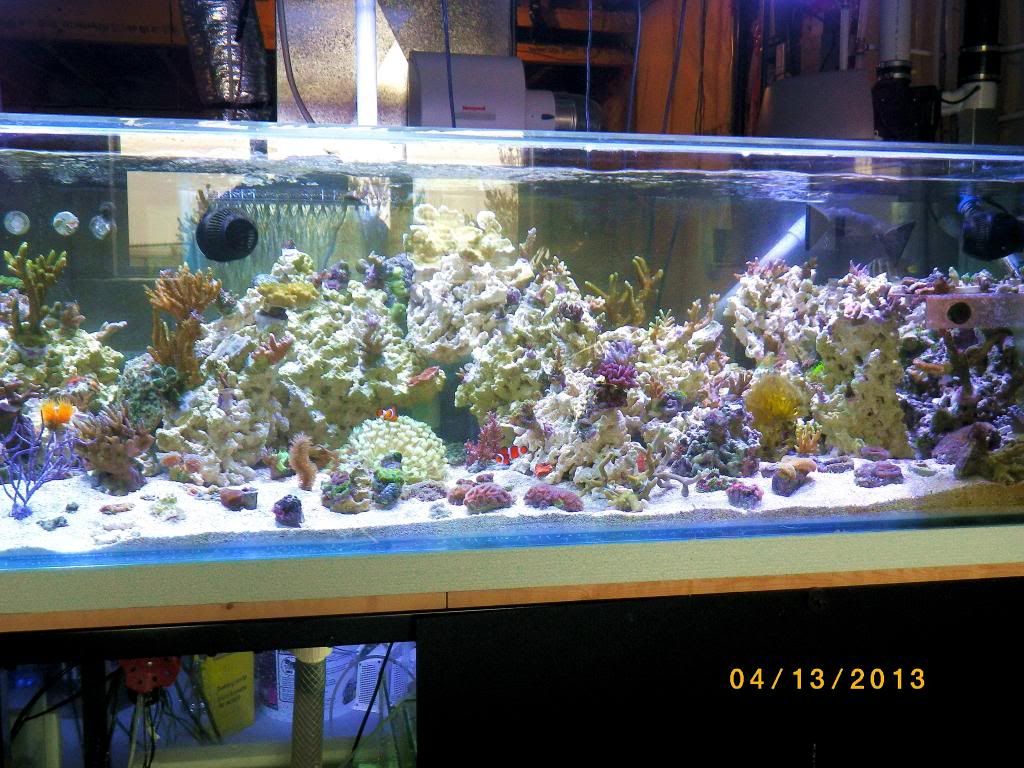 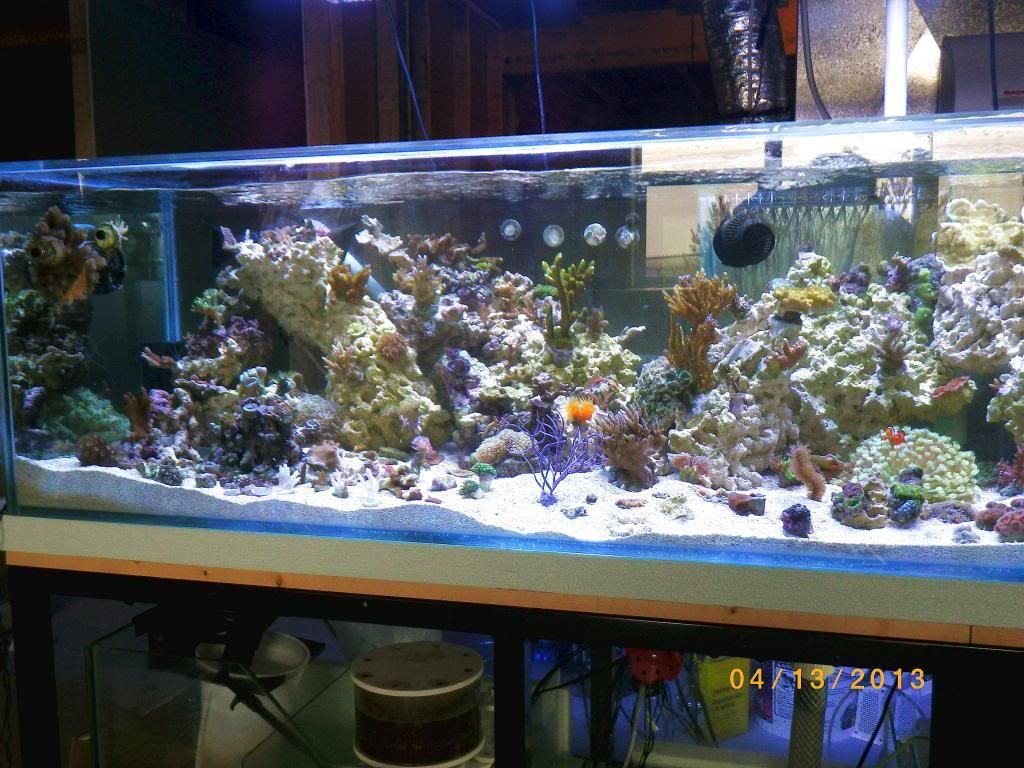 More at: http://s1084.photobucket.com/user/St...?sort=3&page=2 Last edited by SteveConn; 04-16-2013 at 04:11 AM. |
|
#20
|
|||||
|
|||||
|
Steve that is looking like a winner to me, very nice indeed.
|