
|
|
|
#11
 08-25-2012, 12:22 AM
|
|||||
|
|||||
|
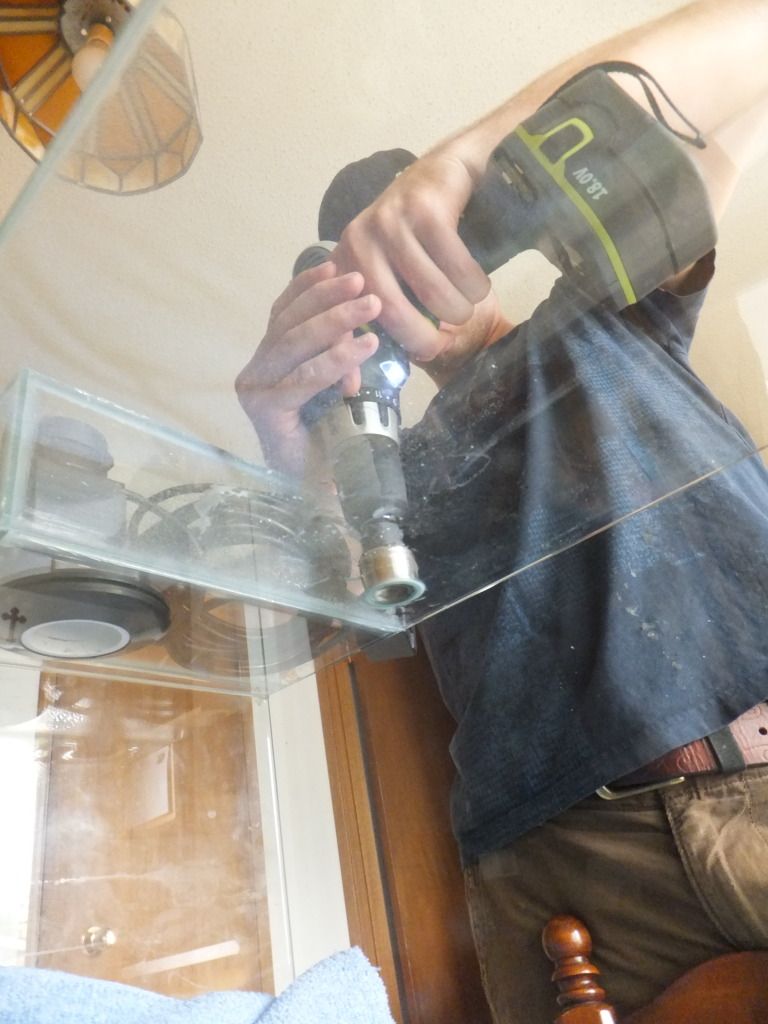
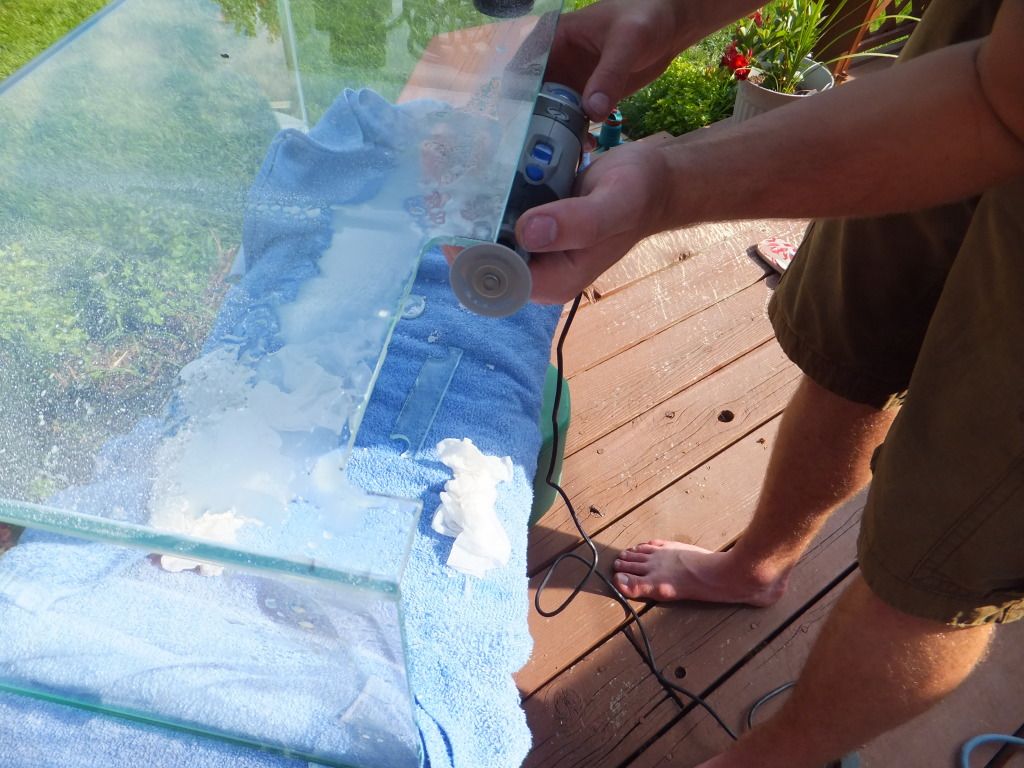
I got the return line drilled and the overflow weir is cut into the tank so here you go!
|
|
#12
08-25-2012, 02:53 AM
|
|||||
|
|||||
|
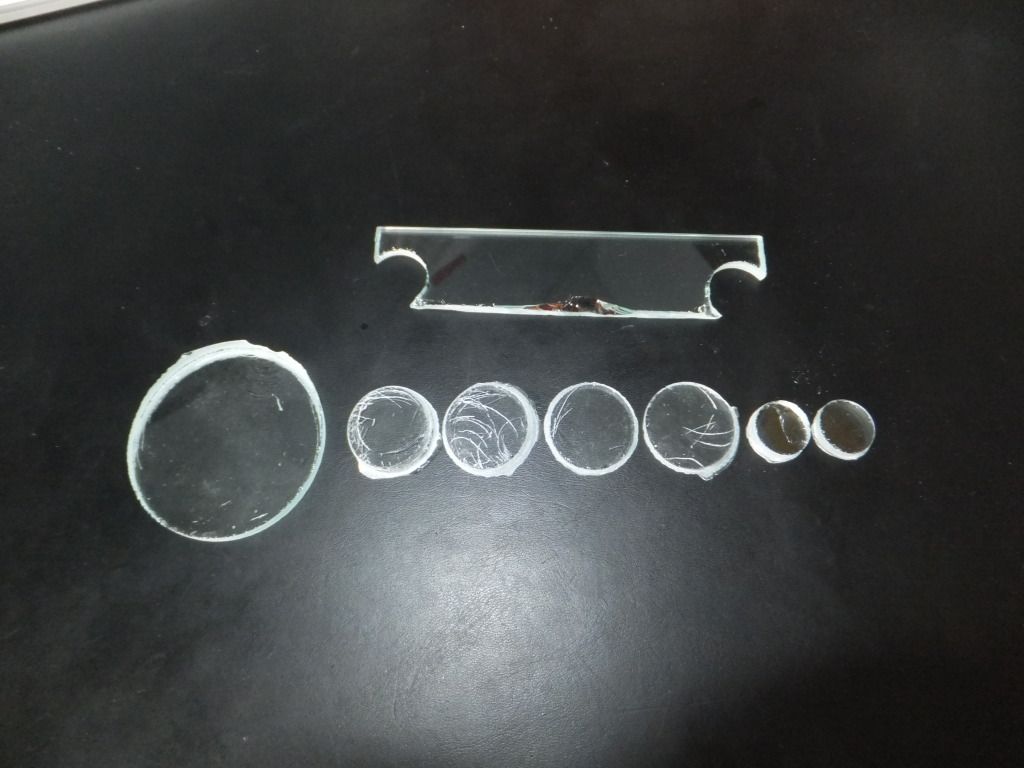
Hey how did you cut out your overflow, I see you drilled 2 holes then did you just use a glass etch to go between or did you use the drem with a bit to cut it out? Details as I'm in the process of building a Nano and I am scratching my head how I'm going to create the overflow.
|
|
#13
08-25-2012, 03:06 AM
|
|||||
|
|||||
|
Quote:
Im going to post the rest of the overflow right now so read on to see what i did
|
|
#14
08-25-2012, 03:07 AM
|
|||||
|
|||||
|
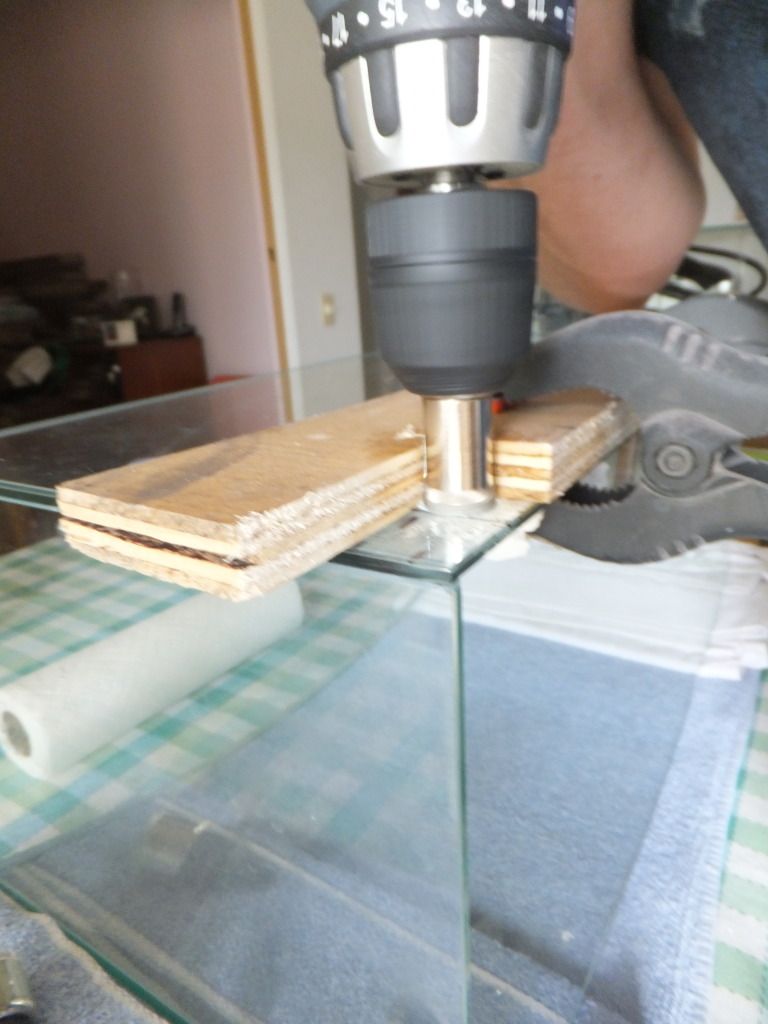
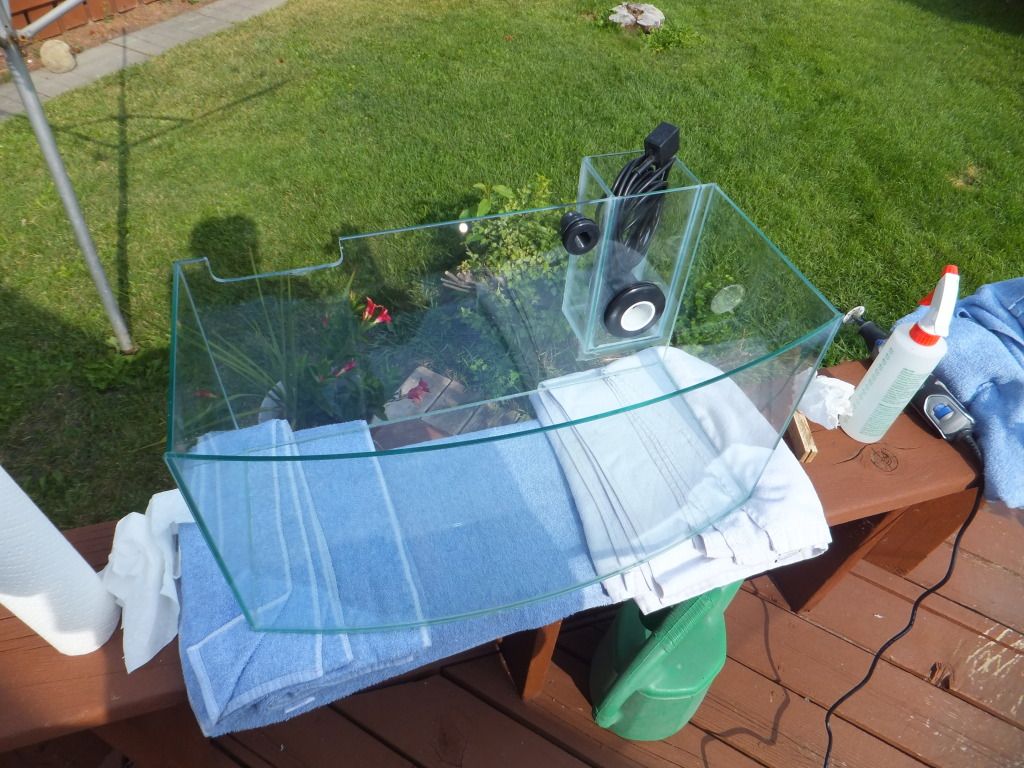
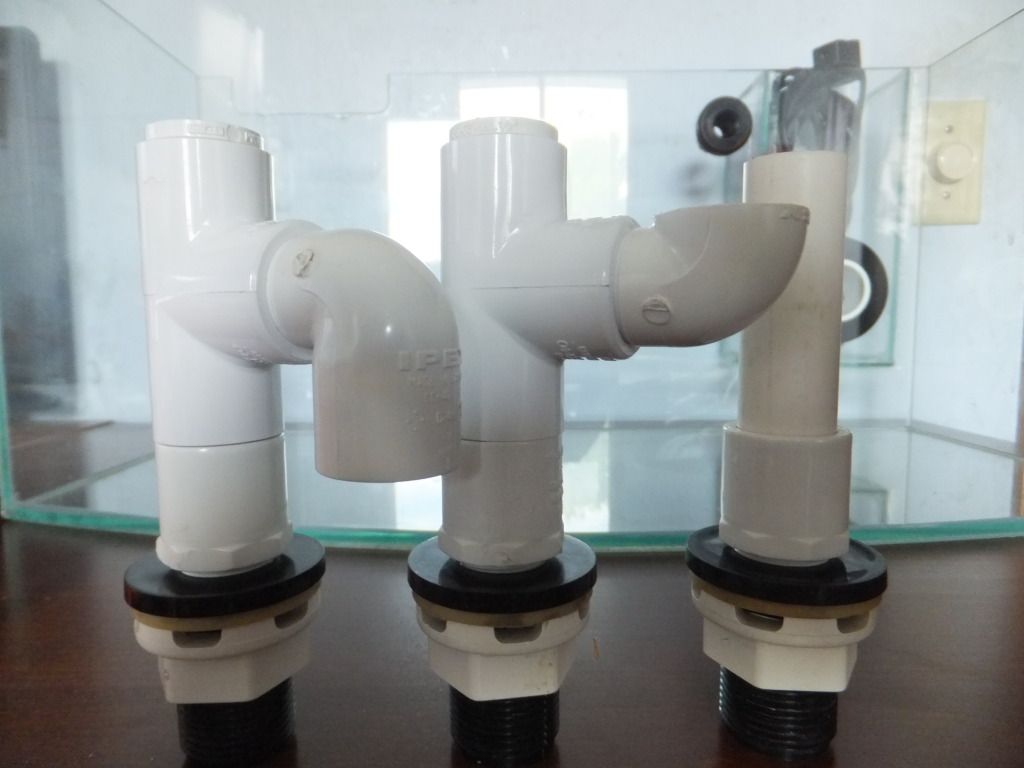
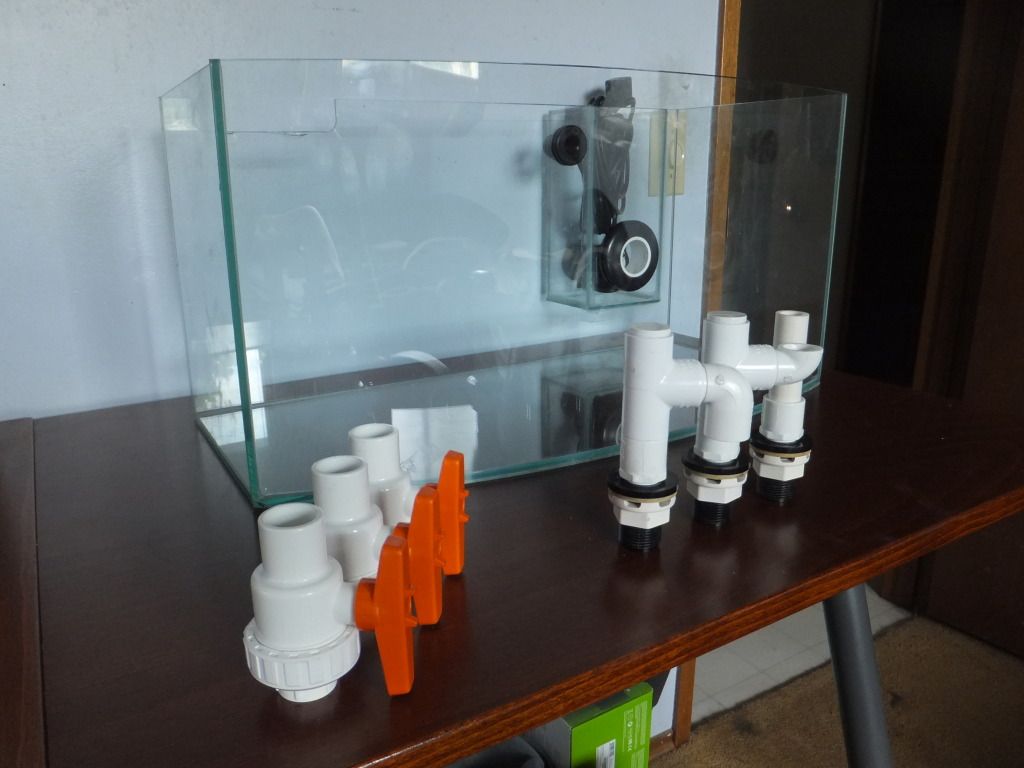
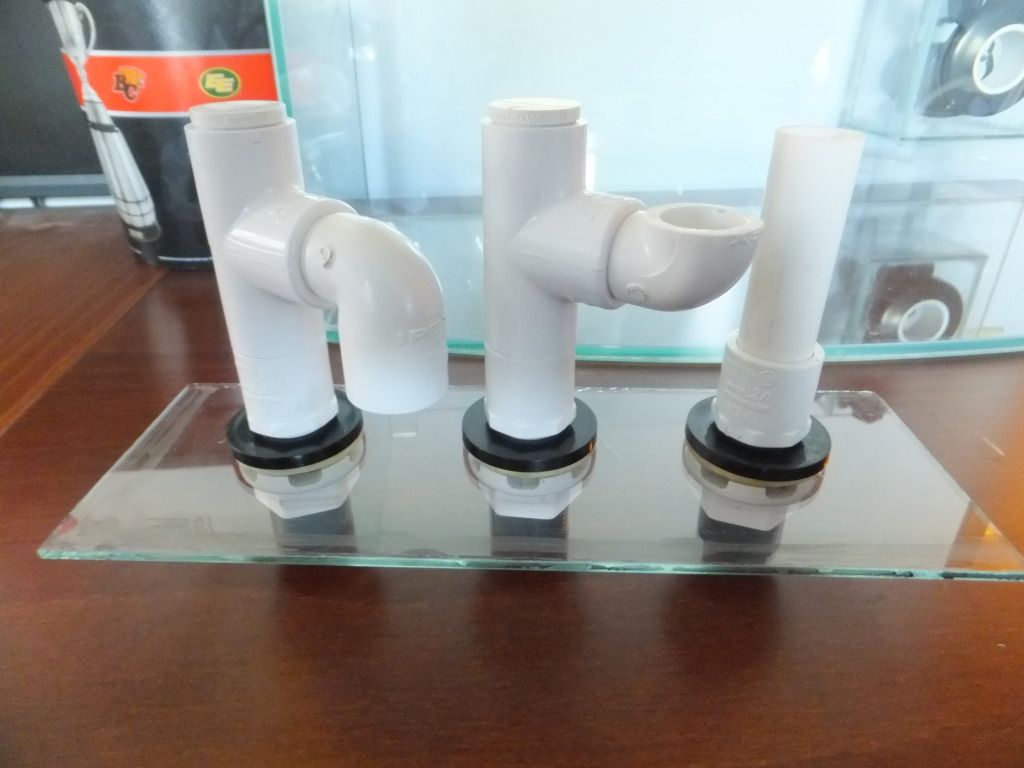
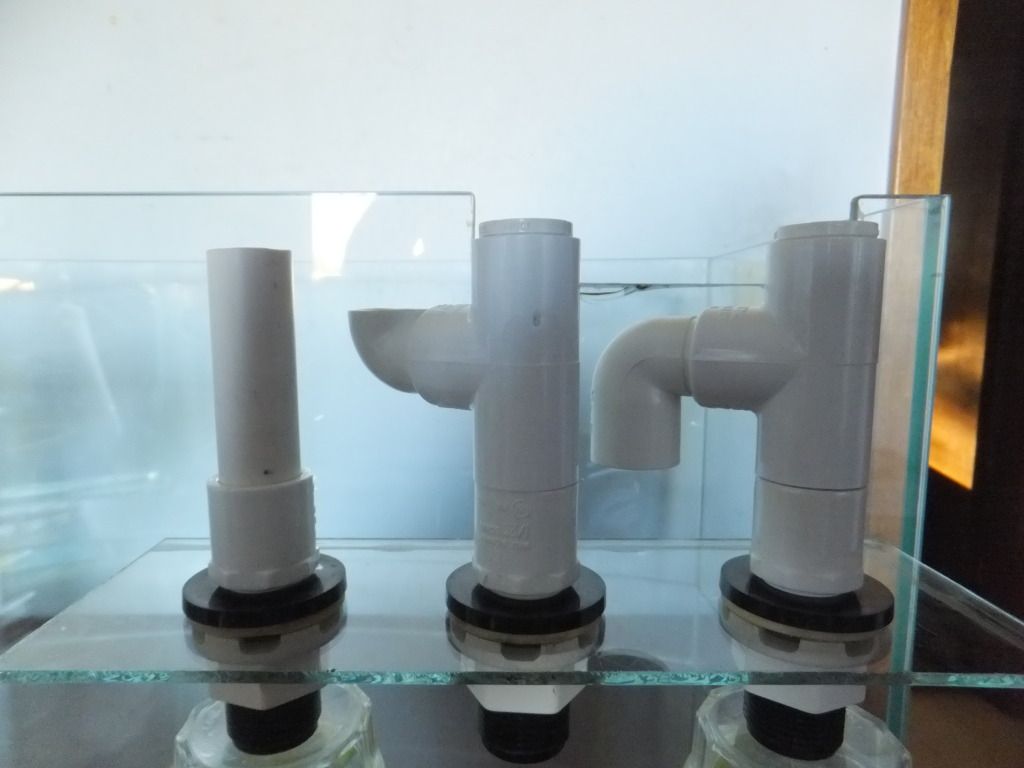
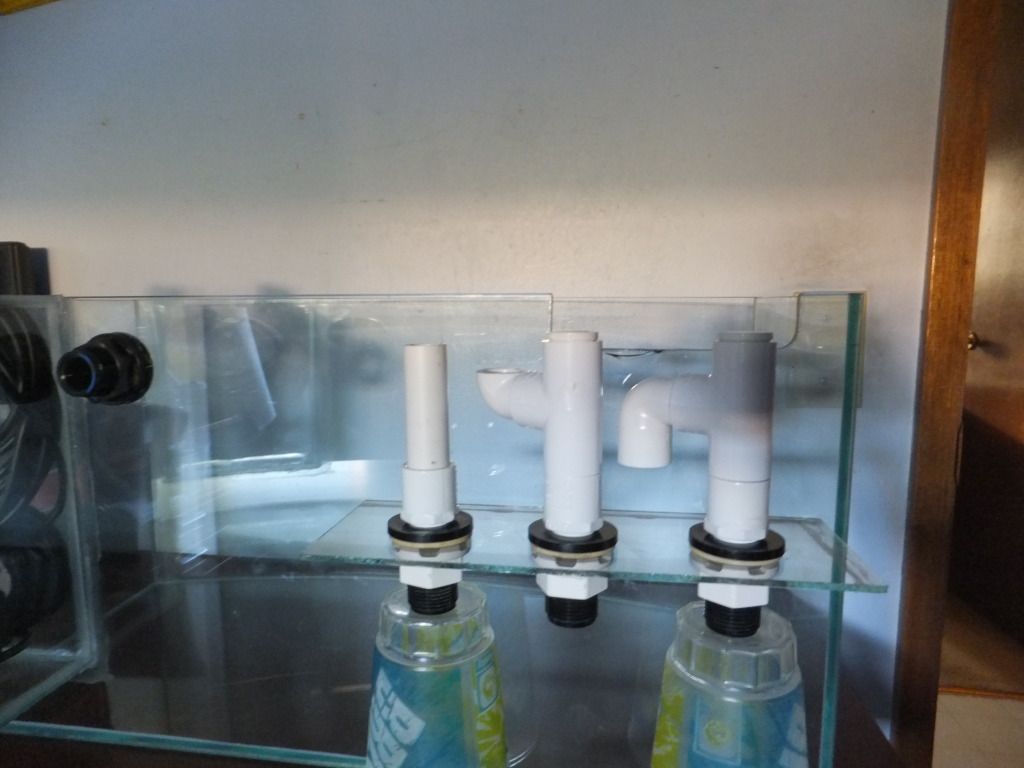
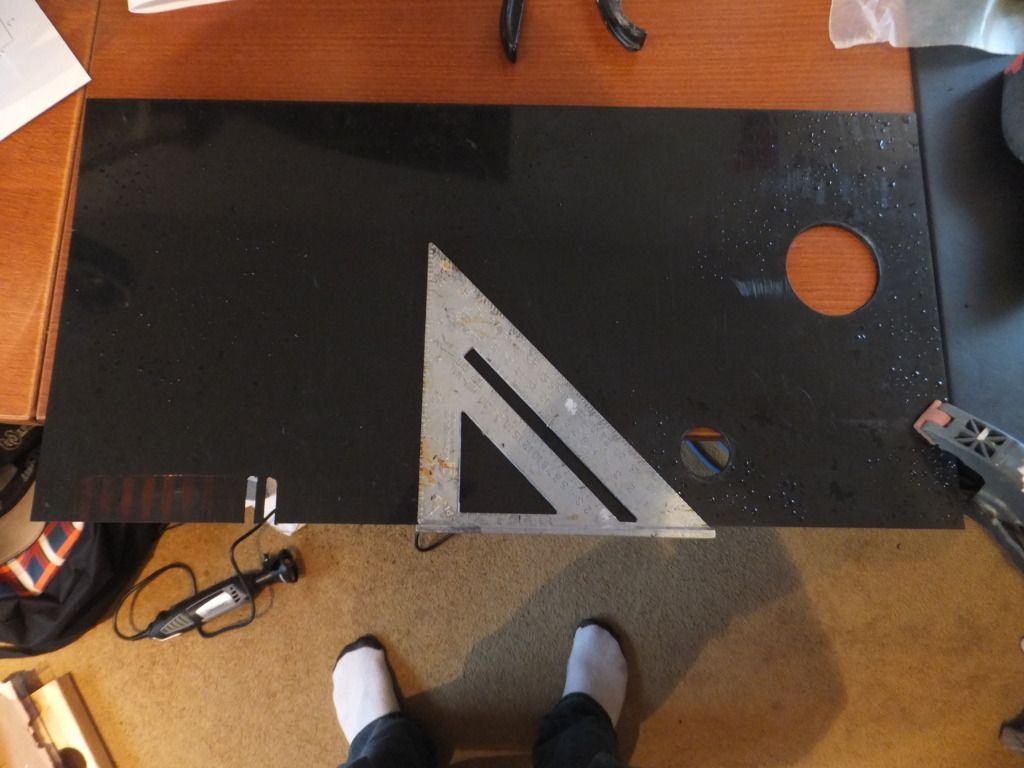
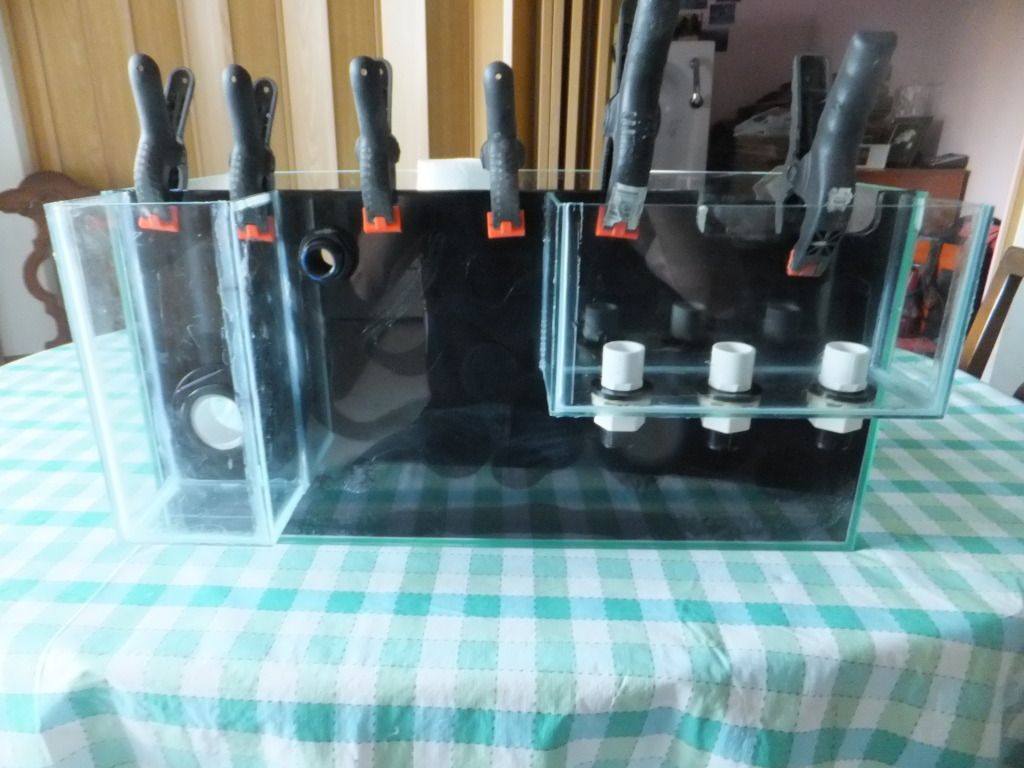
So I decided to drill the holes for my overflow and put together the plumbing for it, after some thinking and some cutting to make it all work in a small space, this is what i have so far
|
|
#15
08-25-2012, 03:08 AM
|
|||||
|
|||||
|
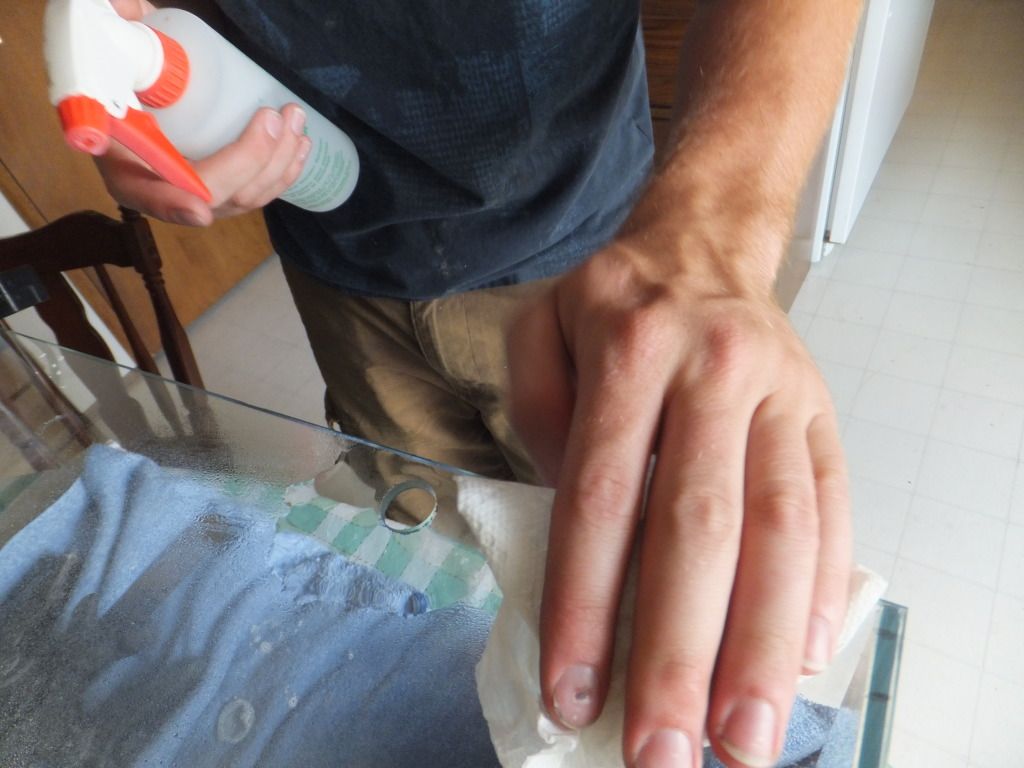
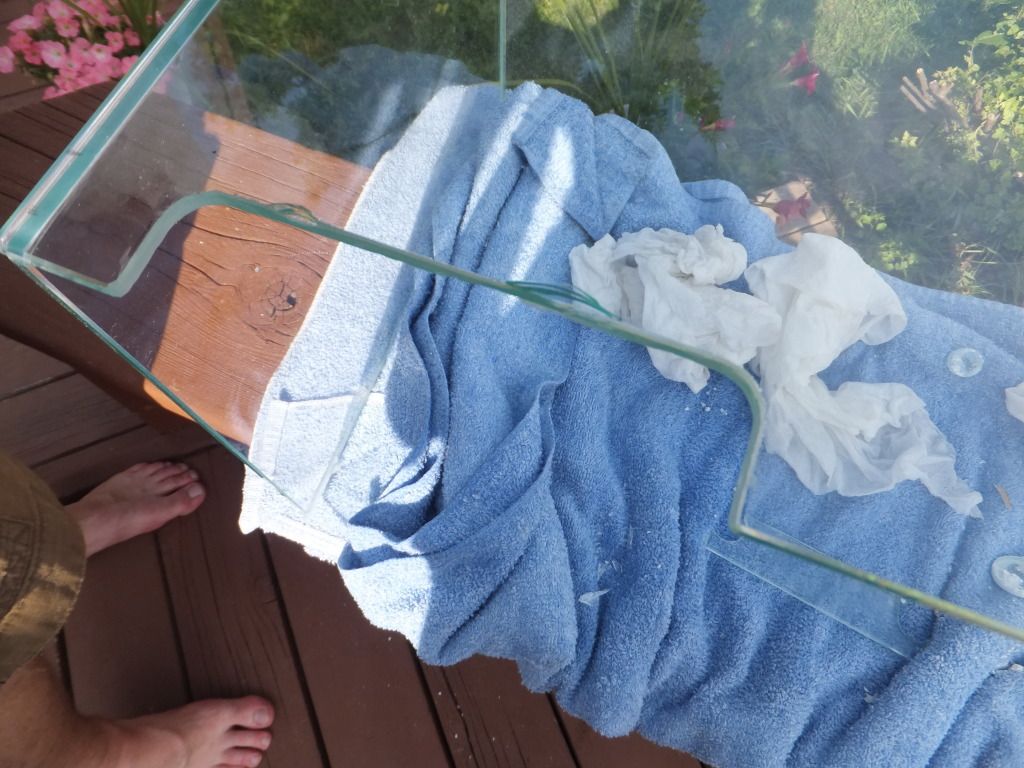
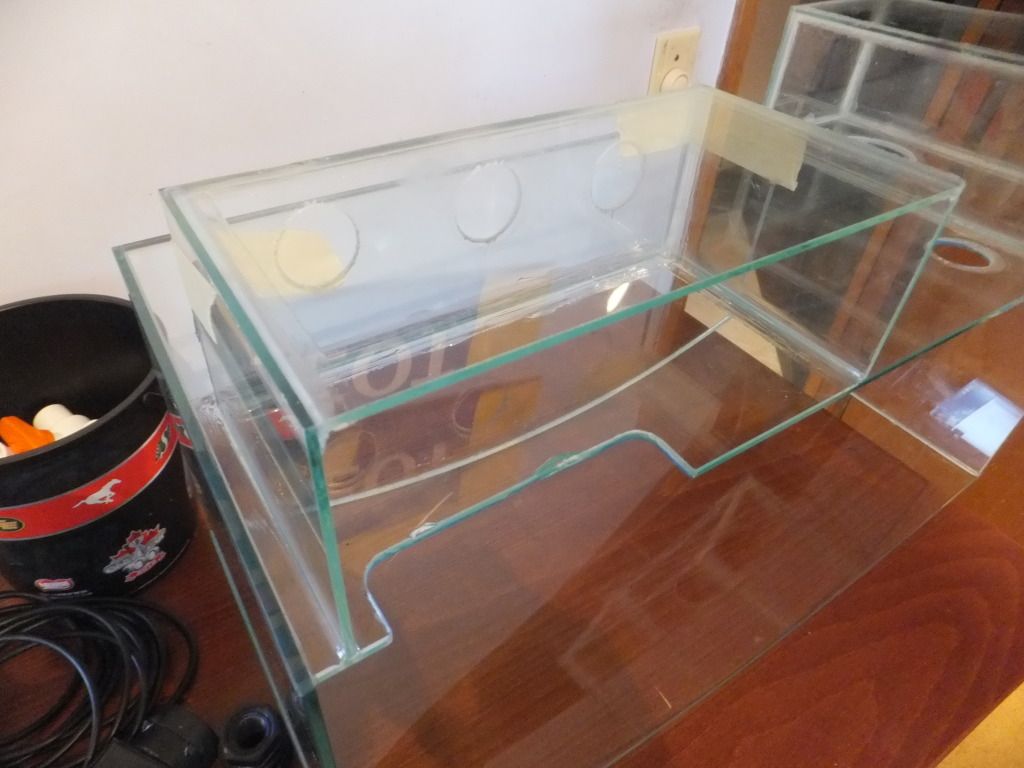
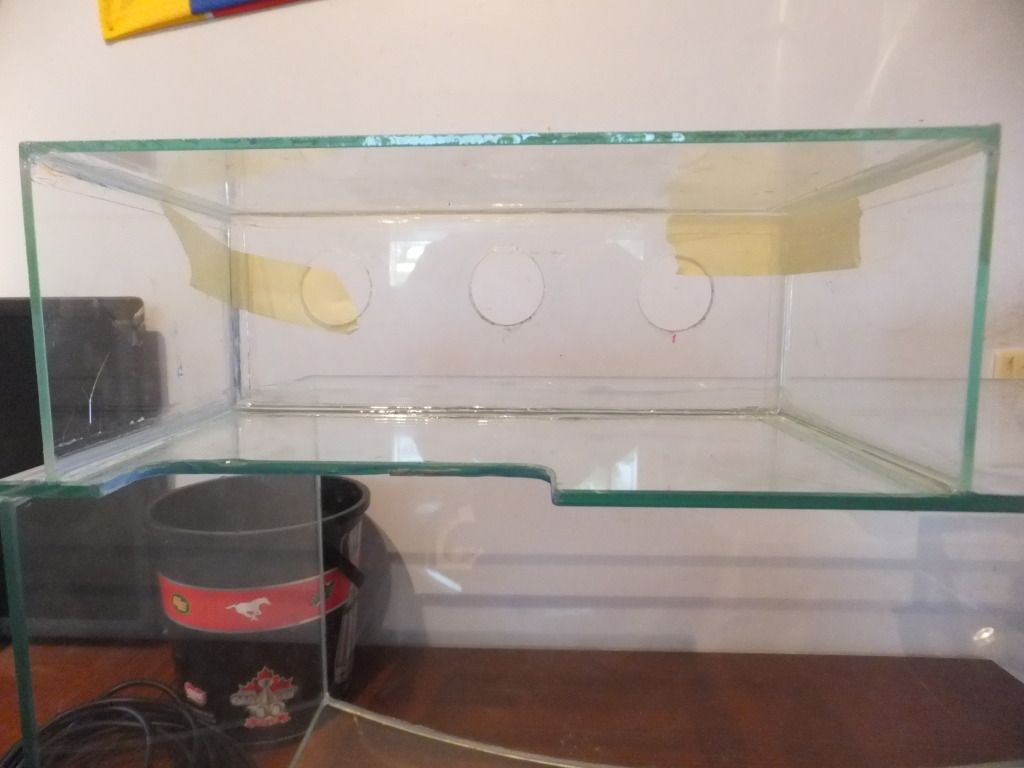
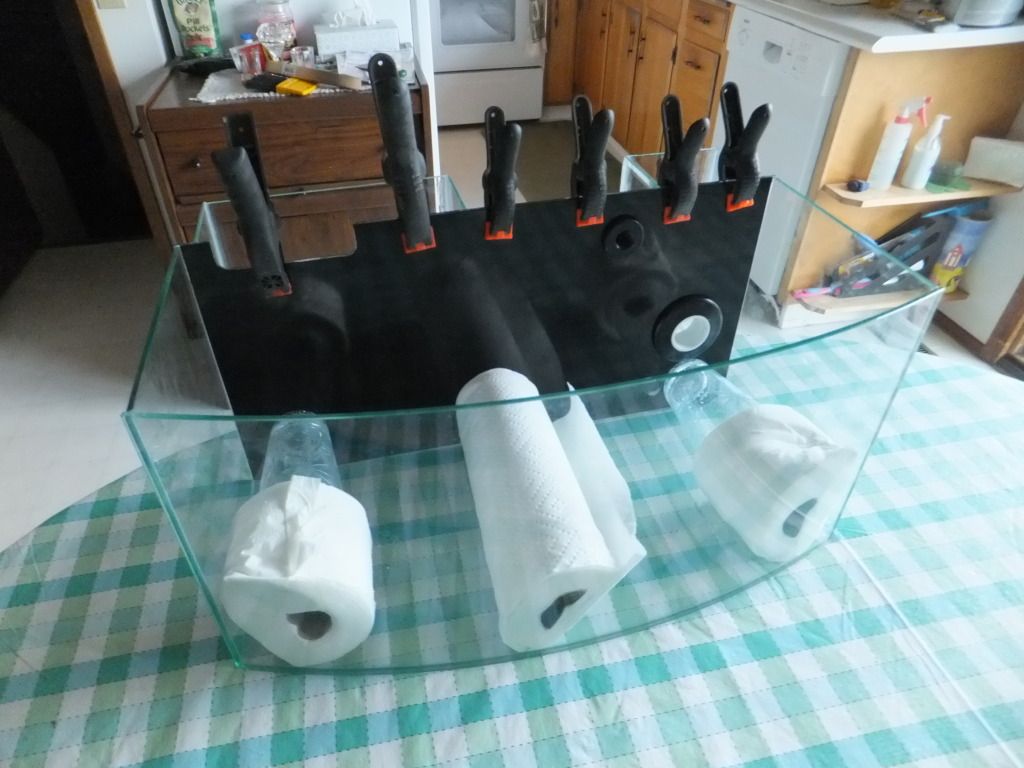
Today I got quite a bit of stuff done, I got the glass for the overflow cut and put together, I picked up a peice of black acrylic to put inside the tank as a background to cover everyything up and i got the plumbing all together for the backside of the tank
    More to come as it all goes together tonight
|
|
#16
08-25-2012, 03:47 AM
|
|||||
|
|||||
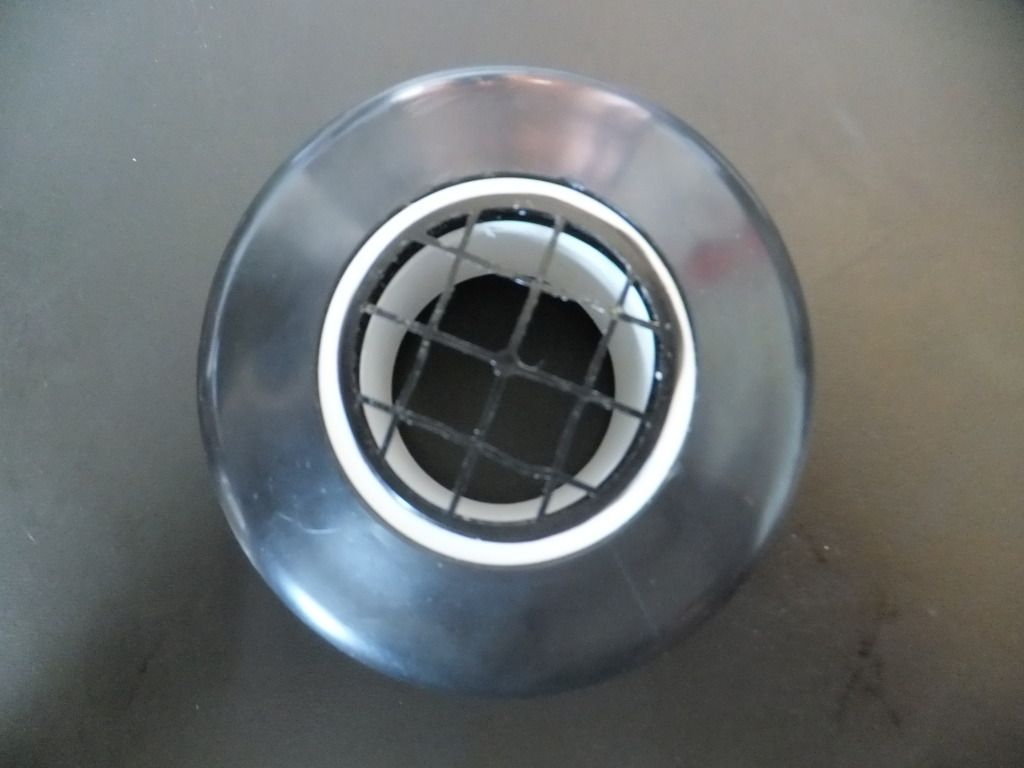
  Can you spot the snooper?? 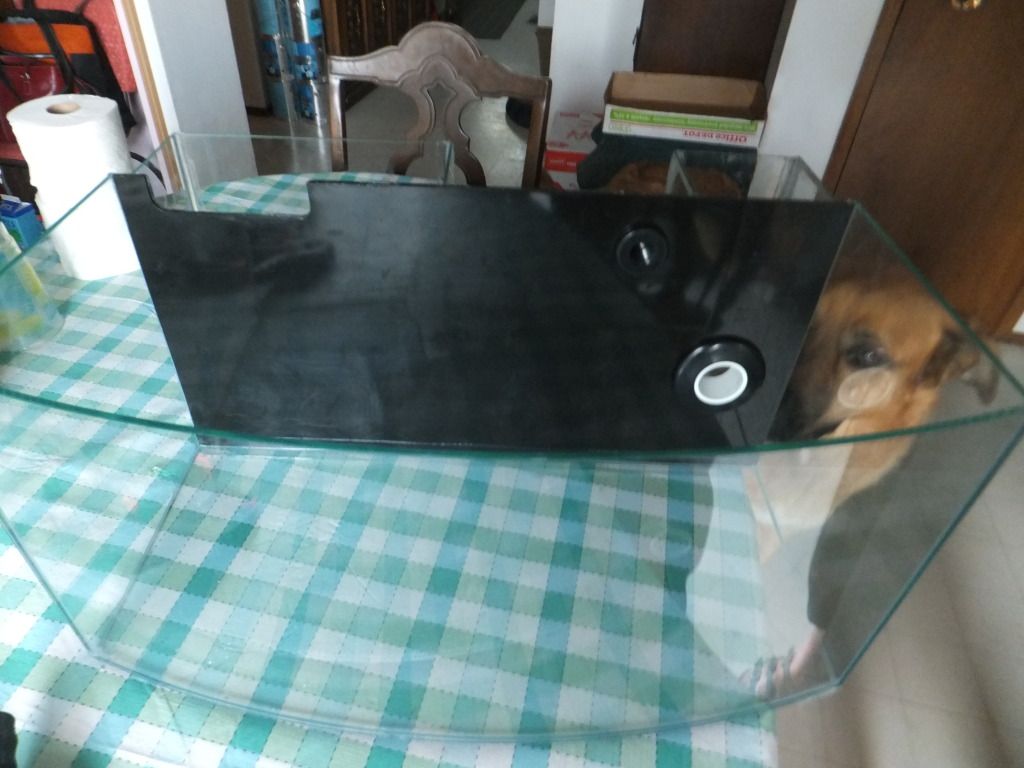 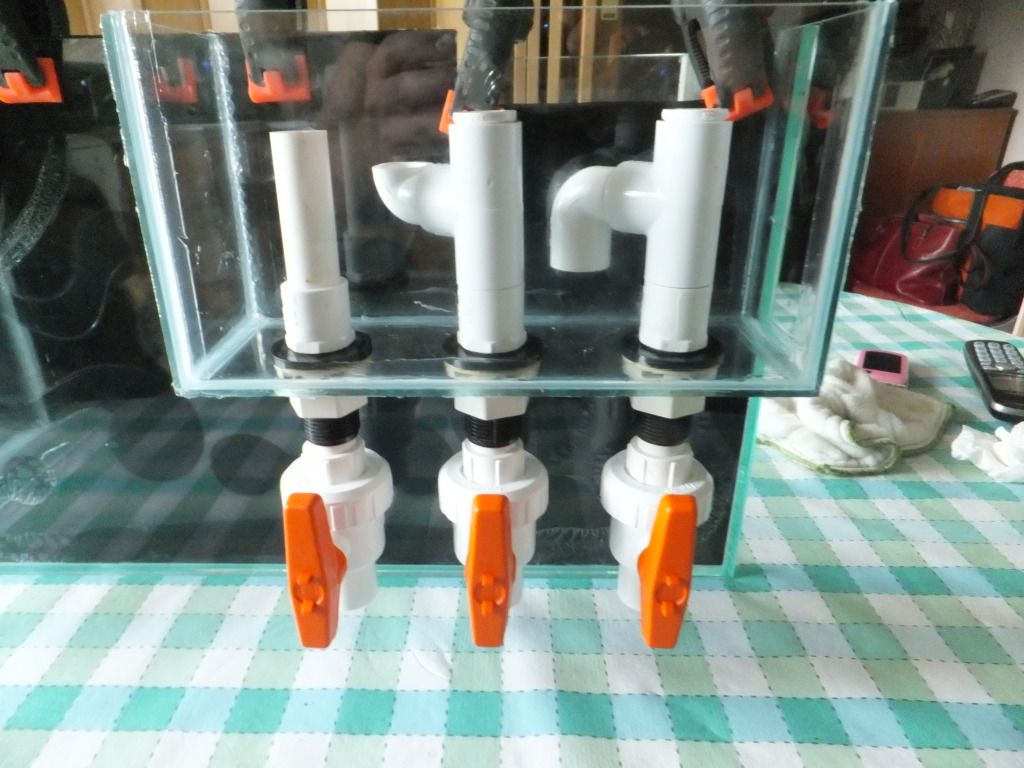 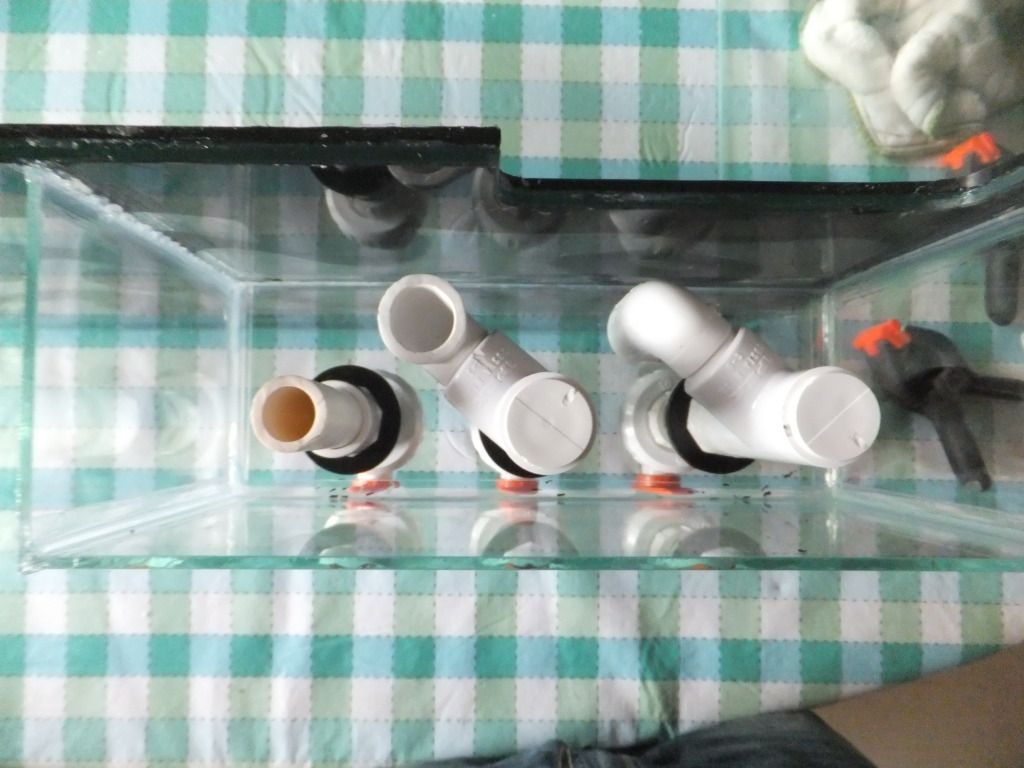 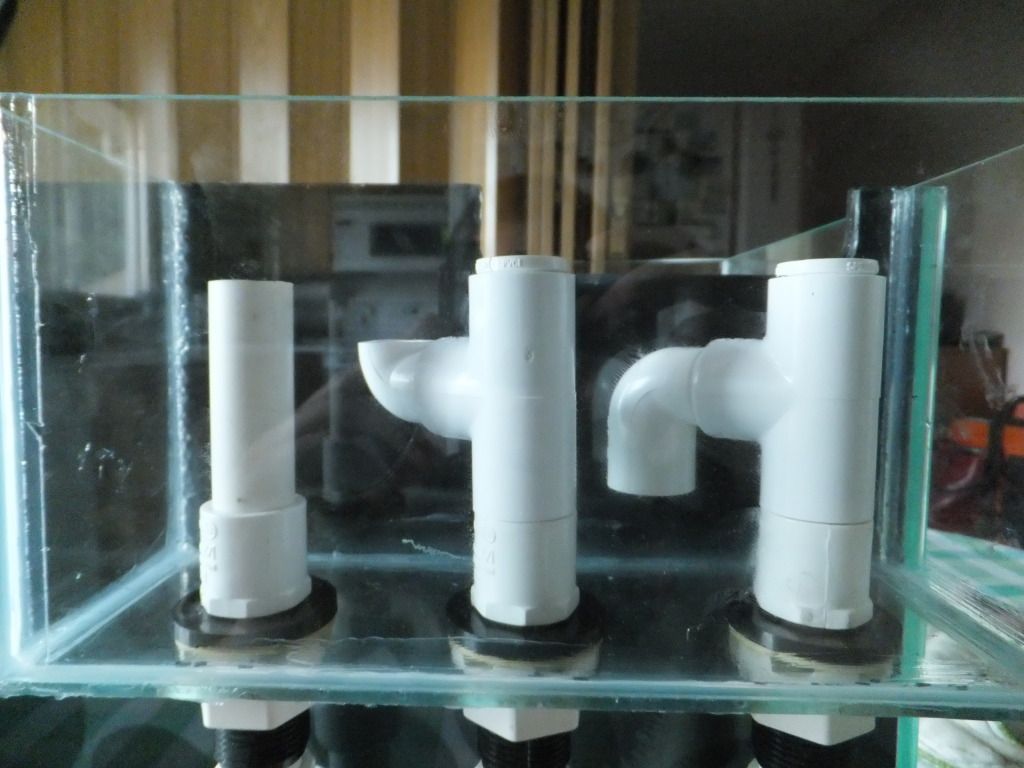
|
|
#18
08-25-2012, 08:30 PM
|
|||||
|
|||||
|
Quote:
|
|
#20
08-27-2012, 05:09 AM
|
|||||
|
|||||
|
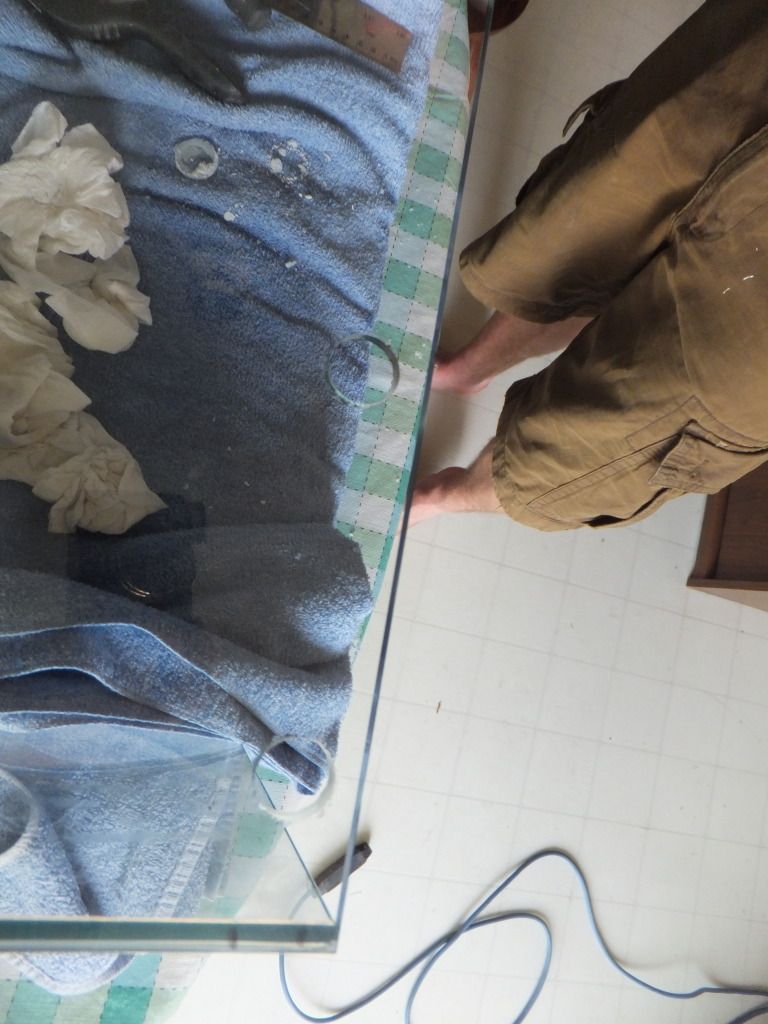
I did some more work today and got the wavebox covered up
 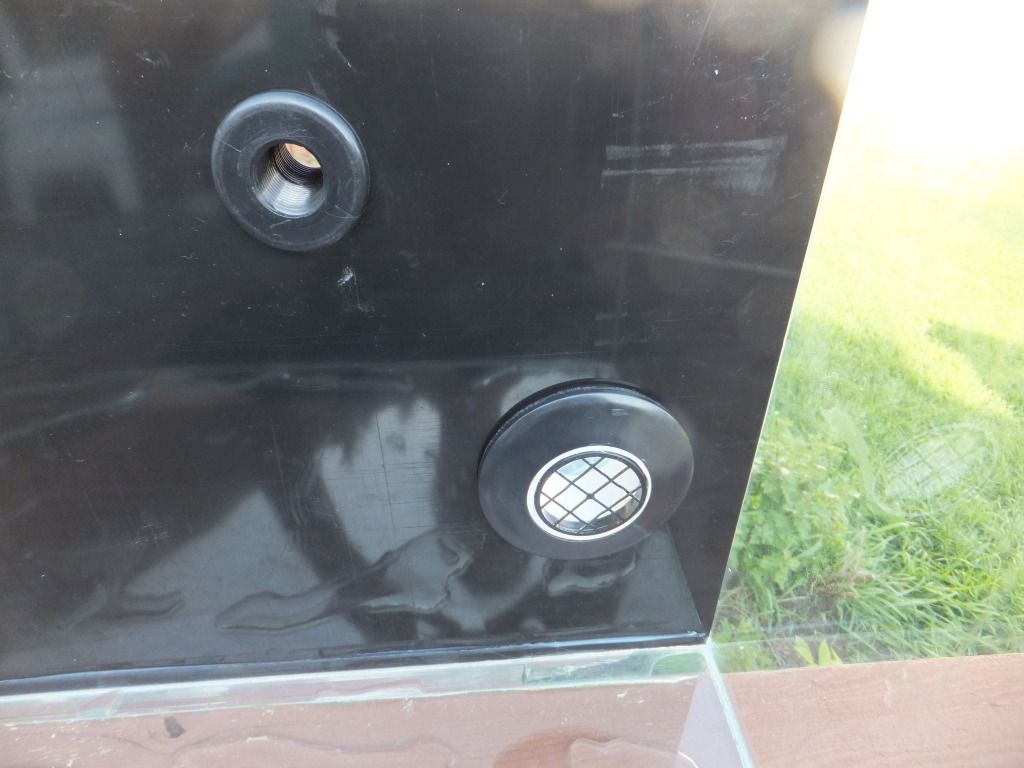 Then i couldnt wait any longer and the minute i had finished my overflow I get it all wet to see how it would work and let me tell you, it went just swimmingly!! take a look 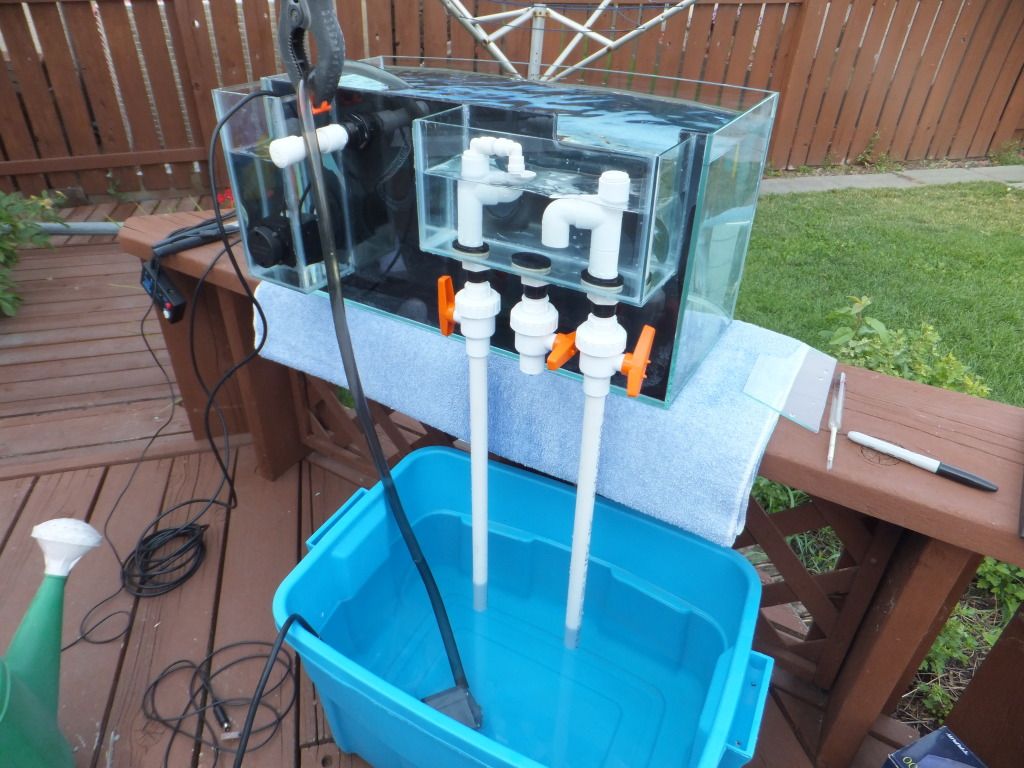 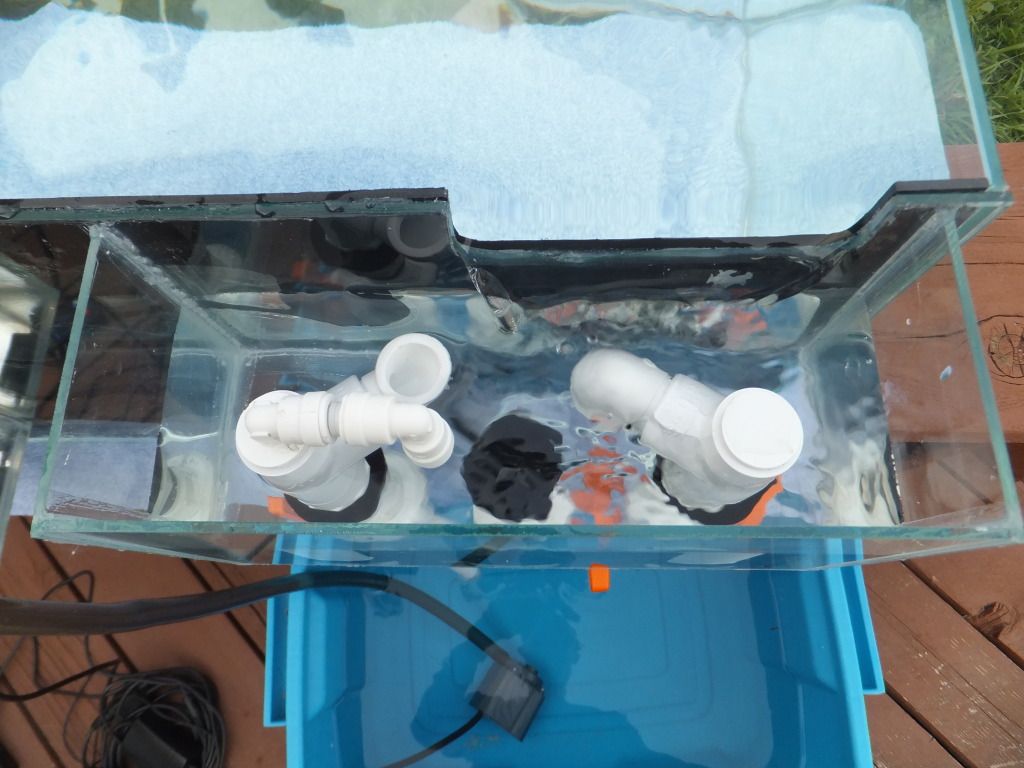 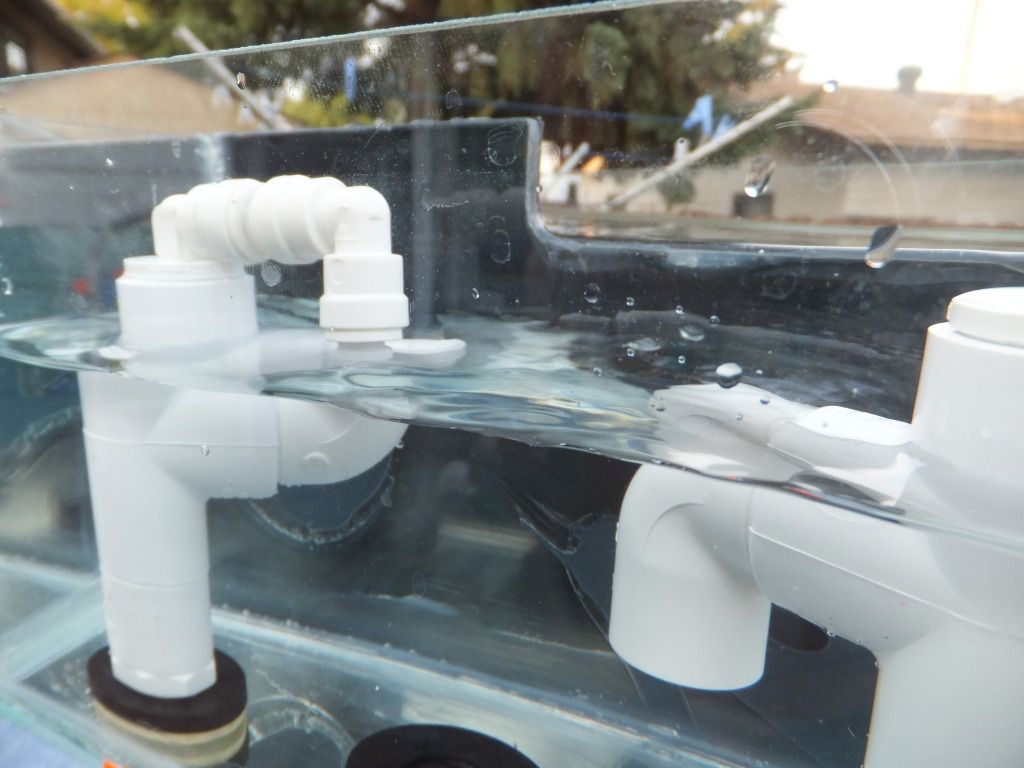 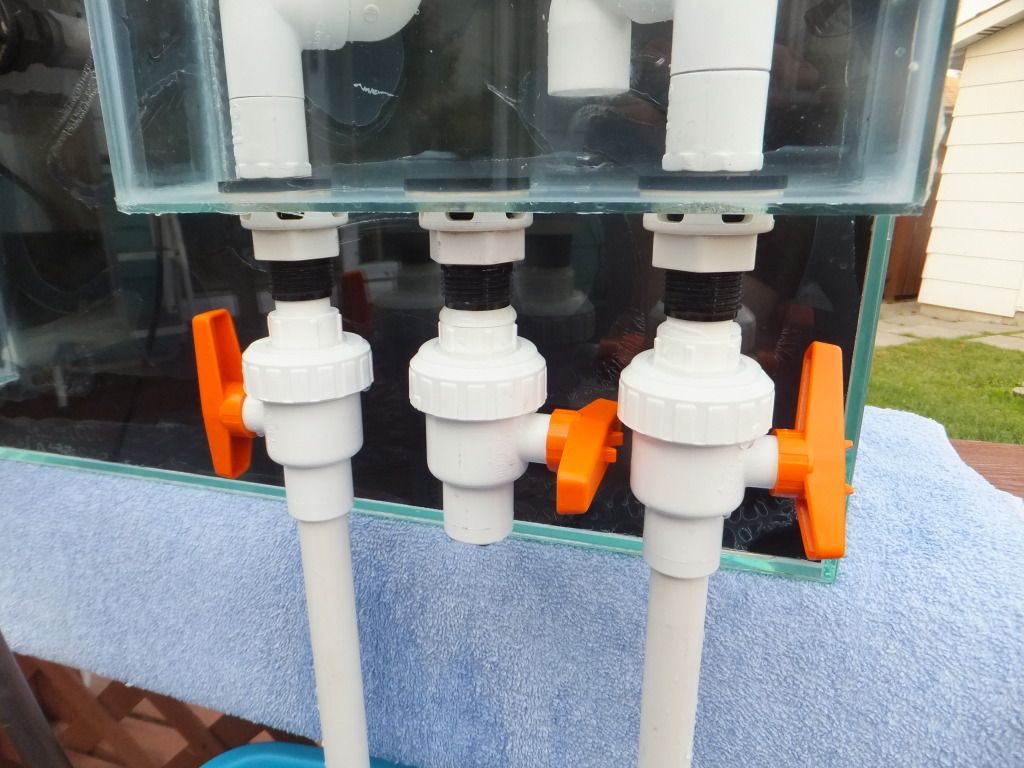 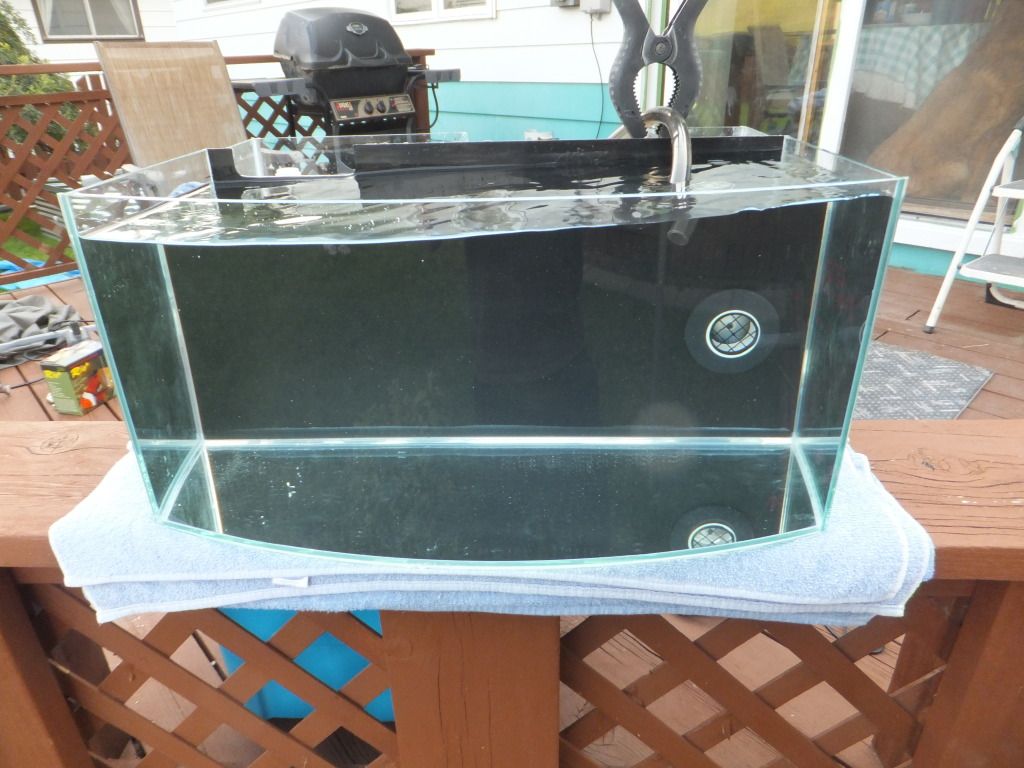 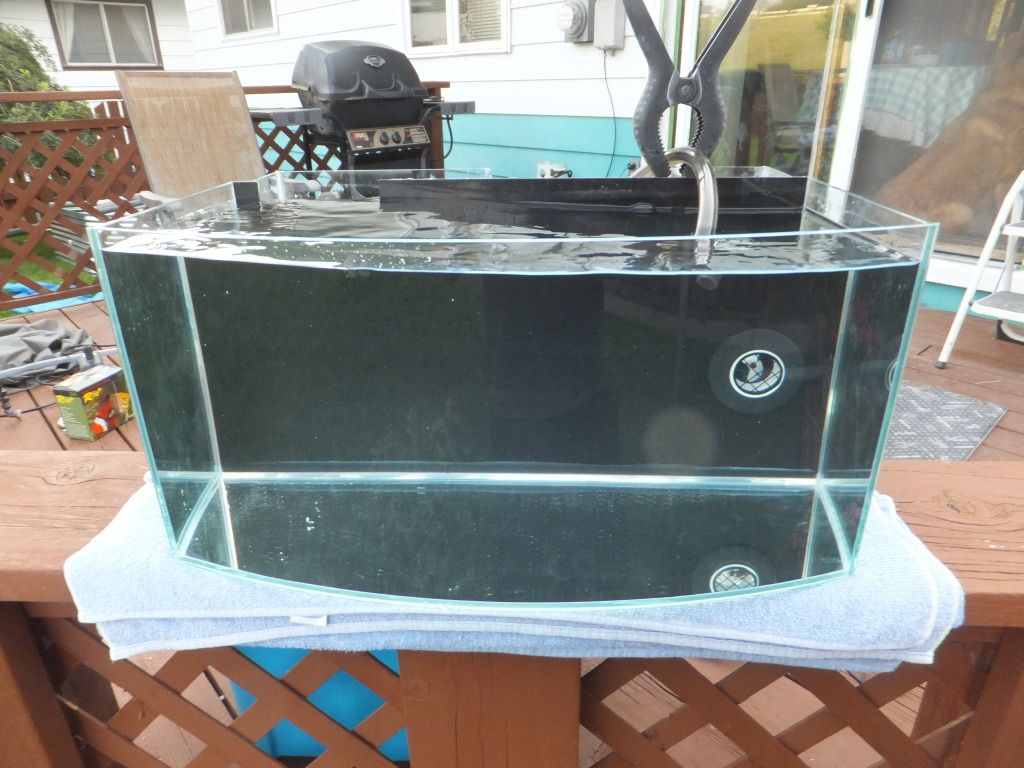 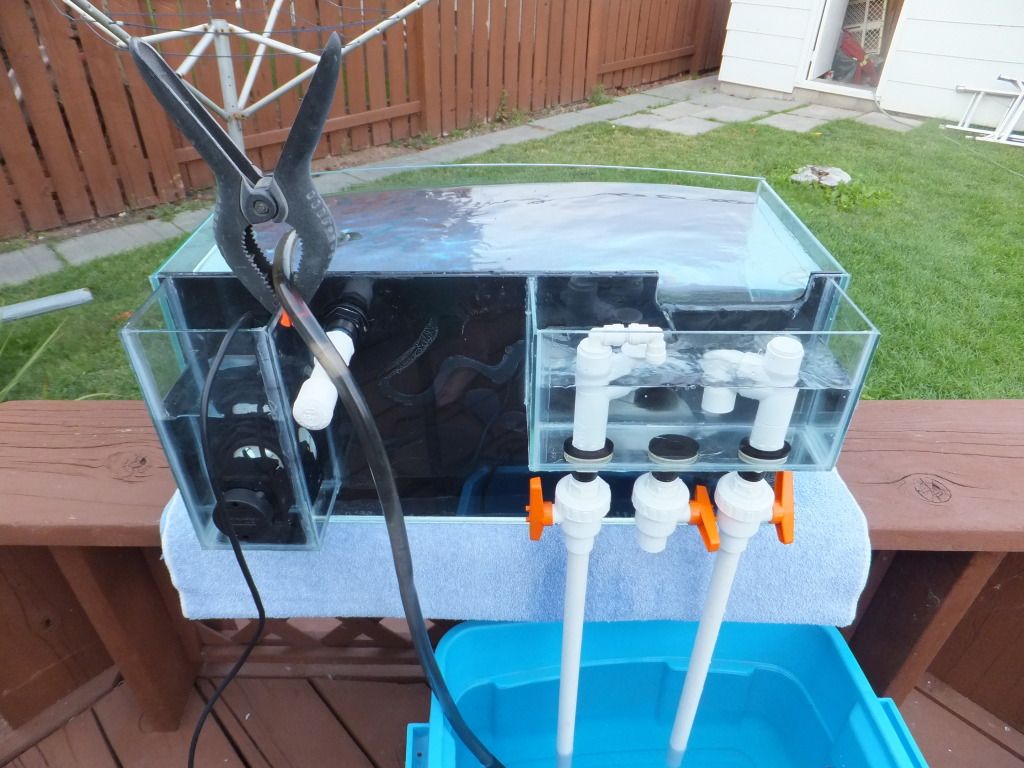 and last but not least...VIDEO PROOF THAT IS REALLY HAPPENED
|
 |
| Tags |
| bowfront, custom, exposed rock, tunze, wavebox |
|
|


 Linear Mode

