![]() |
|
#1
|
||||
|
||||
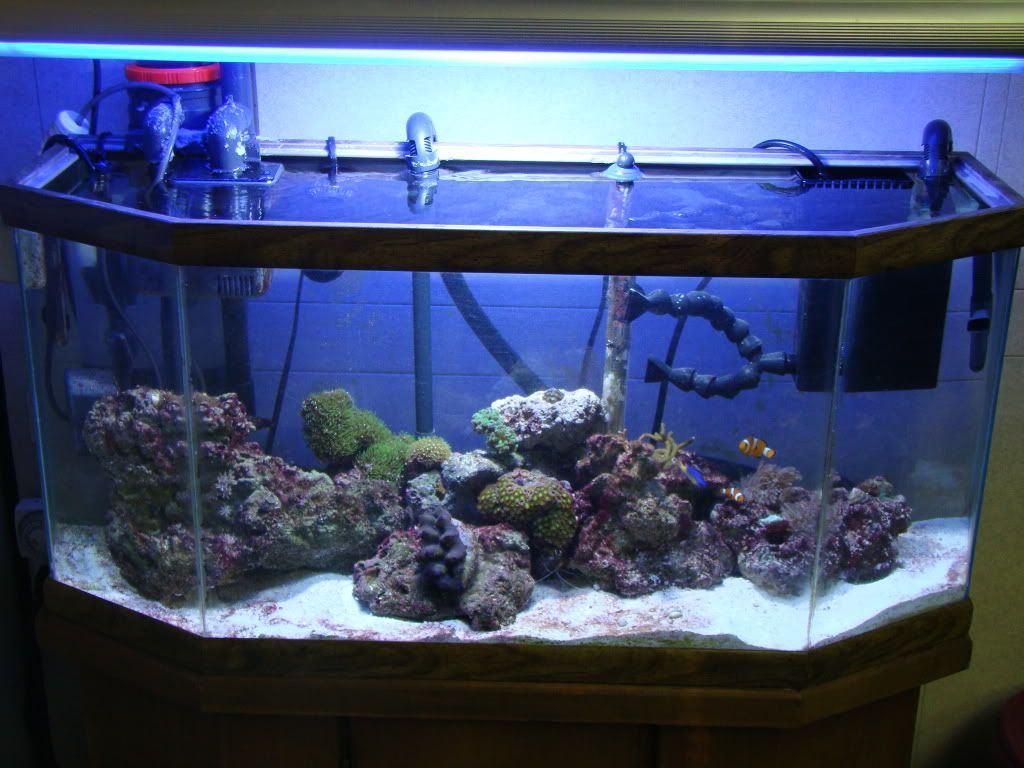
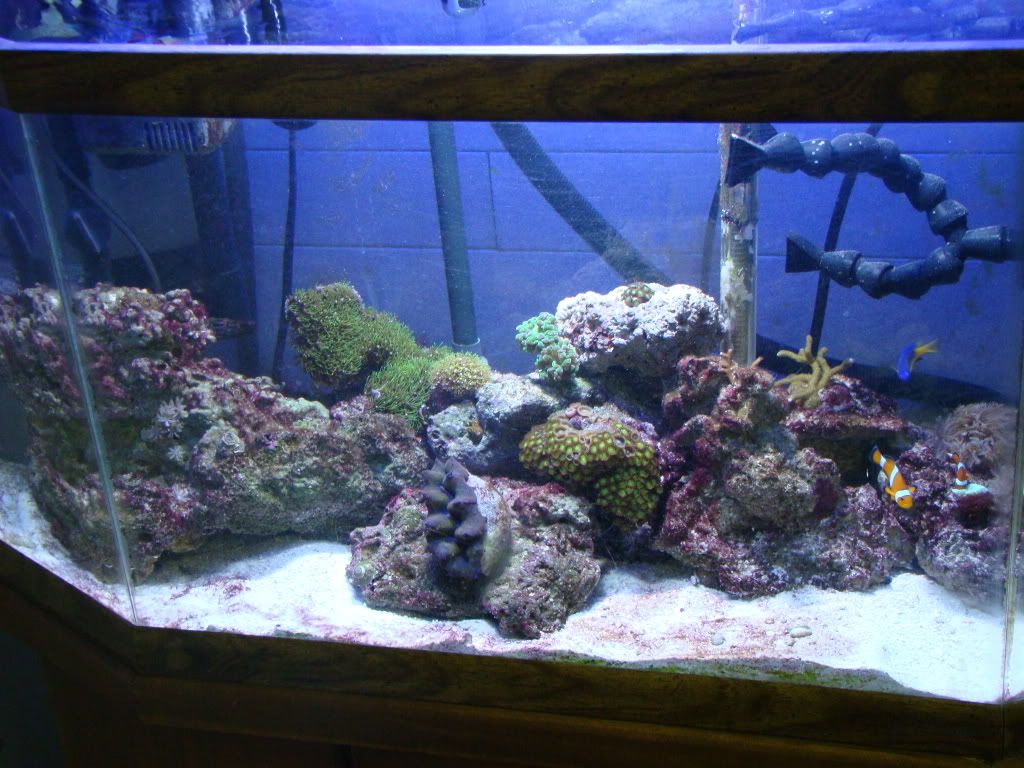
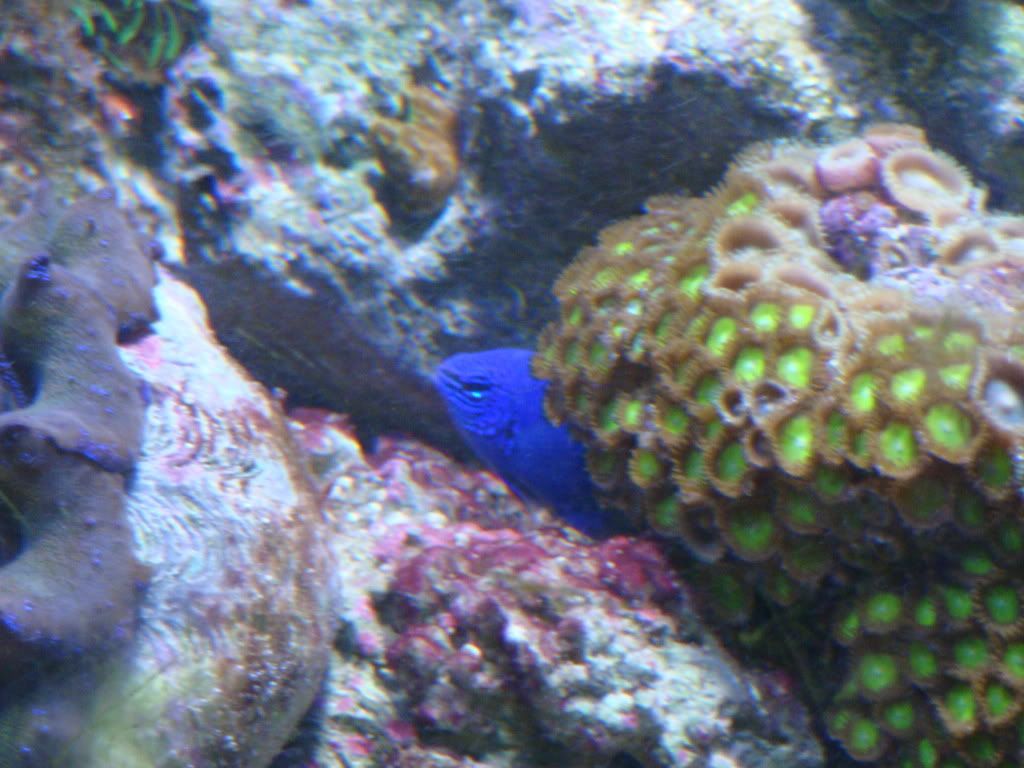
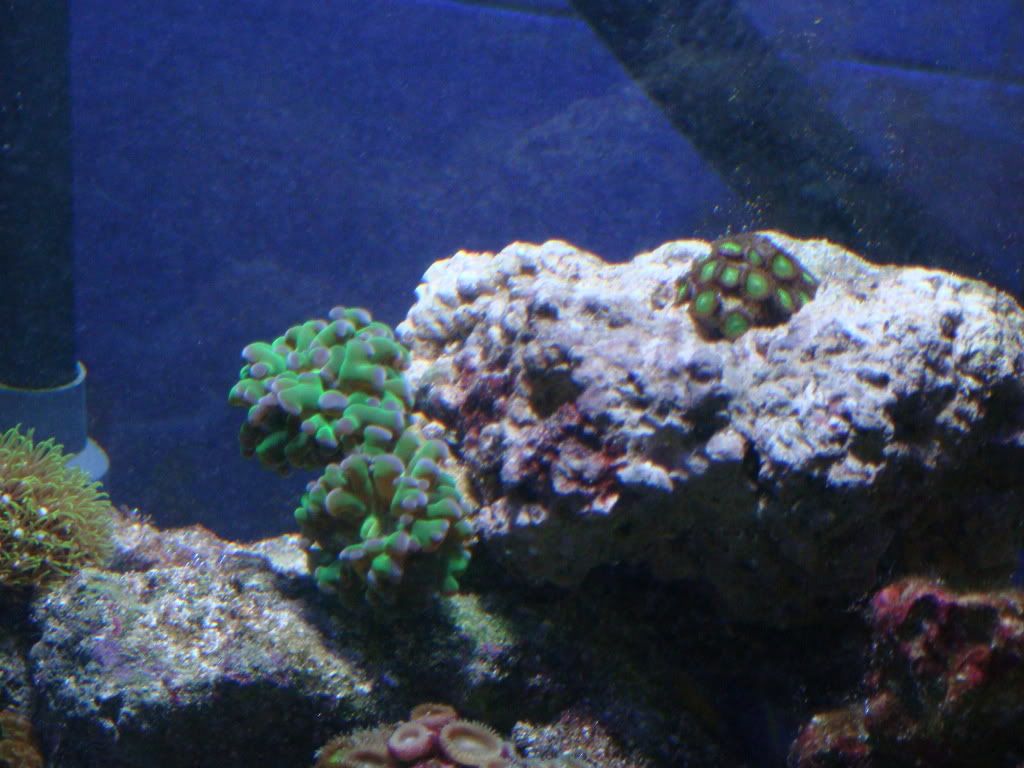
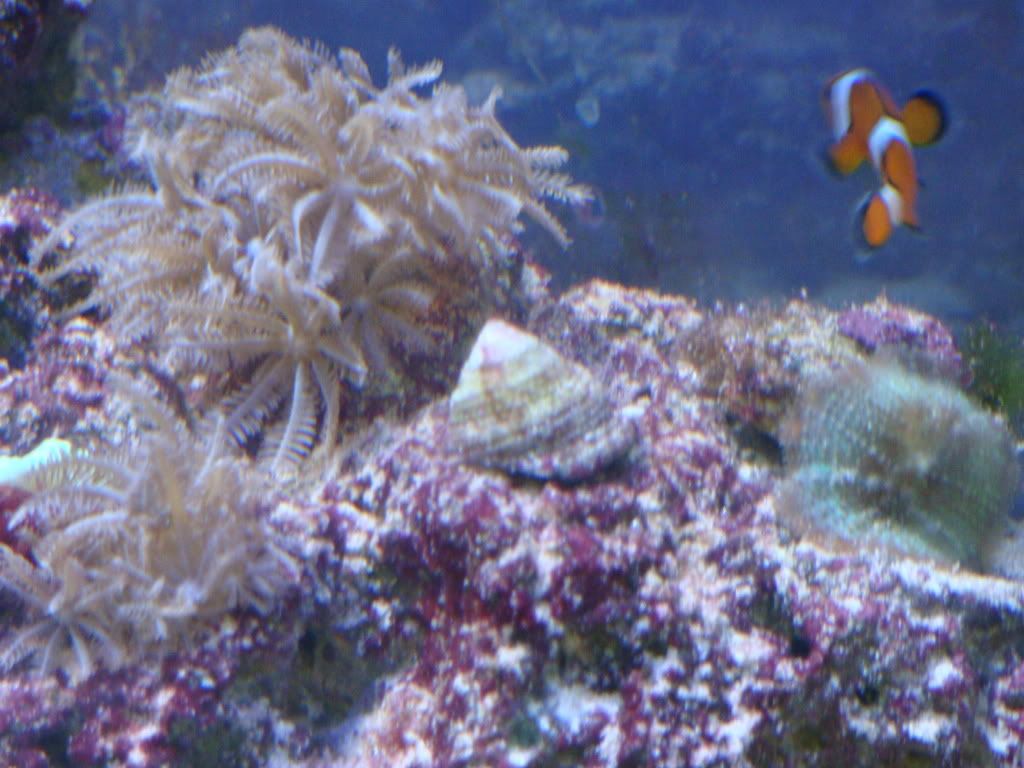
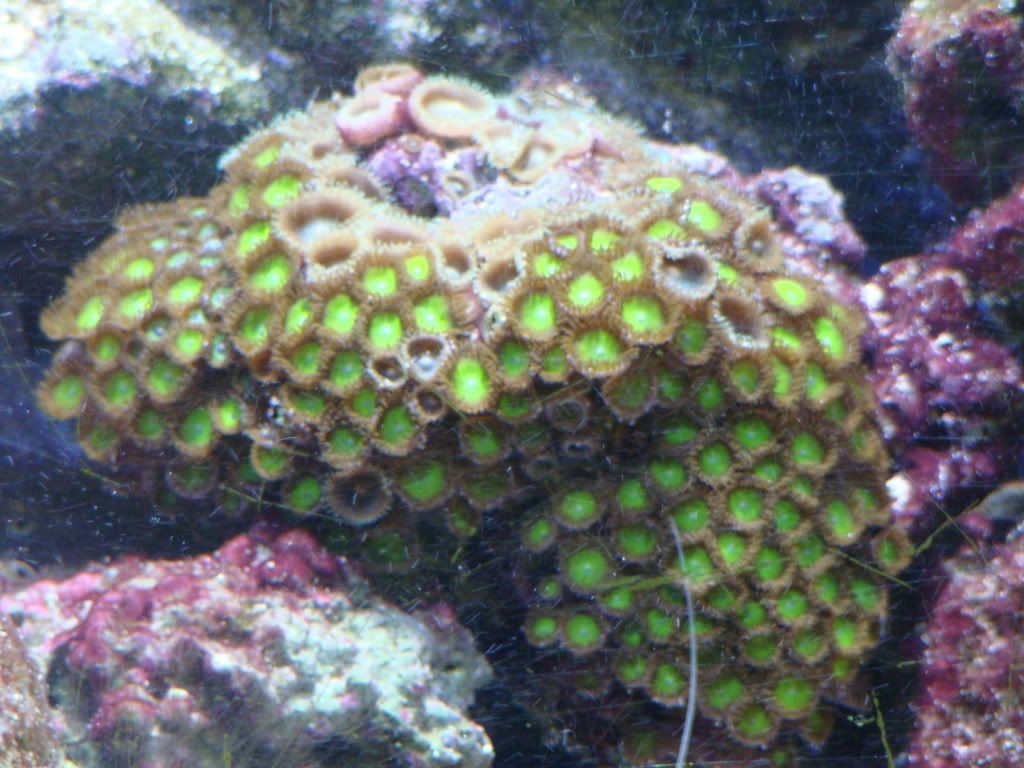
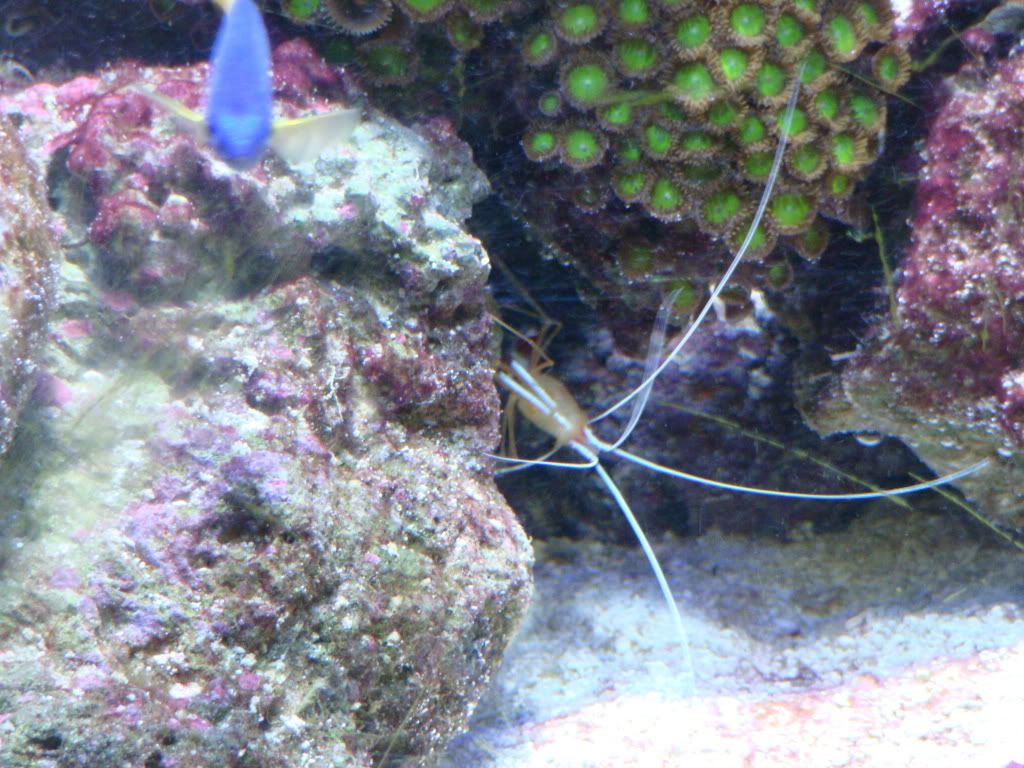
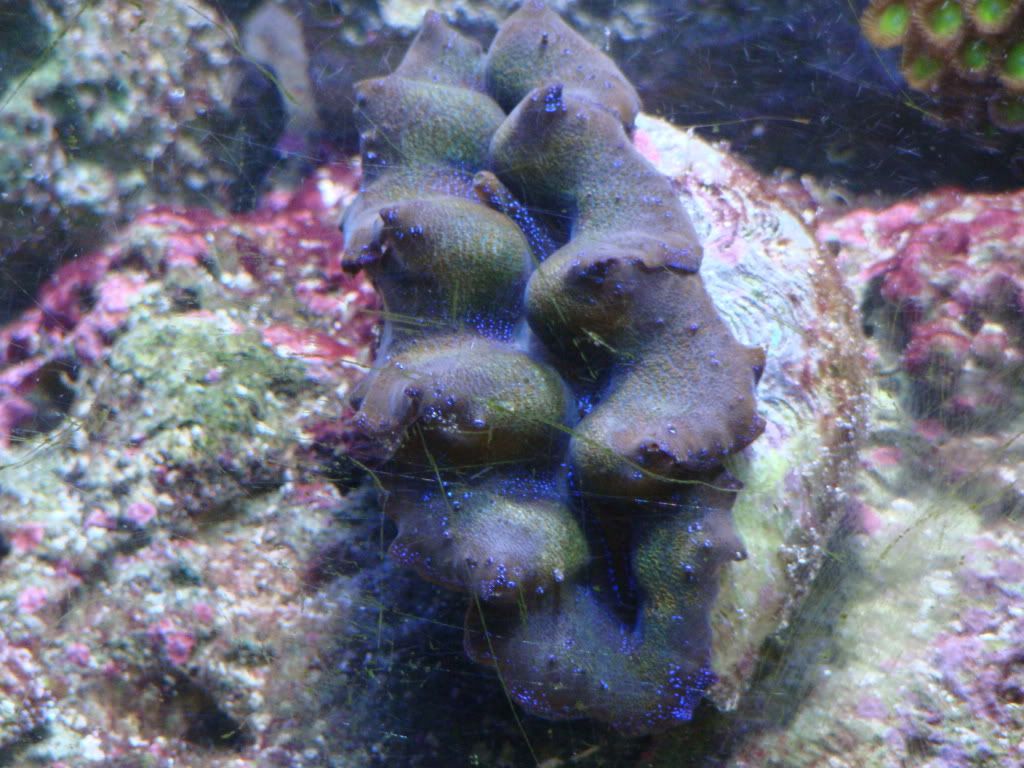
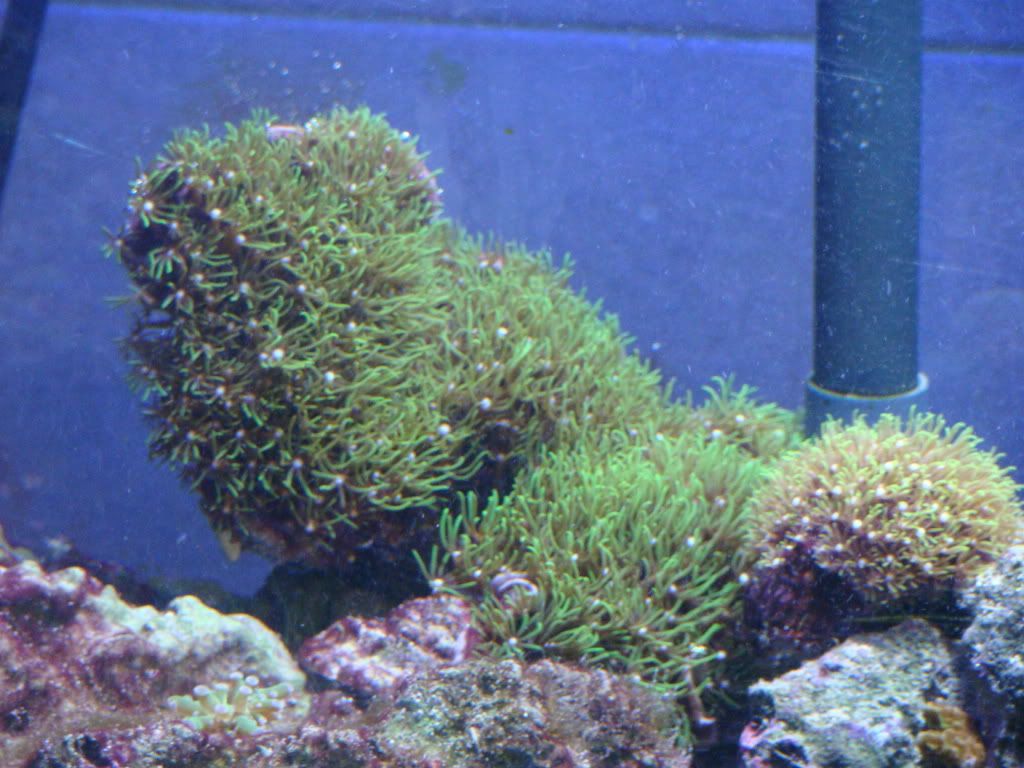
![]() I Thought it was about time for an update, frags are doing amazing and growing nicely! Had a little bit of a hair algea from leaving the blinds open over the weekend....stupid sun light.....lol Got that under control, just reduced my lighting period from 12 hours to 8 hours, and pick up some mexican turbo snails. I have some Cree Q5 LED's on order and going to continue with the DIY light, by adding those to the light with the drivers of course...just had an itch for a DIY project.....Will update onces those come in. And now for the pictures:
![]() ![]() ![]() ![]() ![]() ![]() ![]() ![]() ![]() |
#2
|
||||
|
||||
![]() Nice looking tank, just a word of advice with the new drain you installed in your skimmer, it could end up doing some damage especially with that brand of skimmer as there quite prone to overflowing. If your skimmer continues to over flow it will keep emptying into your emergency drain which could result in a lot of water being drained out which would suck, as I've seen one of those skimmers empty out 10-15G's easily
(Ignore me if im totally wrong lol, it way to early in the morning) |
#3
|
||||
|
||||
![]() Quote:
Thanks for the advice, Since this is in an office environment, would rather it fill up the bucket below the tank using the emergency drain, instead of filling up the cup all the time.... More volume in the bucket, than in the cup...atleast that is my logic. Also had to think, death of a reef would be cheaper to replace, then all the carpet and equipment in my office and the offices below me..... Just my 2 cents worth.... |
#4
|
||||
|
||||
![]() So my Ultrabright CREE Q5 LED's came in the other day....yahhhhh....
![]() So my first task was finding an enclosure for this....spend alot of time looking for this, but found it at Princess Auto: ![]() So I placed some foam in the bottom and place the LED and Heat sink in, just barely fit.... ![]() This one is the bottom view with the diffusor in: ![]() So I attached some Female bullet connectors to the LED wires: ![]() All Done with the connectors, now to place everything inside: ![]() ![]() Now connected all my lead to a 12v power source and viloa, we have light! ![]() Placed some glass that I had kicking around, on top of my existing light: ![]() Now Placing the boxes on top of the glass: ![]() So here is what the tank looks light with only the LED's on: ![]() Not to shabby with just 2 LED's...hehehehe Here are some pics with all the lights turned on: ![]() ![]() |
#5
|
|||||
|
|||||
![]() Awesome job on those LEDS. They almost look like they were factory built! Very nice looking tank so far!
|
#6
|
||||
|
||||
![]() Thought it about time to update tank pictures, just replaced my 150w 20k MH bulb, that one hurt the pocket book.....You know what I will have to admit that I was always a fan of never replacing a bulb unless it was burnt out....But after today, I was proven wrong....what a difference.... And of course I had to do the smart thing and take down the light to replace the bulb and had to test to make sure it worked, before putting it all back together.......yeah we can all guess what happened....it worked!!! Still seeing spots.... Atleast I marked the date I changed it on the box with the old bulb, that way I don't second guess when I changed it. Yeah I have my moments, but who doesn't??? lol
![]() ![]() ![]() ![]() ![]() ![]() ![]() ![]() ![]() |
#7
|
|||||
|
|||||
![]() Really liking this thread build
![]() |