
|
|
|
|
|
#1
 07-16-2009, 02:45 PM
|
||||
|
||||
|
Hi everyone, a little history. This tank/setup was a christmas present to my gf- Cheyanne who had a saltwater tank in the past and this is something I've always wanted. We're both from the coast and the ocean has always been a big part of my life so this is the next best thing. Before this i've never owned a tank of any kind but through tonnes of reading, researching online and going through all your tank journals i've begun to gain a little knowledge.
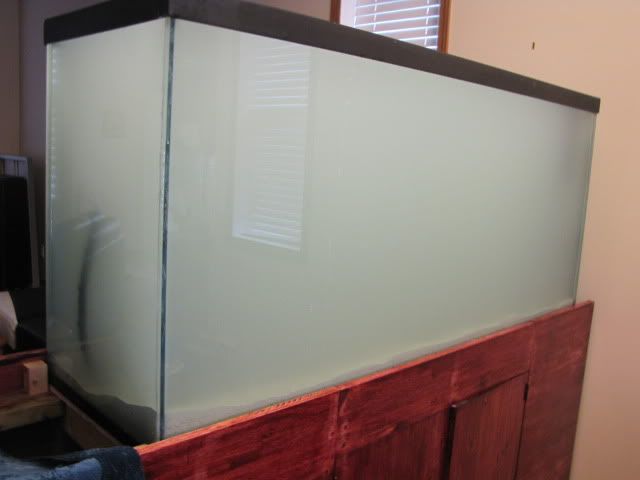
So we picked the tank after christmas but we were moving april 1st so everything had to be put on hold till then. Well the set up at least. Specs... The tank is 60"x18.5"x27.5" for total of 130g. The tank had an overflow in the rear corner with only one hole and the return was drilled mid tank 3/4 way towards the far end. Needing some guidance, luckily, we found a great asset at a LFS, Kevin from Red Coral. He totally gave us ideas on how to set our tank up, explained it in ways easily understood, gave us the pros and cons of different setup possibilities, and he was just as excited with our growing set up as we were. Thanks Kevin honestly without your help this wouldn't be possible. So first this is who we are.... Cheyanne and her newest fish for the tank  Claytons first ever fish way back when 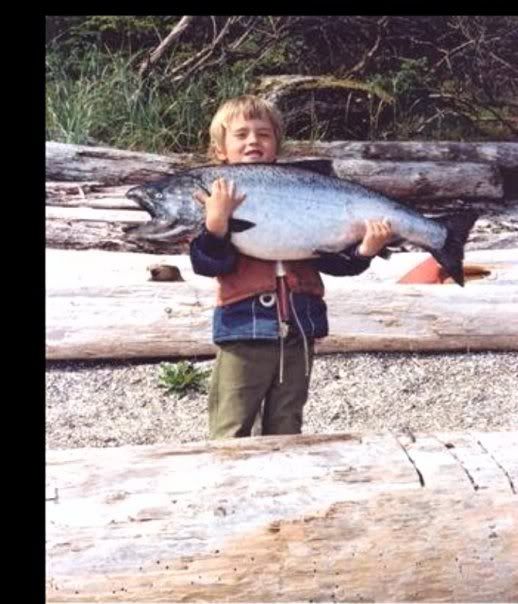 Sweet love  Our cleaner shrimp puppy  So first off our tank had only one hole drilled in the overflow and kevin had a quick super simple solution for that, just drill the emergency drain through the back wall and there ya go a fully functional herbie overflow. The tank going in to get drilled 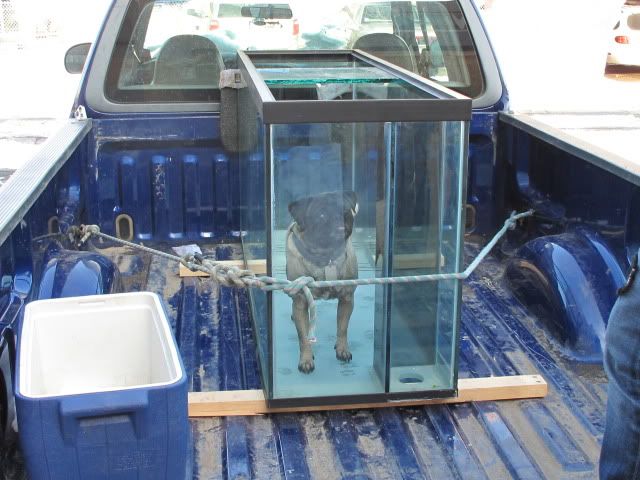 Our fearless guardian 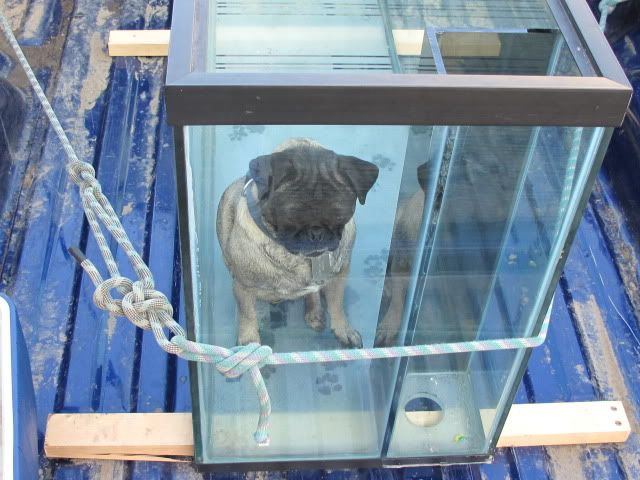 So got the tank back moved into our new house and the tank is to be the divider between our kitchen and our livingroom  I set about building the stand 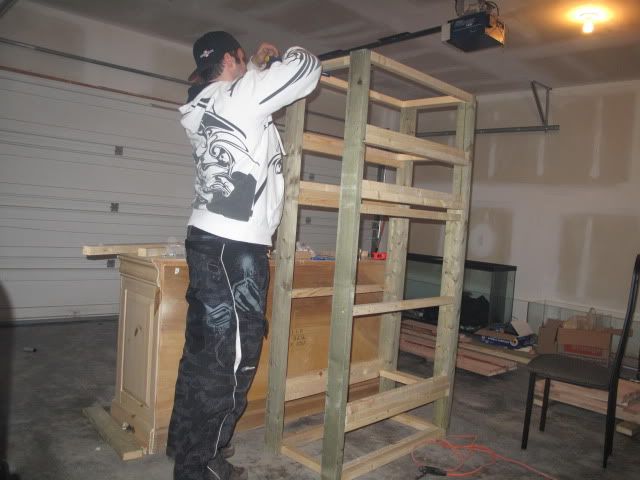 Its well built with 2x4's and 2x2's braced in all the right places 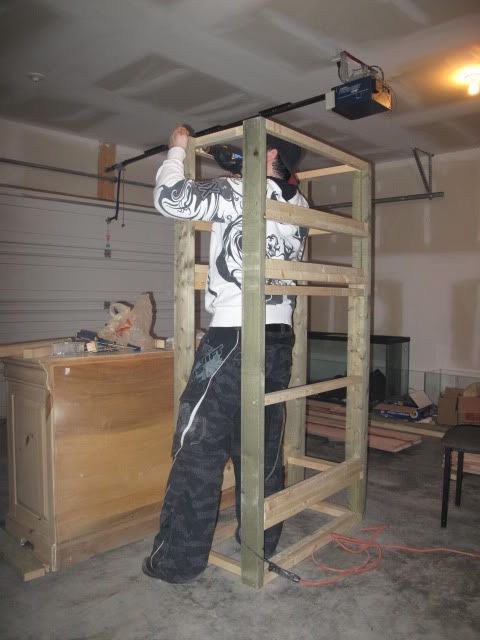 The panelling is eucalyptus and i ran it 2" high on top to hide the black trim on bottom of the tank and i built the stand a foot longer than the tank to make a shelf and storage space also ran the panelling 4" further on the rear to hide all wires and the overflow pipe; 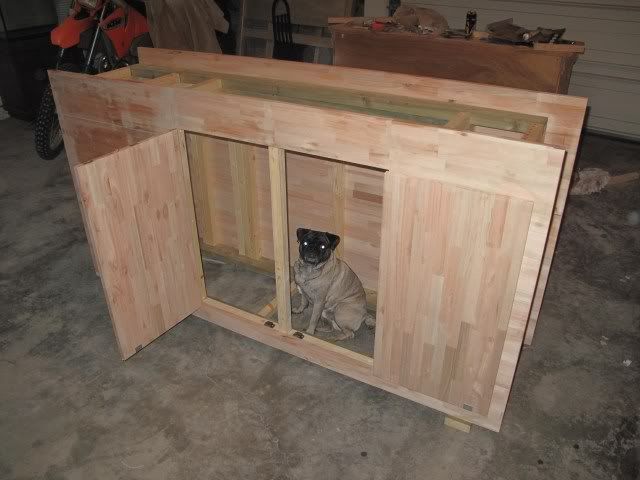 Bombay mahogany stain 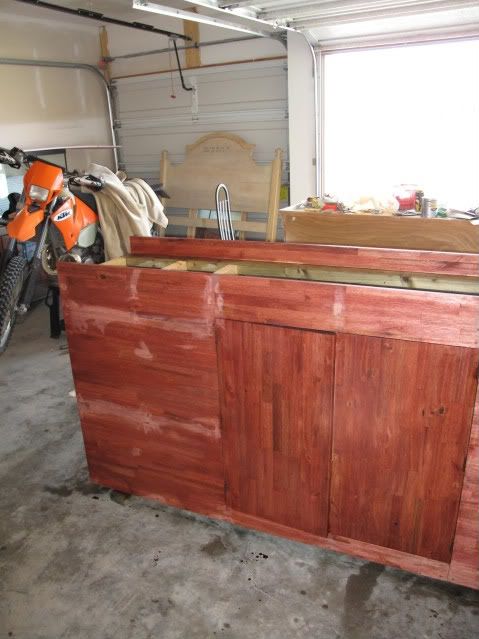 
|
|
#2
07-16-2009, 02:48 PM
|
|||||
|
|||||
|
Very nice! I love the stain colour.
|
|
#3
07-16-2009, 02:53 PM
|
|||||
|
|||||
|
Looking good so far. Looks like it'll be a good build thread. Keep asking questions so that you can do it right the first time and not have to regret it. Be PATIENT. This is one thing I have learned over the years.
This board is so great for learning and I have developed so many friendships over the years even though I haven't had a tank for the past few years the friendships continue. Looking forward to seeing how your tank turns out. One thing you might be able to get rid of is that middle vertical bar between your doors and brace your tank with a beefier horizontal "beam" in your stand. One thing I've learned is you want as much access as possible under your tank. It makes life much easier in the long run. I don't even have a sump under my tank, just a closed loop and I'm already dreading when my skirting is coming for my stand because it's going to limit my access below a bit. Hope this helps. BTW, Welcome to Canreef. Des Last edited by Dez; 07-16-2009 at 02:56 PM.
|
|
#4
07-16-2009, 03:06 PM
|
||||
|
||||
|
So got the stand done and the tank and stand are moved into the house
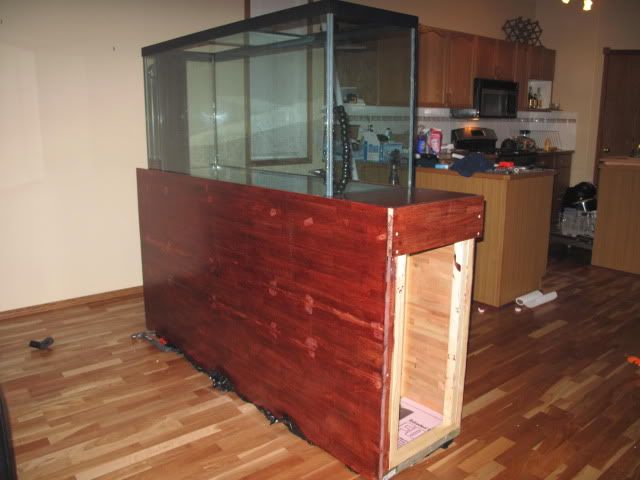 How the overflow is done with the emergency drain drilled out the back. 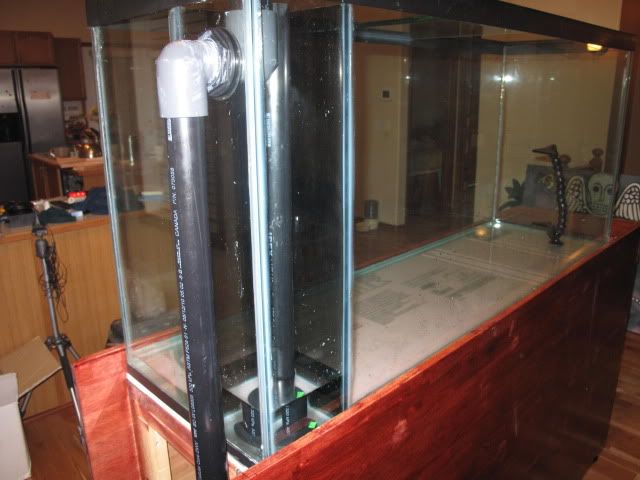 Kevin at Red Coral had us a custom 3 chamber sump built at 48"x14"x16" and heres the dry fit with equipment in the sump 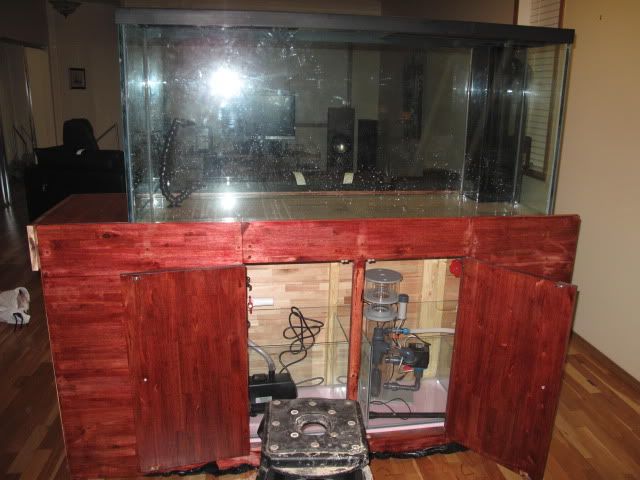 Quiet one 6000 and Hydor preformer 600 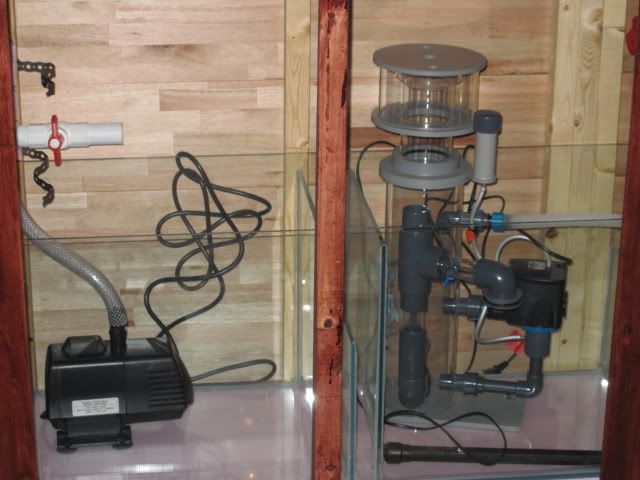 The Drain and emergency drain going down to the sump 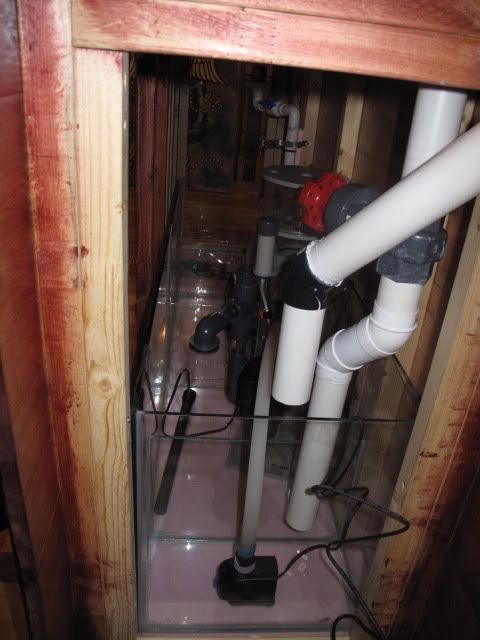 Tank end shot... Next tank will be same length and height but 36" wide 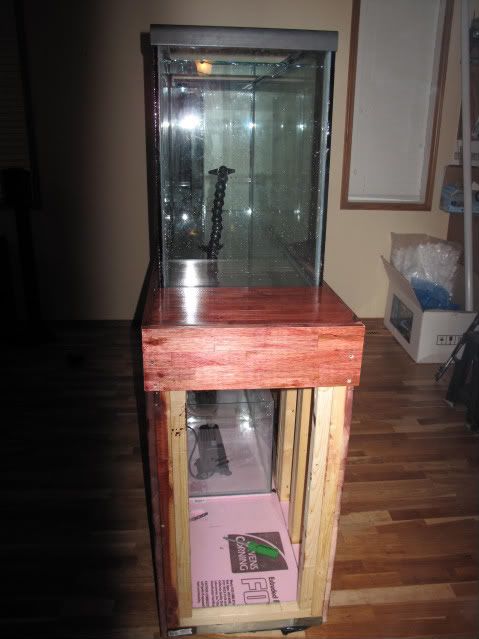 Reactor and the plumbing prior to the change. Now hardlined in with 2 45's no 90's 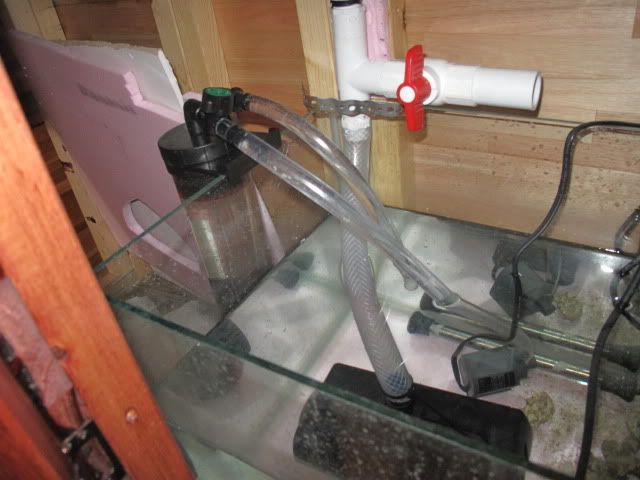 Our fearless guard 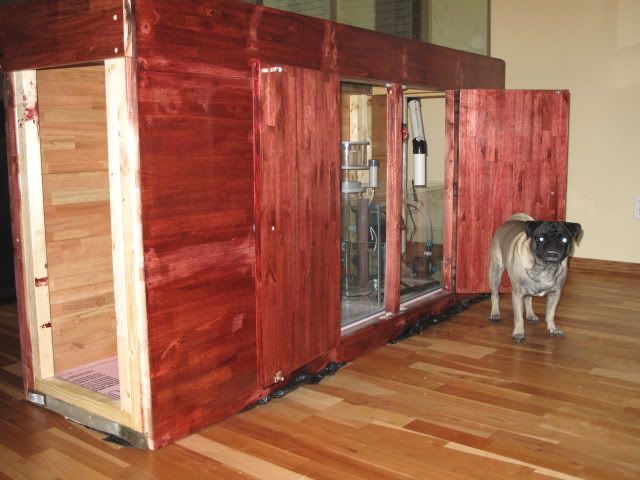 Dogs eye view 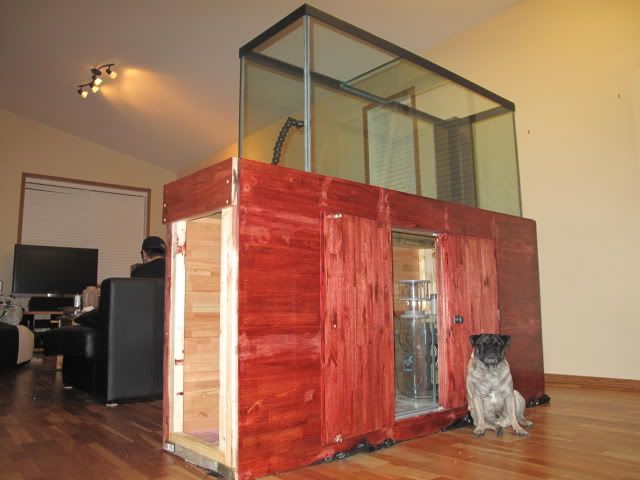 My first shot at wiring this bad boy up. Not bad I must say. 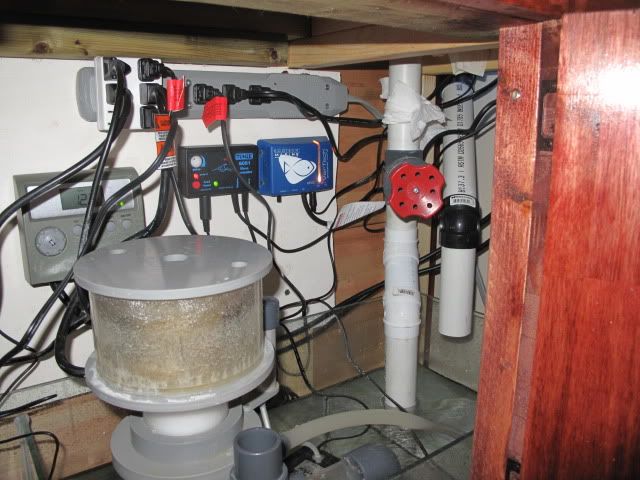 Sand is now in.. we went with fine sand, 1\2 live rest is regular good ol sand 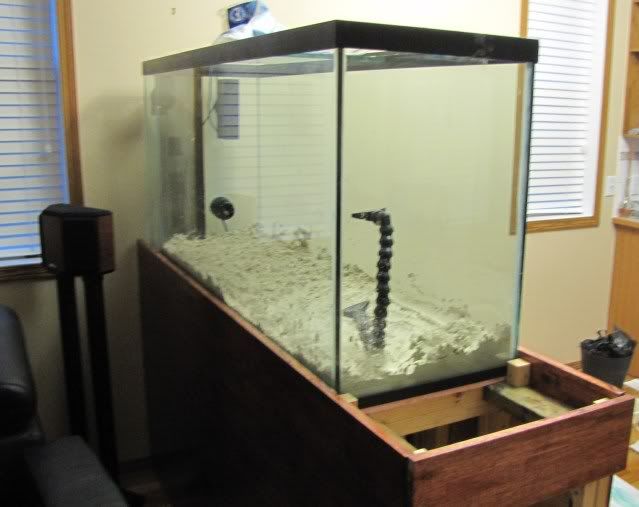 Ready for water. See how our return breaks into 2 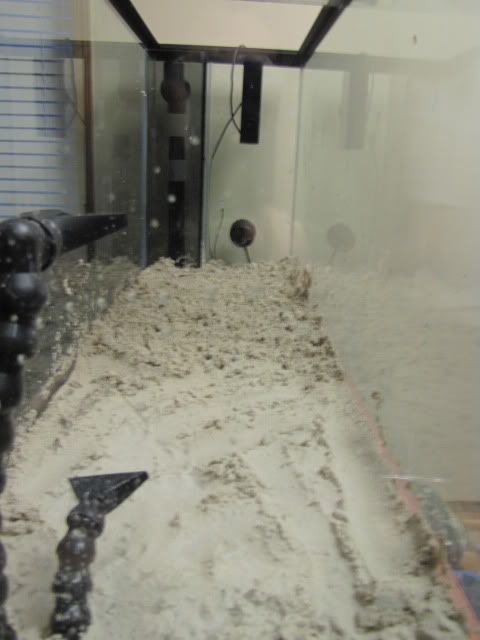 This is where the magic is mixed  Ready to fill her up 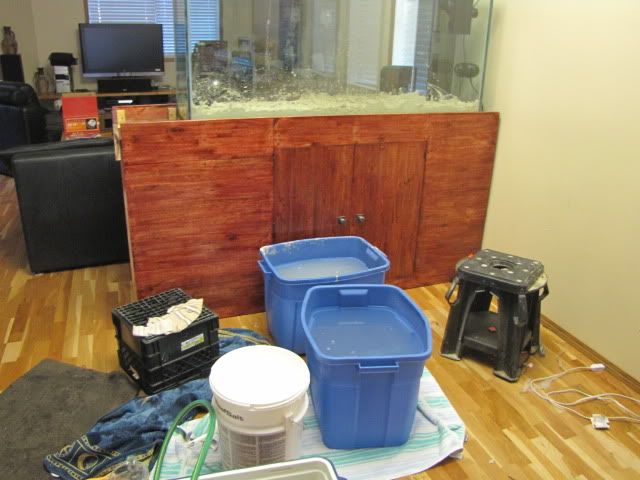 Waters in but its a little cloudy 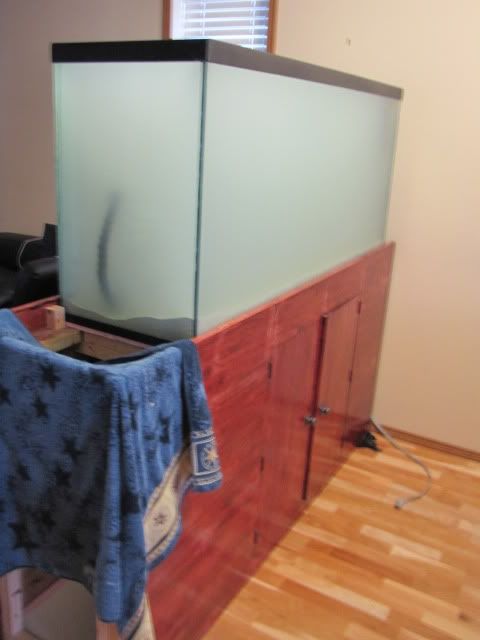
|
|
#5
07-16-2009, 03:15 PM
|
|||||
|
|||||
|
Looking good so far. One quick question. What happens when the power goes out? With your return plumbing running mid and low in the tank, won't all that water siphon out when the power goes out and drain half your tank?
I would run the line from your return pump near the water surface. Even with a check valve, the check valve could fail with anything getting caught in there. Des
|
|
#6
07-17-2009, 12:58 PM
|
|||||
|
|||||
|
Quote:
other than that tank looks great
__________________
but what the heck do i know
|
|
#7
07-17-2009, 02:15 PM
|
||||
|
||||
|
Unfortunately the tank was drilled with the hole in bottom for the return when we got it. Is there anything else a guy can do other than a check valve? Also a quick question about return pumps.... our quietone 6000 constantly hums pretty loudly. Its more like a resonant frequency hum but after a while it really grates on your nerves. Is this normal? Can this be avoided with say an external type pump... ie reeflo snapper gold or one similar?
__________________
130g peninsula aquarium 45g sump Tek light 8 bulb fixture, tunze nano wave box, vortech mp-20, rowaspas reactor, carbon, hydor preformer 600 skimmer, quiet one 6000 return
|
|
#8
07-17-2009, 03:42 PM
|
|||||
|
|||||
|
Quote:
I can see a few simple solutions. One thing you can do is replumb your return line. Valve off that hole in the bottom. Plumb your return line to the wall, up beside your emergency drain and back into the tank near the water surface, if you really wanted to go back into your tank in the opposite side of the overflow, then run the pipe beside your light (still hidden in your canopy and back into the tank. You will have more head loss this way. Another solution is to run your pvc pipe from the bottom of the tank to the water surface - down side is esthetics. You'll have to do rock magic to cover the pipe. Or you can make an aragocrete pipe/rock to hide it all. This is kind of a lot of work, but worth it. I made a fake rock intake for my closed loop and am so glad I did. The other option is to rely on a check valve (I wouldn't personally) If your power goes out and the check valve fails - hopefully it won't fail fully open, if it leaks it will hopefully be small. This option is scary in my opinion. Another option is to make the tank 2 side viewable and have your return pipe running up the end viewing panel and then cover it up with cabinetry/canopy. This too is a lot of work and you have one less viewing panel. This is what I ended up doing with my tank and I struggled with it for a long time because I wanted 3 sides viewable but I didn't want piping above my tank and I didn't want to rely on a check valve. I personally like the external pumps. If you are redoing plumbing now is the time to change out your pump. I hear the Dart golds are awesome. I run a regular old Dart and am happy with it. It's the second loudest part of my system (my wavebox is the loudest), but I don't even have my cabinetry on yet. If you can bear with the noise of the wavebox, then a Dart Gold should do you well - the only thing is like this whole hobby is - it's pricey. One thing your can try is lining the inside of your cabinetry with foam to dampen the noise. Also put a chunk of rubber under the pump, that might help. I hope that this helps. Looking forward to seeing your progress. Des
|
|
#9
07-16-2009, 03:31 PM
|
||||
|
||||
|
Real cloudy
 I'm sure somethings swimming in there 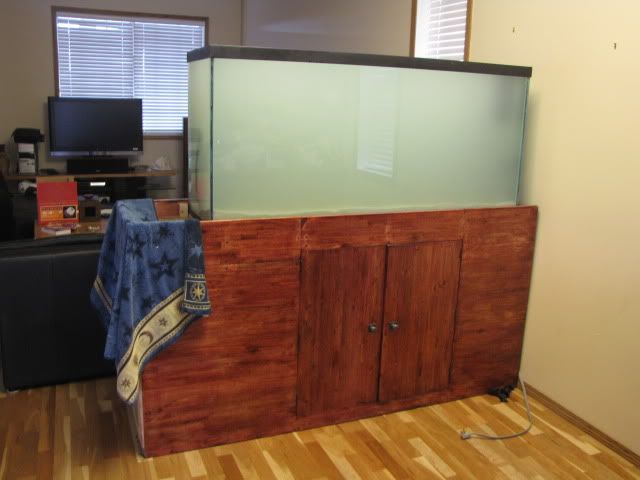 View from the bedroom 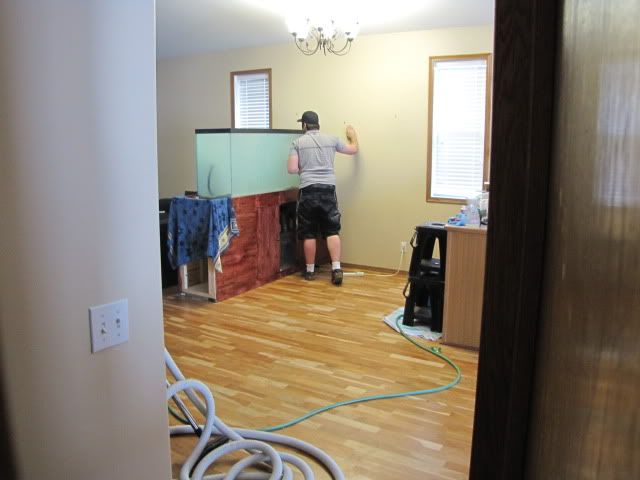 Again we are lucky enough to deal with a great LFS. Red Coral. Kevin opened the store up early for us so we could pick and choose through all his live rock till we came up with an over all shape and plan for our live rock set up. We probably went through 600-700 lbs to find the 130lbs that was right for us. We totally messed the floor of the store up building our desired shape, saved our new hardwood floors for sure. Again thank you very much Kevin Cheyanne and myself greatly appreciate that. So 130 live rock at home built and photographed ready to go in... but no its not that easy to recreate what you've built once inside the tank.  Even with pictures... 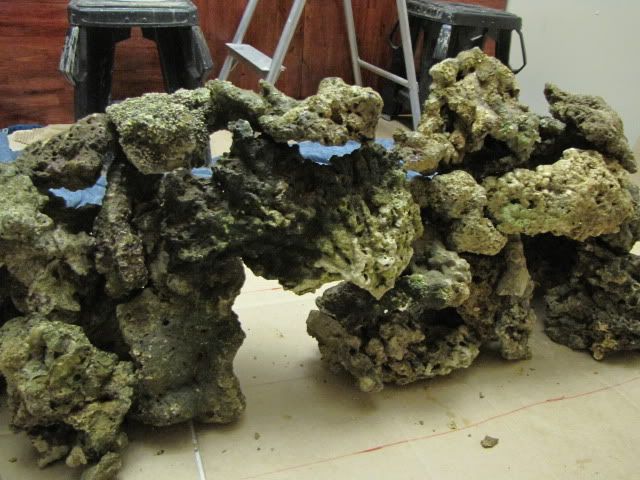 its way harder in the tank. By the way Kevin thanks for the beautiful live rock 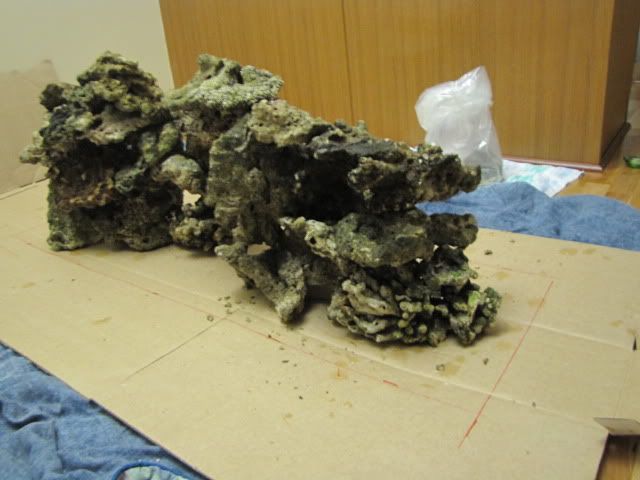 Rock and water all in, the divider is up. The lighting we went with is a tek light 48" fixture with 8 bulbs. Looking from the kitchen towards the livingroom. 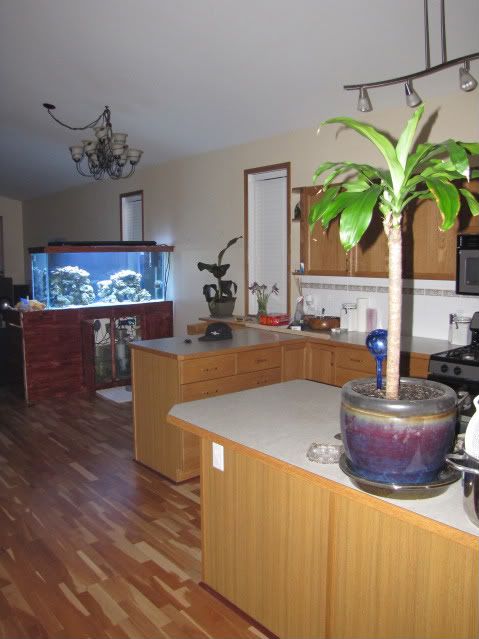 When the stand and hood are completed there will be a ledge all the way around the top edge of the stand to rest a drink on or whatever your fancy. The hood will be enclosed and the back against the wall will be enclosed. Here is the view looking from livingroom back towards kitchen 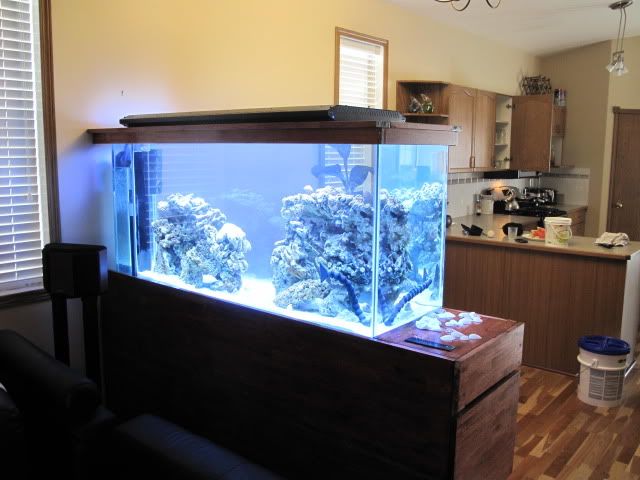 Our origional aquascape and the vortech and wavebox 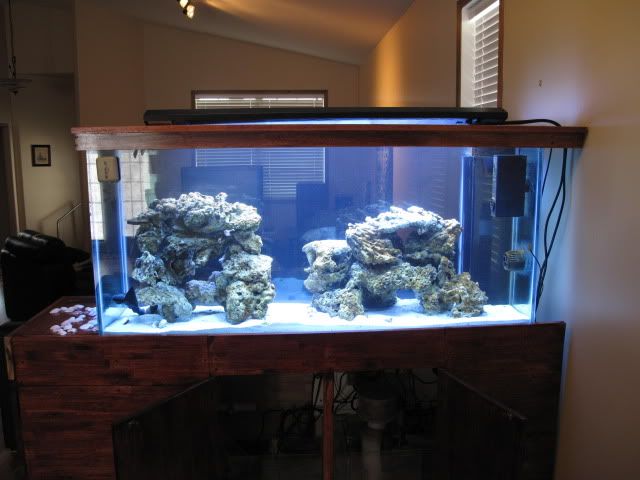 Overflow a working 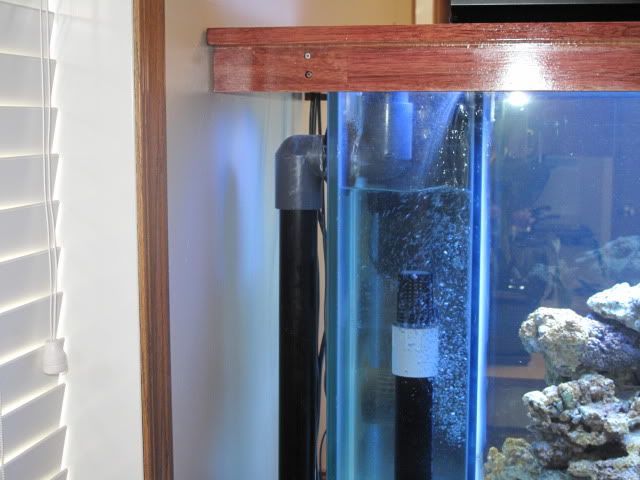 Sitting pretty. So the tank has been running since mid april 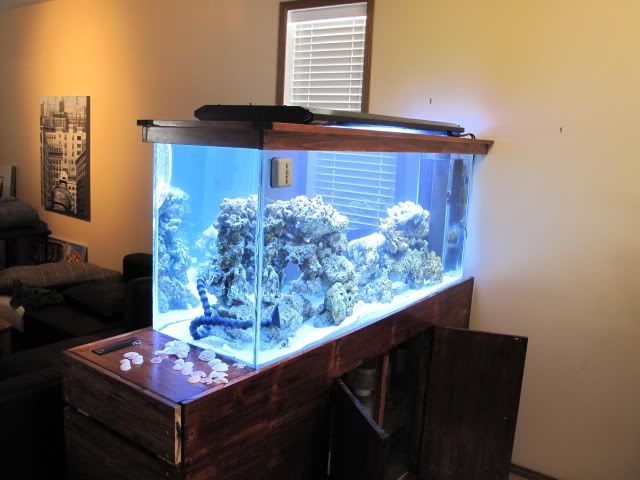 Tunze nano wavebox and vortech-mp20 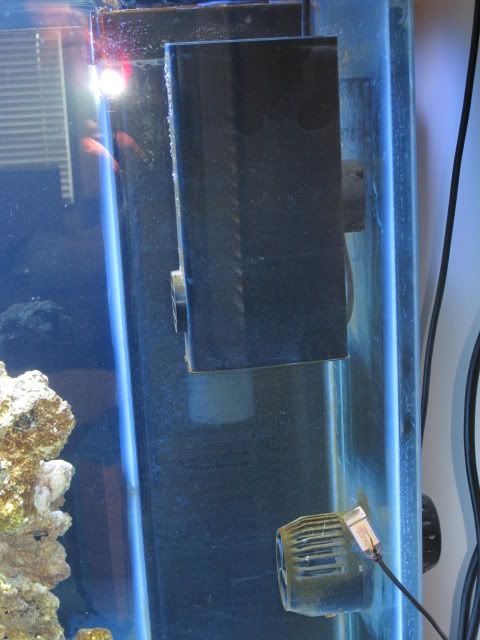 Return lines going down either side of rock work 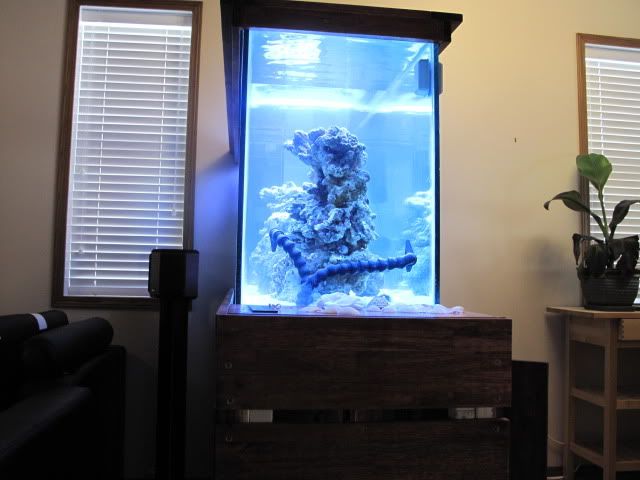 The flow splits 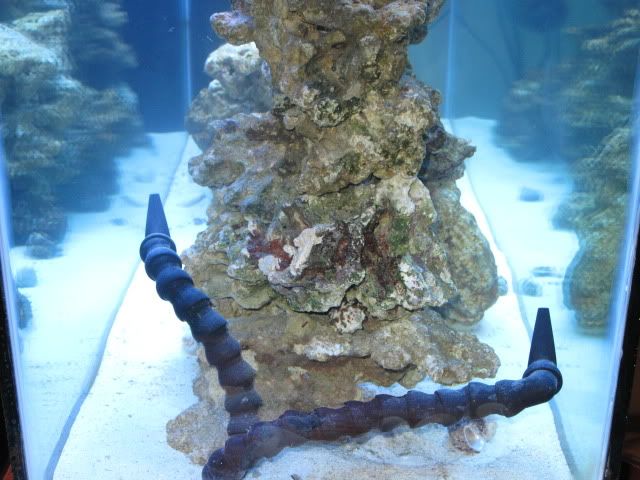 One of our caves 
|
|
#10
07-16-2009, 03:34 PM
|
|||||
|
|||||
|
Looks Freak'n GREAT! What's the plan for Live Stock?
J
|


 Hybrid Mode
