
 |
|
|
|
#1
|
|||||
|
|||||
|
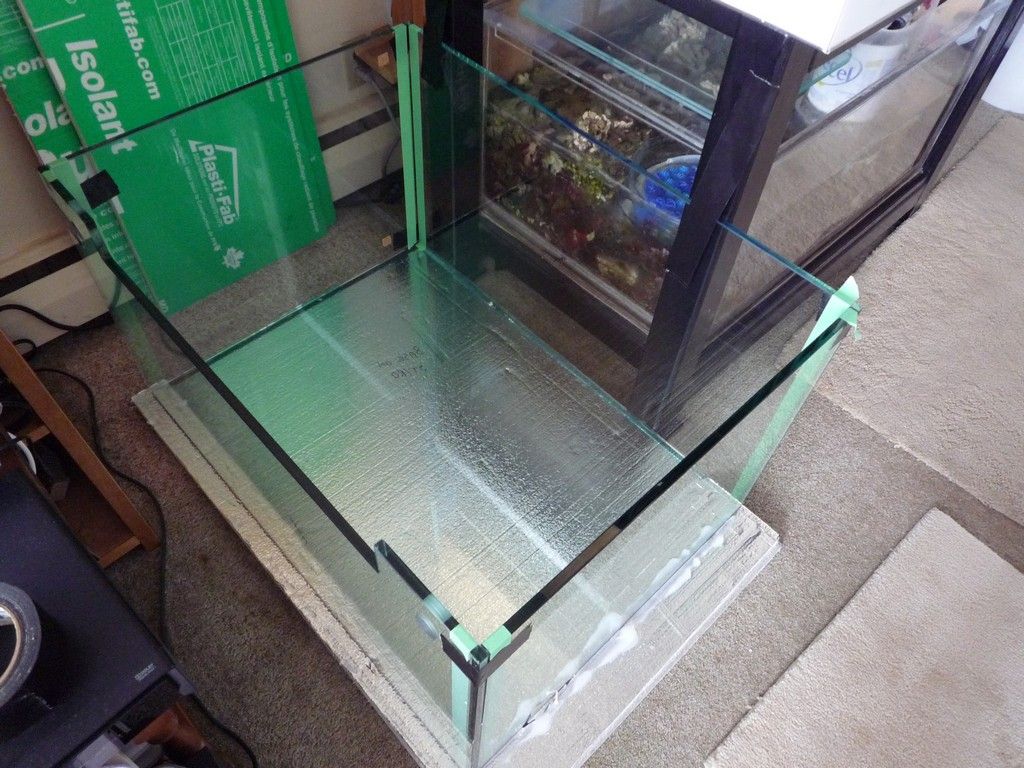
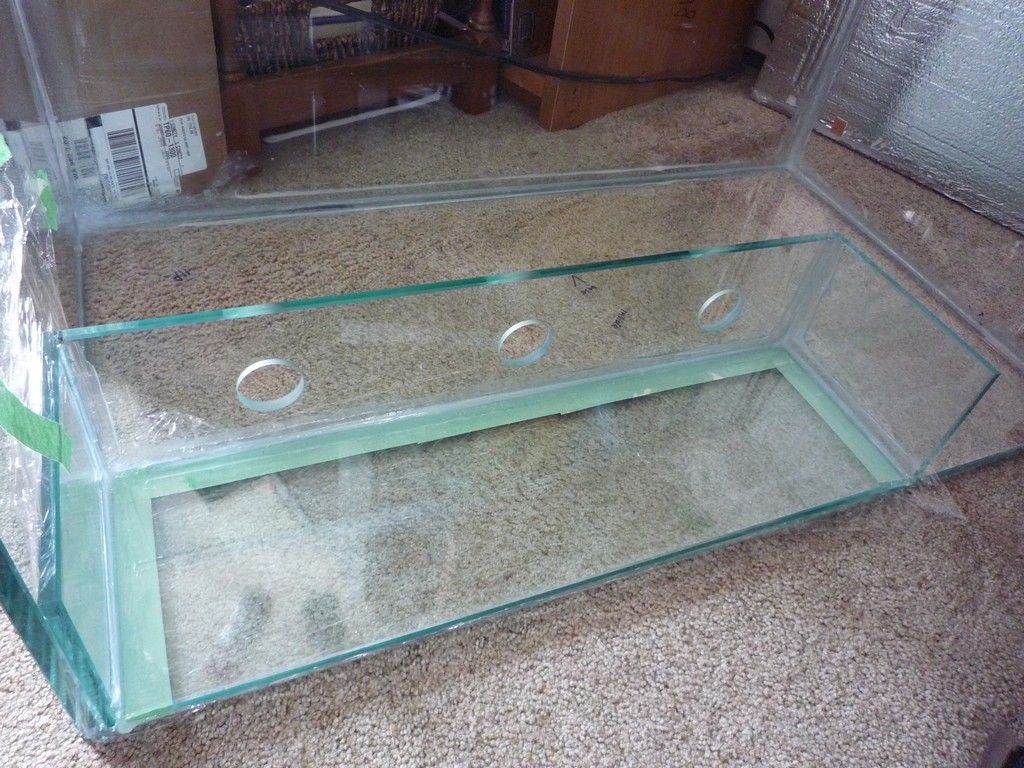
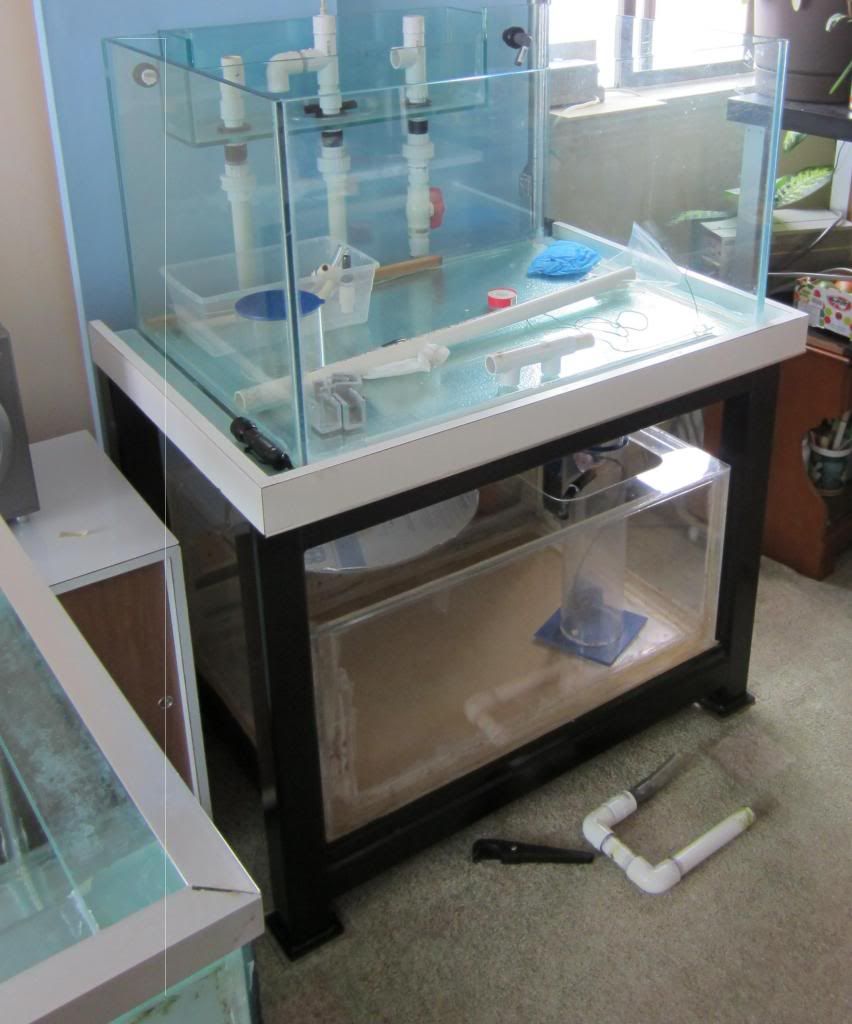
Alright I'm hopefully not going to have the same thing happen again. Second try worked out fine other than some bubbling here & there in the silicone. I had the bottom of the overflow box drilled with three 1 3/4” holes for 1” bulkheads & used one inch PVC for the beananimal plumbing as it should be more than enough for a tank this size. You may notice that the top of the box is 1/2” lower than the top of the tank. I did this so I could still fit some sort of edging around the tank (if at some point I felt it needed it). I recommend using a gate valve as opposed to a ball valve on the full siphon tube, the other two siphon pipes don't really require any valves. Inside the oveflow box I did not glue any of the plumbing above the bulkheads, it's all just press fit. Water tested the tank for a few weeks & then it was time to finally set it up.
   Last edited by WarDog; 02-29-2016 at 04:49 AM. |
|
#2
|
|||||
|
|||||
|
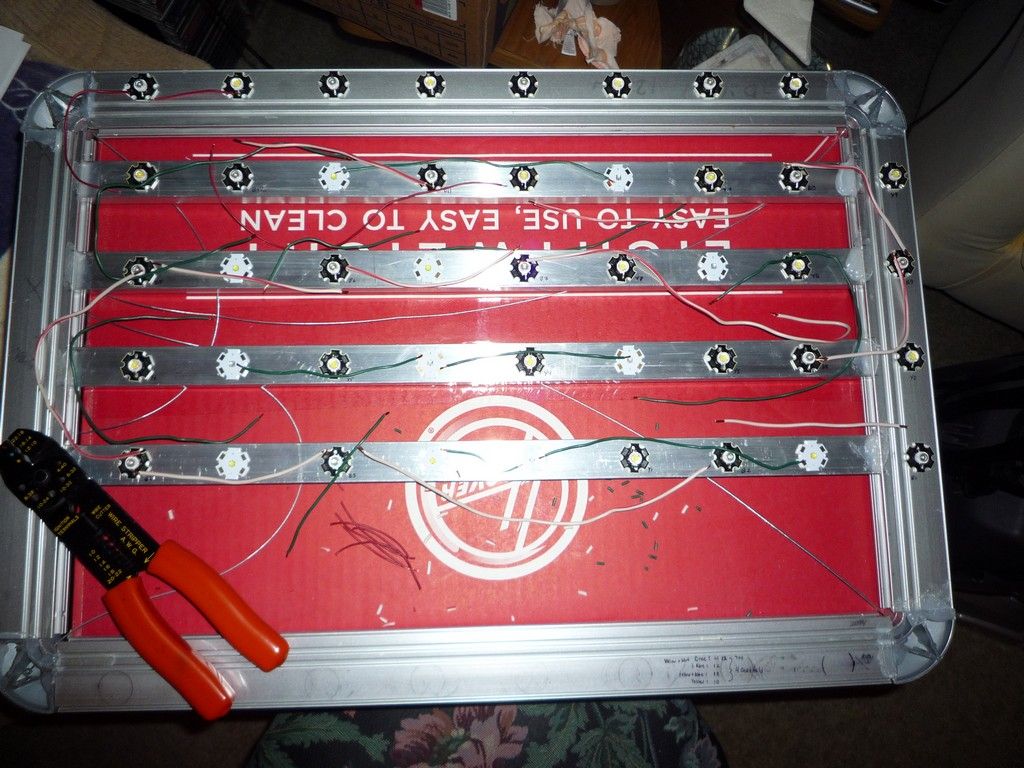
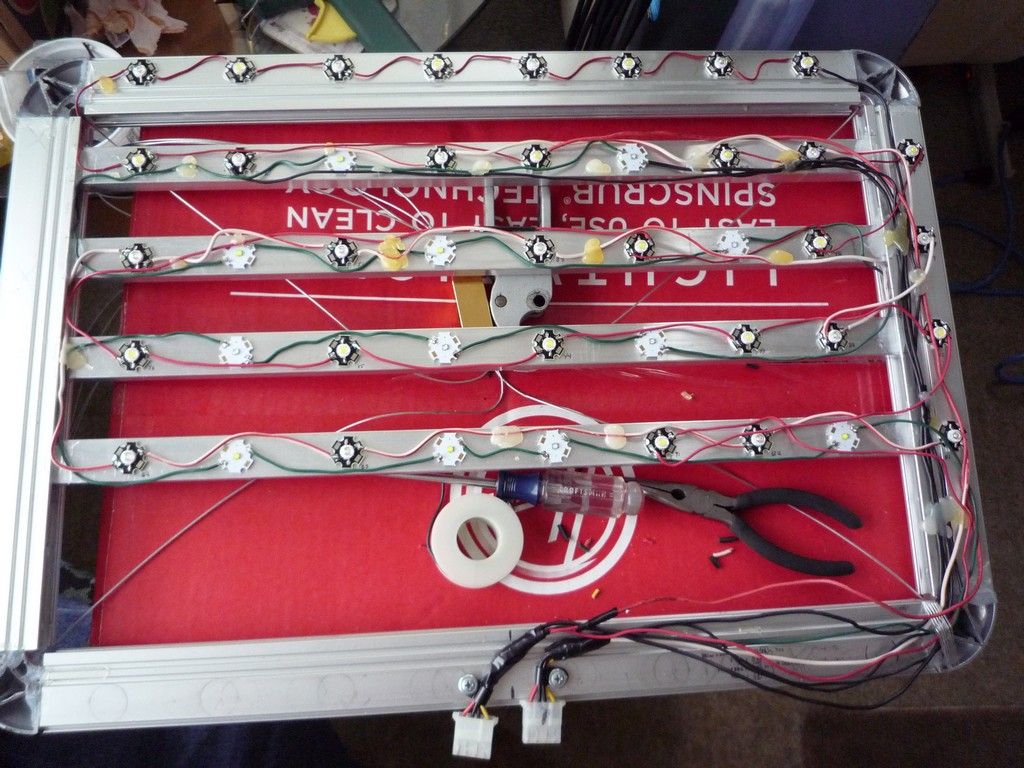
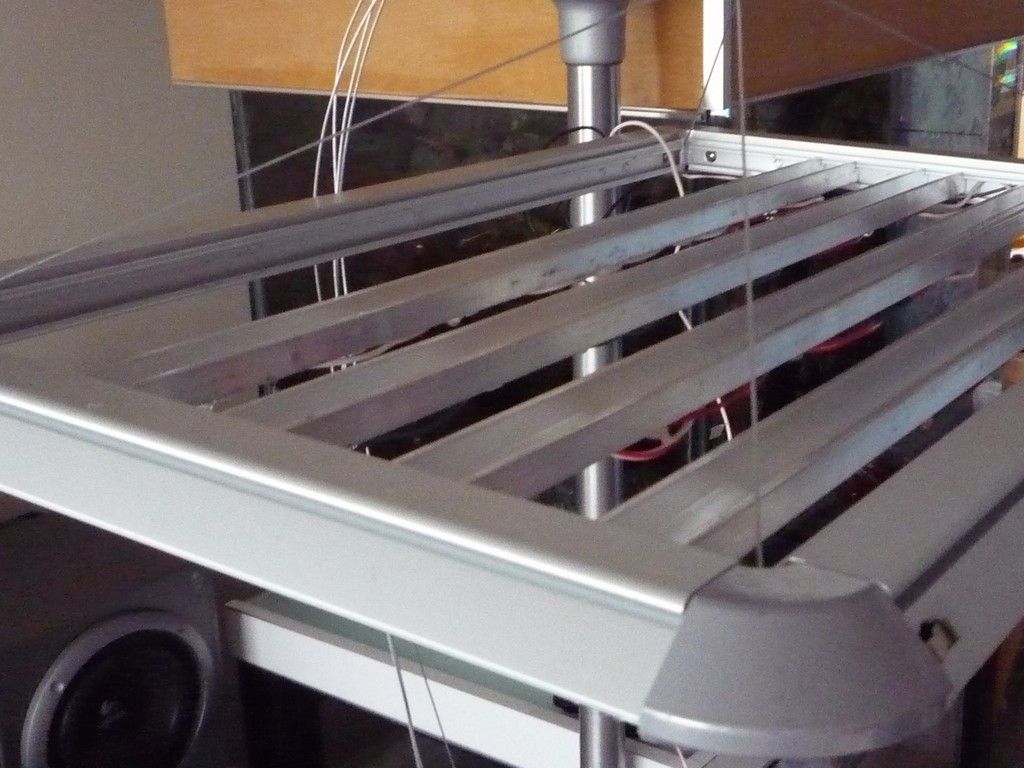
I was going to build some LED pendants but was told it would be more efficient to go with a standard aluminum heat sink. Plus the pendants would have been $$$ as I needed four of them & I'm cheap. Real cheap. O.K. Maybe not that cheap, but I'm pretty cheap. For my DIY LED heat sink I originally used some scrap pieces of 2.5” aluminum C channel I had lying around, but by the time I had assembled the thing, it was surprisingly heavy. So I went back into my scrap bin & used some aluminum bits from a miniature p/u truck tarpaulin display that I saved from a previous workplace. I spaced 1” alum. channel approx.1 3/4” apart inside the 16”x23” edges of the display to mount the LED's on. This piece proved to be much lighter than the first one I made. I constructed a shade made of aluminum sheet which kept the LED's from blinding me when I watched the telly or eventually passed out on the couch.
 |
|
#3
|
|||||
|
|||||
|
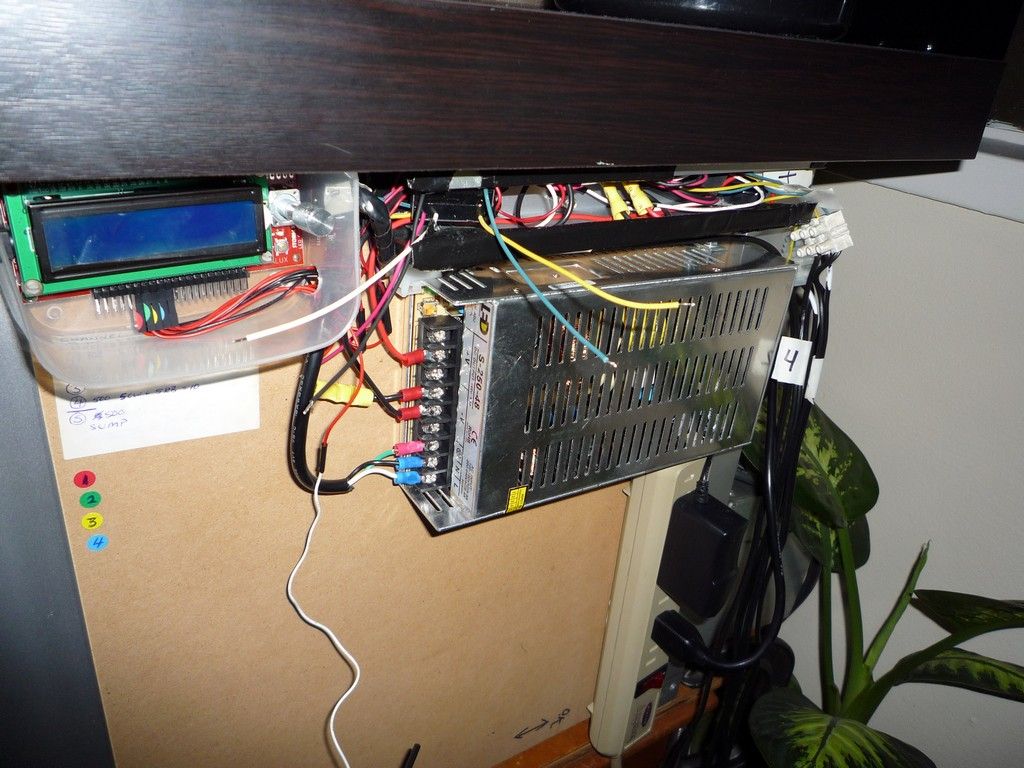
I used a bunch of scrap wiring to wire the LED's & some excellent cheap heat sink plaster made by “stars 922” & purchased via ebay to mount the LED's. Some spare PC molex connecters were used to connect the main wiring harnesses from the 250W power supply to the wiring at the heat sink. It's not super pretty but it'll do until I perhaps switch to pendants or whatever new fangled reef lighting system becomes in vogue in the next ten years.
  Last edited by WarDog; 02-29-2016 at 04:49 AM. |
|
#4
|
|||||
|
|||||
|
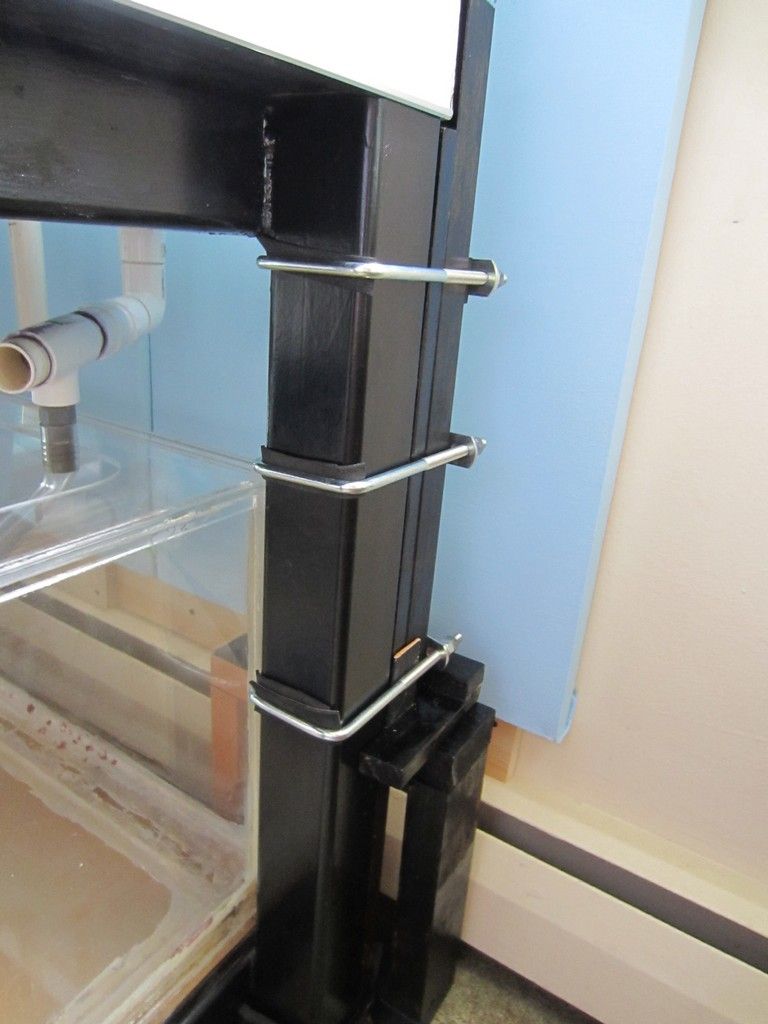
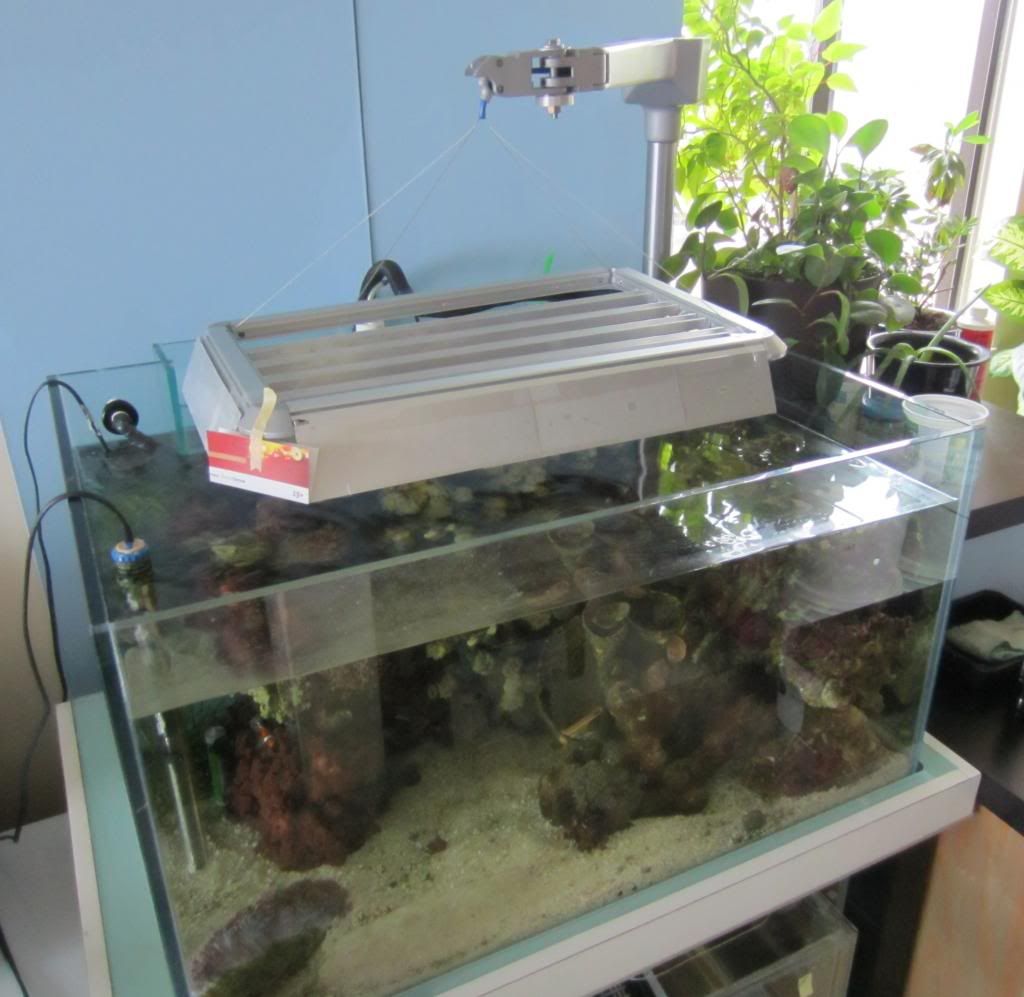
My rental apartment is all concrete, so drilling the walls is frowned upon by management. I was trying to figure out what I could use to keep the LED heat sink above the tank without resting anything on the tank edges. I also didn't want to start drilling my stand which would have been a PITA because it was still being used for my 120. My zany mind came up with a dental lamp idea, I found a vintage Pelton & Crane dental lamp on Craigslist. Originally I wanted to utilize the upper articulating arm but it proved to be very heavy due to the internal spring & shock components. So I disemboweled it & used the stainless steel pipe stand section along with the horizontal portion of the articulating arm. The LED heat sink would be hung off the end of the arm with four bicycle brake cables. Perhaps not the most elegant idea, but it works so far. The dental lamp stand (or pole) is attached to the rear right corner of my stand with four 3” C clamps. Using the dental stand allows me swing the heatsink out of the way when needed, which is a bonus. The heatsink being open at the top (in between the 1” strips) allows shimmering light to hit the ceiling which I don't mind, although it may drive some people crazy.
   Last edited by WarDog; 02-29-2016 at 04:50 AM. |
|
#5
|
|||||
|
|||||
|
Question is, is any of this stuff actually going to work? Plugged it in & voila! Nothing. Nada. Nope. After testing the LED's & the wiring with my multimeter I came to the conclusion that my brand new power supply was a dud. At least I hoped it was the power supply & not my crazy wiring job. O.K exchanged the power supply for another one & voila! We have light!!!
|
|
#6
|
|||||
|
|||||
|
I was going to use a timer while I came up with some sort of DIY arduino to control the LED's with but I broke down & got a Coralux Storm X LED controller instead. See, I'm not always cheap. Well, O.K., after pricing the cost of all the arduino parts & the time involved it seemed like a no brainer to me.
|
|
#7
|
|||||
|
|||||
|
Stuffing all the live rock + corals from my 120gal into the 70gal made things a bit cramped but I can live with it. At least the pair of clowns I've had for 17 years still seem to be happy, but I'm sure they miss all that extra room they had before.
|