
|
|
|
#31
 11-04-2010, 12:00 AM
|
|||||
|
|||||
|
Had a local forum member make some acrylic goods for me which he dropped off today- 3 dosing boxes, a little stand for my doser, and my black baffles. Everything is top notch, and I'd recommend him to anyone looking or some custom acrylic fabrication in the GTA.
Here are the dosing boxes. Exactly as per my design, and they're amazing. I had the brief thought to turn one into a tank for my desk (....so I may have to place another order with Jamie soon!) My original plans: 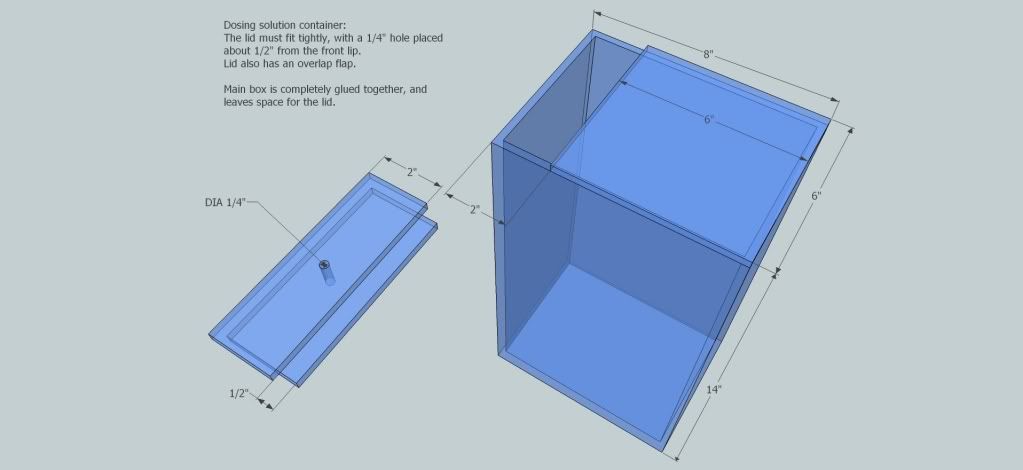 Jamie noted that the 2" opening would be too small to get a hand in to clean (good eye!), so after consulting with me, we changed it to 4". The result is: 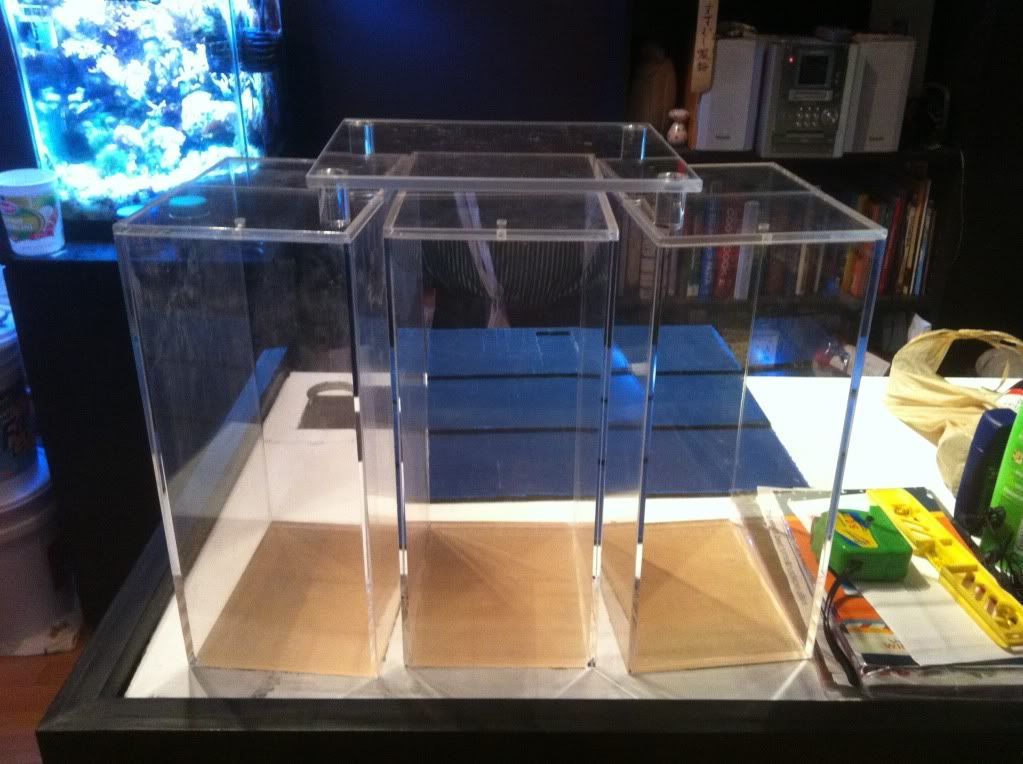 You can see the little doser stand on top. 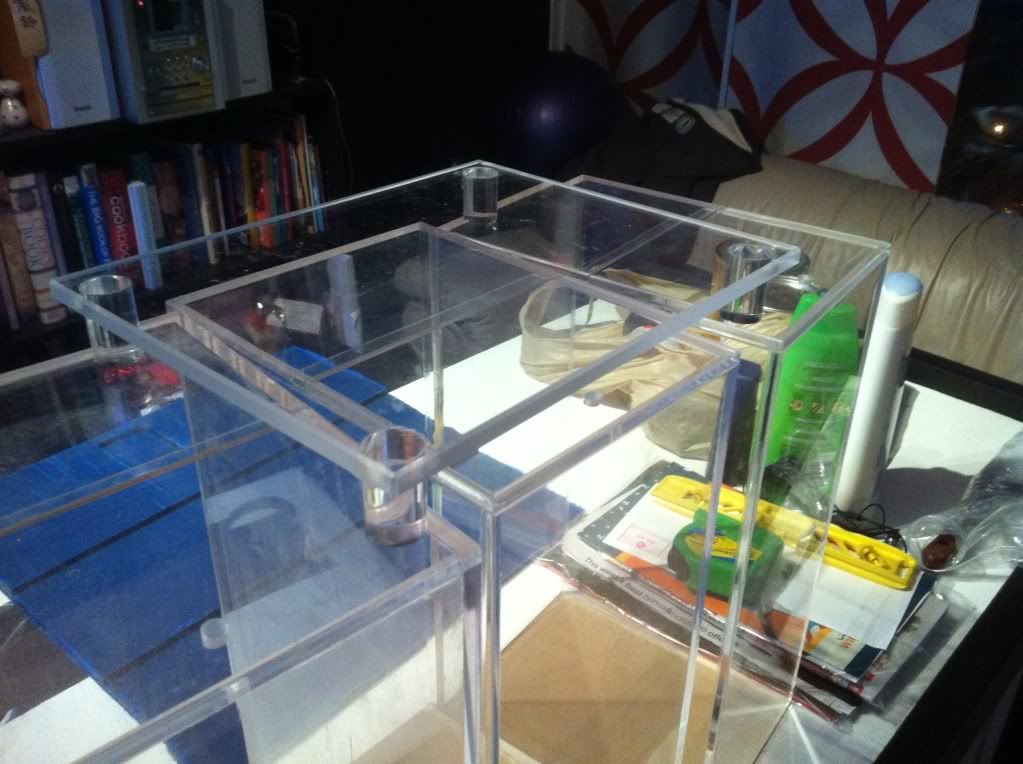 Lid detail (it seals the box nice and tight - perfectly made!) 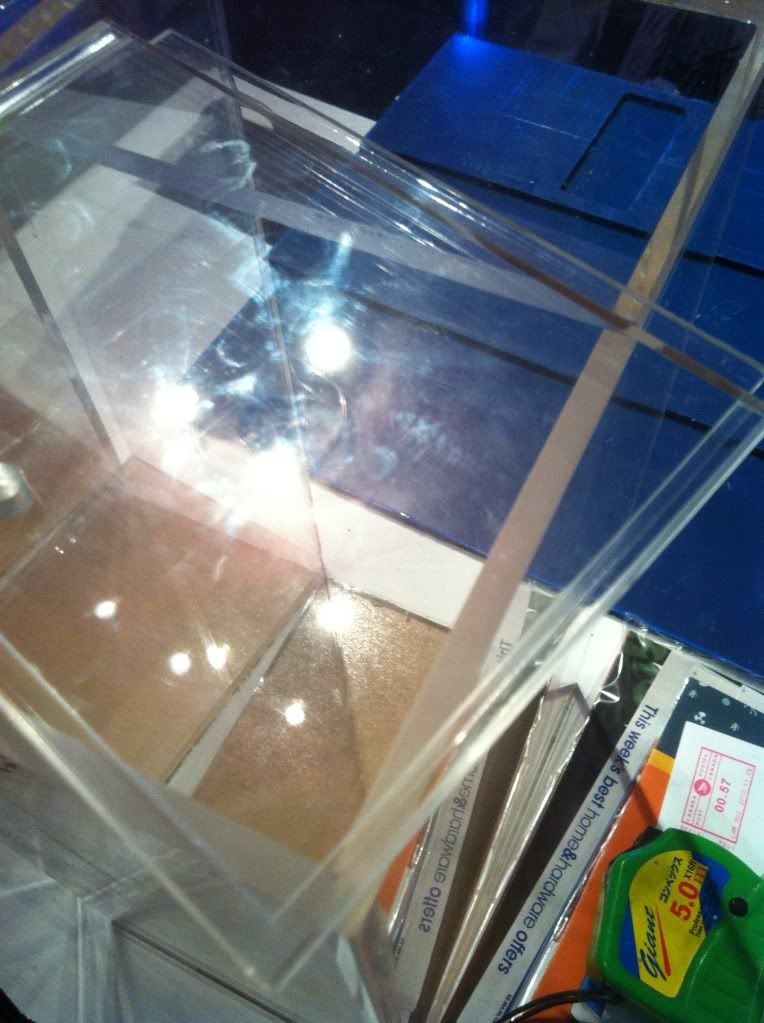 More close ups: 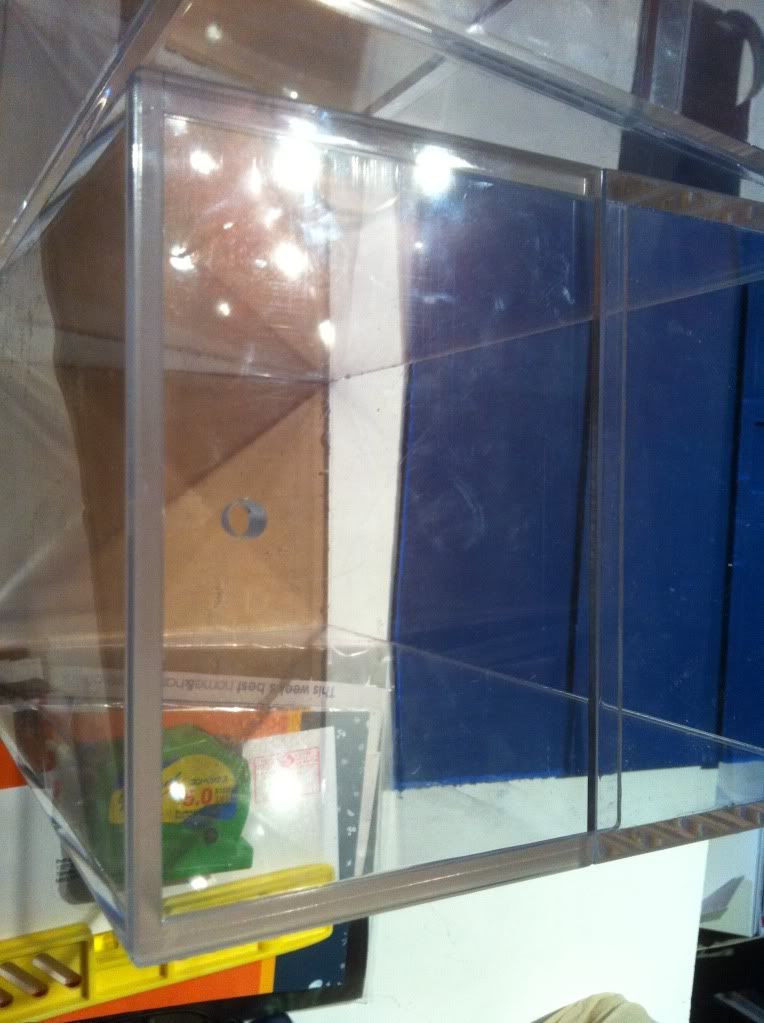 Baffles were made in black to minimize the amount of light thrown around the sump, and prevent algae growth where it's unwanted:  Mocked up in the sump (with return pump and skimmer, of course): 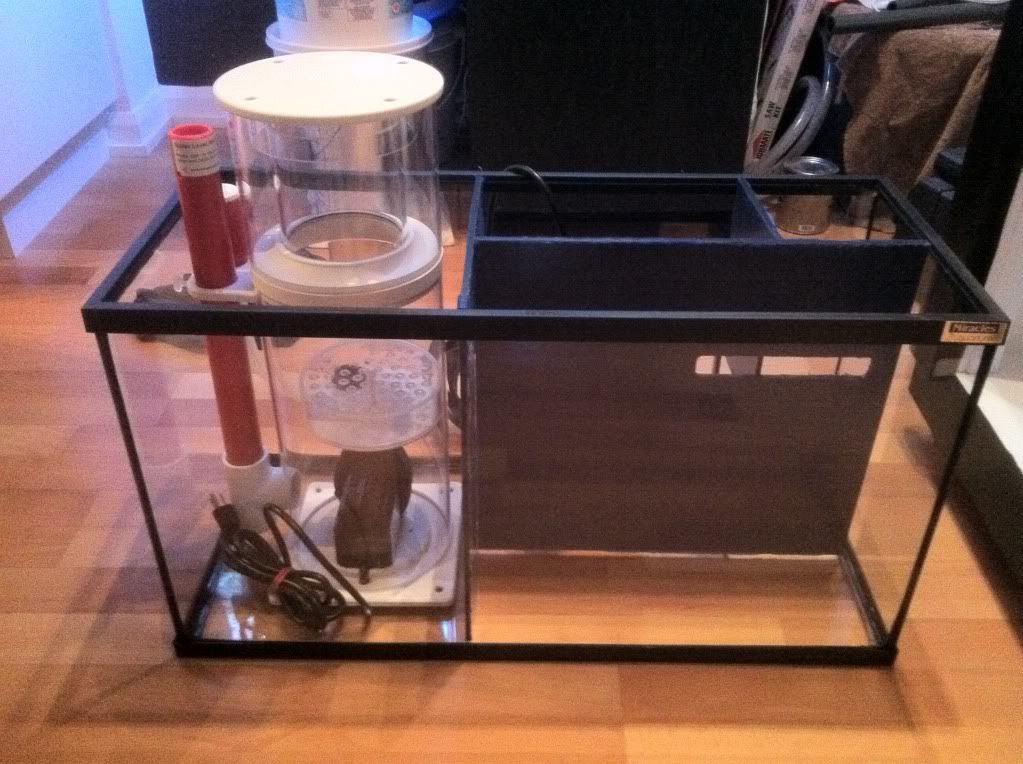 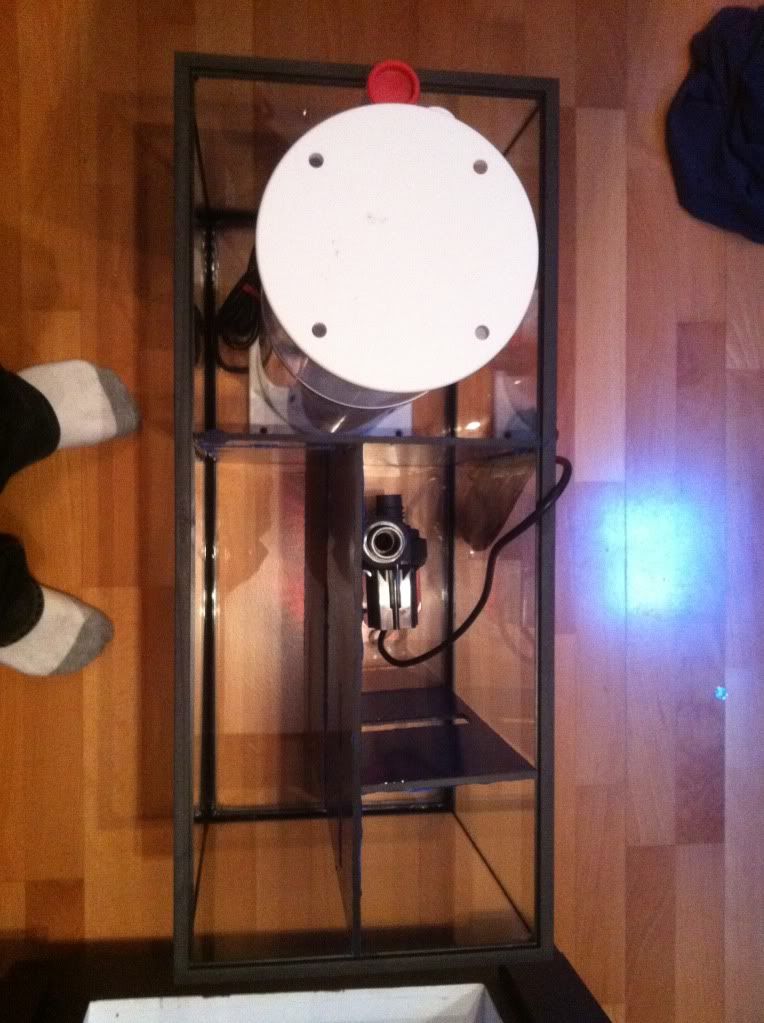
__________________
Spontaneously Purchased Scleractinian anonymous 
|
|
#32
11-04-2010, 12:02 AM
|
|||||
|
|||||
|
Now that I have the dosing solution boxes, sump baffles and my 10g top off reservoir (my former 10g tall reef tank
 ), I put it all together under the stand. Thanks to the acrylics and the white interior, it looks really clean. ), I put it all together under the stand. Thanks to the acrylics and the white interior, it looks really clean.Dosing box fits perfectly with a few mm to spare: 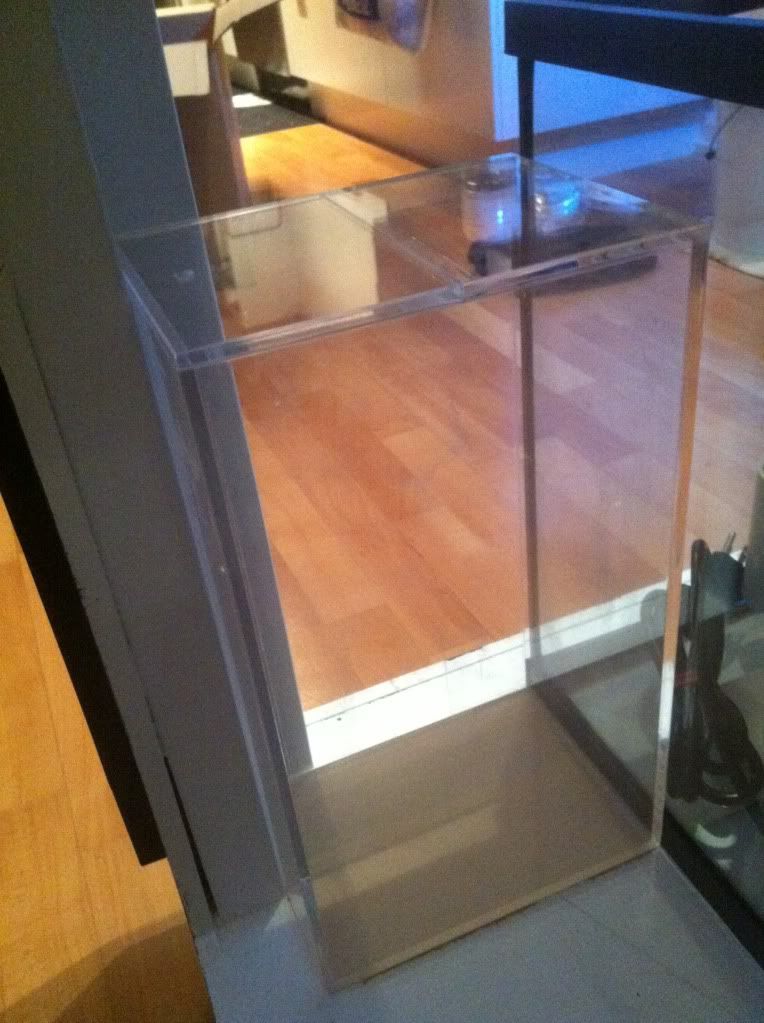 All together now! 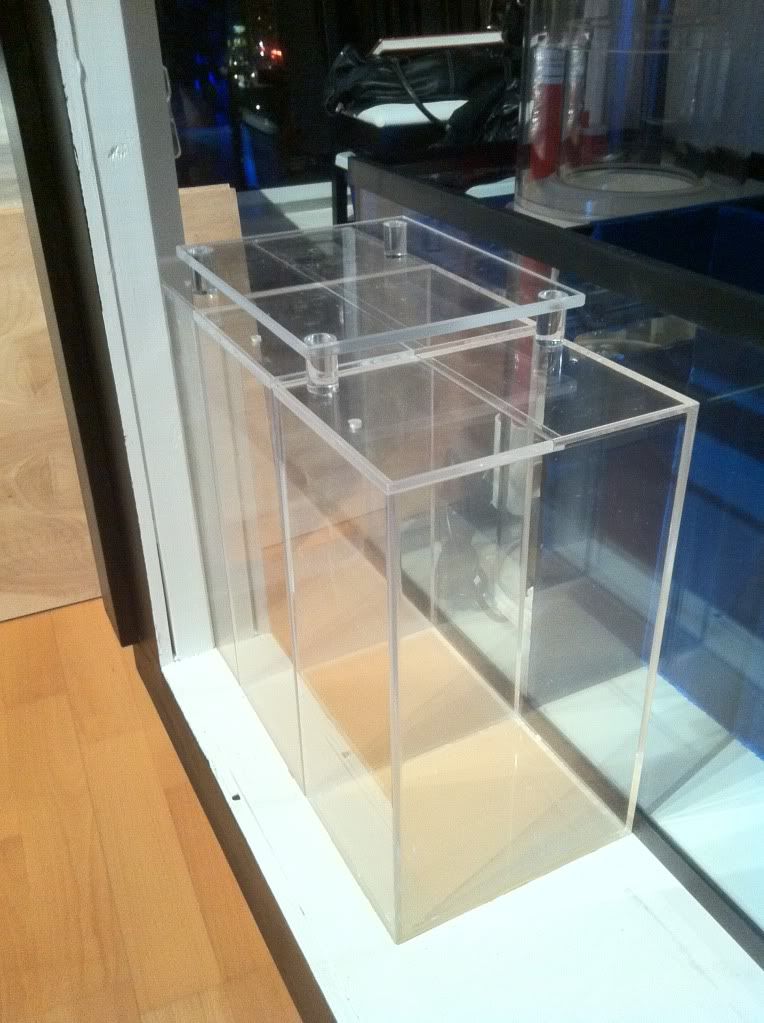 Frontal shot: 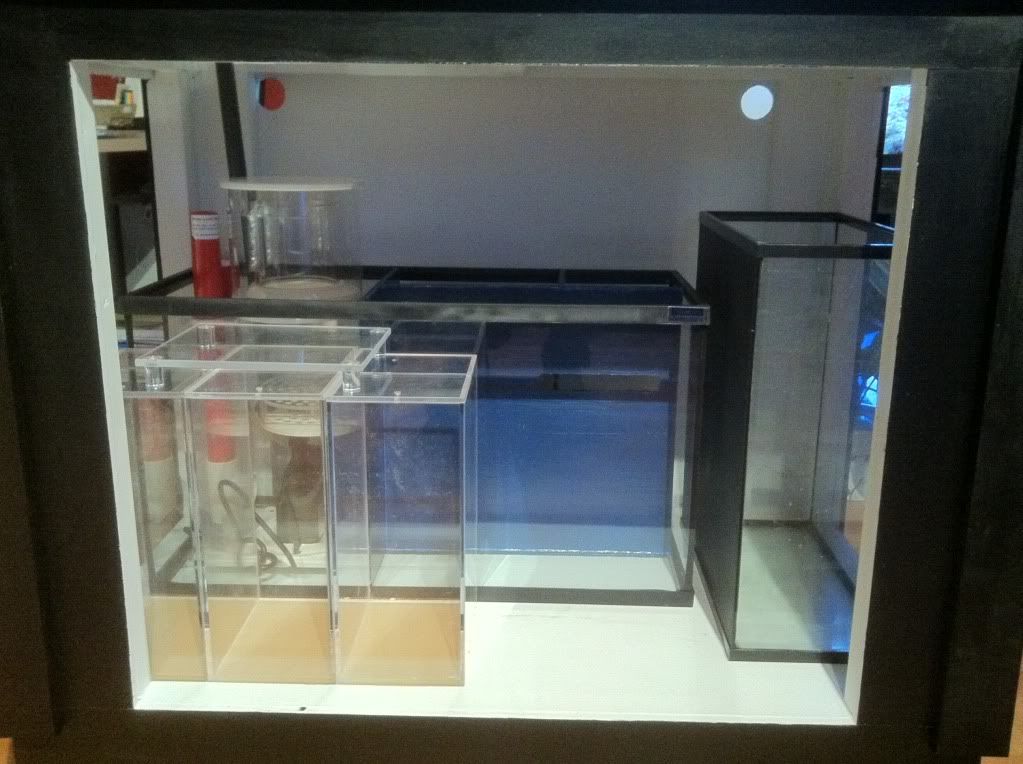 Right (ATO reservoir) side: 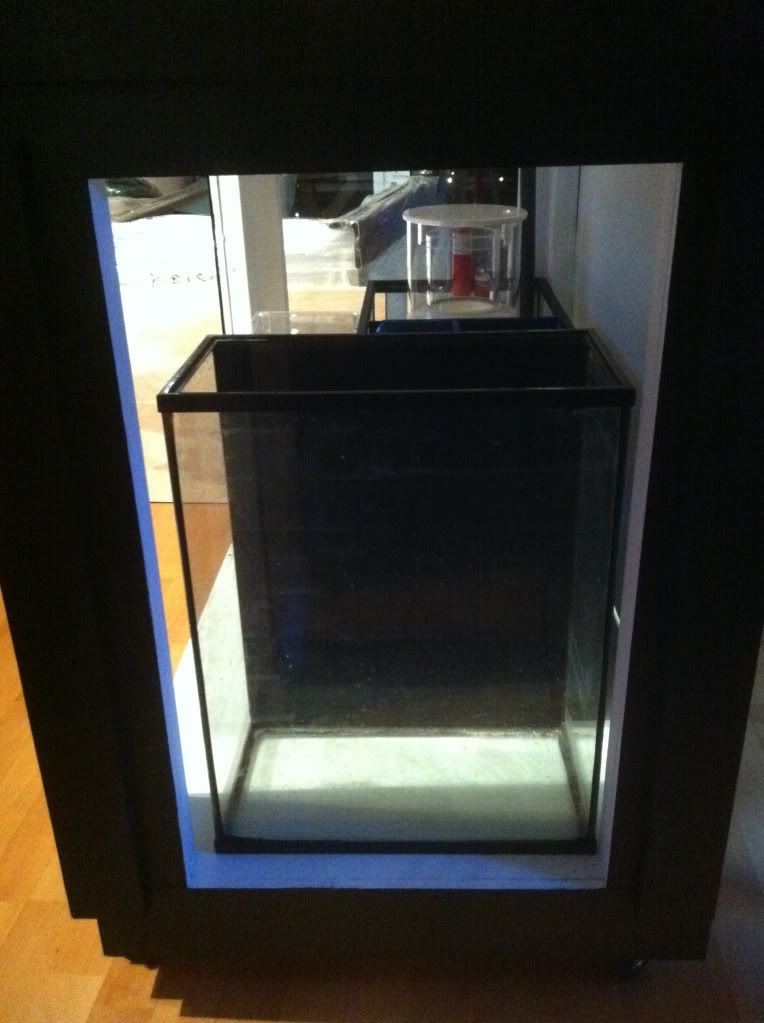 Left (Skimmer) side: 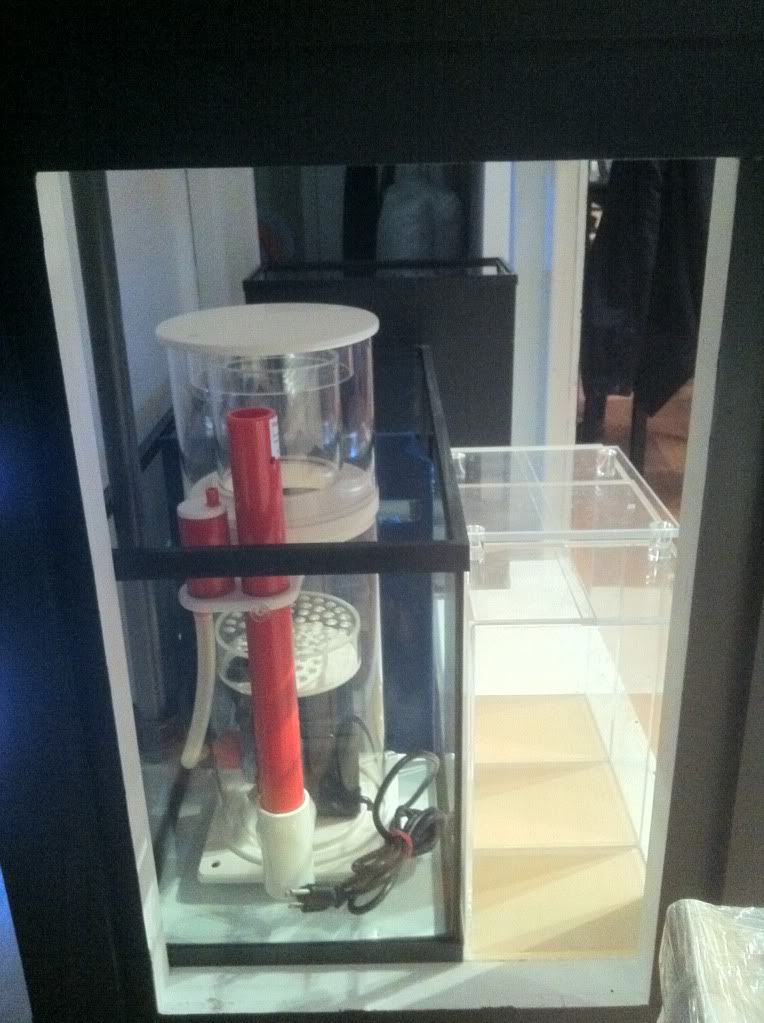 Lots of room above the skimmer: 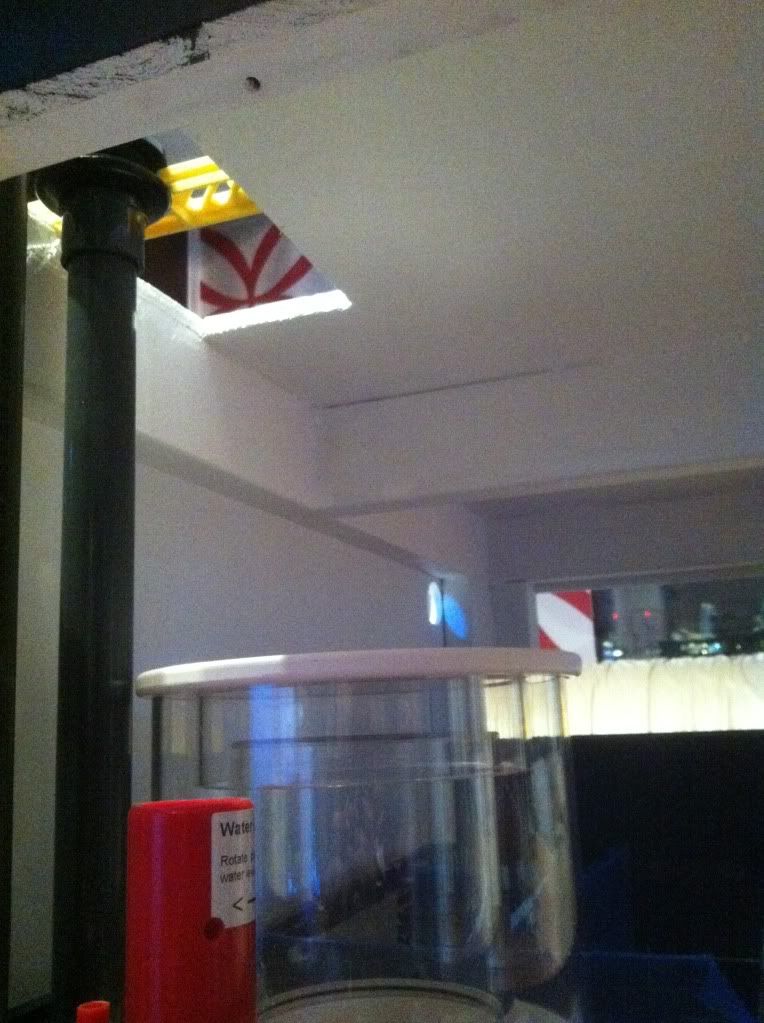 Behind the sump there's about 1.5" to run electrical and hide anything else:  And a nice little space for storing everything else, and maybe even a future frag tank/species tank of ~10g: 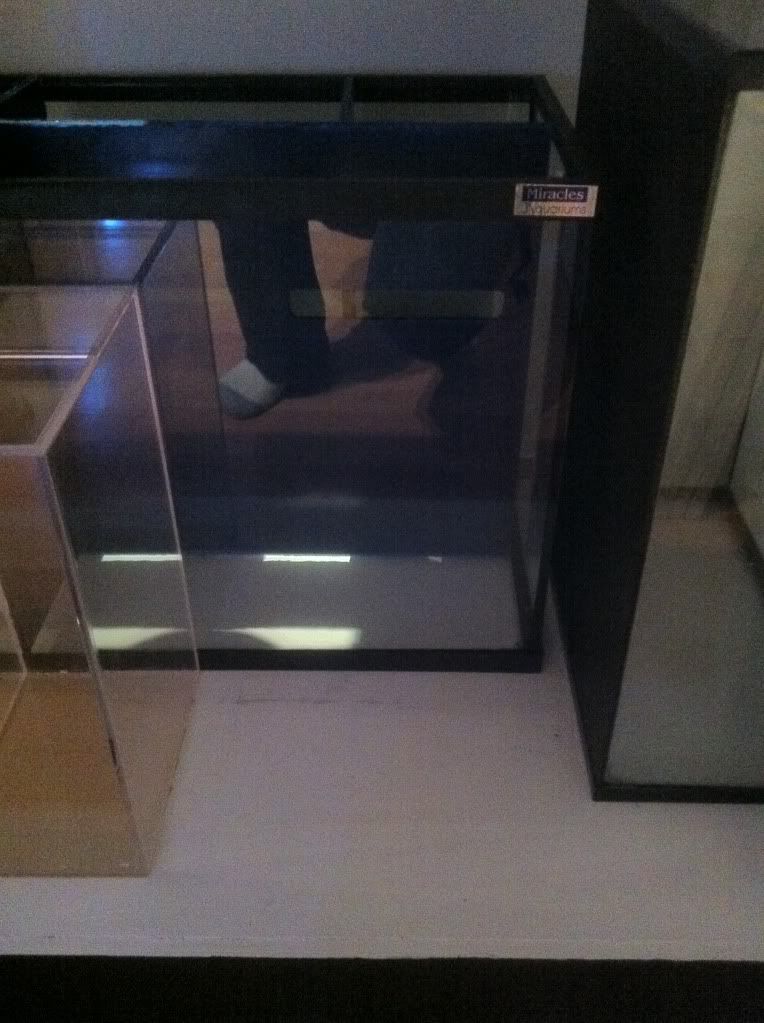 Very excited to start seeing everything come together!!
__________________
Spontaneously Purchased Scleractinian anonymous
|
|
#33
11-04-2010, 12:11 AM
|
|||||
|
|||||
|
sweet dosing station.....looks very shiny.....and like it cost a pretty penny
__________________
260g mixed reef, 105g sump, water blaster 7000 return, Bubble King SM 300 skimmer, Aqua Controller Jr, 4 radions, 3 Tunze 6055s,1 tunze 6065, 2 Vortech MP40s, Vortech MP20, Tunze ATO, GHL SA2 doser, 2 TLF reactors (1 carbon, 1 rowa). http://www.canreef.com/vbulletin/showthread.php?t=50034 . Tank Video here http://www.vimeo.com/2304609 and here http://www.vimeo.com/16591694
|
|
#34
11-04-2010, 12:18 AM
|
|||||
|
|||||
|
Quote:
Everything was made for $125, an amount I think is super reasonable, if not bordering on cheap!And, yes, that is a BK180 Mini (gen 1 tho  ). I can't wait to see it in action! ). I can't wait to see it in action!
__________________
Spontaneously Purchased Scleractinian anonymous
|
|
#35
11-04-2010, 12:41 AM
|
|||||
|
|||||
|
wow!.....that is a really good price!......your gonna be really happy with the BK......I know I am
__________________
260g mixed reef, 105g sump, water blaster 7000 return, Bubble King SM 300 skimmer, Aqua Controller Jr, 4 radions, 3 Tunze 6055s,1 tunze 6065, 2 Vortech MP40s, Vortech MP20, Tunze ATO, GHL SA2 doser, 2 TLF reactors (1 carbon, 1 rowa). http://www.canreef.com/vbulletin/showthread.php?t=50034 . Tank Video here http://www.vimeo.com/2304609 and here http://www.vimeo.com/16591694
|
|
#36
11-18-2010, 01:52 AM
|
|||||
|
|||||
|
Since Miracles forgot to apply the black vinyl backing, I tried to apply the vinyl on the tank myself, but I suck. Bad. There's no way I can do it right and make it look decent. I'll probably have to paint the back tomorrow.
I made some progress today though. I cut out an area for the outlets, and expanded one of the holes I put in the back top corner of the stand since I forgot that the power cord for the fan for the light fixture has an adapter on it. 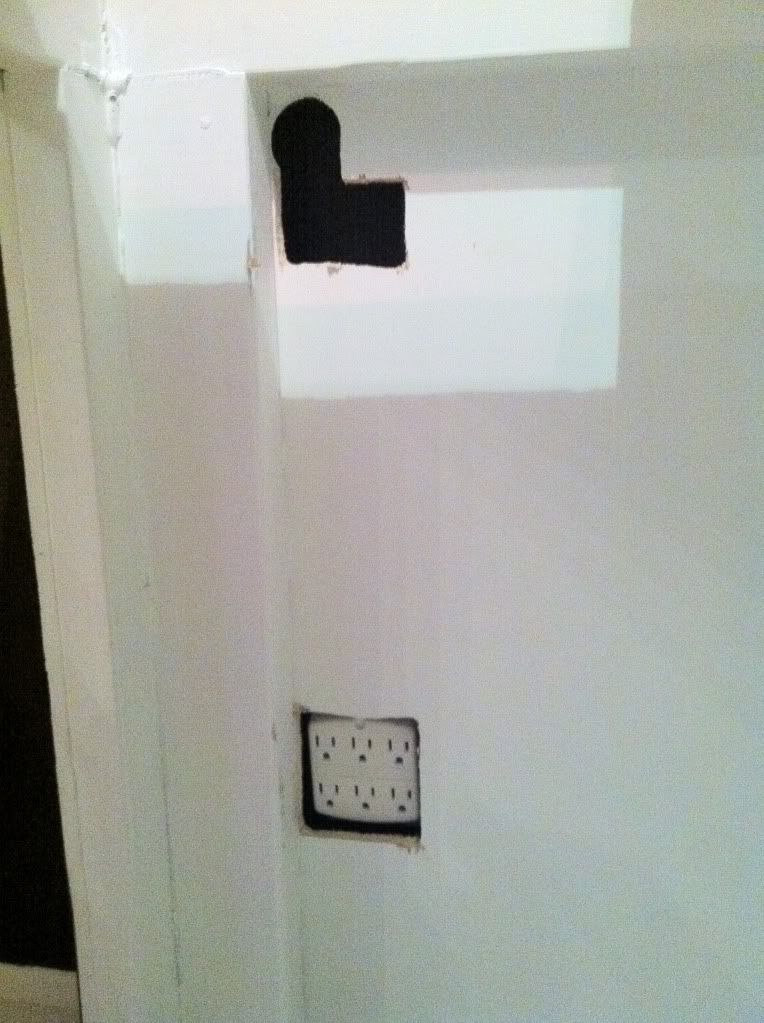 Also, I hung the light fixture. Got the bulbs in and, glass splash shields installed and put that baby up!  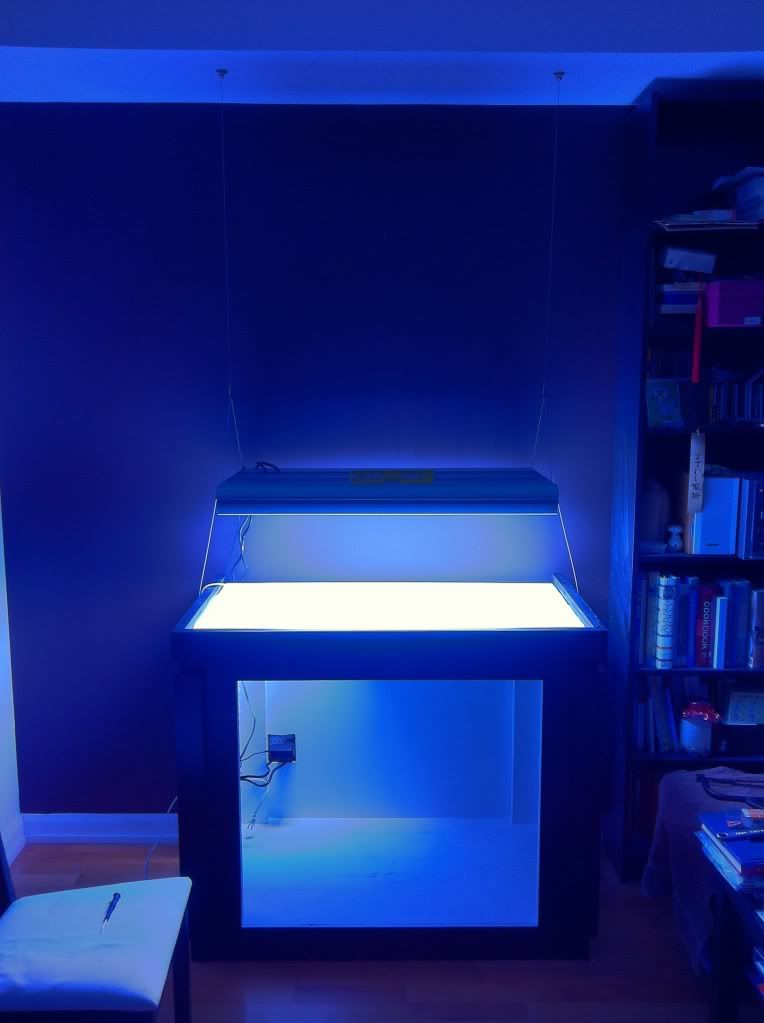 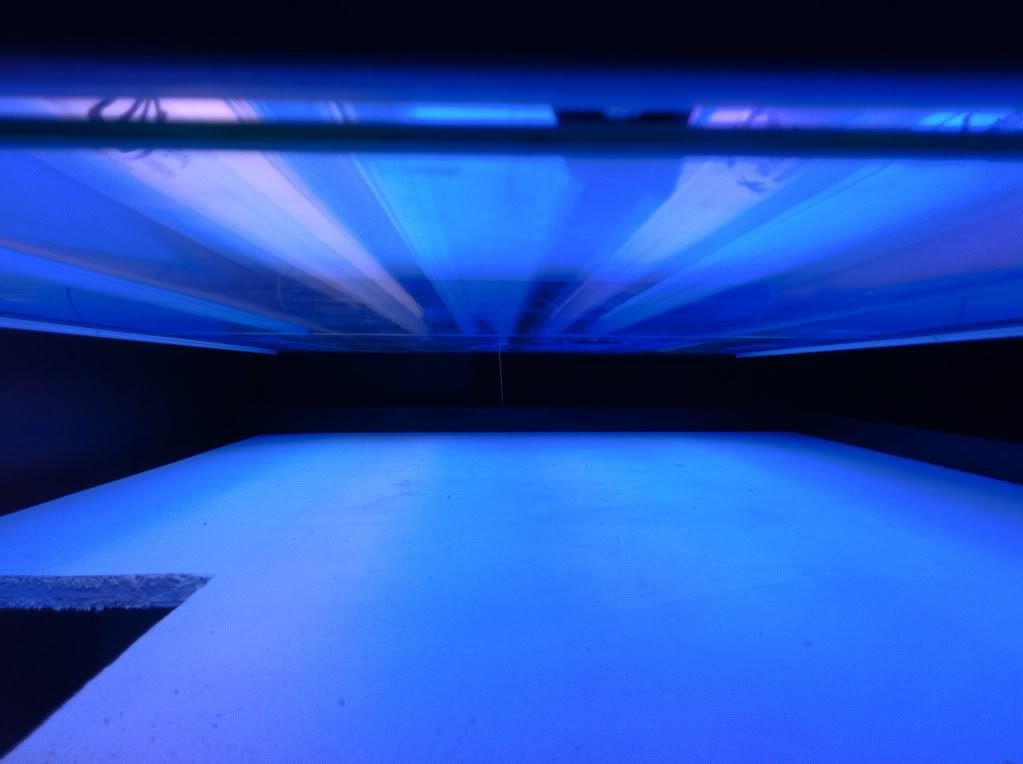 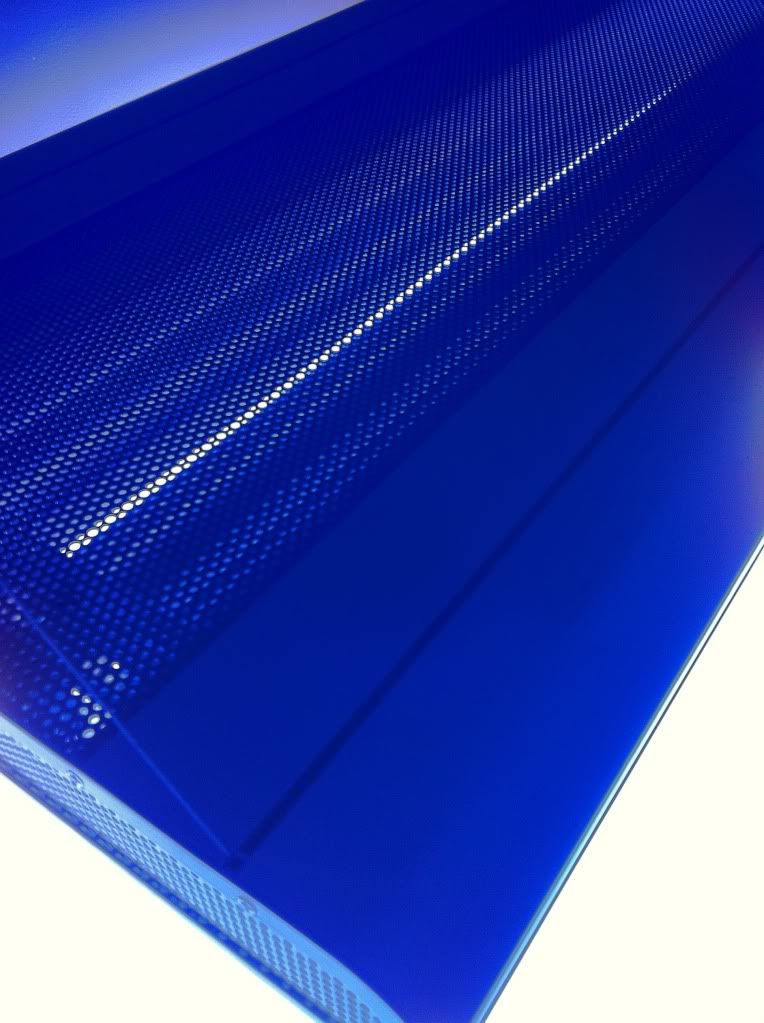 It makes me crazy that the fixture is held up by little bolts in the ceiling, but I suppose I should have faith in them - but I can't help but feeling like one day I'll come home to the fixture having gone for a swim.... Anyways, I'm pretty happy. Next steps: 1. Make back of tank black somehow - try vinyl again? paint black with acrylic/latex? 2. Level stand - it's ever so slightly off. 3. Get tank on stand. 4. Glue down plumbing. 5. Silicone in sump baffles. 6. Arrange electrical components (power bars, controllers, battery back-up, cords, etc.). 7. Profit!! Just kidding! Then starts the real fun!! Filling the tank!!! woooooo
__________________
Spontaneously Purchased Scleractinian anonymous
|
|
#37
11-18-2010, 02:11 AM
|
|||||
|
|||||
|
looking good!
as per the vinyl issue, if I may provide some advice, if you have a clean spay bottle, fill it with some water, spray the section of the tank that you want the vinyl to stick to, slap the vinyl on, the water will give you the ability to move around the vinyl, when your happy with the location, grab a credit card wrap it in a terry cloth, then start from the middle outwards to remove the water. then your done!!!! oh I would recommend to pre-cut the vinyl before slapping it in the back of the tank.
|
|
#38
11-18-2010, 02:31 AM
|
|||||
|
|||||
|
How the hell did I miss this? It's like hidden nose treasure to a kid it's THAT sweet. Love the stand so far and kudos on all the planning. What exactly are those hinges called and where did you get them? Those are bangin' man.
Miracles does some crazy nice work and I suppose they have a pretty easy ride in your area for high end builds now that AO closed shop. Looking forward to more!
|
|
#40
11-19-2010, 03:59 PM
|
|||||
|
|||||
|
Thanks guy!
I tried the vinyl application again, but again, it was an epic fail. So I ended up painting the back yesterday. Yeah, the light is super sexy. I really like it, and I'm glad I went with the Sfiligoi over a Powermodule. Brett, the hinges are made by....Soss ( http://www.soss.com/ ). Haven't installed them yet though. Last night I got the sump all done up. First I taped all where the silicone would go down: 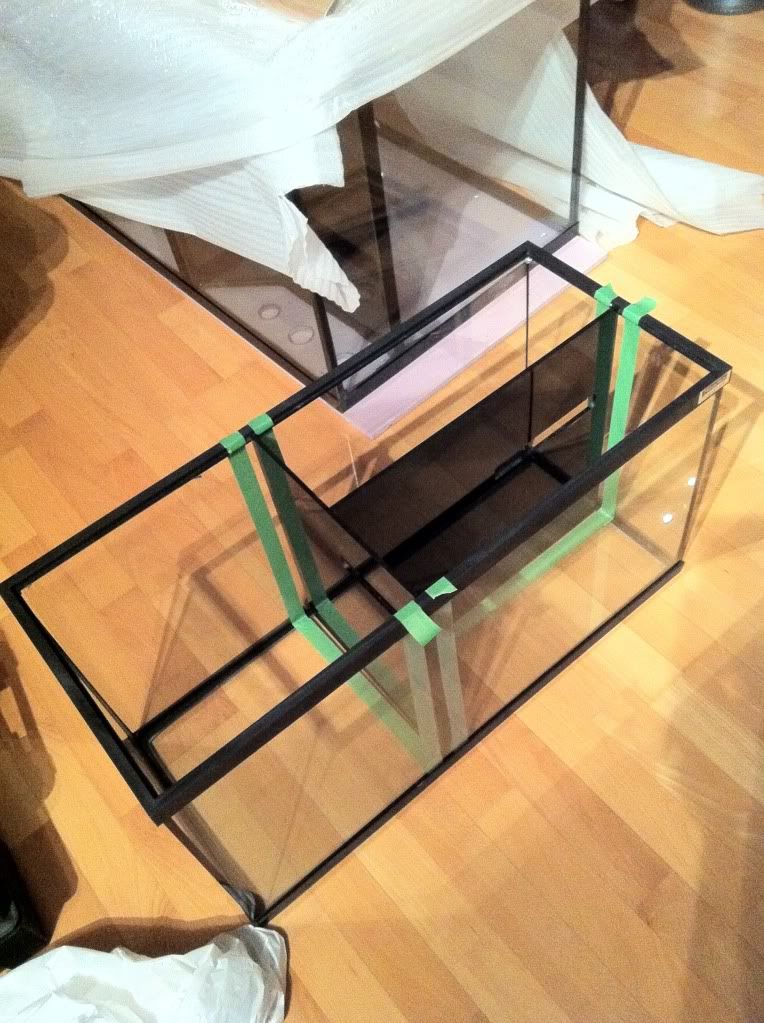 After using generous amounts of silicone (GE silicone 1, without mildew guard), and using two plastic spoons to smooth out the seam, I removed the tape and now it's curing in the bathroom. 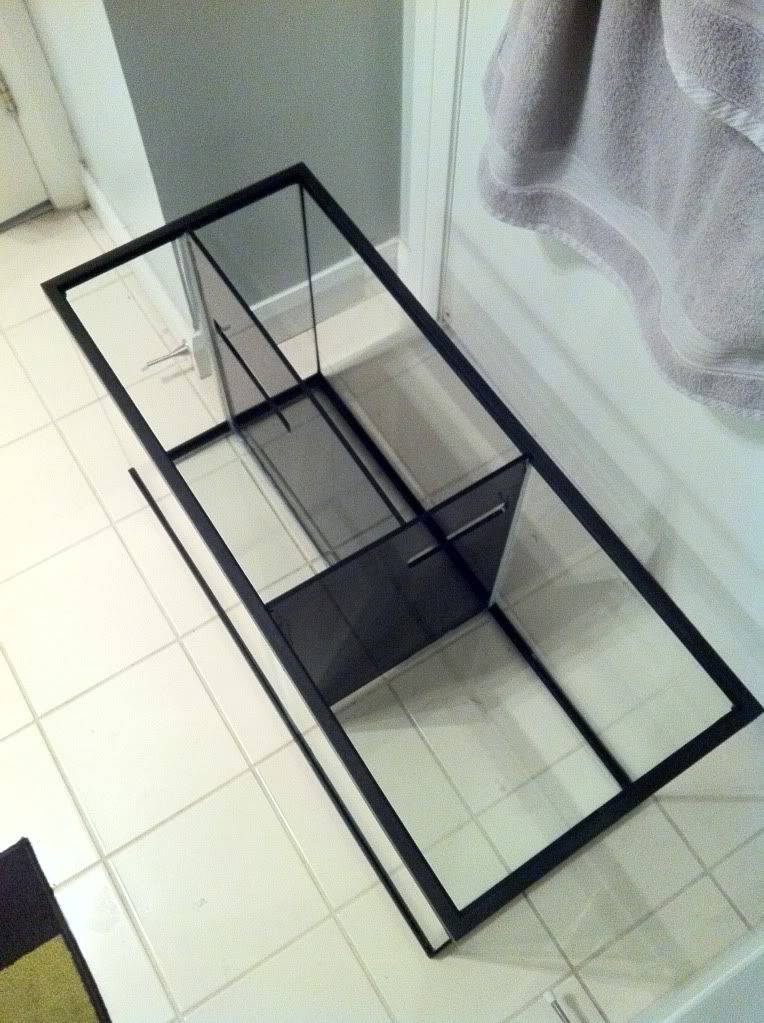 It looks nice, and the silicone is pretty neatly done. Hopefully it's strong enough to hold the water in each compartment I've coerced a buddy out for dinner tonight - little does he know that he'll have to earn a beer by lifting a tank! I can smell the progress already!
__________________
Spontaneously Purchased Scleractinian anonymous
|


 Linear Mode

