
 |
|
||||||||
 |
|
|
Thread Tools | Display Modes |
|
|
|
#1
|
||||
|
||||
|
Veryyy niceee
|
|
#2
|
|||||
|
|||||
|
Great looking DIY led project. Thanks for taking the time to document all of the steps in detail!
__________________
Do or do not....there is no try. |
|
#3
|
|||||
|
|||||
|
That looks awesome so far! Great job. Hmmm, might need to get ya to make me a cover ...
 My LDD's are supposed to leave China today (fingers crossed). Are you going to power your Typhon with the same power supply as the LED's? How have you planned to step down the V's? |
|
#4
|
||||
|
||||
|
This is looking like a great build. Love how detailed you've done the thread for those following you.
__________________
Mark...  290g Peninsula Display, 425g total volume. Setup Jan 2013. |
|
#5
|
|||||
|
|||||
|
I love seeing these build threads.
I'll be following this one for sure. |
|
#6
|
||||
|
||||
|
Thanks everyone! My biggest. Complaint has always been th lack of detail in builds, so I'm trying to go all out with details so that it's easy to follow in my footsteps. If I am missing anything, let me know and I'll add it!
Just getting my ass out of bed now and am going to try and tackle the rest of this! I got the LEDs from LEDGroupbuy.com , which is run by Milad here on the forum. Great guy! I got the power supply and drivers from Mouser. There are much cheaper places to buy the drivers but everywhere is sold out of them (like sold out worldwide). Since I'm under a time crunch (PhD and business are going insane right now) I pulled the trigger on the Mouser order and paid 2x the price (still reasonable though). Quote:
Right now I have a separate 12V power supply that is powering the controller. When I find some time to track down a 24-to-12V DC/DC step down I'll use that to drop the main PSU voltage to 12V to power both the controller and fans. For now I'm just going to put two fans in series to drop the 24V. |
|
#7
|
||||
|
||||
|
Holy mackerel, what the heck happened? I woke up and it’s frickin’ June! Time flies when you’re doing a PhD and having… errr… fun?
Well, I guess I should finish up this build thread considering the tank has been rockin’ for 6 months! Where were we? Right! Buttons! Buttons So, my biggest pet peeve about the Typhon controller is that the buttons don’t come up to the same height as the screen. This is a pretty half-baked mistake if you ask me. If you want to panel mount the controller to make your DIY project look, you know, not ghetto, you have to make button extenders. Luckily, I’ve got a 3D printer at my disposal, so custom button extenders for me! Yay!  Here we are finishing up the print on the first button extender. I basically designed these to fit over the Typhon buttons as a sleeve and with a shoulder at the top so that they wouldn’t slip out of the holes I drilled in the lid. They get sandwiched between the buttons and lid giving a nice, solid feel. 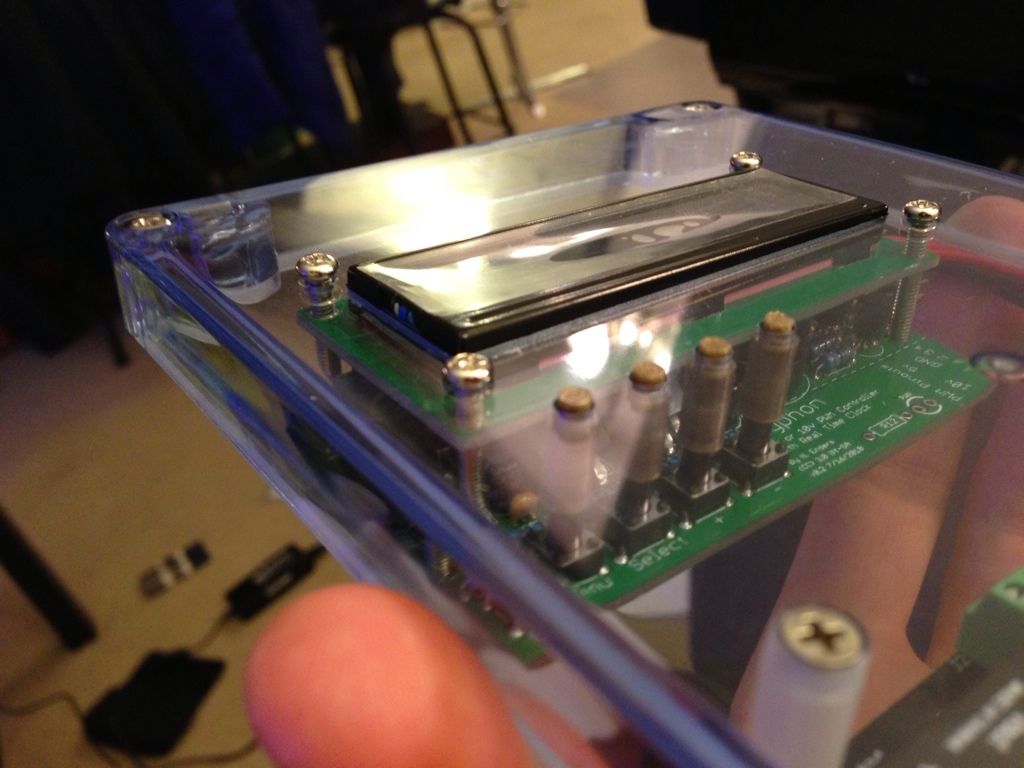 Here’s the lid assembled with the controller and button extenders in place. They feel way better than I expected. 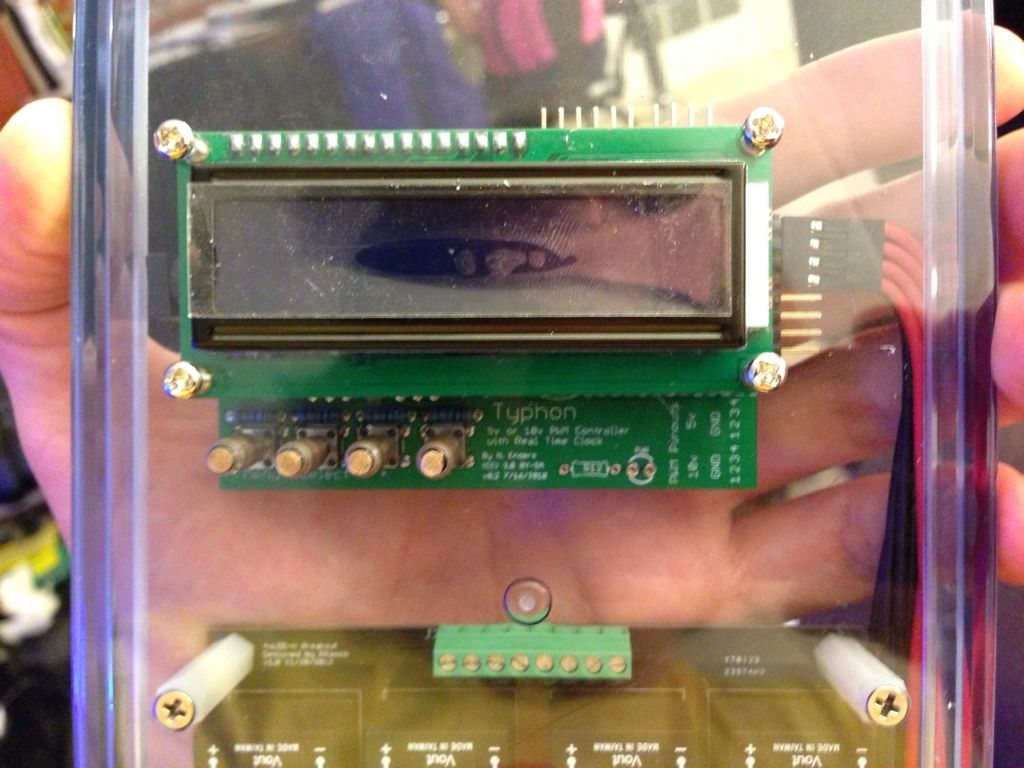 … and another view… 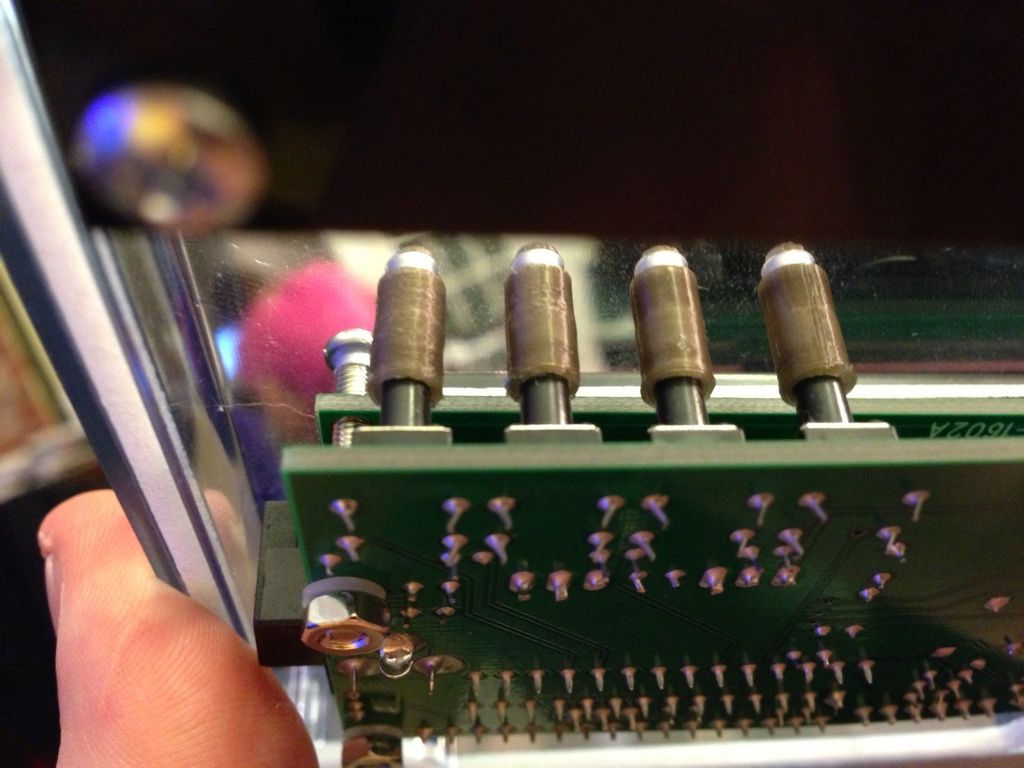 … and another. Control Enclosure To minimize the number of wires running from the controller to the Biocube hood, I opted to use 2 8x22 AWG cables that fit in nicely where the two original cables for the PCs ran into the hood. I opted to use some sexy 8-pin DIN connecters:  These connectors are great in that the male and female ends thread together to avoid being pulled apart and to keep them moderately waterproof. However, I couldn’t find any female panel mount connectors in town, so I just went with male panel mounts. This is not ideal because the live pins are all exposed, so be careful if the controller is plugged in but the cables are unplugged! So, time to start putting this work of beauty together! I mounted the controller, driver board and power supply to the enclosure with 10mm countersunk M3 screws (forgot to take a picture of this). Here it is all populated: 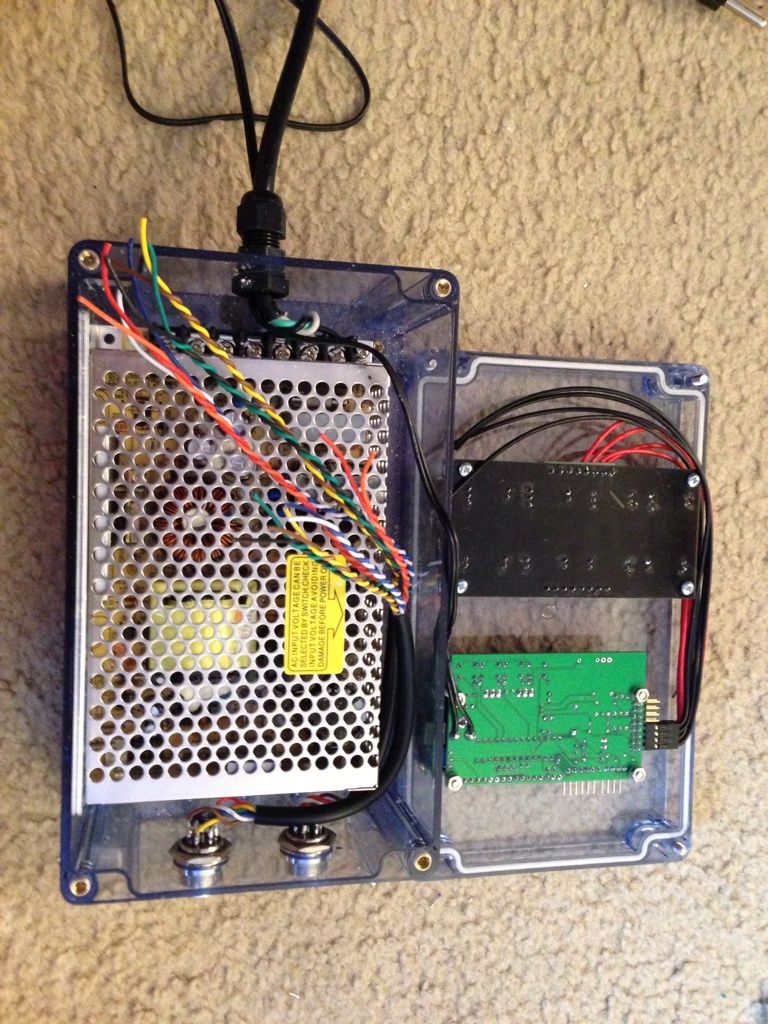 Button her up and…. Voila!  Damn fine piece of work if I don’t say so myself! The Power Compact Massacre (or How I Start To Love LEDs) So, after pulling the hood apart a bit, this is what we were starting with: 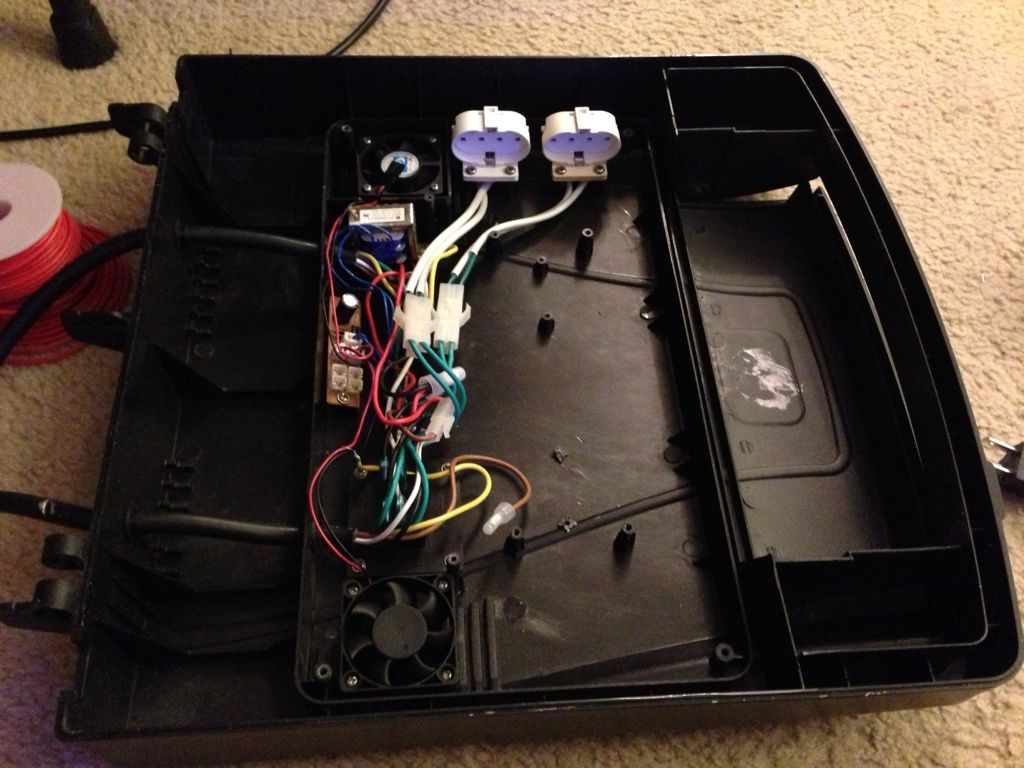 Time to give’r ****! A few minutes of ruthless butchering later and the thing was gutted. Don’t break any of the plastic bosses as you are taking things apart! You need these to screw your heat sink down. If you do manage to break one, a little epoxy works miracles. Conveniently, the heat sink fit in there like a glove. Just to recap, I used 1” - #5 wood screws to bolt the heat sink down. Here it is screwed in place: 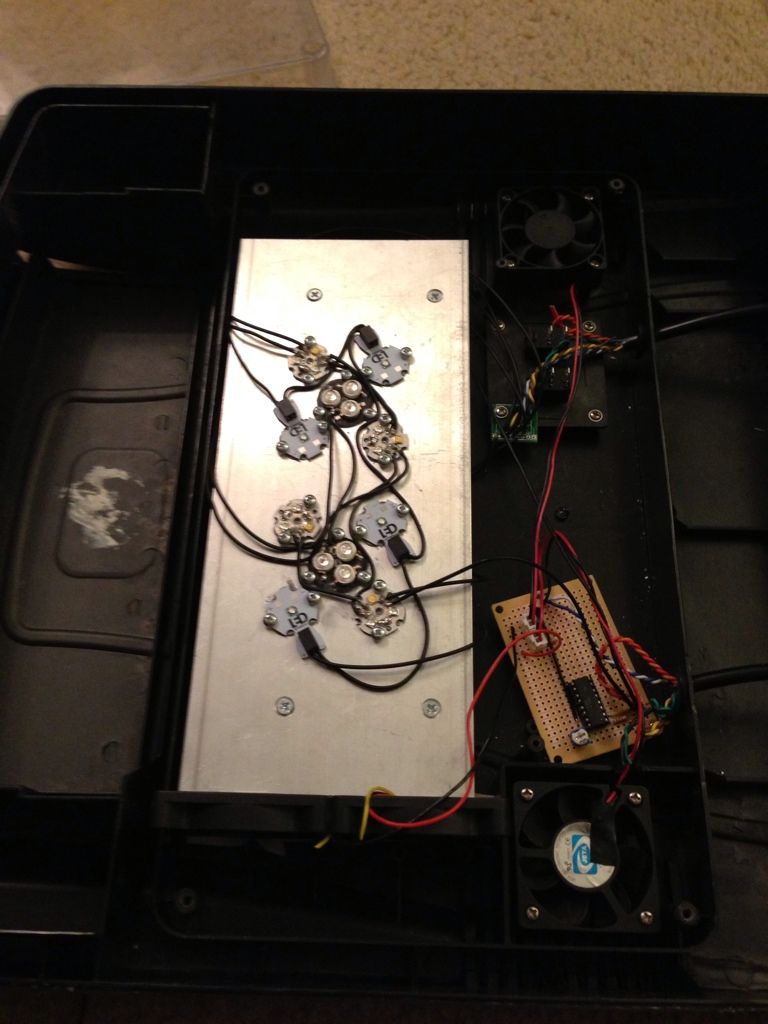 I have two 12V 60 mm low-profile case fans epoxied together side-by-side and wired in series placed at one end of the heat sink. I have them mounted to the hood with double-sided foam tape to minimize vibrations. These things move some serious air! I kept the two 40 mm case fans that the biocube uses to pull in and extract air (I upgraded to new fans as the old ones were noisy as ****). The protoboard you see there is one of several failed attempts to use a signal from the LEDs to turn on the fans. Transistors, optoisolators, low-pass filters, you name it… All attempts were foiled by how the Meanwell drivers work (I won’t go into it). It’s easier to have a dedicated PWM signal from your controller or just use the existing buttons on the top of the hood to control the fans. Seeing as how all my PWM channels were dedicated to my LEDs, I gave up and went with the latter. Oh well, I’ll come up with a nifty solution one day when I have some free time. One thing that I see constantly in Biocube LED conversions is people taking out all the reflectors. I don’t get that. It looks sloppy because you see all the wiring and, while a minimal contribution to overall light, it does reflect light back down into the tank. Might not be much but it’s worth keeping them for looks alone. I notched the reflector a bit to fit the 60 mm fans and put it all together. 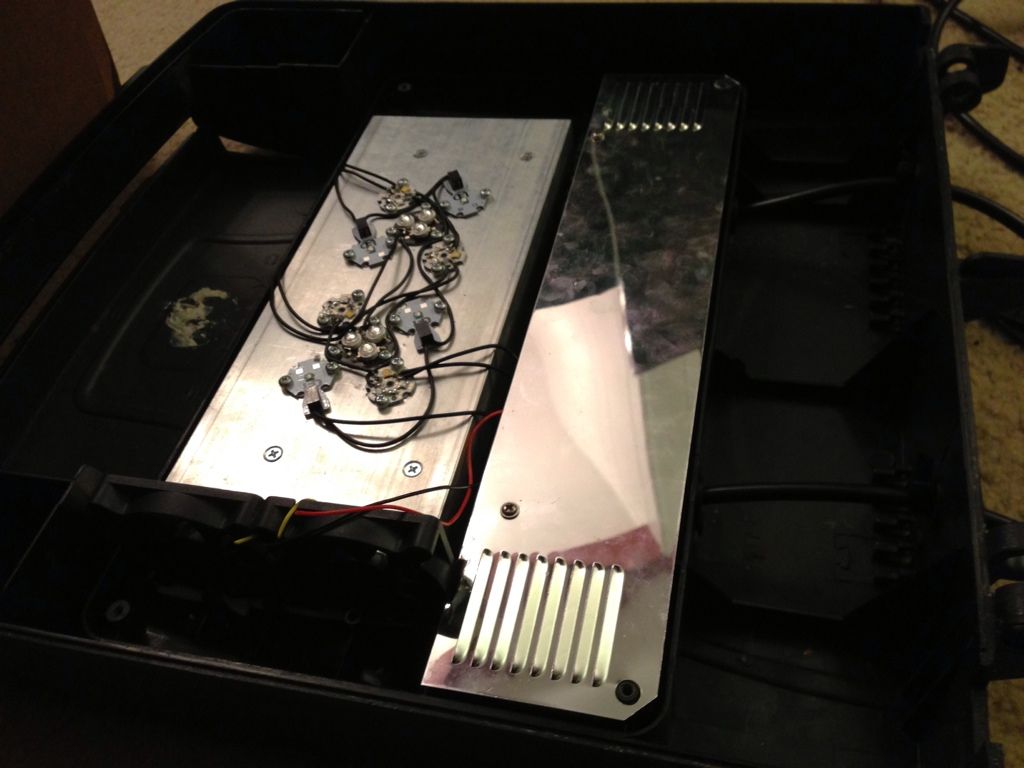 Lookin’ spiffy! Another view, including a bit of the gong show that was my living room: 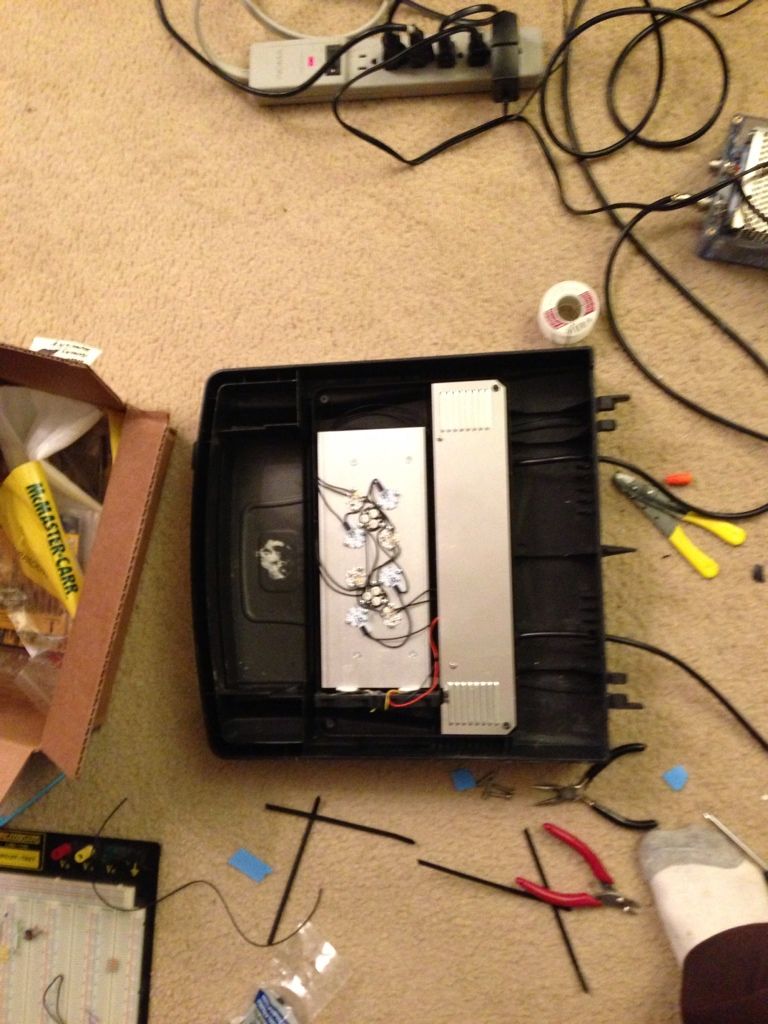 So…. The million dollar question: Does it work? 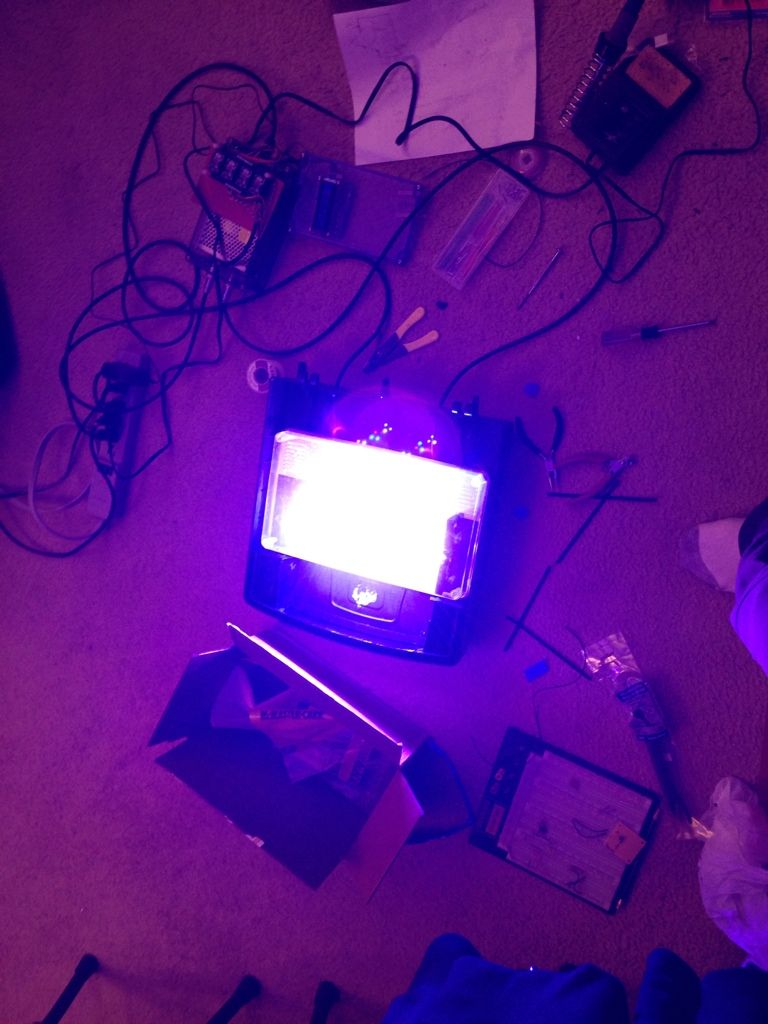 Holy ****, my eyes! Seriously, I was seeing spots for a good hour after which led to a tragic face-to-door-frame incident – several beers and it being 2am at the time may have also contributed to this. Tough to say. It’s not actually as purple/blue as it looks here. It’s actually just so bright that my iPhone is freaking out. It’s a very nice, intense white that is pretty close to what my 250W Phoenix halide looks like over my big tank. I’m impressed! So, what does it look like over the tank? Pretty… freakn’… sweet! 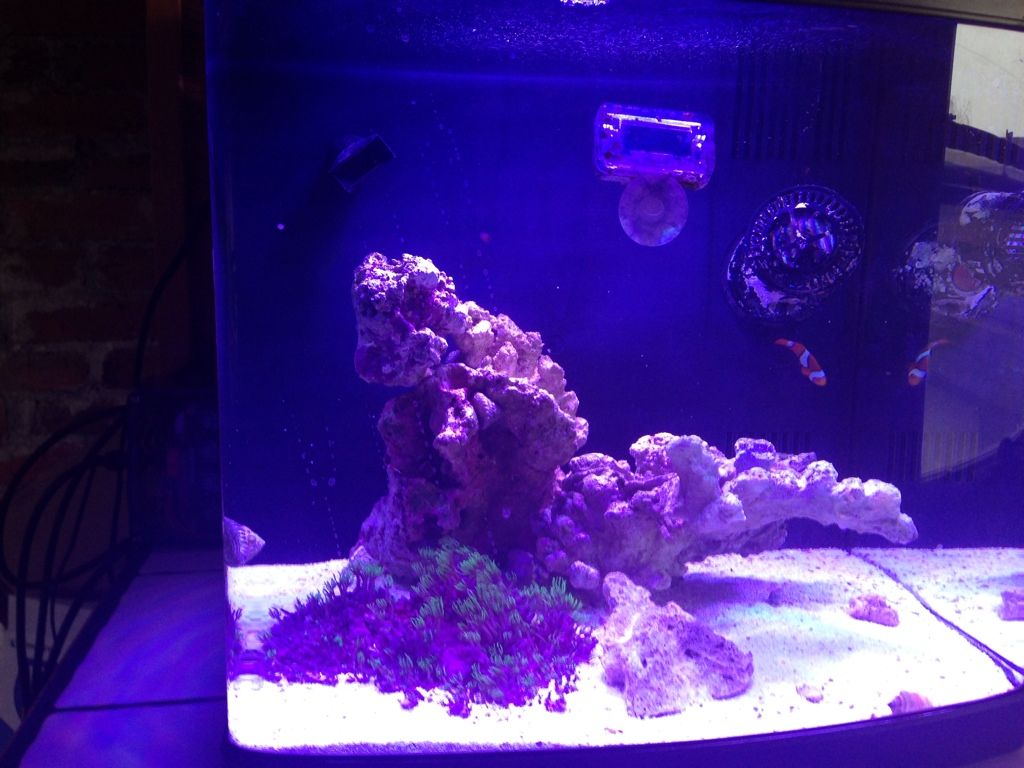 Corals fluoresce like mad and the colours on the fish render to be extremely vivid. It’s making me really want to switch the big tank over! Again, it’s not actually as purple/blue as the camera makes it looks. It’s a very intense white. The OCW LEDs really make a big difference in terms of tweaking the colour temperature, in particular the green and turquoise. They really add some warm to the overall balance and give it a more natural feel. The red is necessary to temper the blues and greens, though I wish I had individual control over the reds. I find that the red can sometimes be too much while the green and turquoise are lacking. I found a happy medium but I wish I could separate that channel a bit. Job Done! High fives all around! |
|
#8
|
||||
|
||||
|
So, several months out now, how’s the tank doing?
Awesome! Just, totally awesome. I’ve opted to go SPS in this tank with a few high end palys and lobos. I was also given a super awesome clam by a buddy (Thank Jon!). All are doing really well. In fact, the SPS in this tank probably looking better than my big tank! I moved a few pieces from the big tank into the biocube and it’s incredible! I had a bonsai colony that all but shut down and was starting to look pretty sad (wasn’t getting enough light). Give it a front row, center spot under the LEDs and it’s going bananas! A friend of mine snapped this pic a few weeks back just before the lights went out. This was basically under just the TV LEDs with a touch of the RBs (and a bit of orange glow from the lights in the living room): 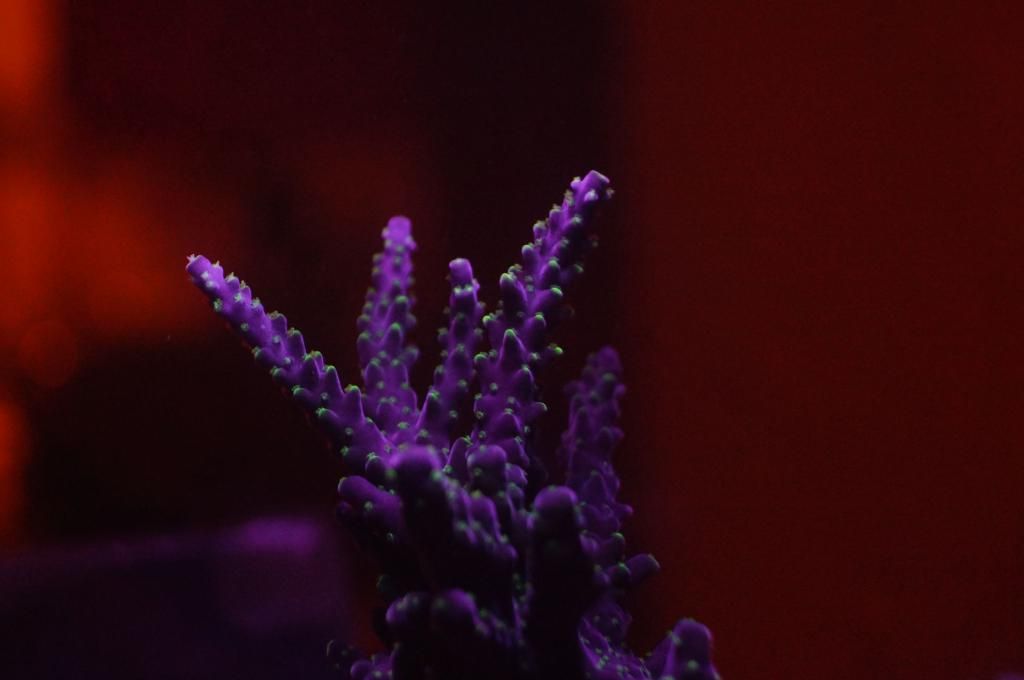 Pretty snazzy, no? I also got a brown frag from my clam donor when he was shutting down his tank. I knew it was a milli or something similar but it was small, brown and hanging on for dear life. I gave it a prime spot in the tank and left it for two week (I actually forgot I put it in there because I was so busy with work). I checked on it randomly one morning and what do I see? A freakin’ Red Planet with crazy electric green and mind blowing reds! What the heck? Not only has the thing coloured up super nice, it’s growing like a freaking weed! It’s encrusted and putting out new branches faster than I can count. I also put a tiny A. tenuis branch in there that suddenly exploded into a bushy colony the size of a racquet ball. Nice! Bare in mind, the only filtration this tank has is a piece of filter floss and it gets water changes from the water I pull out of my big tank (when I remember). Nothing else. By having tons of light and limiting the amount I feed the fish in the tank, all the SPS look like champs! To be honest, I don’t even know what the parameters are in the tank. This is the lowest maintenance tank I’ve ever had and it’s getting better results from my carbon-dosed, GFO/skimmer/kalk top off SPS tank that gets a ton of love. Go figure, huh? I will try to get more pics up when I get my friend to come back with his camera. The LEDs mess with my camera too much to get a picture of anything other than blue. I promise they’ll come soon! Last edited by ScubaSteve; 06-06-2013 at 06:29 AM. |
|
#9
|
|||||
|
|||||
|
Lookin' awesome dude! Haha, I love hat clown hiding in the corner under the shadow of that pump. He too is probably saying, Holy ****, my eyes! JK
 I believe you can run the OCW LED's individually if you really wanted to. Similar to the Cree 3-up's. Those Typhon button extenders look really good too, well done. |