 |
|
|
|
#1
|
|||||
|
|||||
|
Nice size tank! Excited to see updates !
Sent from my iPhone using Tapatalk |
|
#2
|
|||||
|
|||||
|
Thanks! I will find time to throw out the next update
__________________
300g Basement Reef - April 2018 |
|
#3
|
|||||
|
|||||
|
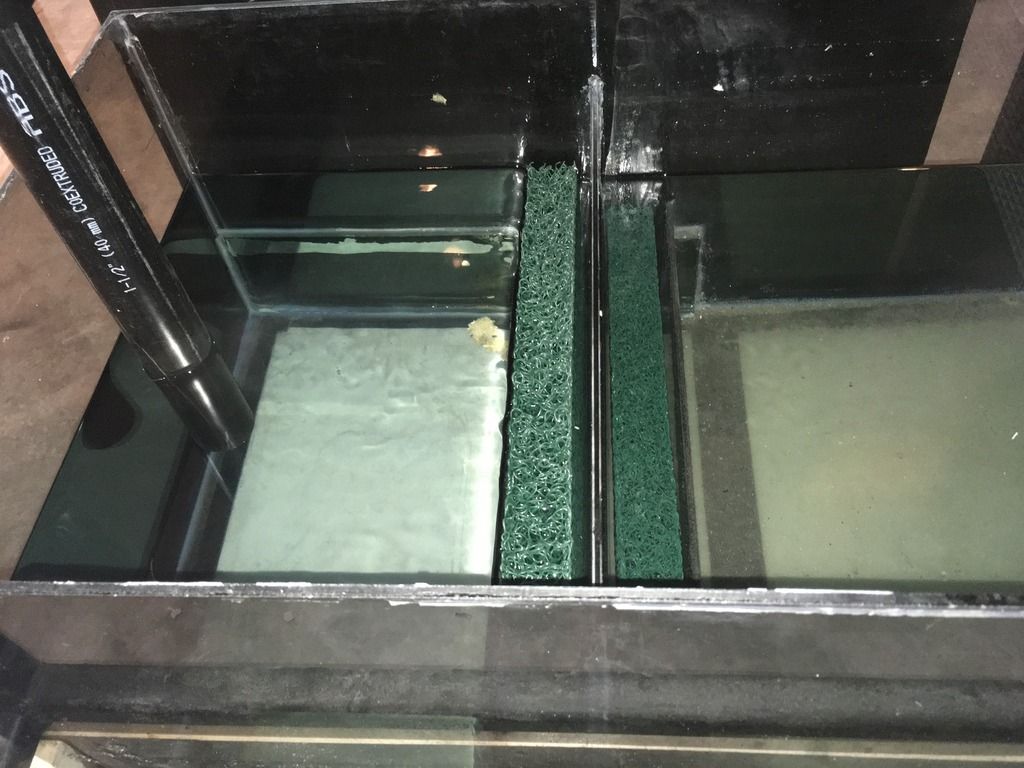
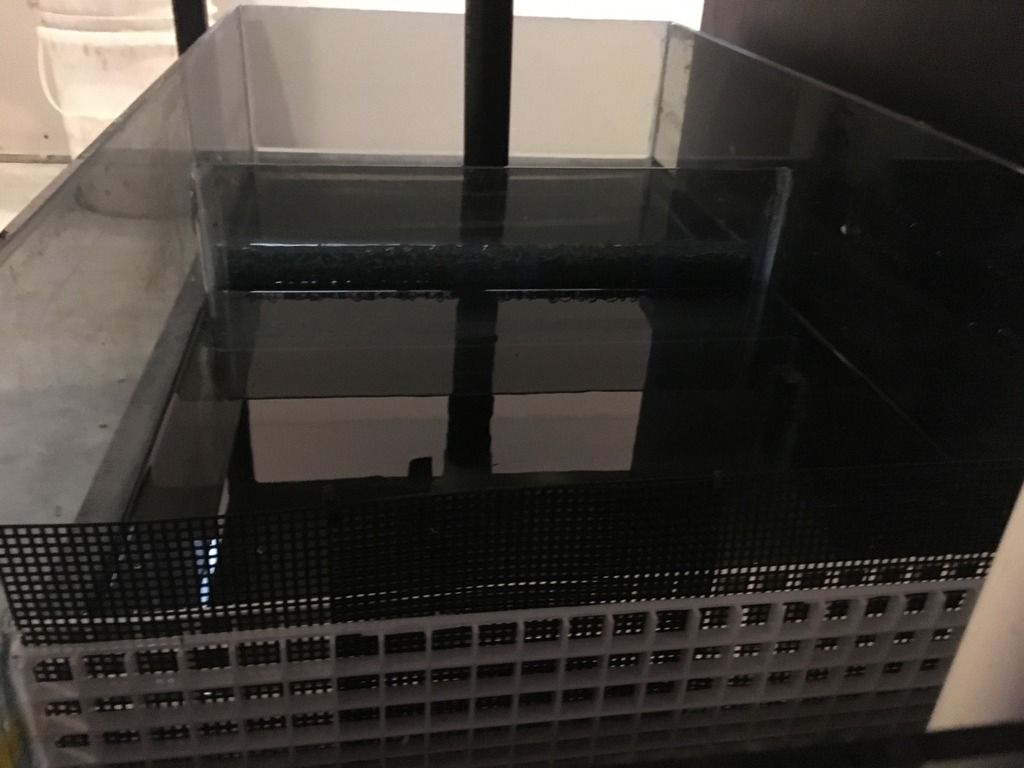
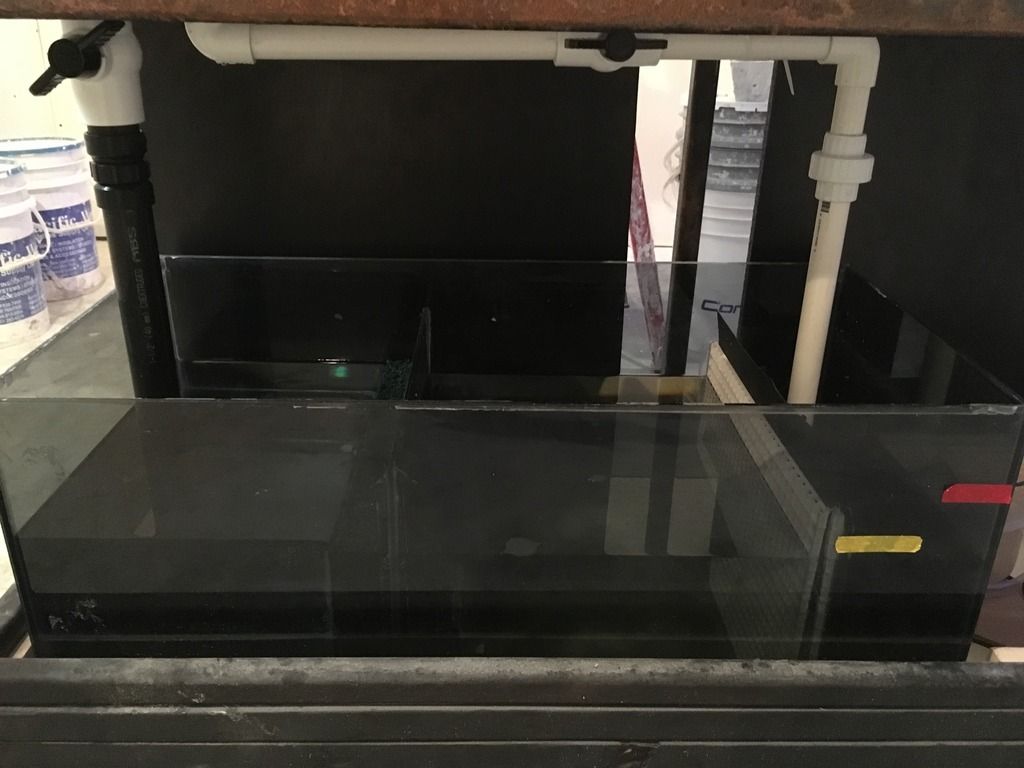
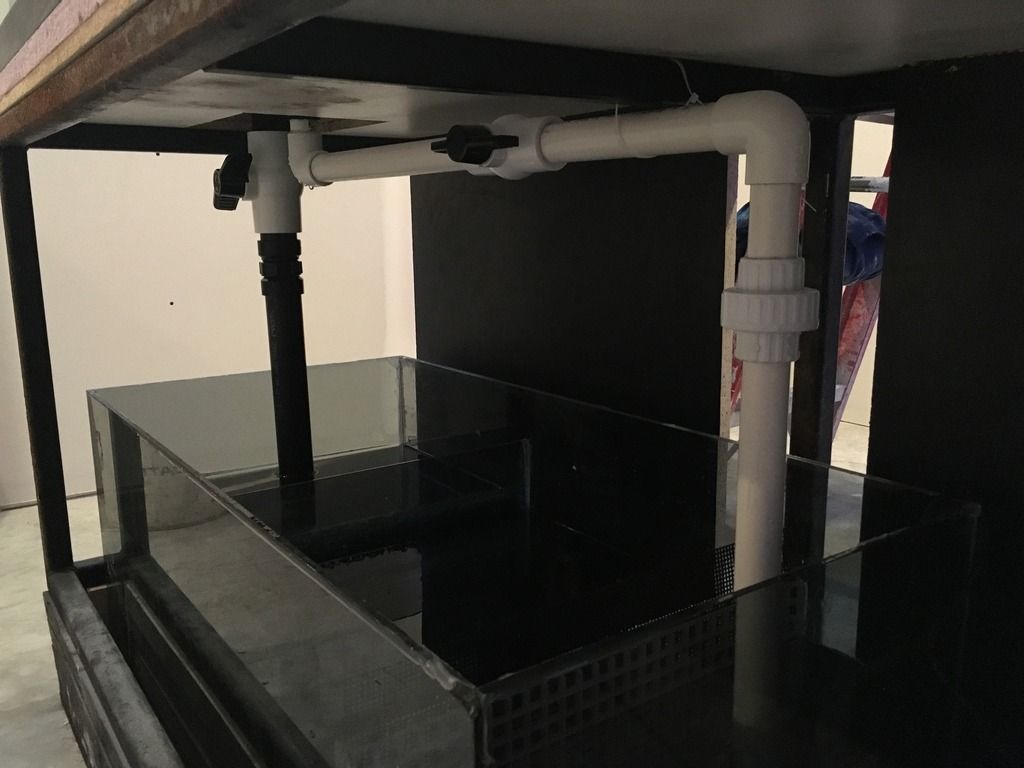
So I went back and forth on my sump design as I wanted to take a minimalistic approach. I spent a couple hours laying out the sump using some cardboard as the baffles and laying out the equipment. The layout I chose is simple 3 compartment setup:
| | SKIMMER ~>| REFUGIUM ~>| RETURN | | I took my measurements when I was satisfied with the layout and ordered the glass to be cut from Crystal Glass. I went with 1/4" thickness and chose "grey float" to match the current sump and to be darker to reduce the light leaked out from the Refugium area. Crystal Glass was able to cut and polish the pieces the same day. The big factor for me was to fit a filter sock in or go sockless. After reading the threads on Canreef and RC I noticed that it was a divided result. I looked at lots of build threads on Canreef and saw many successful setups without socks. I decided to leave room for a clamp on sock holder in case it goes sideways and looks like a snow flurry in my tank. My plan is to utilize a filter sock on the overflow pipe (temporary) and then remove it. I picked up some aquarium safe silicone (didn't want to chance using some from the local hardware store) and began laying out the sump compartments. The first baffle in the skimmer compartment was siliconed in and is 10" high to maintain the maximum level for my Ice Cap K2 Skimmer. I used the maximum as I will utilize a DIY egg crate stand to boost the skimmer height if required. I then siliconed two additional baffles for the bubble trap (Over / Under / Over). In between the two baffles I placed green filters. I used 1" 90 degree PVC elbows as spacers. The Refugium section baffles are 8" high and I plan on putting sand and LR. The goal is to grow Chaeto and cultivate pods. I utilized egg crate on the last baffle which separates the Refugium and the return section. I found some smaller black plastic (used for knitting) which I placed in the middle and it will float with the water level. This should prevent any fish making its way in to the return section.  Skimmer compartment and bubble trap.  The eggcrate separating the fuge and return compartment. I was able to make time to finish the plumbing on the tank. I used 1" pipe for the return and 1.25" for the overflow. I kept it similar to the previous owner, except I used a unions and ball valves. I was not a fan of the plumbing having to be cut to come apart. Simple setup and hopefully it functions fine when I do the full and water test.   I'm looking forward to filling the DT and Sump with water! I will hopefully get this done in the next couple days and test out the plumbing. I had ordered the Jebao DCP 8000 for a return pump from Reef Supplies. So I have been itching to take this thing out of the box and run some water through it!
__________________
300g Basement Reef - April 2018 |
|
#4
|
||||
|
||||
|
Lookin awesome!
|
|
#5
|
||||
|
||||
|
Nice start! Are you going to have the tank displayed on both sides?
|
|
#6
|
|||||
|
|||||
|
Thanks! Hopefully I can keep moving forward with the progress.
I'm still looking where exactly to place the tank to suite the basement. Considered viewing from all sides or adding a black vinyl background and just having the 3 side viewing against the wall.
__________________
300g Basement Reef - April 2018 |
|
#7
|
|||||
|
|||||
|
Looking good great start
|