
 |
|
||||||||
| Portal | PhotoPost Gallery | Register | Blogs | FAQ | Members List | Calendar | Search | Today's Posts | Mark Forums Read |
 |
|
|
Thread Tools | Display Modes |
|
#71
|
|||||
|
|||||
|
Went to NCIX and bought one of these do-dabs. All I need it for is the 110v to 12v Molex connector (shown here) to power the case fan. Fan is on order from TigerDirect.ca and I am expecting it next week.
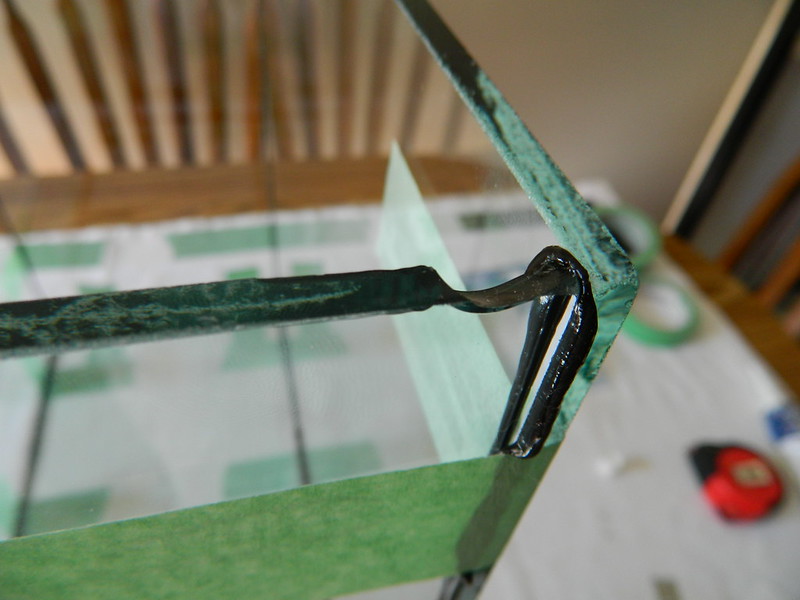
Adaptor: http://www.ncix.com/detail/vantec-2-...36790-1013.htm Fan: http://www.tigerdirect.ca/applicatio...6213&CatId=801 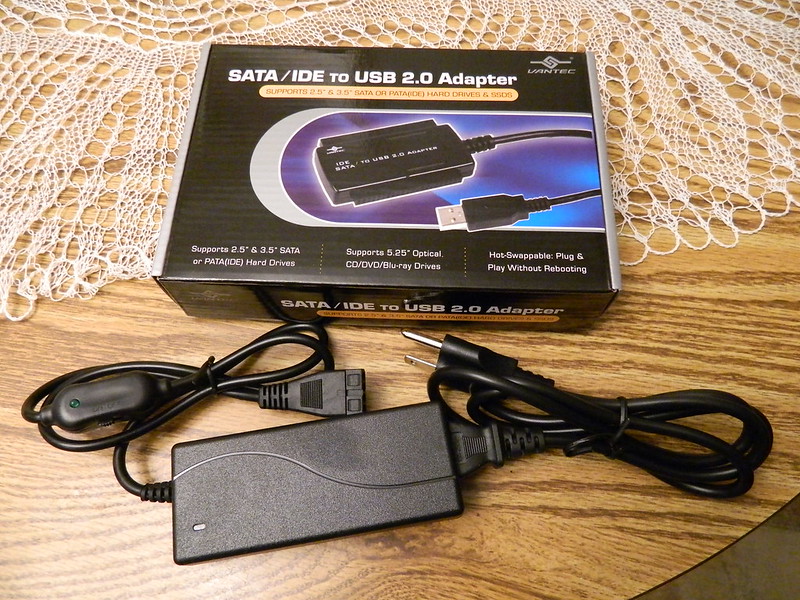 Also received my utility lighting for the stand. Got it off Ebay. I am very happy with it. Super cheap and free shipping to boot. Took less than a week to arrive from China. If it konks out, I have no problem buying another. LED strip: http://www.ebay.ca/itm/1-20M-RGB-505...item258b915553. 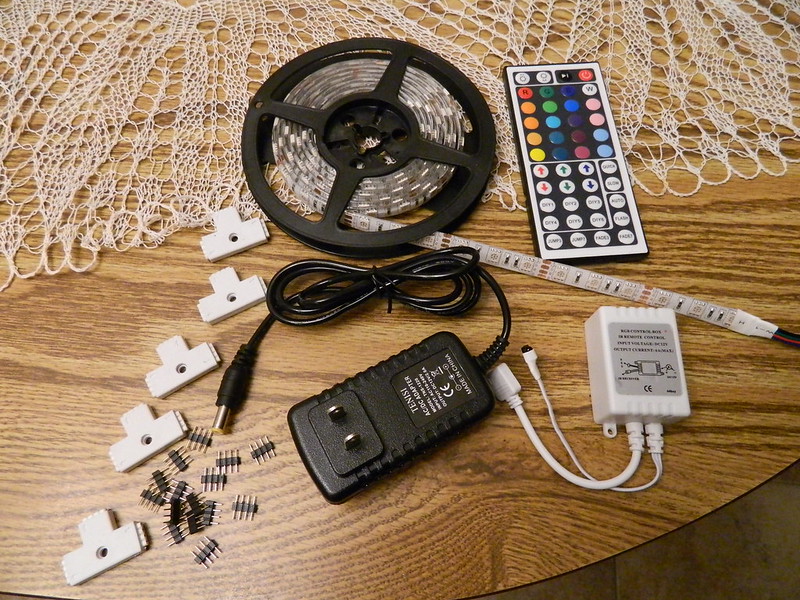 Regarding the ATO reservoir, it made more financial sense to build it myself. Too bad really as I was looking forward to a Concepts made product. That's ok, my next display will be made by them for sure. Went to my local glass cutter and got it all at a reasonable price. Stupid me, I shelled one corner as I was laying it all out for prep. DOH!! 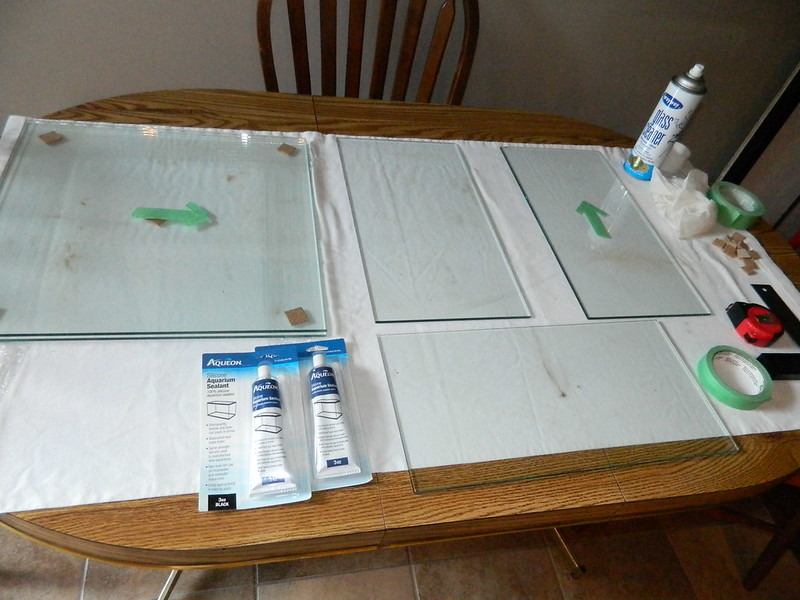 Assembled the ATO this evening. Going to let it cure before I trim, do the inside and finally the top. Silicone looks ugly as I've never built a tank before. Interior volume works out to 12 gallons. 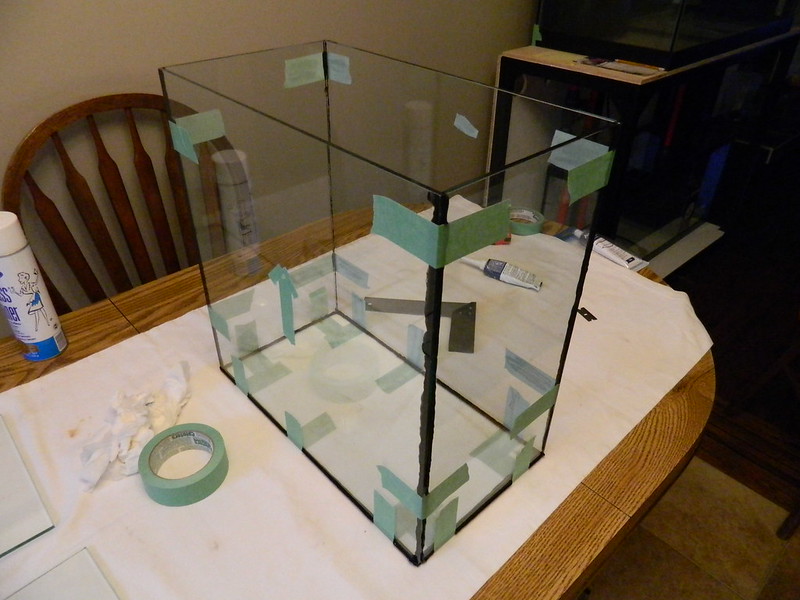 This project is taking forever. Thanks for looking. |
|
#72
|
|||||
|
|||||
|
$3 for the LED kit, and with a remote ??? That's almost ludicrous
Good score Kool fan too. I like the temp display  |
|
#73
|
|||||
|
|||||
|
Quote:
I've used the fans before in my computer mods. I like them. The LED's on the fan only run strong for about 18 months then crap out. It's only $12 so it doesn't break the bank. |
|
#74
|
|||||
|
|||||
|
Continuing on with the ATO build. Here is the corner I shelled.
  And the inside bead of silicone holding the panes together. 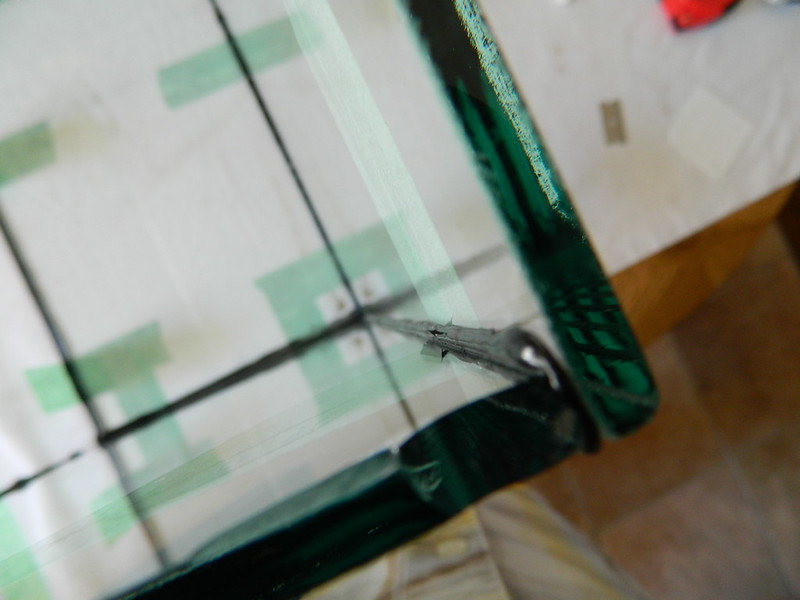 I was thinking how to get a nice fillet bead of silicone on the inside of the ATO without getting my fingers all sticky and silicone everywhere. Then I remembered a tool glass makers use for just such the trick. Off to Home De Pot, but couldn't find one. Saw a vinyl siding colour swatch (which was free), took it home and made this. Simply cut it in half and then nicked a nice 45* corner off of one. 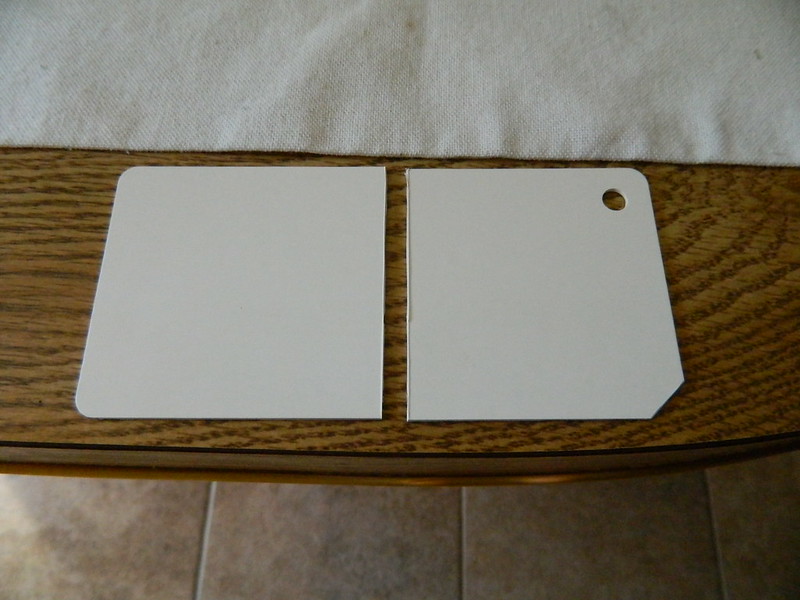 Applied a generous amount of silicone and slid my custom tool from bottom to top with lots of pressure and... VOILA! 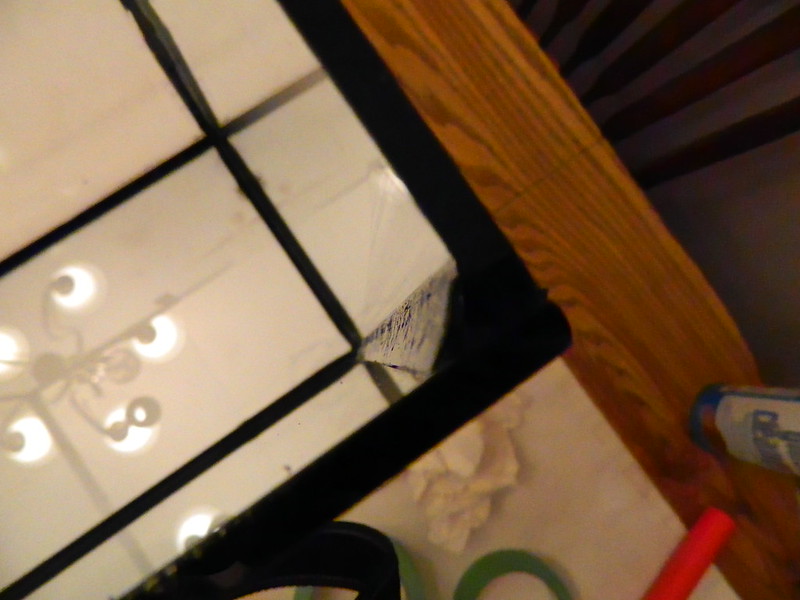 Let it cure for 48 hours and then began to trim the excess on the outside. DISCLAIMER: Please do NOT eat the razor blade. 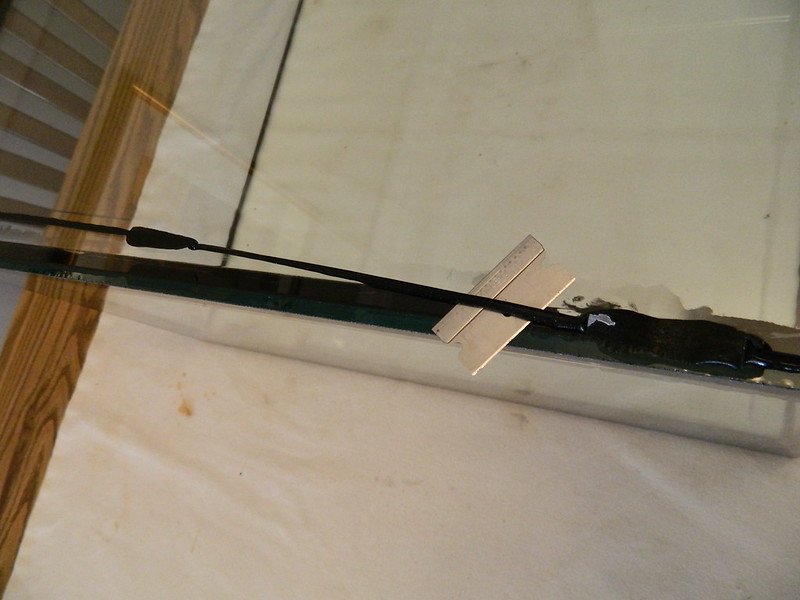 I was pretty happy that it held together! Sophie could care less. 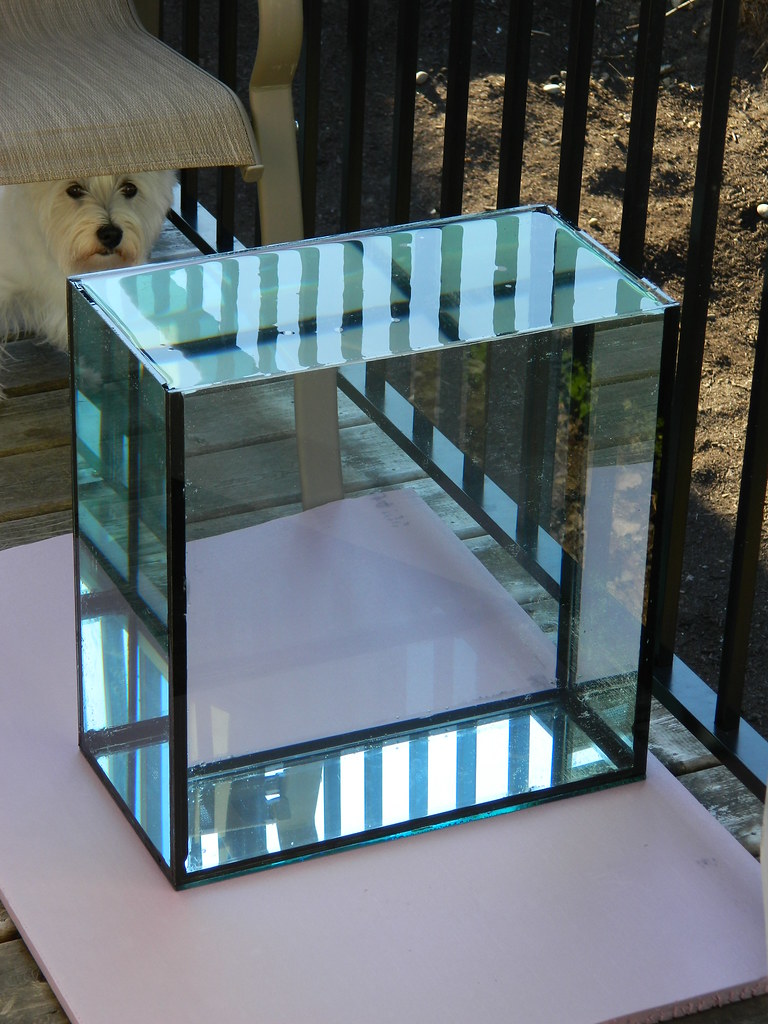 Siliconed the top on tonight, probably trim it up tomorrow. 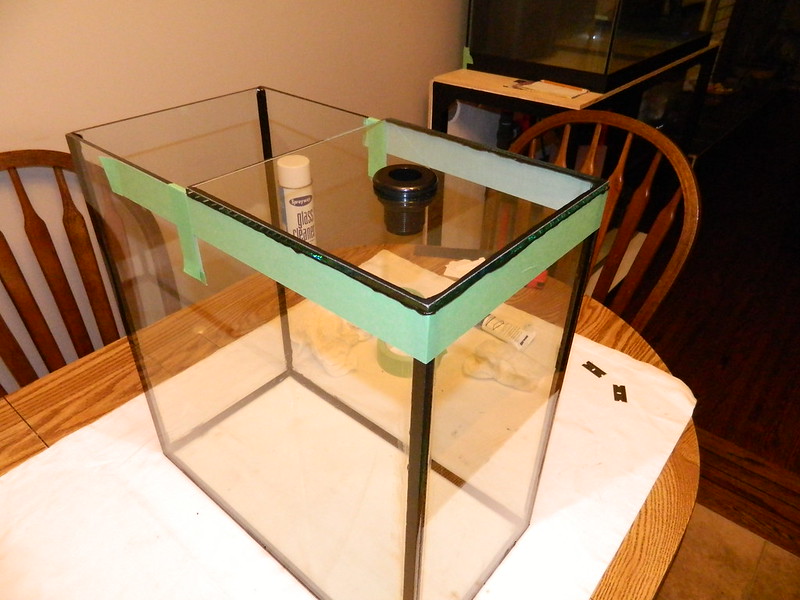 Thanks for looking. Last edited by WarDog; 01-11-2016 at 06:55 AM. |
|
#75
|
|||||
|
|||||
|
That inside bead looks awesome, well done.
|
|
#76
|
|||||
|
|||||
|
Thanks daplatapus, how's the fish room coming?
|
|
#77
|
|||||
|
|||||
|
I also have those color changing LED reels, but where did you get those 4 pin connectors ??
this is a cool build !! |
|
#78
|
|||||
|
|||||
|
Thanks! Kevotron, I will provide a link when I get home.
|
|
#79
|
|||||
|
|||||
|
Quote:
Finished the ATO this evening. Total cost was about $110 all in. Hoping I can find some black 3/4" spa flex for the open side of the bulkhead. This will allow for easy filling with RO/DI. 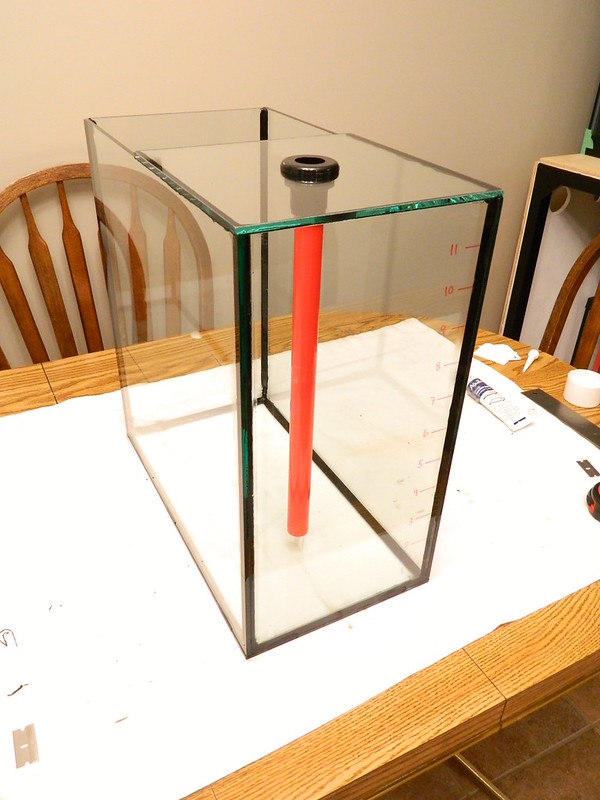 |
|
#80
|
|||||
|
|||||
|
Wow that's one BOSS ATO! Imma gunna hafta borrow that idea!
|
 |
| Thread Tools | |
| Display Modes | |
|
|