
|
|
|
#1
 09-05-2011, 08:26 PM
|
||||
|
||||
|
One of my customers did a write up of a great little nano build on Reef Central. They decided to take the post down for some reason, really not quite sure why. Anyways Mike sent me the text and here it is below:
------------------------------------------------------------------------- Hey guys, decided to do a little write up for my nano LED build. I hadn't seen one on here yet for Modular LED. I decided to go with Modular LED I wanted something easy to put together and to get my light up and running pretty quick. Plus I love DIY but the solder kills me sooo. First top notch job from Martin at Modular LED he answered every question I had within minutes, not hours or days the emails were flowing even on the weekends. He did later admit to having an iPhone glued to his forehead I purchased a 6x6 heatsink from them was perfect for my tank and decided on a 2:1 ratio of Royal Blues to Cool Whites. Here is the arrangement I wanted: 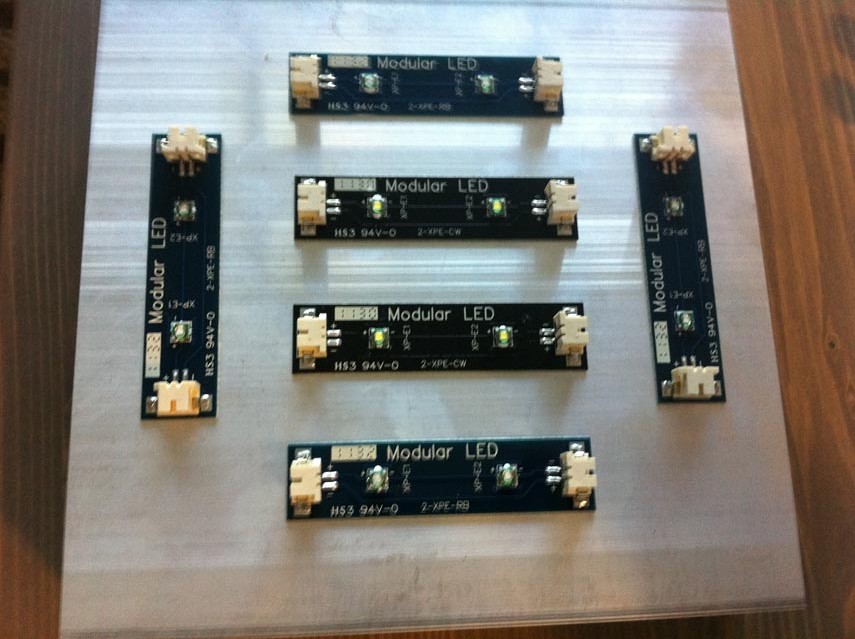 First was glue. I used the Arctic Alumina. Each of their boards has a little heat transfer pad that you put the glue on. 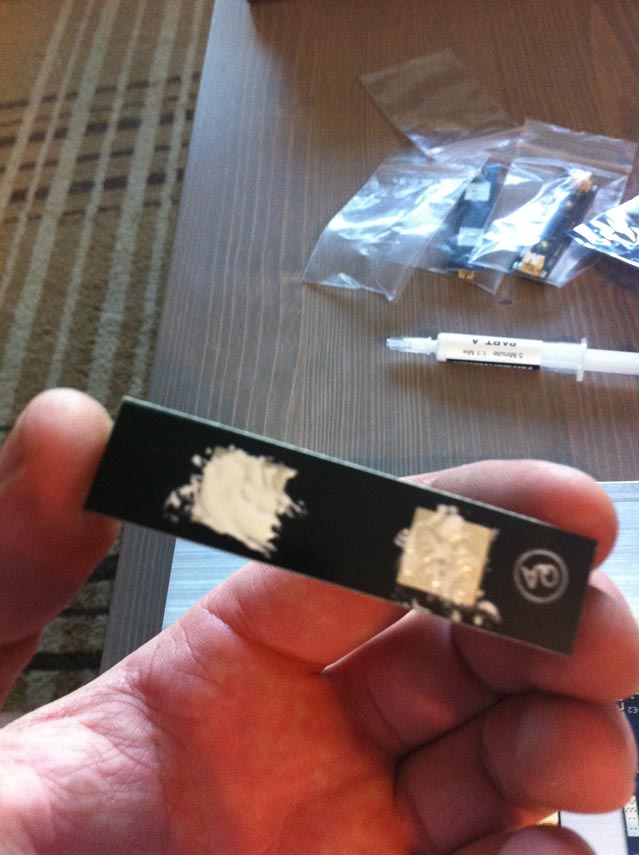 I noticed that each of their boards were marked QA. When I asked him what that was about he said they test every single board and LED to make sure they work. I understand the other ones on stars are only randomly tested so you can get some duds or something. I ordered my driver pre-configured (configuration was free!) and it also came fully wired for me. However looking at the connections now it would be childsplay to wire because all the wires are color coded. 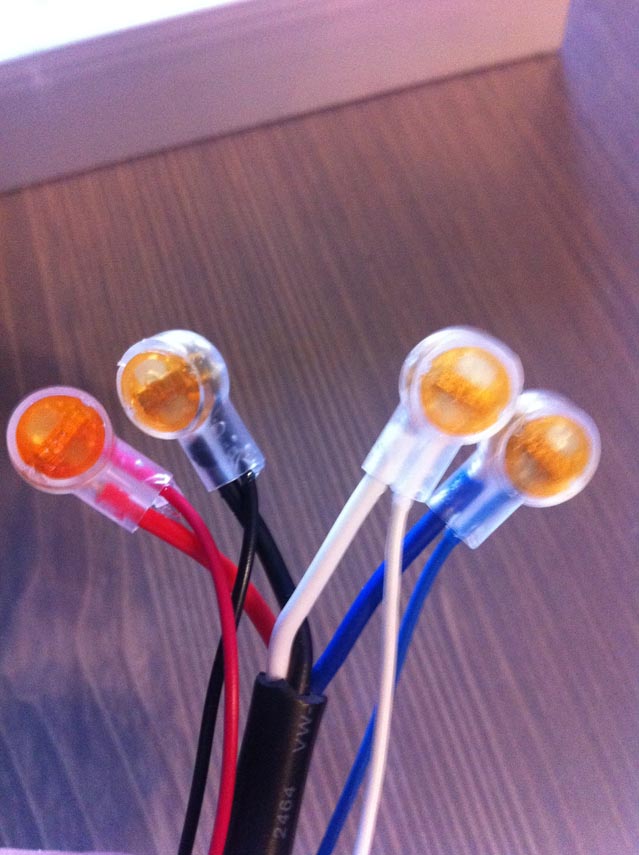 Below is how the driver is wired, one connector goes to the LEDs the other to the dimmer:  It even came with the power cord already attached and a grounding cable. 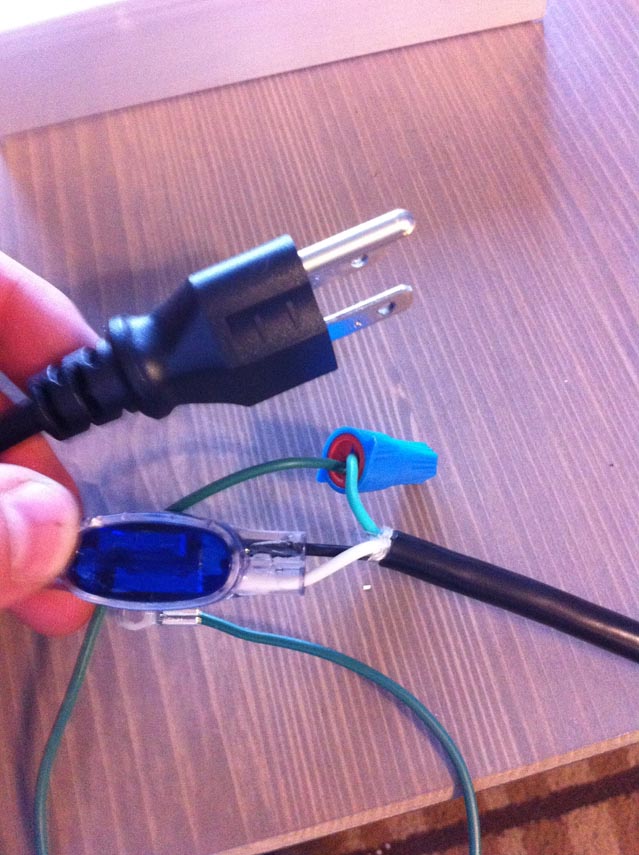 I decided to glue the dimmer right on top of the driver   And here it is all wired up. Before I purchased I drew it all out on some paper so I would know how the connections would work and to make sure they were long enough. I used all 2 inch Standard Connectors. 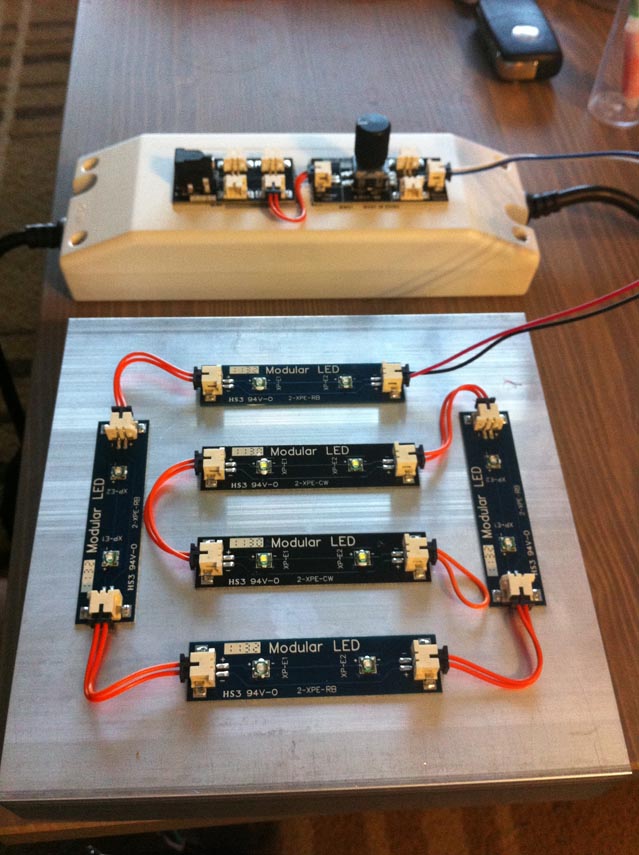 I put the lenses on. I used all 45 degree lenses. 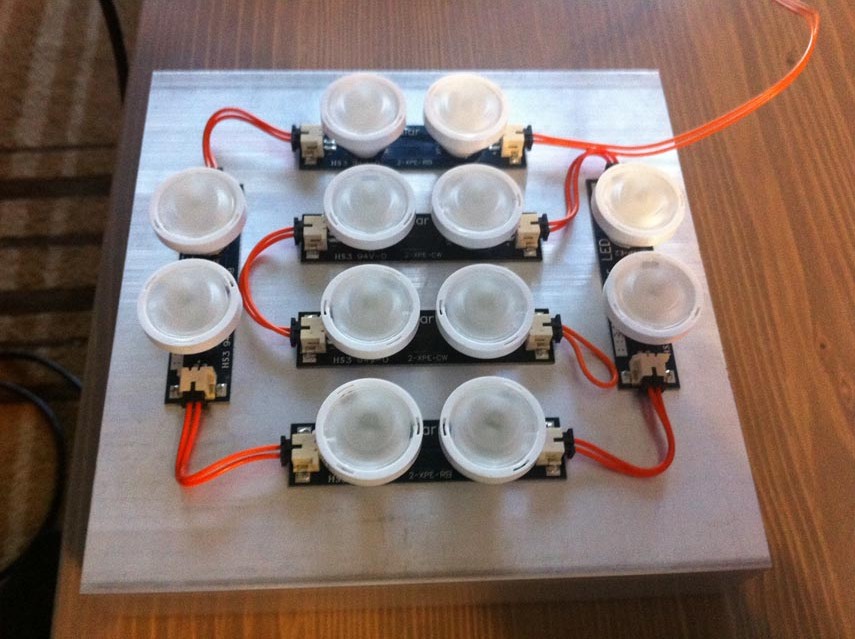 Last thing I did was add some connection extenders. I bought a bunch of these so I can house my drivers and dimmer hidden away under my desk rather than in the small light hood for the nano. 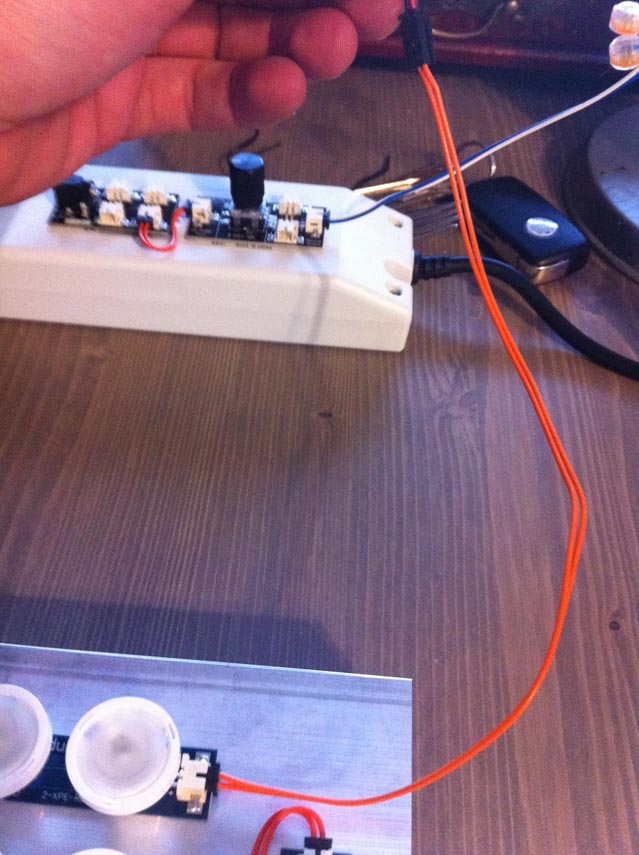 And hear it is finished. Unfortunately the camera is not good enough to show you the blues and whites but the color is beautiful and soo bright! 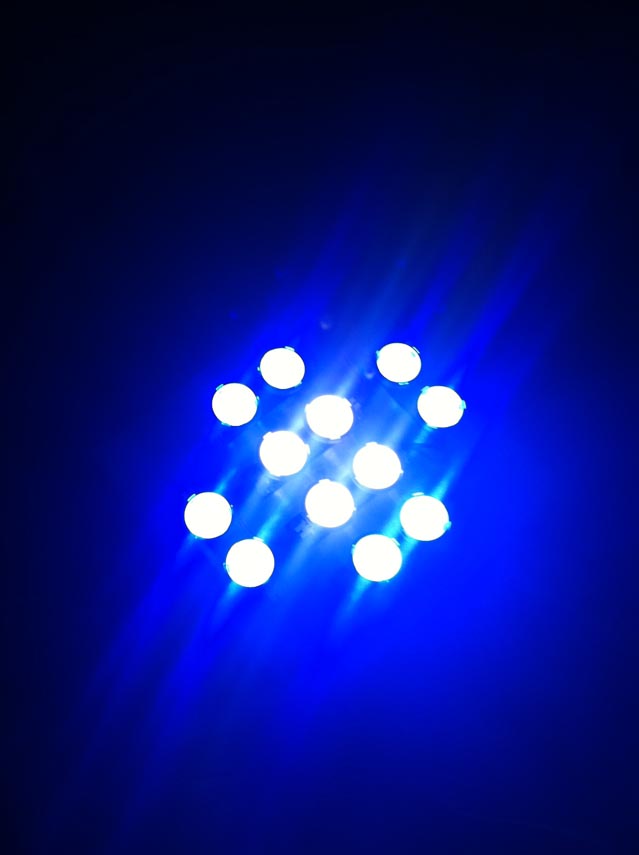 Here is the best part. Build time less than 20 minutes. Not including the Arctic Alumina cure time of course that took a few hours. Oh and there was a free chocolate bar in the box! haha I love it!
__________________
Western Database - Custom database, software design and cloud hosting. Last edited by martinmcnally; 09-06-2011 at 04:17 AM. |


 Threaded Mode