
 |
|
|
|
#1
|
|||||
|
|||||
|
This is the story of my 400 gallon tank, which is still under construction as of now. That's about 6 months construction time at this point.
Here's how things looked when I started, back in June, 2006.  The easy part was destroying the brand newly carpeted room. Once that is done, it provides real commitment to the project! 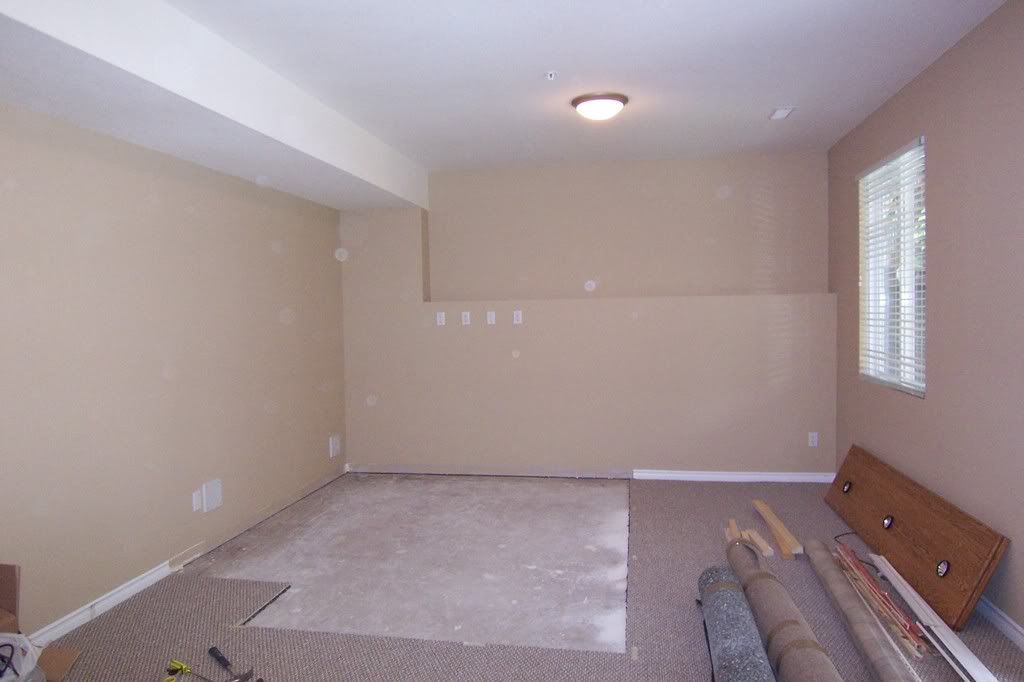 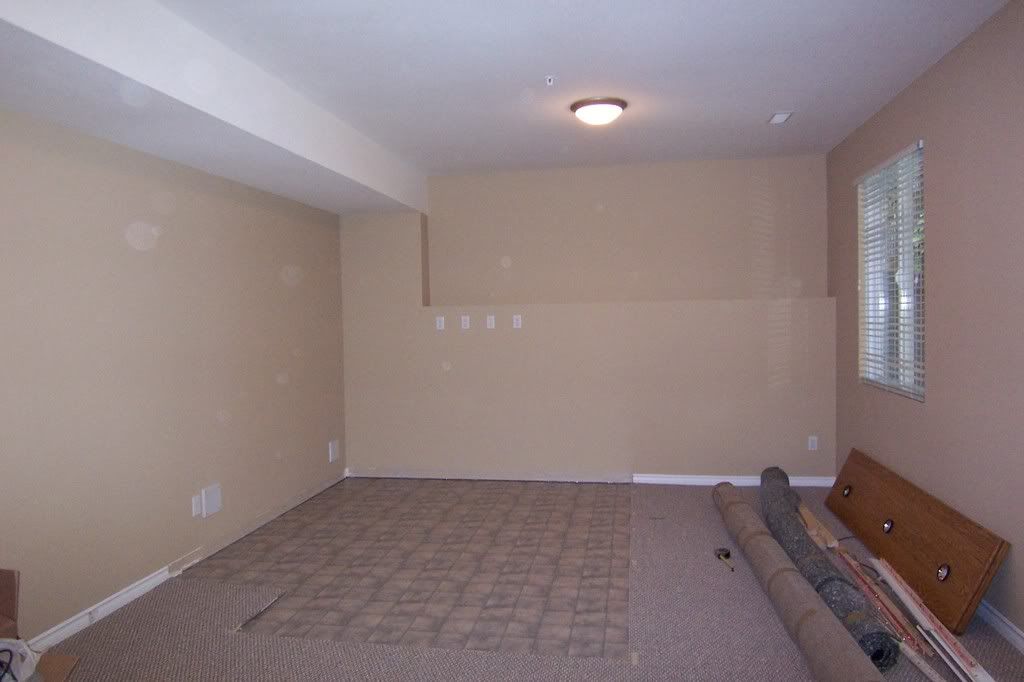 |
|
#2
|
|||||
|
|||||
|
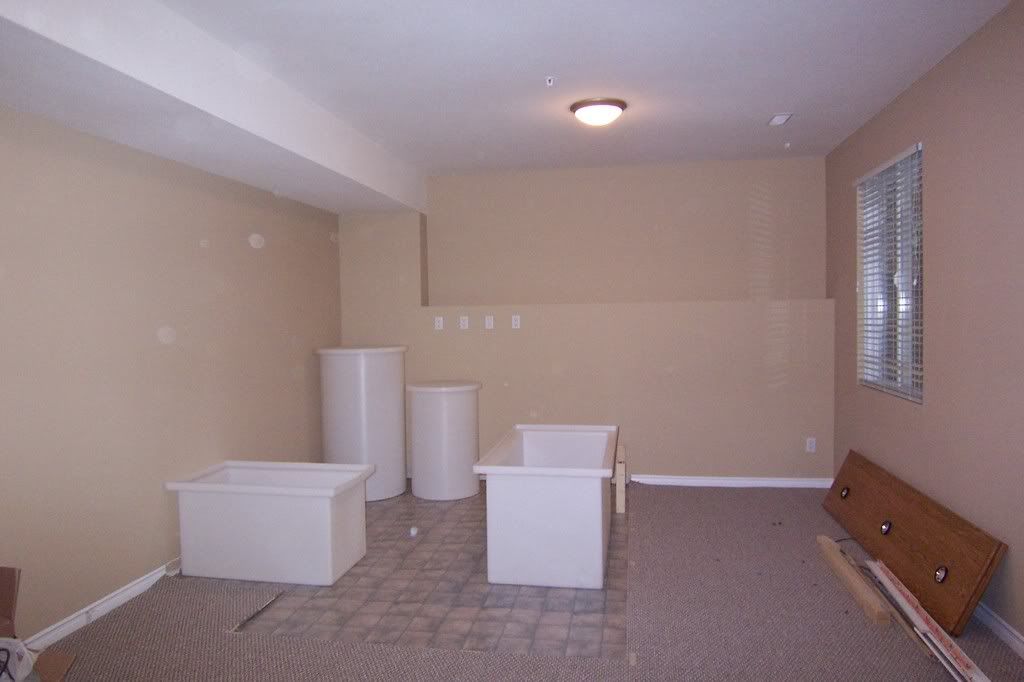
With Lino on top of the concrete floor, I started with the stand and walls. Before I started, I positioned the 2 sumps, RO water container and mixer into their rough positions, then built around them.
 The stand is built with fairly standard 2x4 construction, except that the studs are only 8" apart and doubled up everywhere there is a larger gap. The top of the stand is 2x6's on edge bolted to the frame.   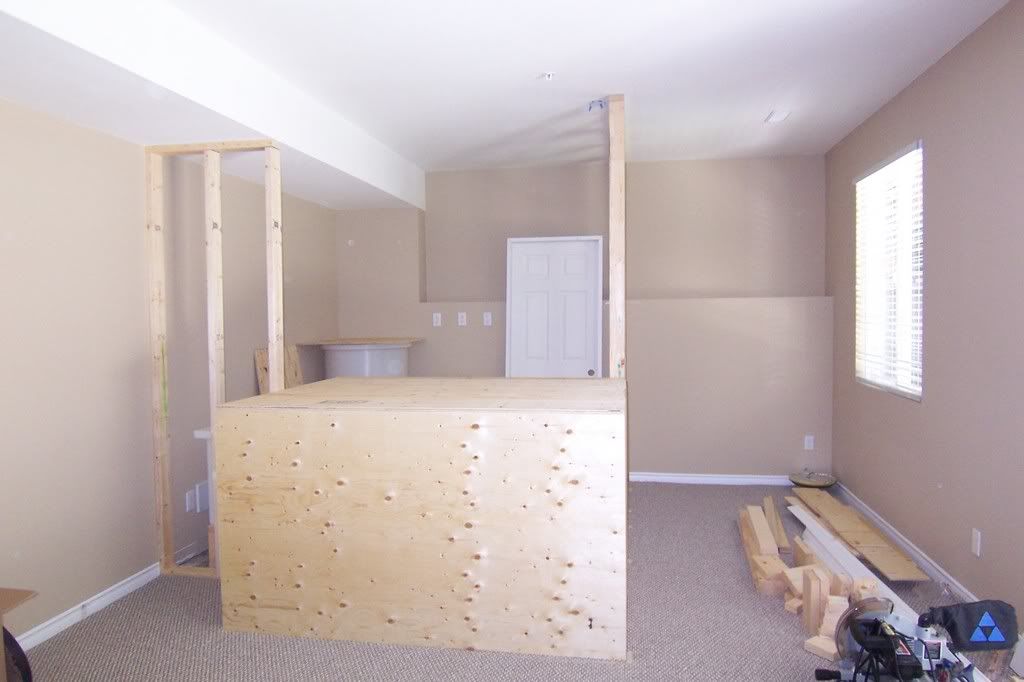 |
|
#3
|
|||||
|
|||||
|
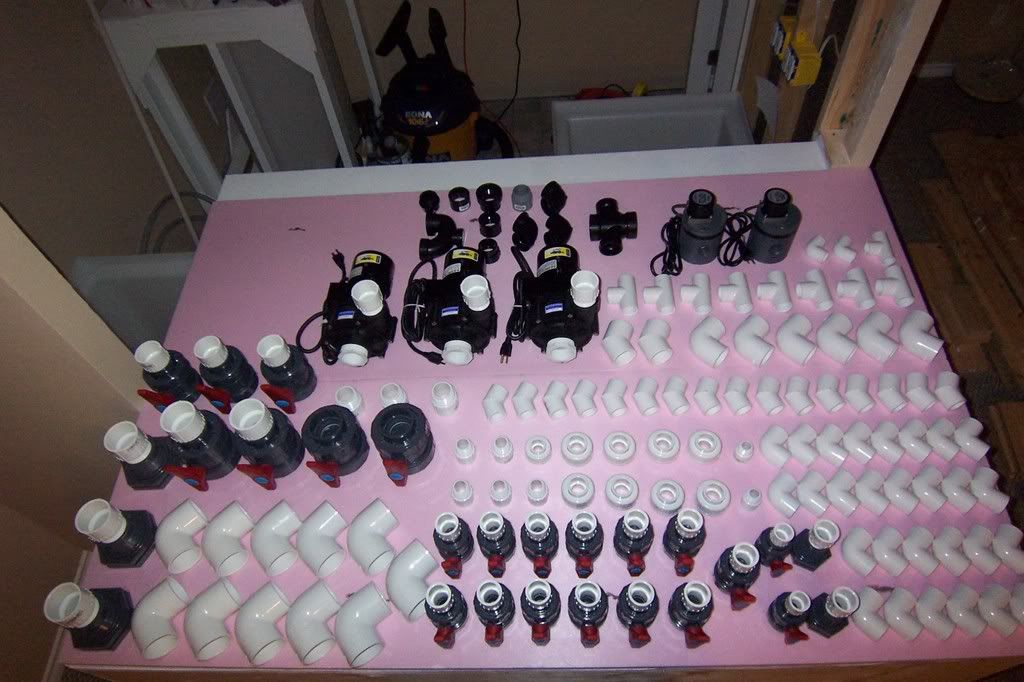
Here's a fun shot of what $2000+ worth of plumbing gets you! (there are three Dart pumps there...) It all looks very small, until you realize that you are looking at the 6' x 4' stand area.
 |
|
#4
|
|||||
|
|||||
|
I rented a van, drove down to Portland, Oregon to pick up the tank from Envision Acrylics. That was about 5.5 hour drive. It was actually cheaper to rent a van, and stay in a hotel than it would have been to crate the tank and have it shipped...(and I was more careful than any shipper that I've worked with)
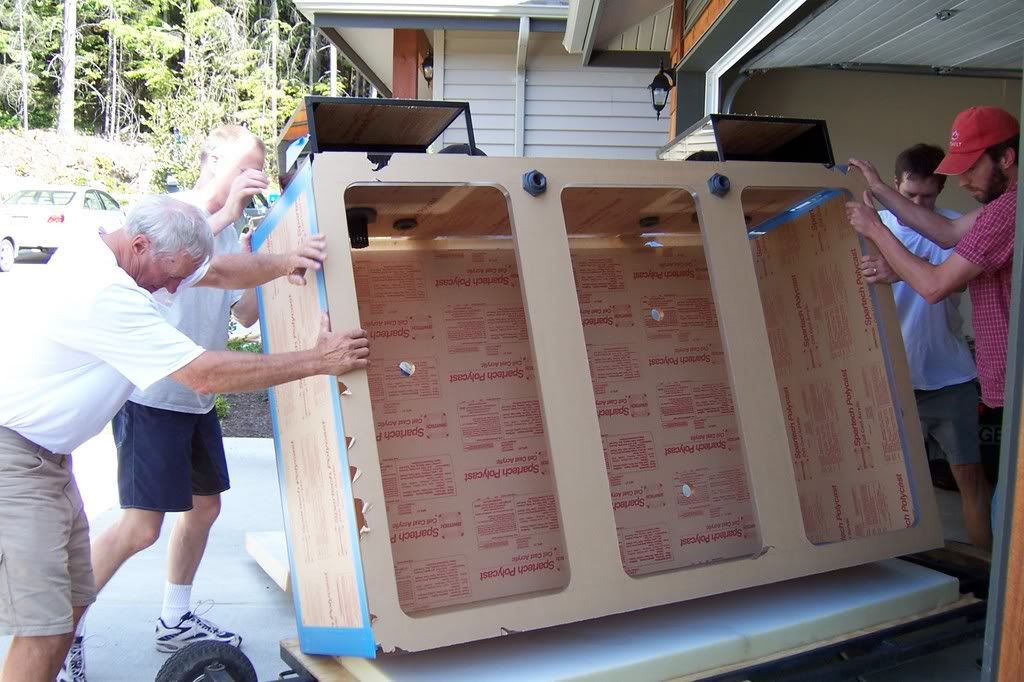 The tank itself is 1" thick acrylic throughout. It is 6 feet x 4 feet x 26" high. That puts it just under 400 gallans. Empty, it weighs about 500 lbs. We were able to move it easily thanks to some support from a local hot tub company that loaned me their super-dolly. 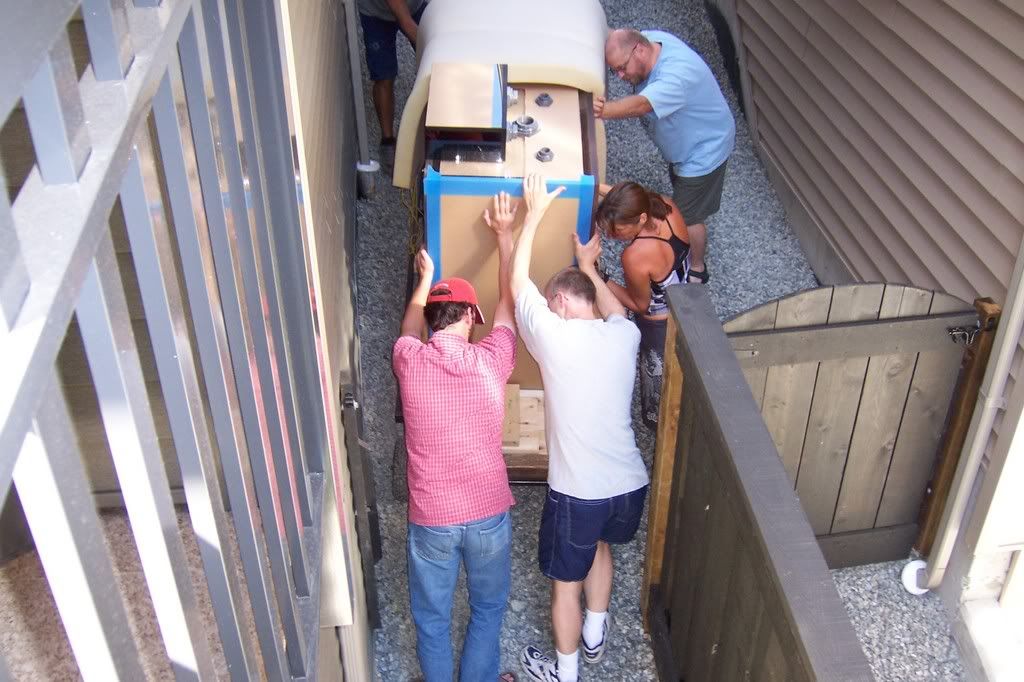 In the end, we just dead-lifted it onto the stand. Perfect fit! 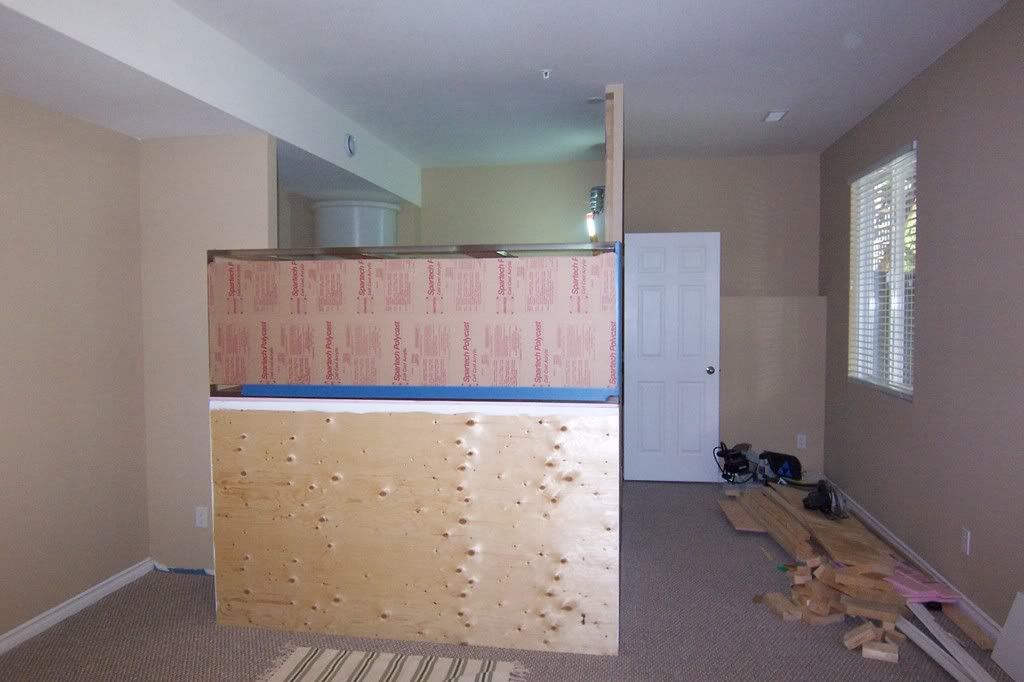 |
|
#5
|
|||||
|
|||||
|
Along the way, I became experienced in electrical work. I brought 4 x 15amp circuits directly from the main breaker and run throughout the area behind/under the tank.
Two of the circuits are dedicated to lighting. The other two are fairly distributed along the walls for accessory pumps, computers, solenoids... In all, I wired up over 30 duplex receptacles and one light with switch. All four circuits are GFI protected. When I was all done, I had an electrician come in and verify that I was safe. The electrician did the final connection to the breaker box. 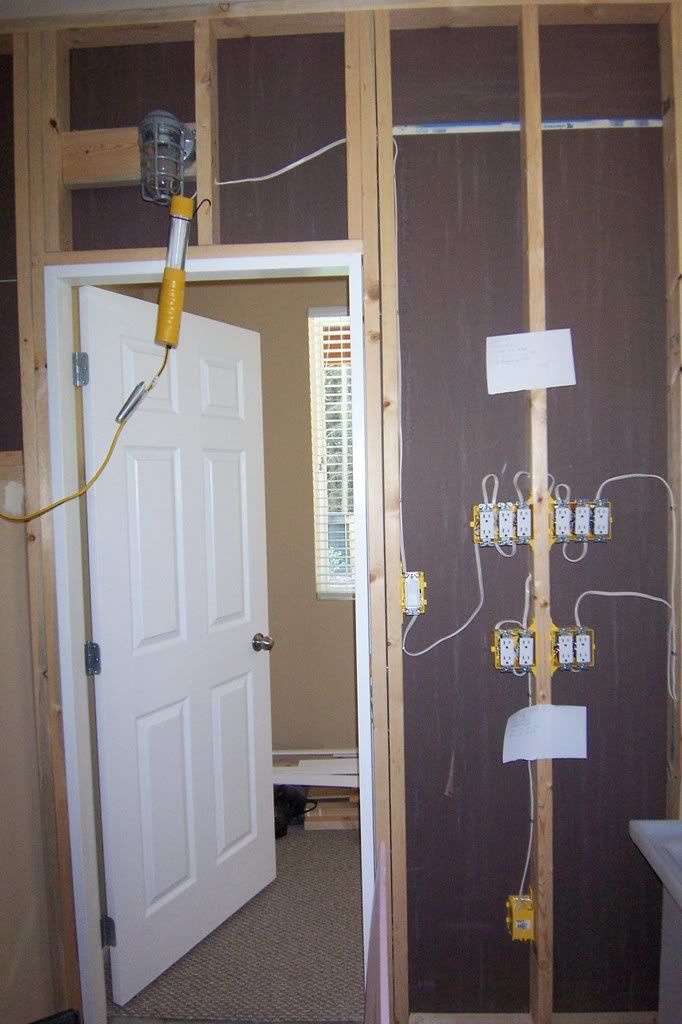 |
|
#6
|
|||||
|
|||||
|
Done with being an electrician...I became a plumber! I now consider myself to be quite accomplished at PVC plumbing. Many thanks to the guys at Corix Water Products. I became quite a regular there!
Here's a shot of the two closed loops. (Left and Right) Each consists of a Dart pump connected to an OM-4 way. The outlets from the 4-way deliver water back to the tank in such a way that the water will be "rolled" from the bottom/back across the bottom...up the front glass, then across the top toward the overflows. I'm very happy with the OM-4 ways. They are completely silent, very well built and Paul is very helpful on the phone. Even though the two loops are almost identical, I experienced some water hammer in the right loop. A quick mod provided by Paul cleared it up easily.  |
|
#7
|
|||||
|
|||||
|
Whoa!! What exactly do you feed it?!?!
|
|
#8
|
|||||
|
|||||
|
What kind of crab? It reminds me of the crab alien things from that (really cheesy) remake of Lost in Space from around 12 years ago...
__________________
-- Tony My next hobby will be flooding my basement while repeatedly banging my head against a brick wall and tearing up $100 bills. Whee! |
|
#9
|
|||||
|
|||||
|
Looks like a sally light foot crab to me!!
|
|
#10
|
|||||
|
|||||
|
I agree it sorta looks like one, but I also thought it looked a little different. Then again I've never seen one that big so what do I know.
__________________
-- Tony My next hobby will be flooding my basement while repeatedly banging my head against a brick wall and tearing up $100 bills. Whee! |