
|
|
|
|
|
#1
 03-11-2011, 01:43 PM
|
|||||
|
|||||
|
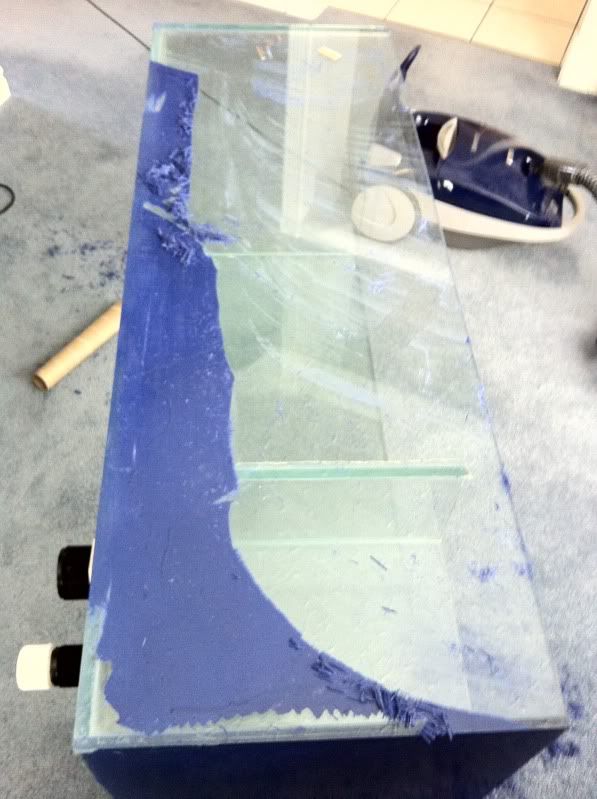
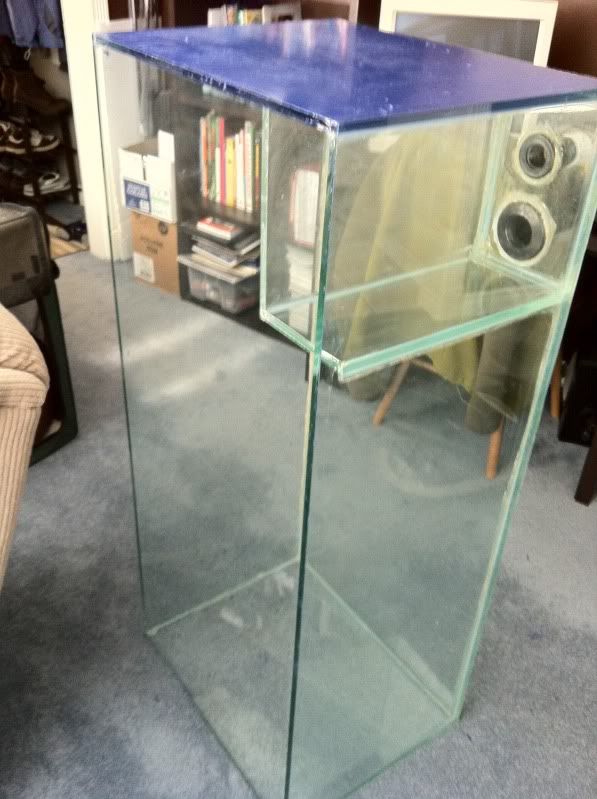
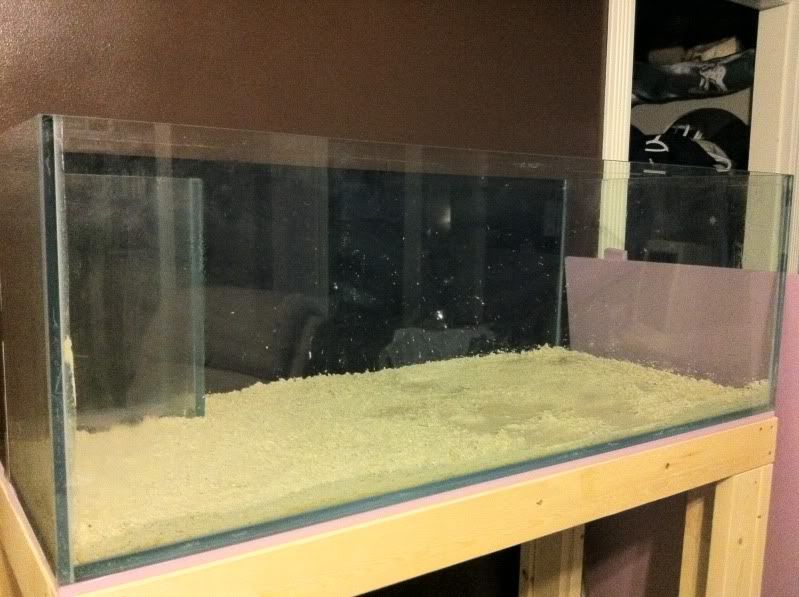
I picked this tank up today in Calgary, I figure it about 80G. The tank is 48.5"L x 22"D x 17"H with a left corner overflow, 1.5" drain and a 1" return. I am still unsure on equipment, I would like to go MH or LED for lighting, tunze 1262 return pump, and I am not sure about dual MP10W ES or MP40W ES. I think for the money spent I will see better results with the 10's but for right now its going to be pieced together slowly.
Here is how it looked after Mike & I got it in the house. 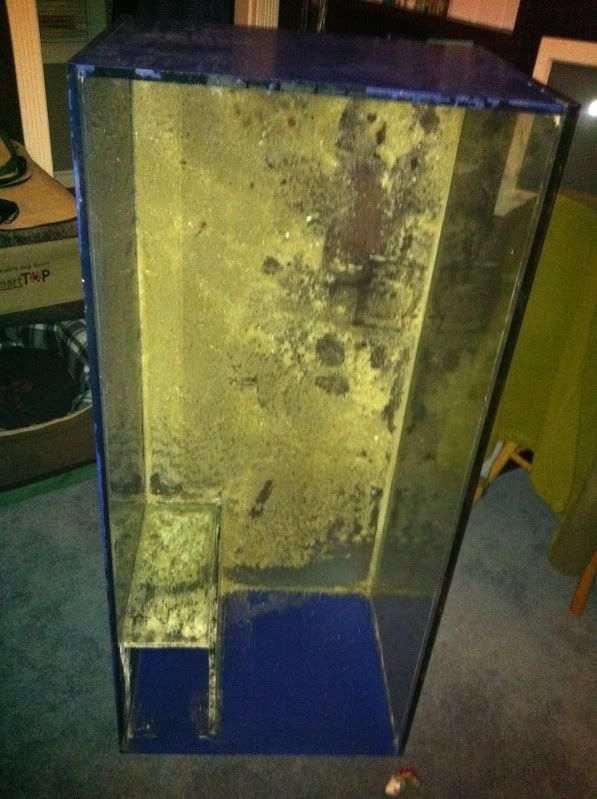 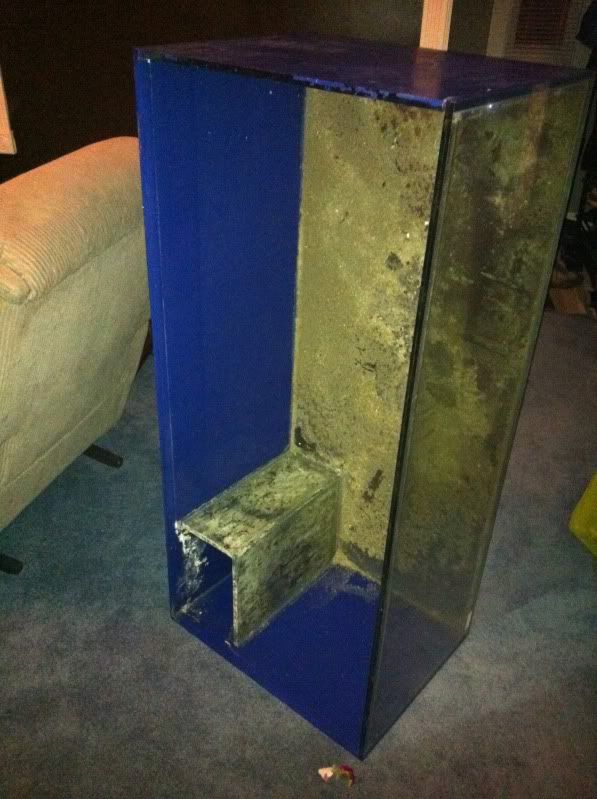 I wasted no time in cleaning this thing up. Step One take off paint on sides. 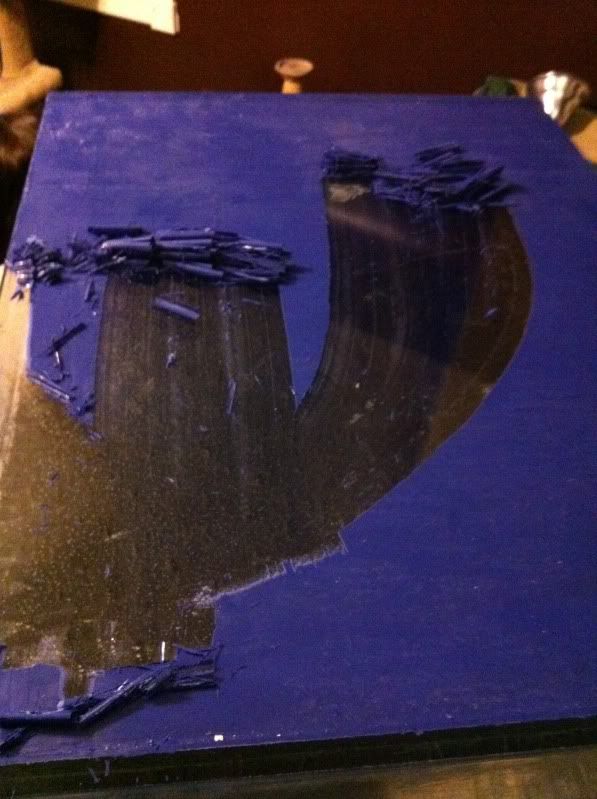 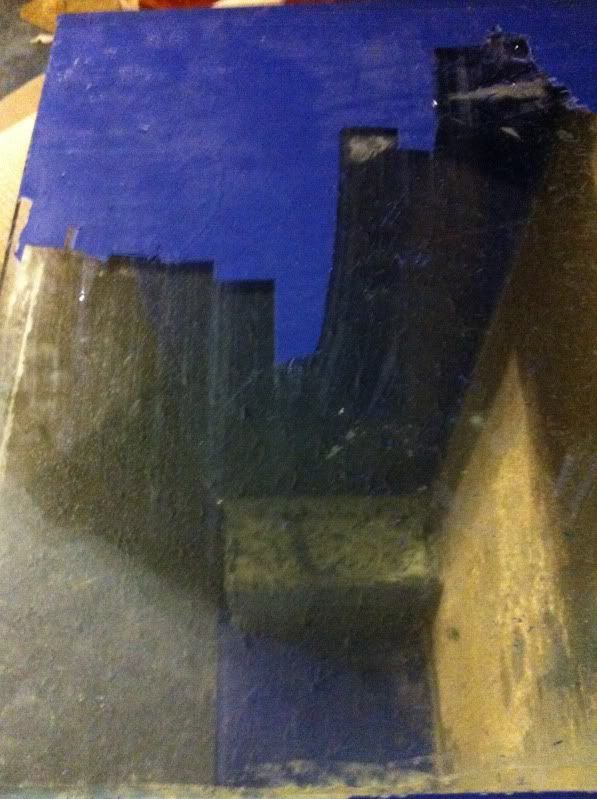 Step Two take off the substrate stuck on the bottom 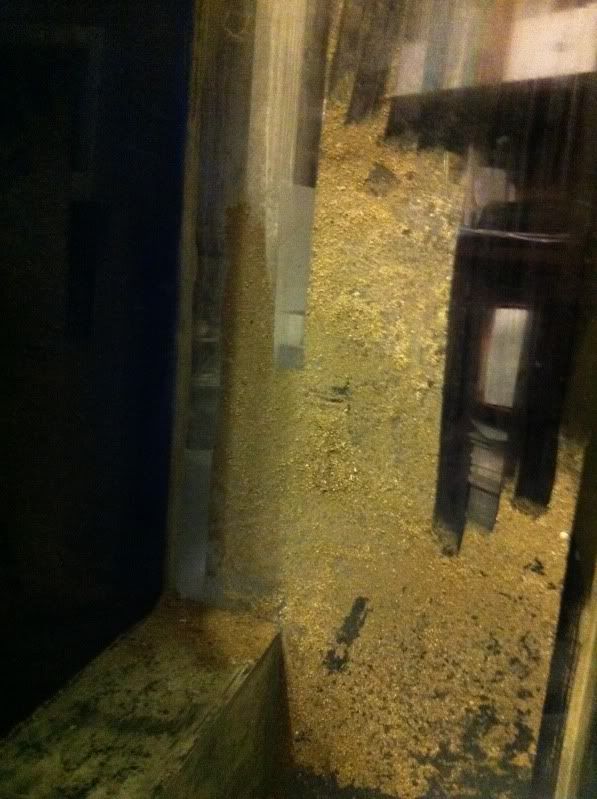 And here is how it looks after a quick wipe down. 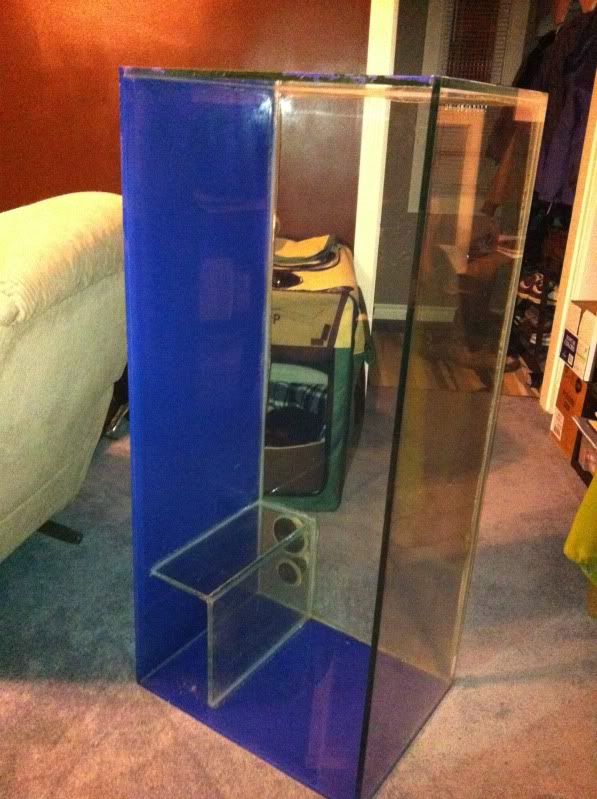
__________________
Ryan 
|
|
#3
03-11-2011, 01:44 PM
|
|||||
|
|||||
|
Well after a trip to Home Depot, an agonizing weight at the till because they thought I was lieing how many pieces of lumber there was and the guy in that section on break here is the raw product.
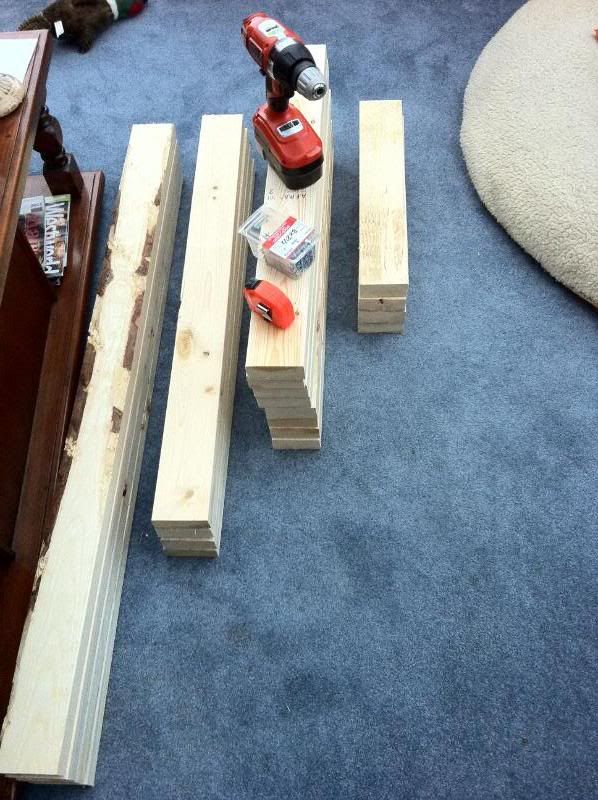 Piecing it together. 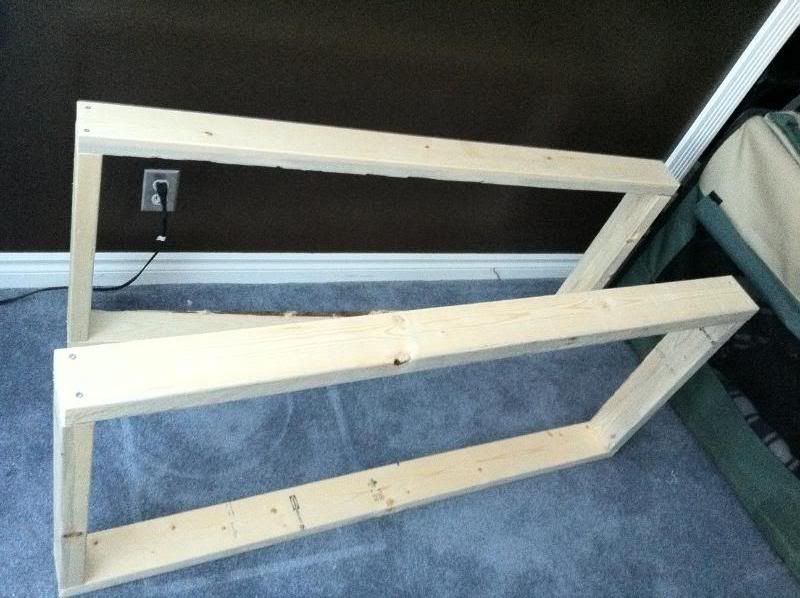  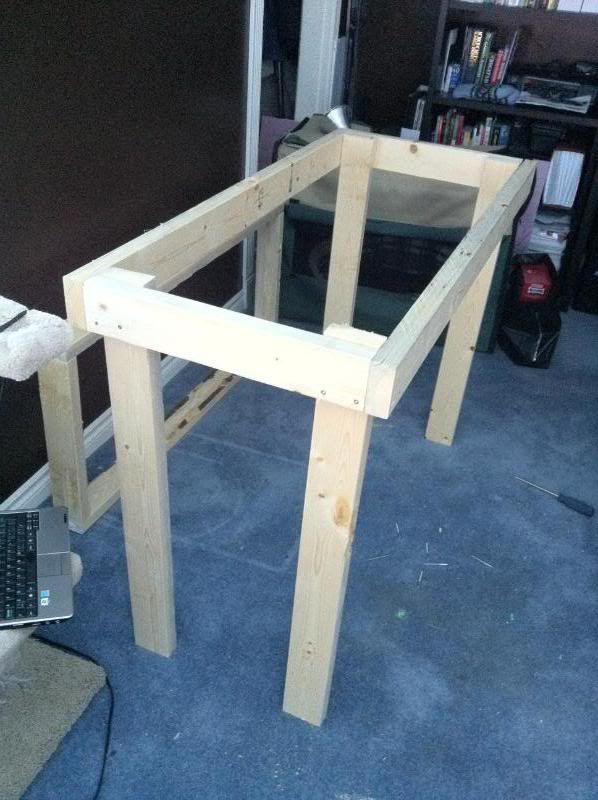 All finished 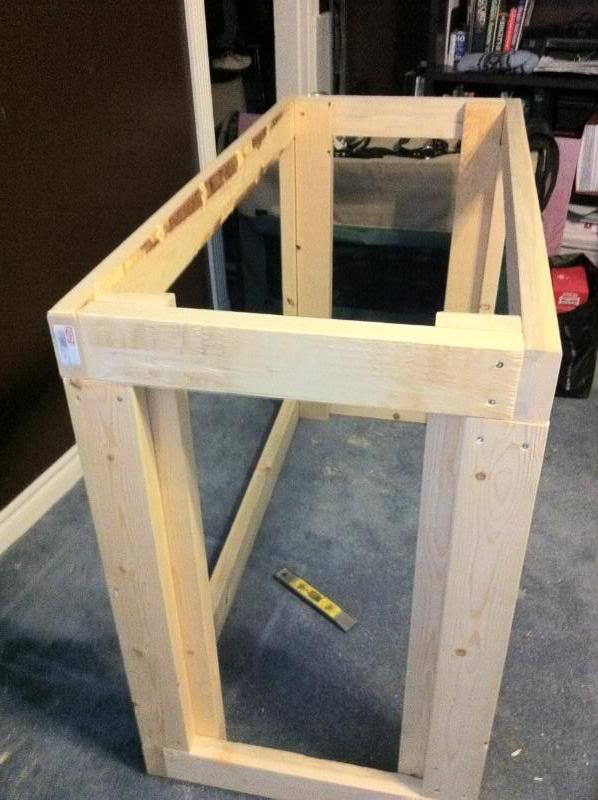 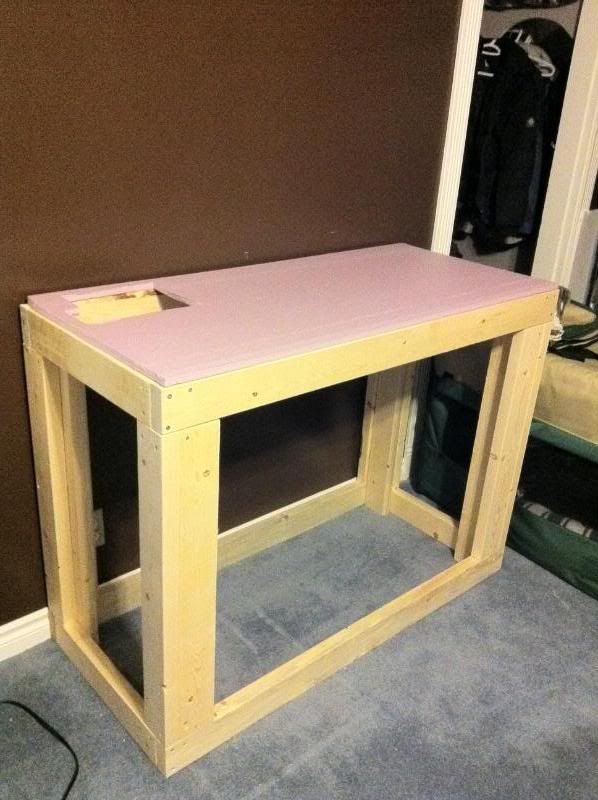 On the stand 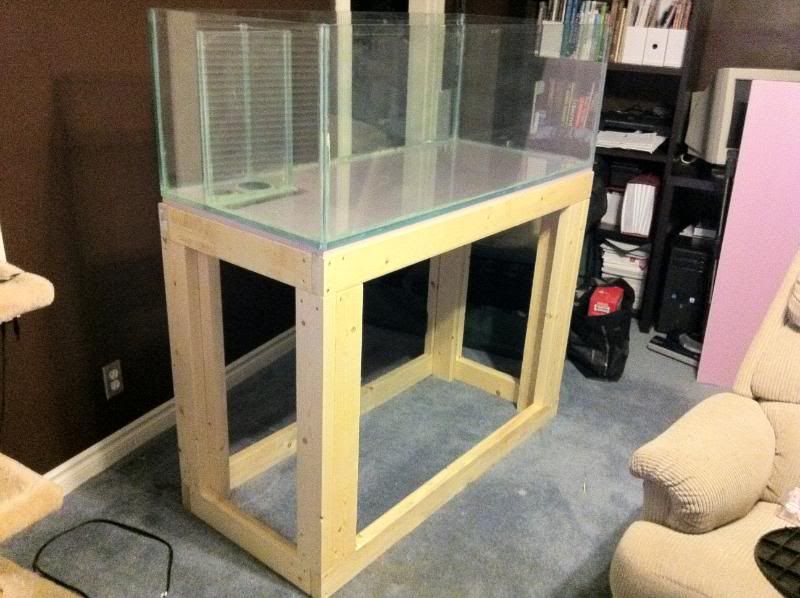 Painting the back 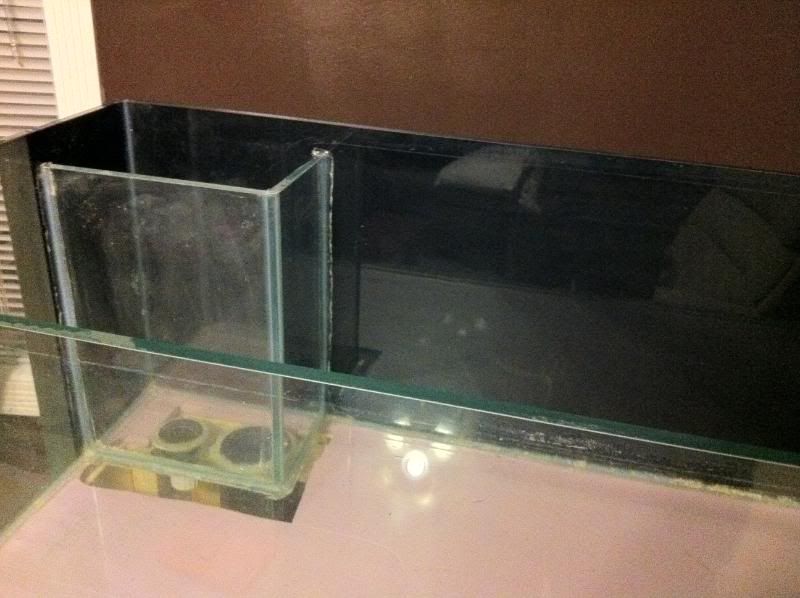 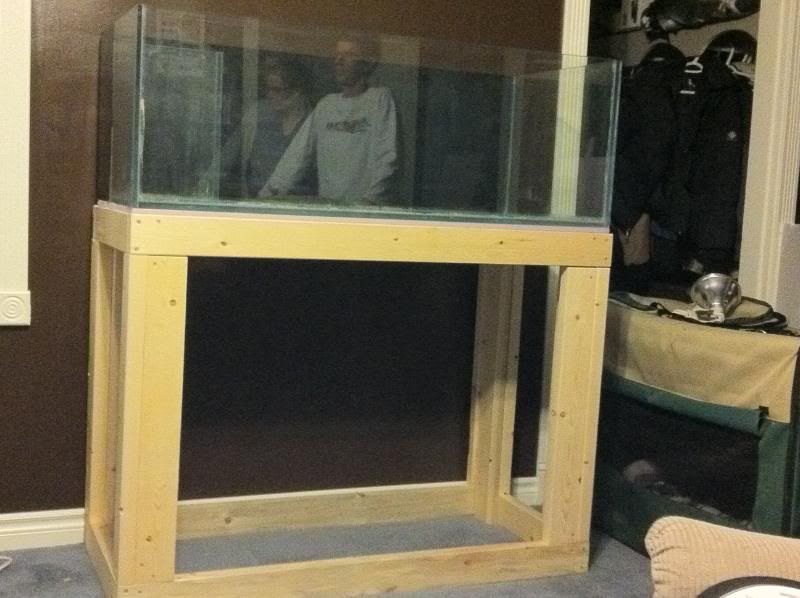
__________________
Ryan
|
|
#5
03-11-2011, 01:46 PM
|
|||||
|
|||||
|
Well not much going on today. Secured the power bar to the stand and..... plugged it in.
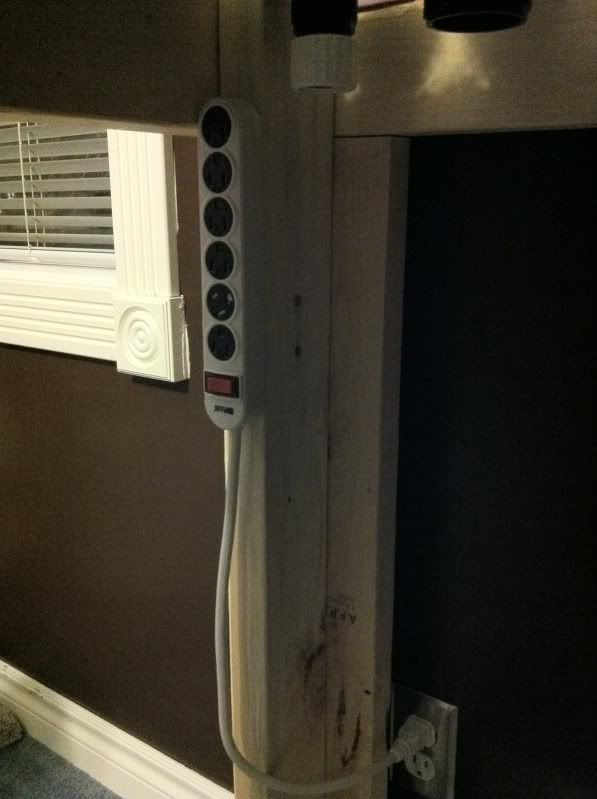 Oh and I ordered glass for the euro-brace. After some consultation from Mike and the guys on canreef I got a pretty good idea on how I am going to do my canopy. BTW anyone got a source on some cheap quiet fans that plug into the wall?
__________________
Ryan
|
|
#6
03-11-2011, 01:47 PM
|
|||||
|
|||||
|
Well I think I got a design for my sump, I think I will go 36" x 18" x 18". Tell me what you think.
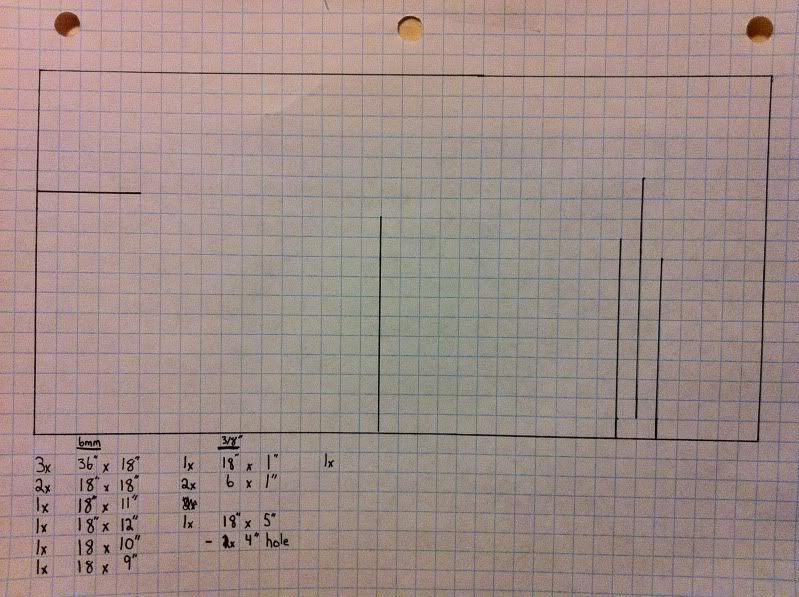 Going from left to right the horizontal line is for a holder for my filter sock. Below is a chamber for my protien skimmer and whatever else I want to put in there (reactors, probes etc.) Next is a frag chamber; this will have a section in the back for mangroves. I am probably going to put in a rack for the mangroves and DIY a tray for substrate. Im still unsure if I want to permanently put in a trough for a DSB for the mangroves. This will mean the frag chamber is 12x12. After that is a set of baffles then the last chamber is a section for the pump and the heaters. BTW each square equals 1".
__________________
Ryan
|
|
#7
02-12-2012, 05:46 AM
|
||||
|
||||
|
Quote:
|


 Hybrid Mode
