FINALLY!
So I've had this tank for almost a year now, drove out to Red Deer to get it last December, then put it in storage for awhile, then moved it to the new house where its been sitting on the floor. I've also collected a few other tanks for sump and such, along the way all hanging out in the basement. Its pretty busy down there. Finally today my husband decided it was time to get started (plus I mentioned that I was thinking about asking my Dad to come over and help me do it, nothing spurs a guy on like telling them you'll get your Dad to do it

).
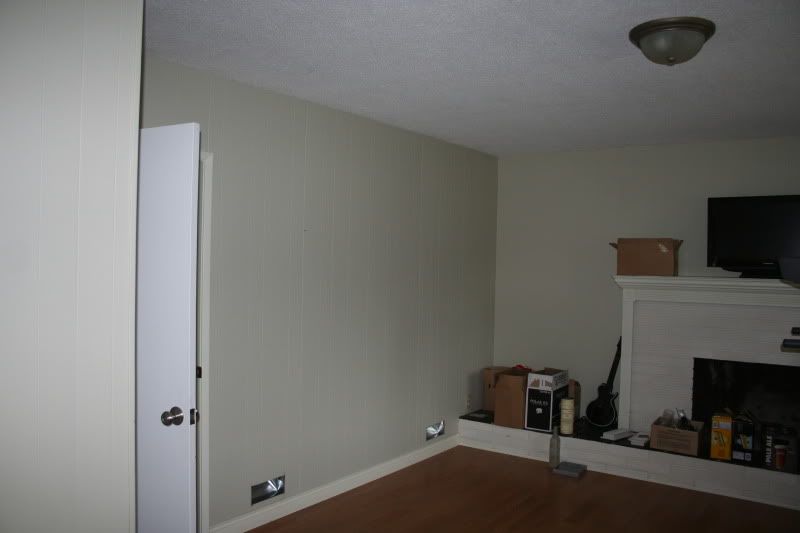
So heres where the tank will be going, its going to be in wall with the display part here:
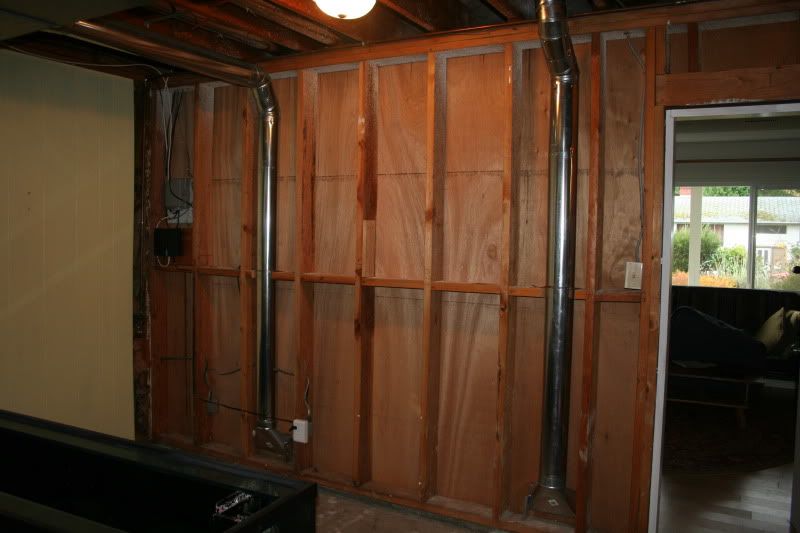
And the backside of that wall, yup its loadbearing and I'm seeing this is likely going to slow us down as my husband, Matt, is rather leery of approaching this part:
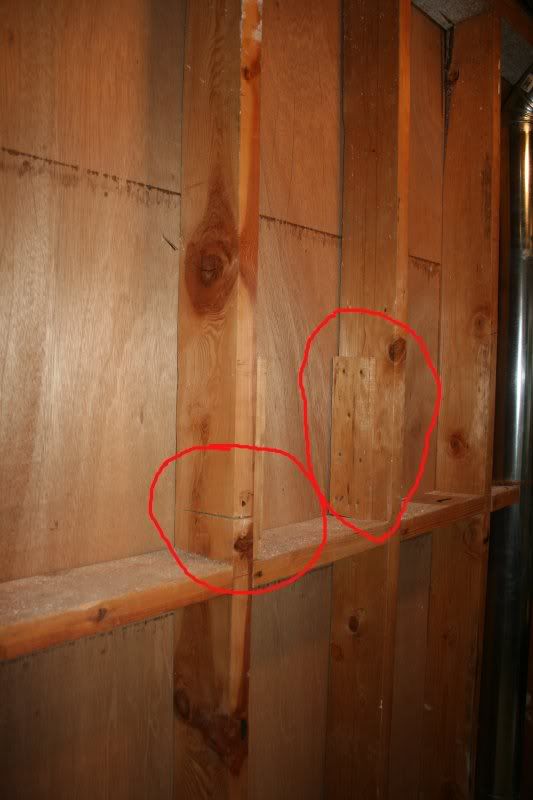
A strategically placed shelf hid the fact that two of the posts were almost cut cleanly through, lucky they had the idea to just slap on a piece of wood to help out

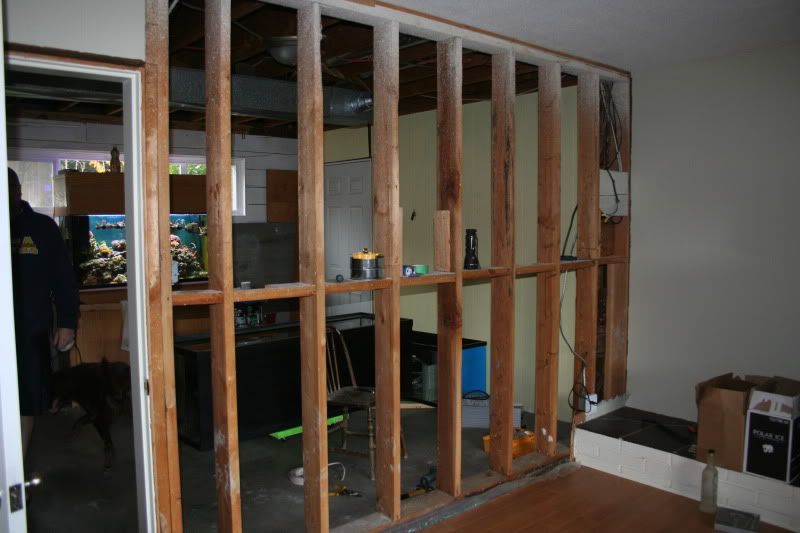
It was just wood paneling so it came off pretty easy except for one chunk and the heating ducts were removed. Its amazing how poorly some work is done in houses. Some parts were screwed together, some not. And no duct tape was used (Mike Holmes would be appalled!

).
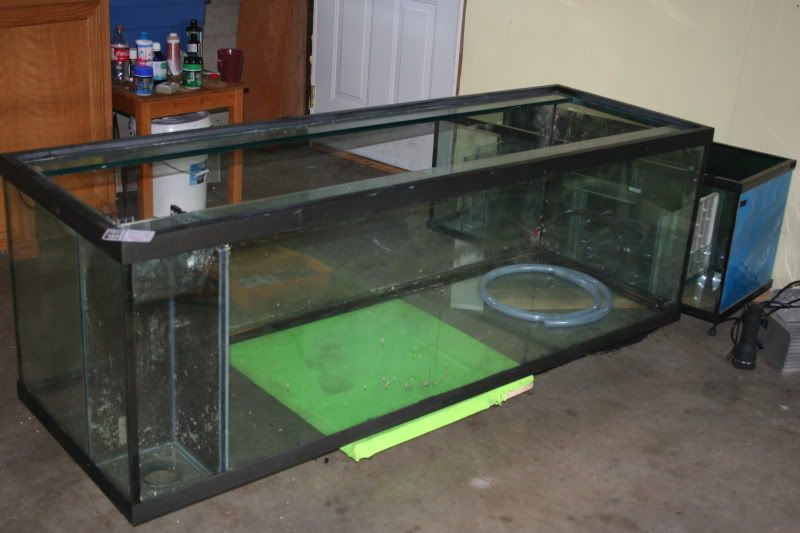
After that it was fun times with electrical so being massively electrically uninclined, I tackled the tank. It had a painted on background that I've decided I don't want. I'd rather see through the tank and then I can affix a removable background so I can see in the tank when I'm working on it from the back as well as the front.
Tank before:
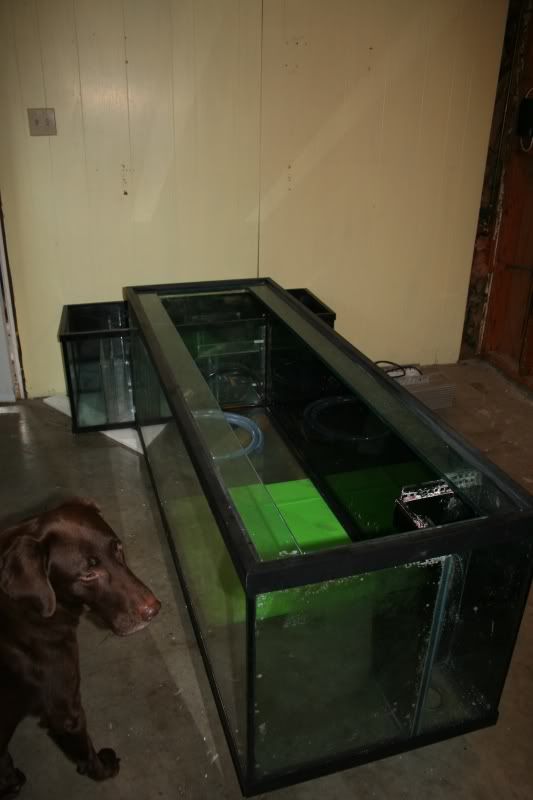
Tank after:
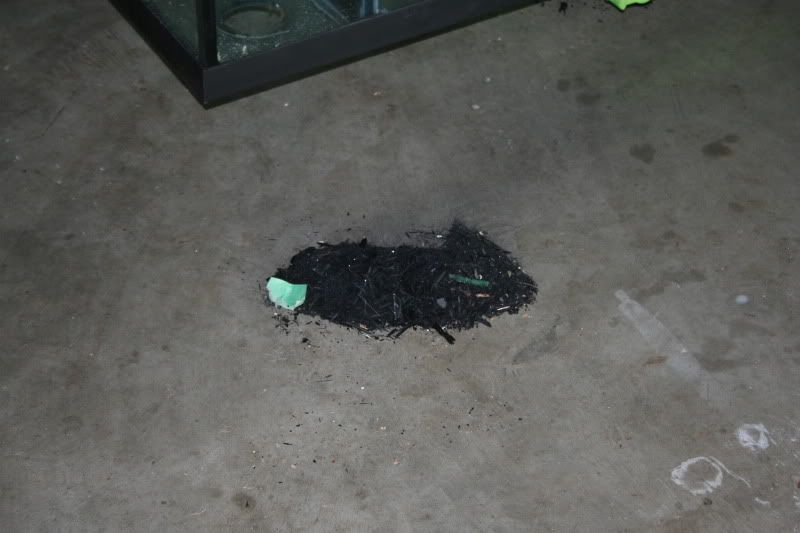
Thats a lot of paint!
Then everything came to a grinding halt as the F word was muttered repeatedly and progressively louder. Turns out it was the result of this:
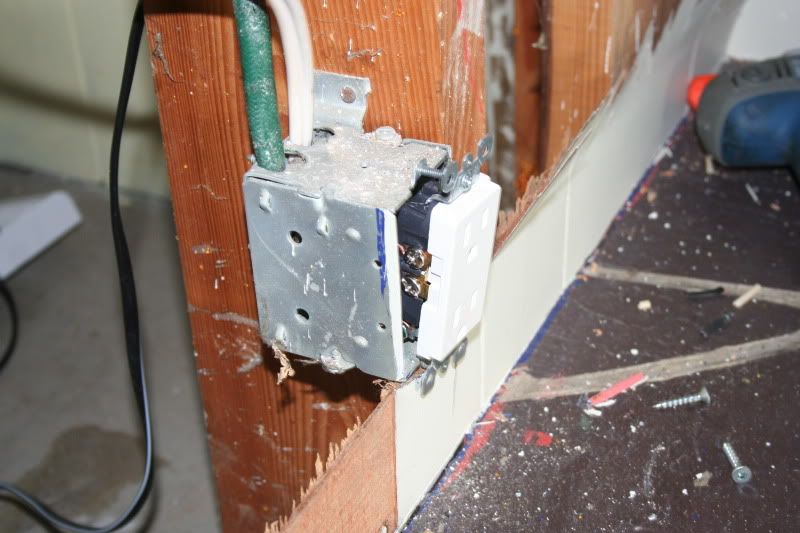
As you can see, it clearly doesn't fit the box. Well duh, anyone could see that before you hooked all the wires to it. I think we'll blame that on Matt coming down with a cold.
Anyhoo, I'm pleased that we got this far. Progress!!
