
|
|
|
#1
 05-10-2007, 09:14 AM
|
||||
|
||||
|
Here is a design that I'm working on for my hood any input would be great,
 I have the cool air being pulled in from the back and the hott air pushed out the top by two Thermo sensitive coolling fans max running speed is 120CFM each 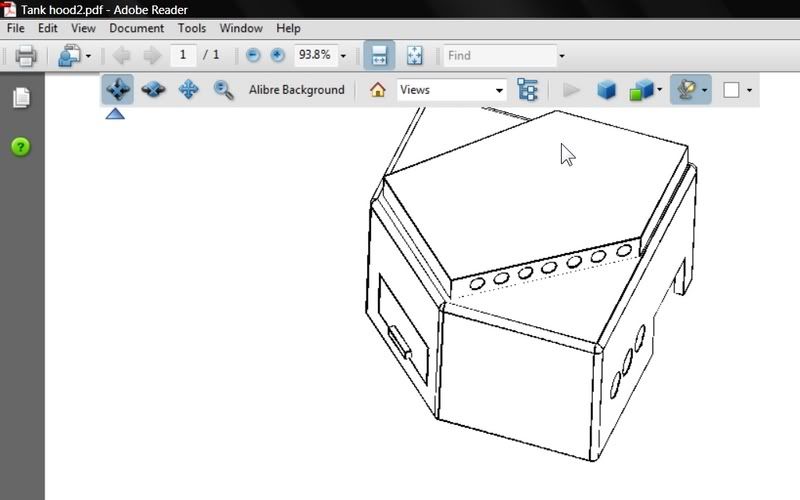 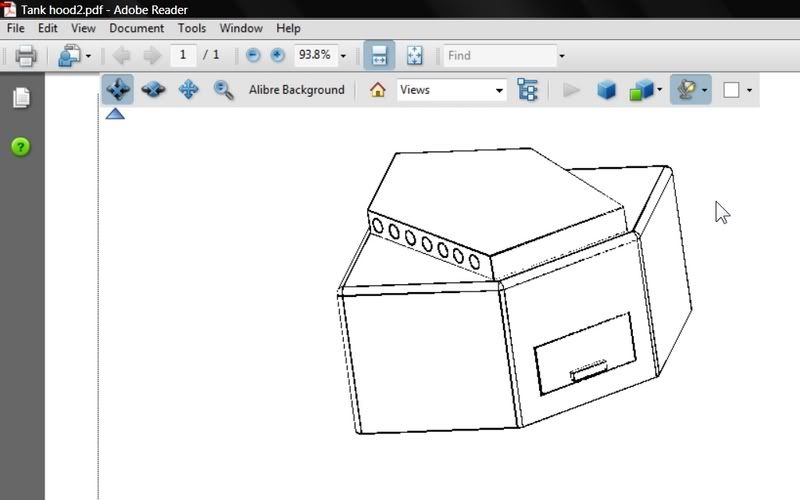 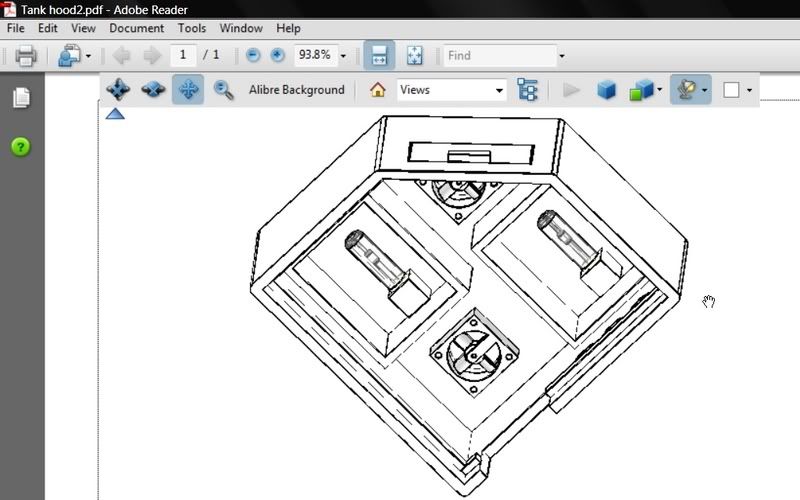 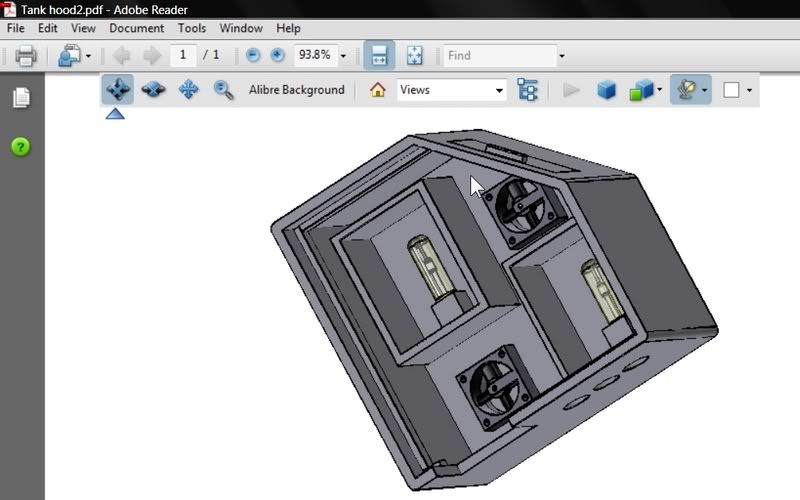 Last edited by BlondNasoTang; 11-17-2007 at 05:39 AM. 
|
|
#2
11-17-2007, 05:52 AM
|
||||
|
||||
|
Here is a photo journal of my corner hood.
Here is the dual 175 w MH. 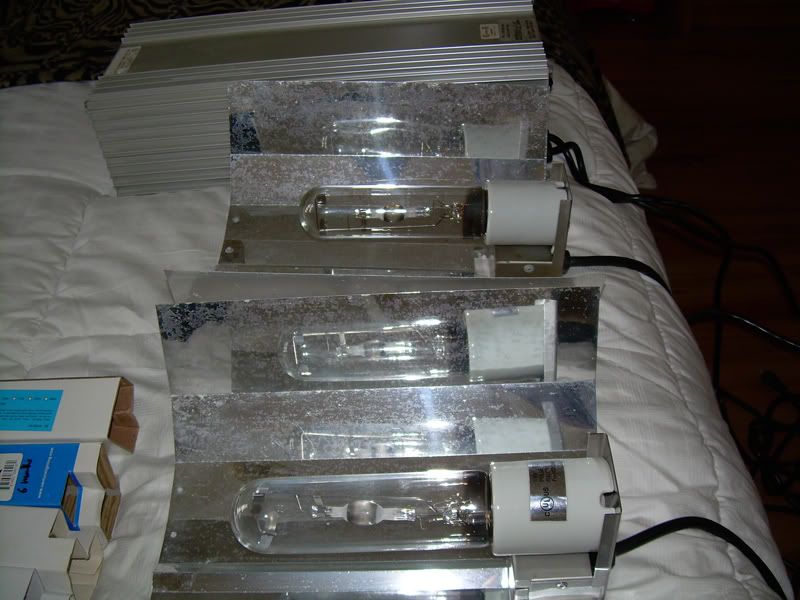 I started by laying out and cutting all the pecies for the basic structure.  I then glued and screwed the pecies together and painted the wood with a marine primer and black paint and sealed it in a non-toxic water sealent. 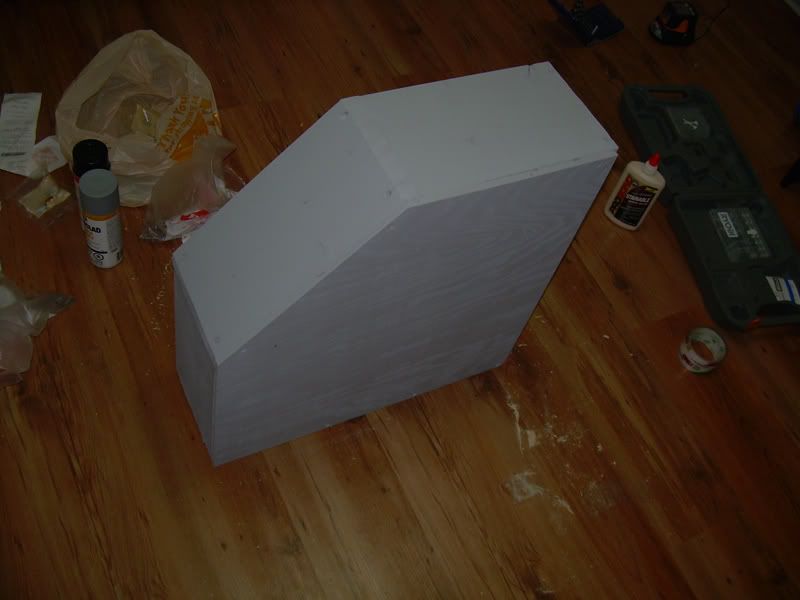 I then layed out the reflectors and drilled the holes and bolted in the first fixture. 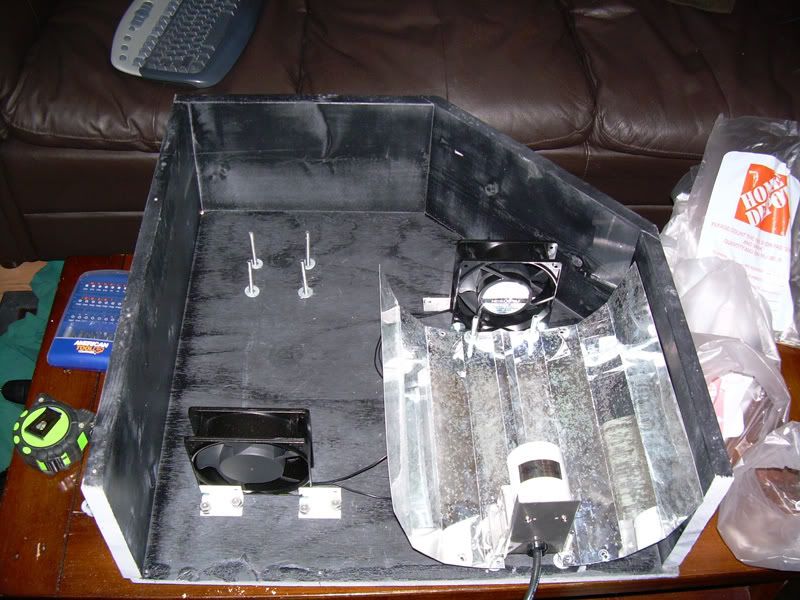 I made a gap between the hood and the reflector to promote better cooling 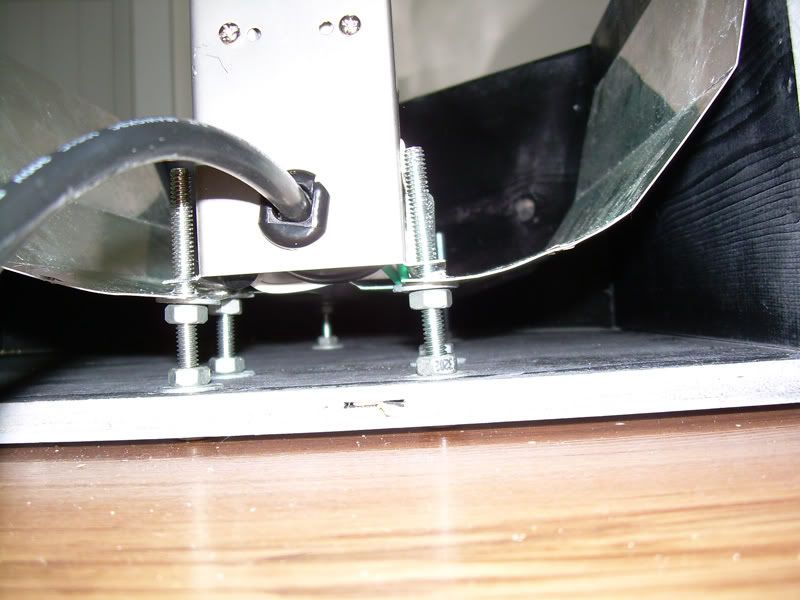 I installed two 100 cubic feet per min silent run cooling fans. and the last fixture 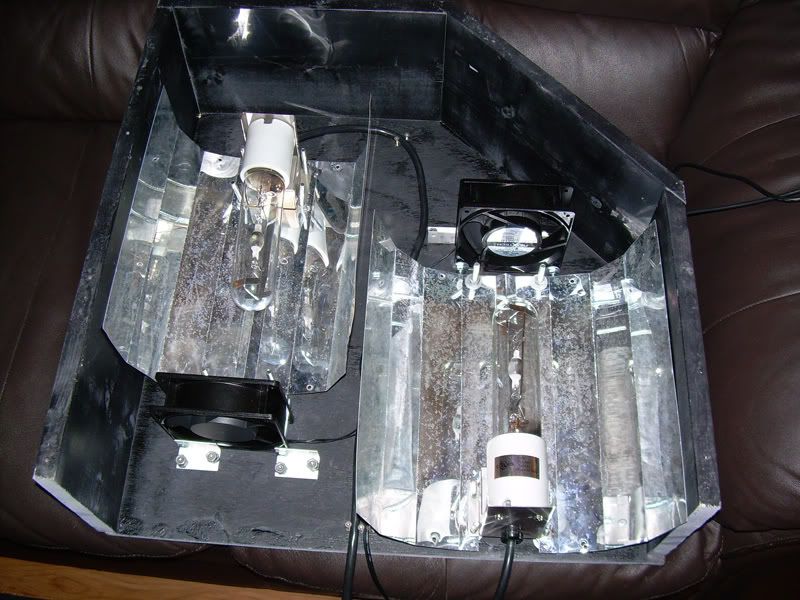 after I installed a "Thermo Switch" for the fans and put all the wires in jackets and brackets. I also built a DIY moon light and instaled it in the hood. 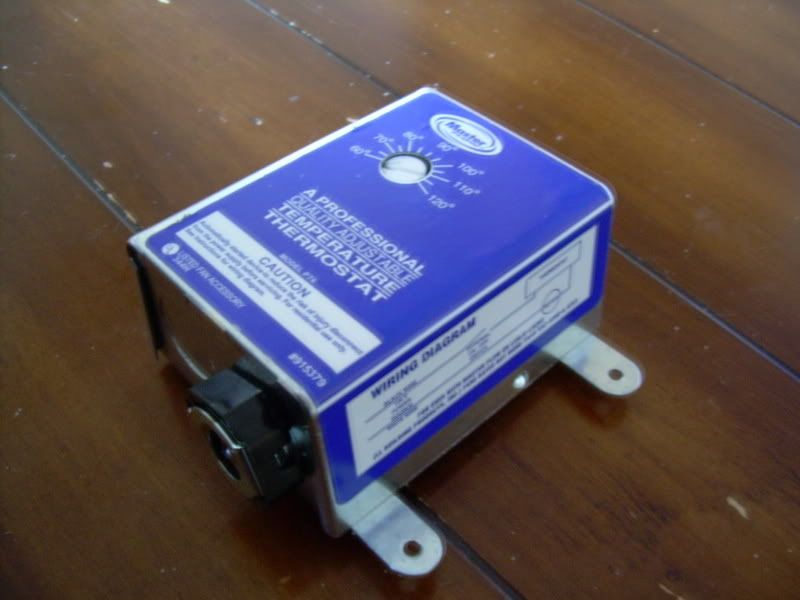 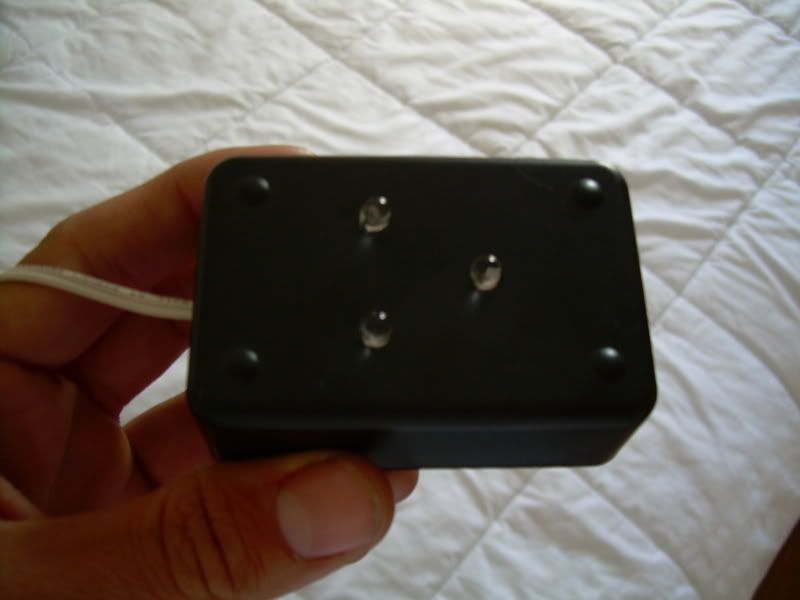 
|
|
#3
11-17-2007, 05:55 AM
|
||||
|
||||
|
I decided to add Attinics to my hood to bring out some fluorescence in the corals, I did not want to add much seeing as I am running one xm 10k and one xm 20k MH so there is already enough blue hue in the light being emitted. I tested 2 x 24 watt T5 fixtures the light was too strong and I would have trouble proporly installing the retro-fit kit in my already tightly packed hood. So it was time for a fully custom DIY attinic setup.
I went with two 9watt power compact attinic bulbs because of their small size and low heat generation. The total 18watts was perfect and brought out the colours of the fish and corals really well without changing the colour of the light to much. Here is all the parts I used to build the Attinics.  Here is the ballast I made in a water tight junction box. 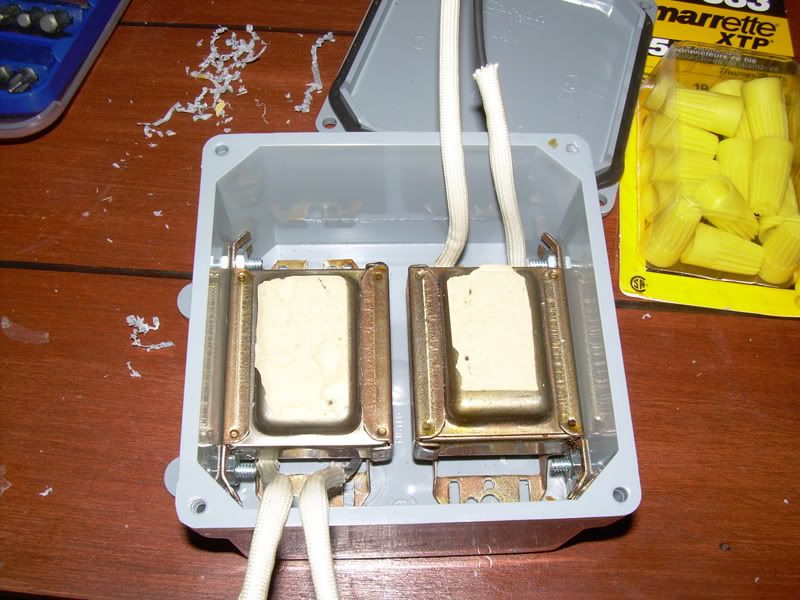 Here I wired everything up and added the digital timer. 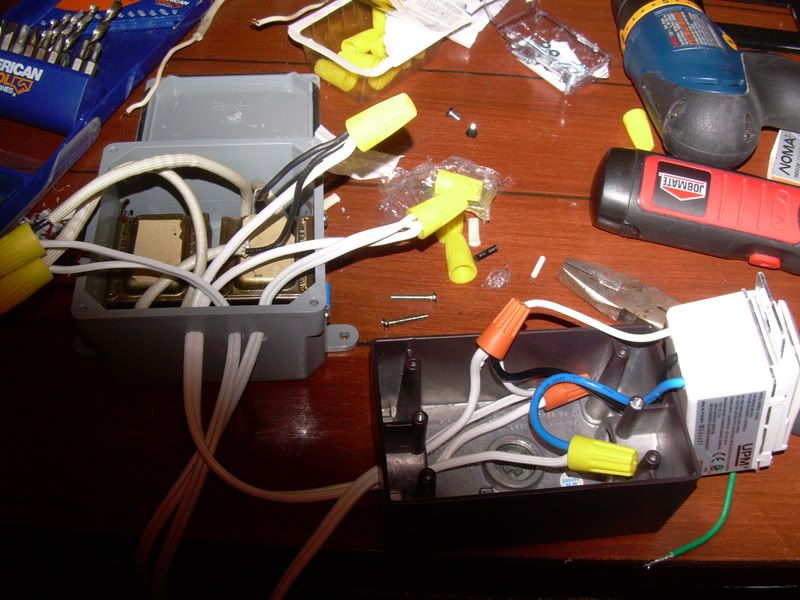 and here is the equipment I will mount in my stand for the lights, everything is watertight and will not be affected by humidity. 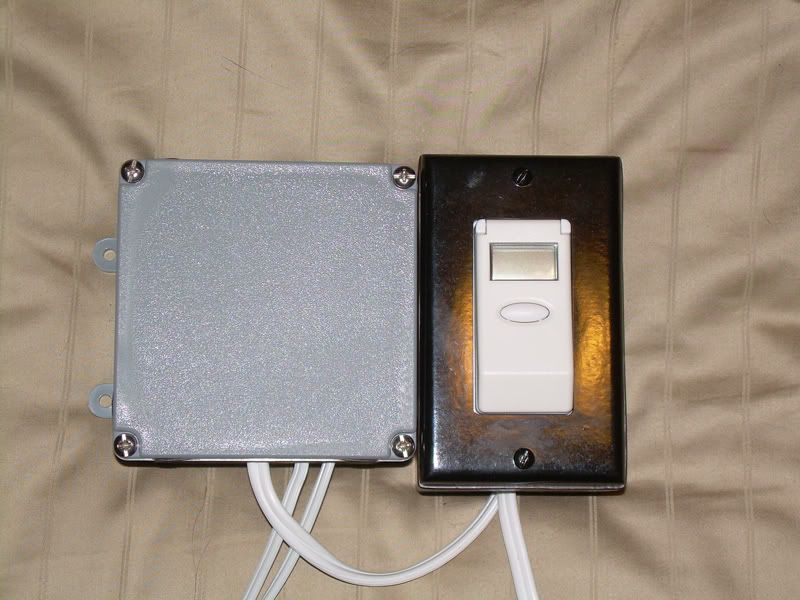 And here is my hood with the attinics on. 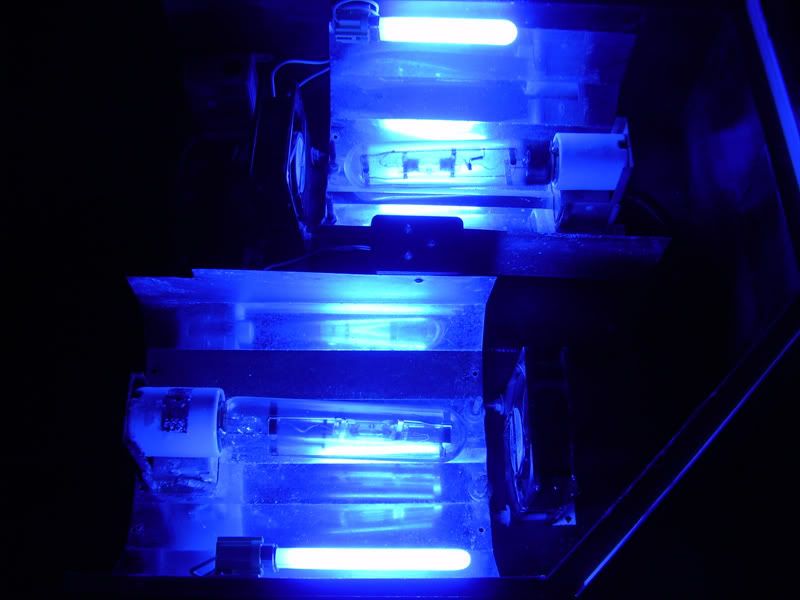 And thats it so far.
|
|
#4
11-17-2007, 05:57 AM
|
||||
|
||||
|
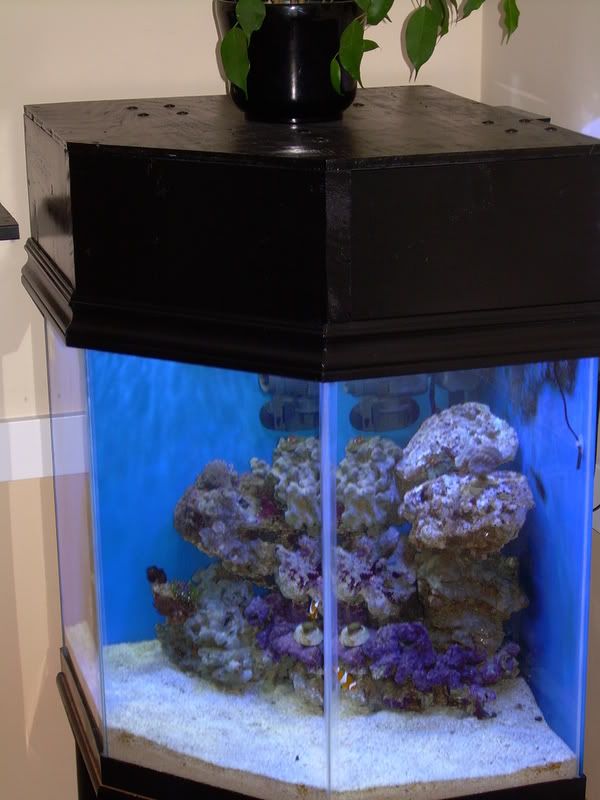
Here is the hood on the tank.
|
|
#6
11-17-2007, 06:43 PM
|
|||||
|
|||||
|
looks real nice. is that plywood? You've got some moulding (sp?) around the edge. Would have been great to see it built with MDF or the likes.
I like the design and the way you integrated the fans to blow directly on the bulbs. What I would do is grab some scrap alluminum and cut it to line the inner edges of the canopy to act as reflective material. I have a feeling that black paint's absorbing a lot of light from those parabolic-style reflectors.
__________________
Everything I put in my tank is fully dependant on me.
|
|
#7
11-17-2007, 06:46 PM
|
||||
|
||||
|
Looks good, just a thought though, you may notice a change in the spectrum of the MH bulbs with the fans so close to the bulbs. MH's are designed to run at a optimum temperature, cooling them causes a change in performance and spectrum. You want to get rid of excess heat in the hood but without directly cooling the bulbs.
__________________
-=Bryan=- Last edited by Bryan; 11-18-2007 at 10:28 AM.
|
|
#9
11-19-2007, 04:13 AM
|
||||
|
||||
|
Quote:
In order to effect the lights output the arc tube's temperature would have to be changed, and since the arc tube is running at such high temperatures, any ambient temperature variations around the outer glass are insignificant and won't change the efficiency of the bulbs. I have the fans set up so one pulls cool air in and the other one pushes hot air out. As for the black paint on the inside.... that was a mistake  but with over 350watts over a 44gal it dosen't seem to have a big enough negitive efect to take it all apart and repaint it. I am going to be changing the reflectors soon to bigger more reflective ones soon. but with over 350watts over a 44gal it dosen't seem to have a big enough negitive efect to take it all apart and repaint it. I am going to be changing the reflectors soon to bigger more reflective ones soon.
|
|
#10
11-19-2007, 04:19 AM
|
||||
|
||||
|
Quote:
This was my first hood I ever built kinda like a prototype and I learned a lot from it, the next one I build is going to be far more effeient and elaborate and I plan to build a frame with a finished MDF shell.
|


 Linear Mode

