
 |
|
#21
|
|||||
|
|||||
|
Thanks everyone. The plan is to load that pillar right up with acros to make it more reminiscent of braches on a tree. We'll see how it turns out after the corals grow in a bit.
I'm actually quite stumped on what I'm going to do with the rest of my live rock as I'm sure no matter what I do it will take away from the central pillar. I guess its back to good old trial and error sometime later this week and just see how it turns out. So long as I get a few caves for the fish to hang out in and a few nice ledges to pile acros on, I'll be happy. I'm guessing I'm going to have a ton of rock going into my fuge though as I have alot of bowling ball sized pieces that are really hard to scape with.
__________________
Do or do not....there is no try. |
|
#22
|
||||
|
||||
|
The plumbing work looks awesome! Where are you getting your grey pvc from?
|
|
#23
|
|||||
|
|||||
|
I ordered some of the PVC fittings from BRS while all the pipe and the fittings I forgot to order came from Aquifer pump in Regina. I wish I had planned out the plumbing a little more carefully though, as the fittings from BRS were about 1/3 the price of what I ended up paying locally. I just received another package in the mail yesterday so I should have everything I need now to get the system fully operational.
__________________
Do or do not....there is no try. |
|
#24
|
|||||
|
|||||
|
Well I have been slacking at keeping up with my build thread but work has been absolutely chaotic for nearly this entire year. I work out of town and have been away from home for 26+ days out of most months so needless to say, my tank hasn't been receiving much atttention.
With that said, I finally did some work to my tank here this week more out of necessity than anything. I purchased a Vertex Alpha 250 skimmer last year since my previous external skimmer had a tendency to flood my house if enough salt creep built up in the venturi. Since I'm usually gone for 7+ days at a time, this was obviously not the most ideal situation. I thought that an in sump skimmer would solve my problems as if anything were to go wrong, the skimmer would just overflow back into my sump and the worst that would happen would be a slight nutrient spike from the skimmate running back into the sump. Oh how I was wrong. In the event of a power outage and the level in the sump goes up past 10", or if a small piece of algae gets sucked into the skimmer pump's needle wheel, my skimmer starts to overflow in about 5 seconds. Once the collection cup is full of water, the collection cup basically gets air locked and a geysier of air and water erupts out of the 4 vent holes in the lid of the collection cup. This water then sprays all over the inside of my stand, coats all of my electronics in a saltwater mist and I end up with a ton of salt creep not to mention a nice puddle of saltwater in the base of my stand. So after spending $75 on a couple of float switches and a regulator module, I should never see my skimmer flood again. First off, I started with a narrow strip of black acrylic 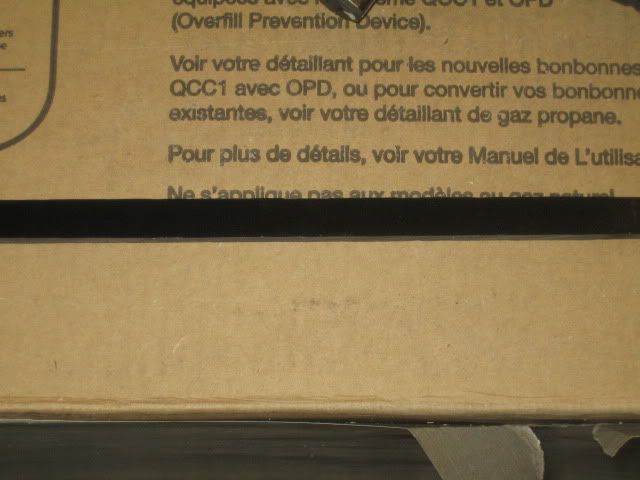 After a generous application of heat from a butane torch and some careful bending I ended up with this 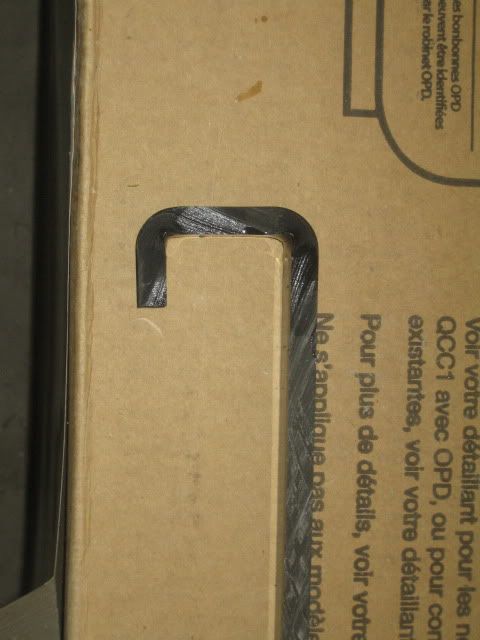 I then trimmed off the excess acrylic and drilled holes in both ends. One to accomdate the 1/4" NPT threads on the float switch. The other to accomdate the 1/4" standard threads on a nylon screw 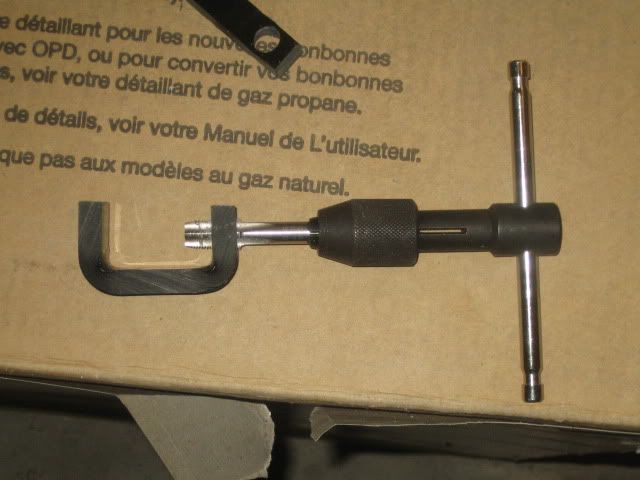 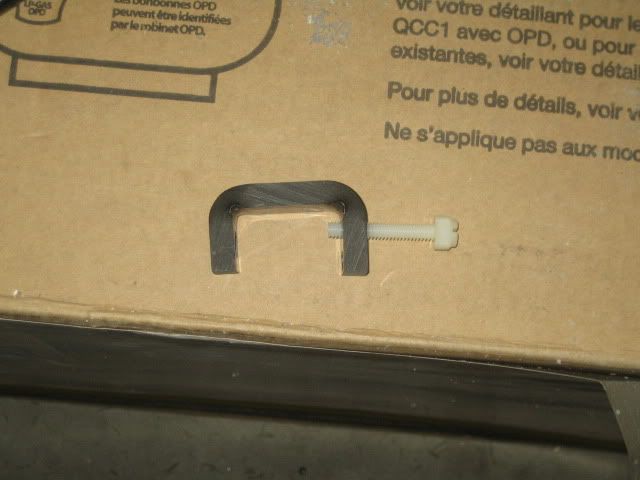 Here is a pic of the unit fully assembled with the float switch installed 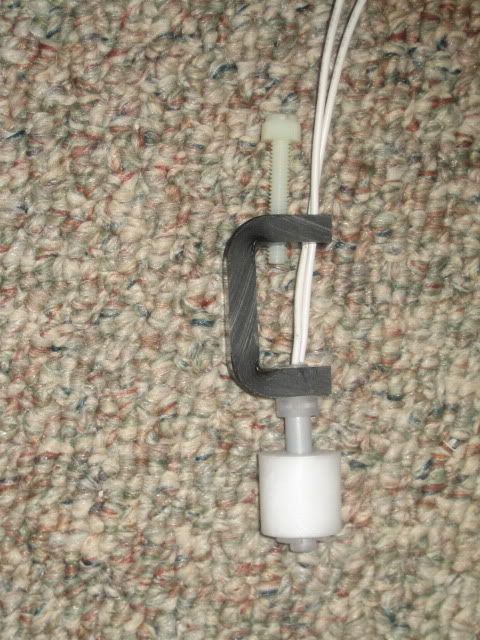 All I had to do then was push the float switch wires through one of the vent holes in the lid of my collection cup and then thread the nylon screw through the same hole to secure the float in place 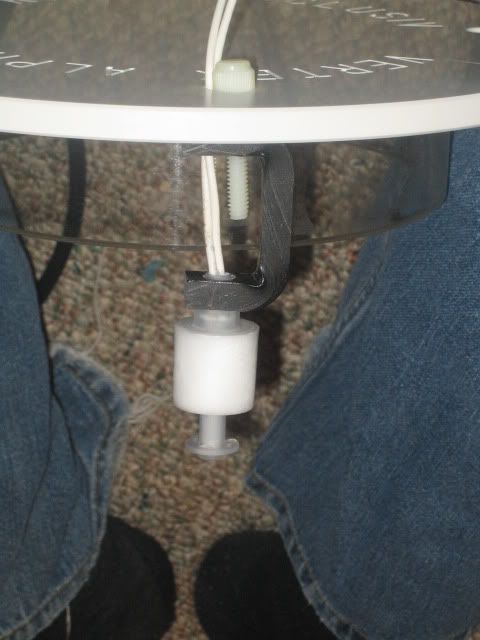 After installing the unit into my skimmer, I ended up changing the design to make the acrylic bracket shorter as well as shaped like an "S" instead of a "U". This was because the new shape allowed me to position the float so that it wasn't touching the outside or inner wall of the collection cup whereas with the "U" shaped bracket, I could not adjust it enough to clear both walls. I also installed male and female moisture proof connectors so that I can easily remove my collection cup for cleaning. 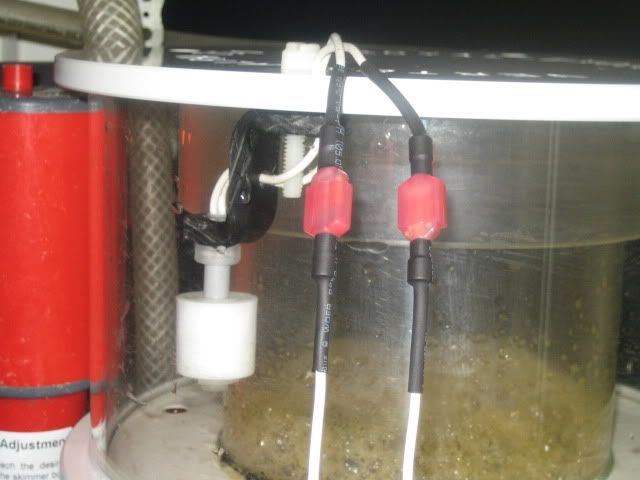 Here is an overview of the whole setup. Basically, so long as float #1 in the collection cup and float #2 in the sump are both suspended out of the water, the skimmer pump will be energized. If either switch floats up, the power will be immediately cut to the skimmer pump and will not be engergized until the float switch drops back down to its fully open position. This way, if my sump level comes up past 10" which it always does after a power outage, my skimmer pump will remain off until my sump level returns to normal thus preventing the collection cup from overflowing. If for some reason, my skimmer still decides to give me some unnecessary grief and start overflowing, the switch inside the collection cup will kill power to the skimmer as soon as it floats up to the closed position. This scenario is less ideal since the collection cup will have to be drained before the skimmer will resume operating however it will also prevent the dreaded saltwater geyseir that ends up flooding my tank stand. 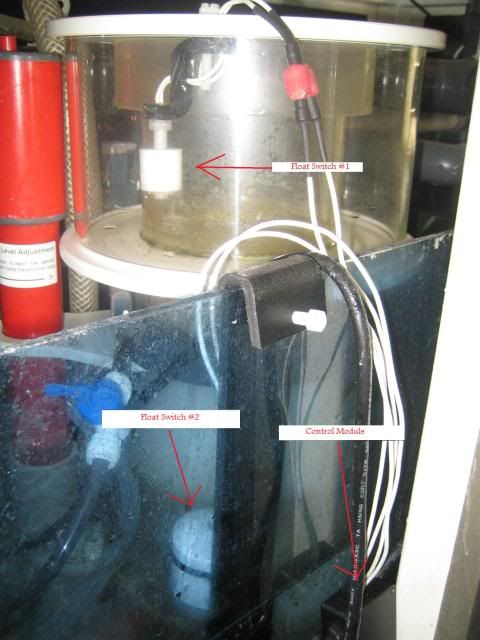
__________________
Do or do not....there is no try. |
|
#26
|
|||||
|
|||||
|
Nice work. I ran my skimmer with a very similiar mod for many years.
__________________
400 gal reef. Established April, 2007. 3 Sequence Dart, RM12-4 skimmer, 2 x OM4Ways, Yellow Tang, Maroon Clown (pair), Blonde Naso Tang, Vlamingi Tang, Foxface Rabbit, Unicorn Tang, 2 Pakistani Butterflies and a few coral gobies My Tank: http://www.canreef.com/vbulletin/showthread.php?t=28436 |
|
#27
|
|||||
|
|||||
|
Well finally managed to snap a few shots of the tank tonight. I really need to pick up a new camera as my old canon point and shoot isn't quite up to snuff by today's standards. I can never get the white balance set quite right so the darker colours likes blue's and purples aren't as vibrant as in person.
Here is the stand and tank trim all finished in 2"x4" Turkish Travertine 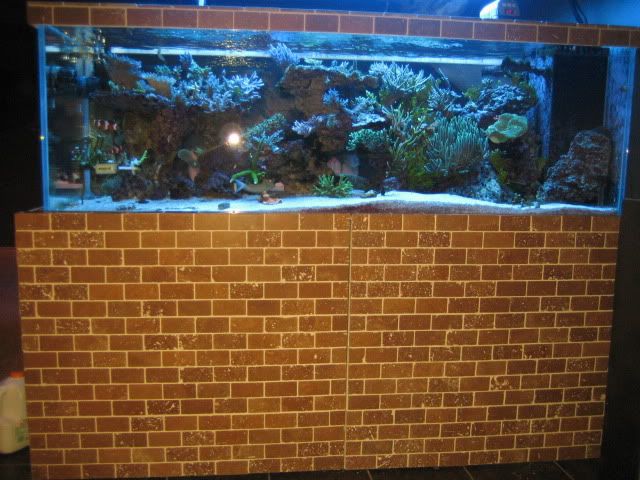 And now for the acros 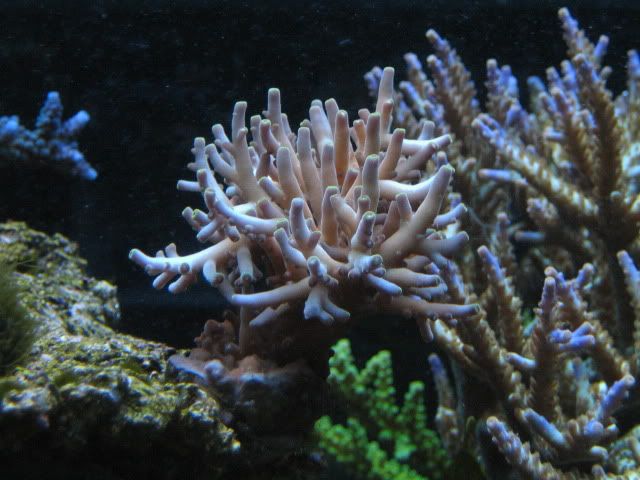 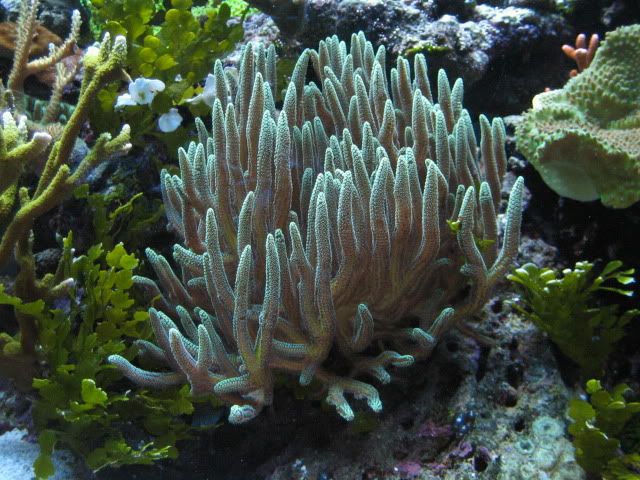 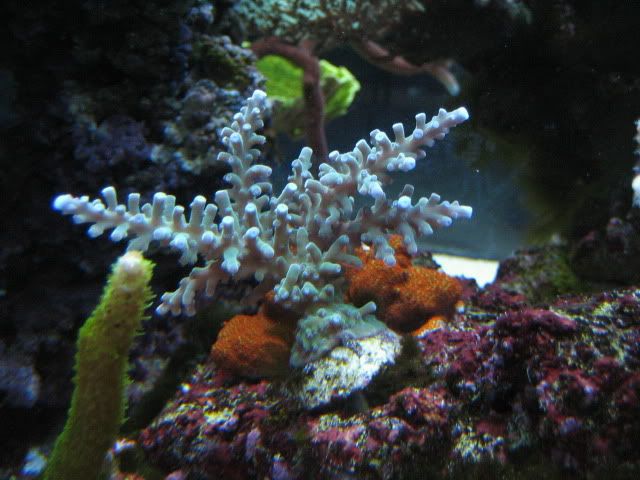 This efflo is finally starting to colour up after 6 frustrating months 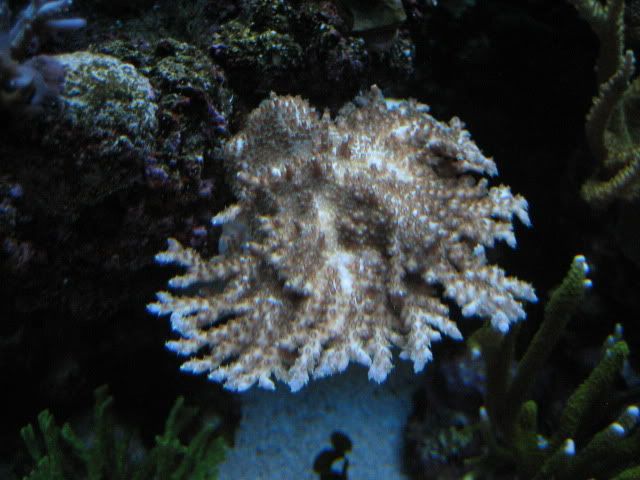 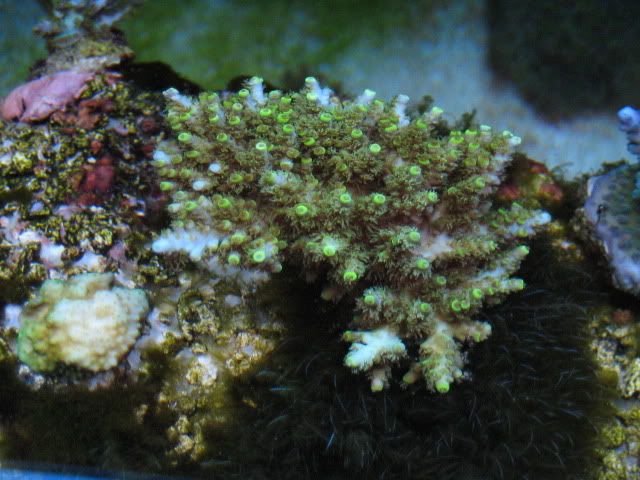 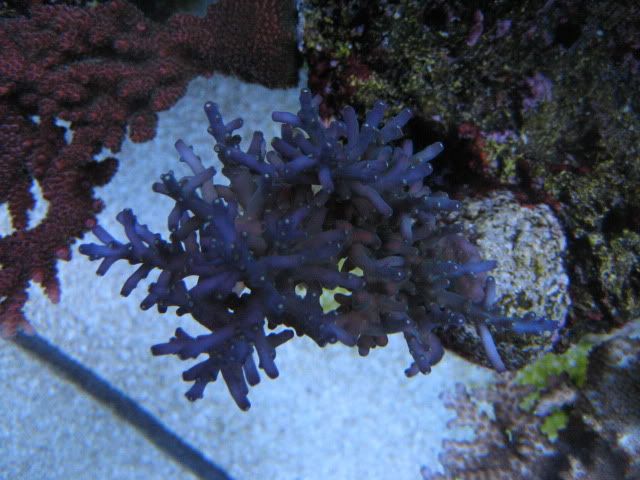 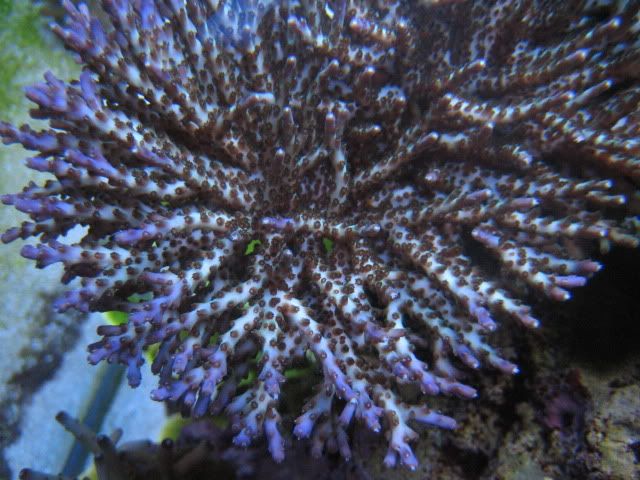 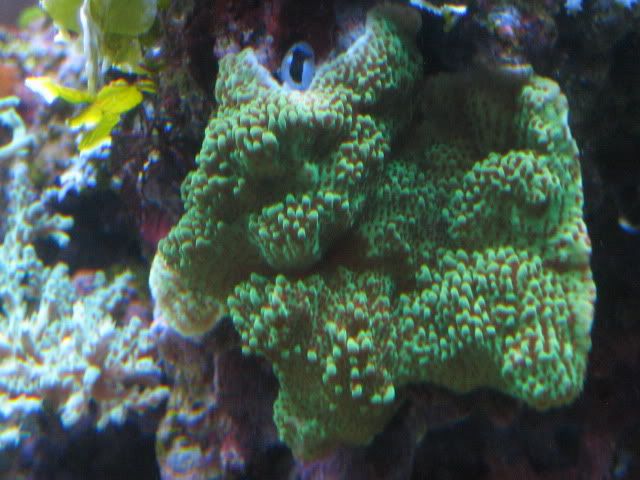 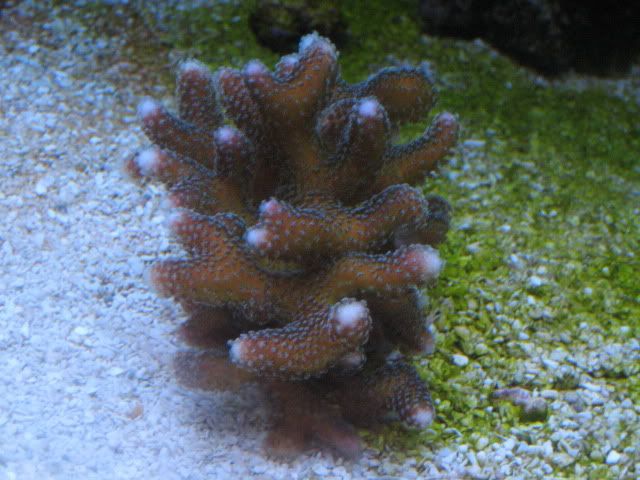
__________________
Do or do not....there is no try. |
|
#28
|
|||||
|
|||||
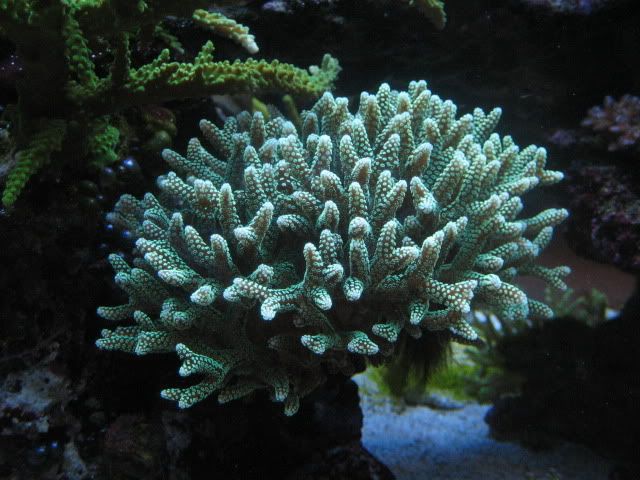  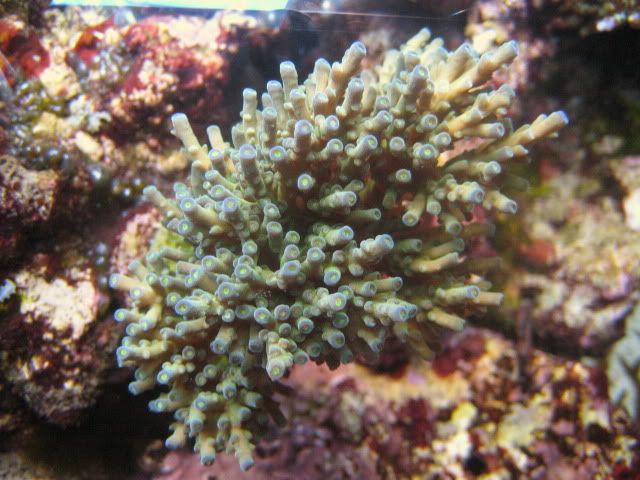 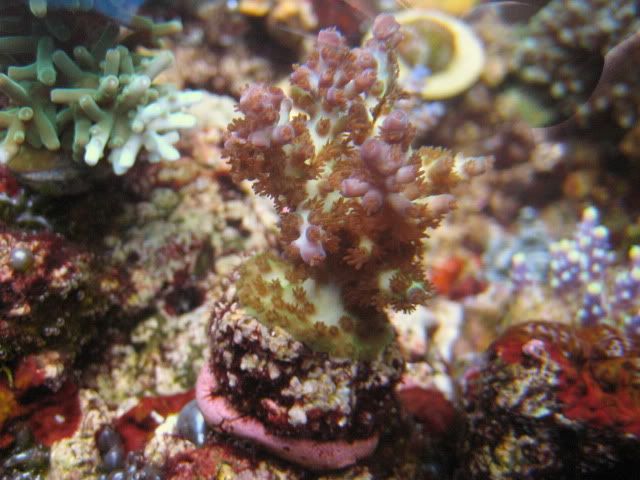 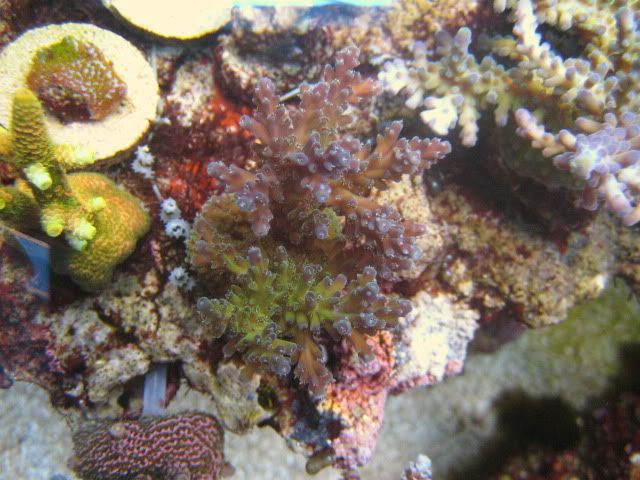 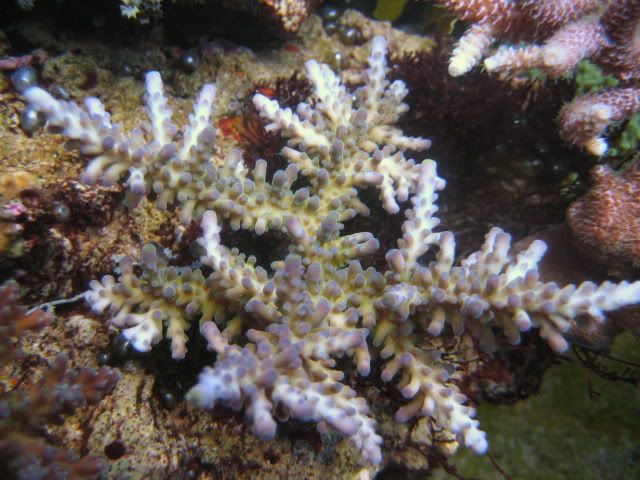 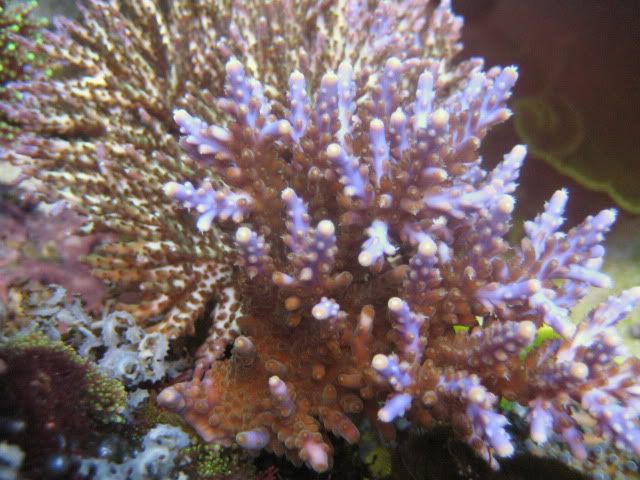 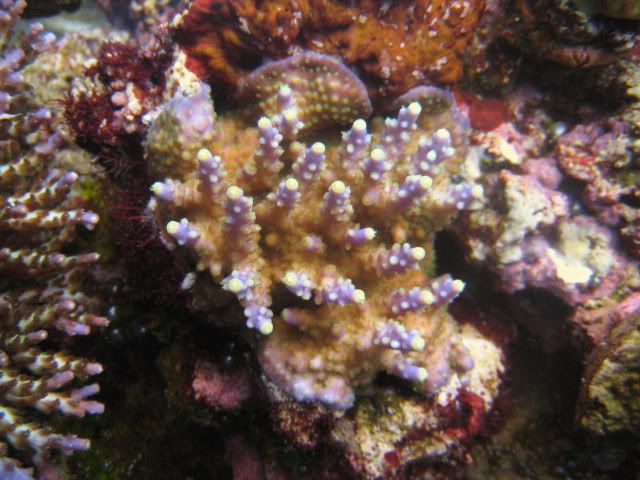 This frag is my current favorite 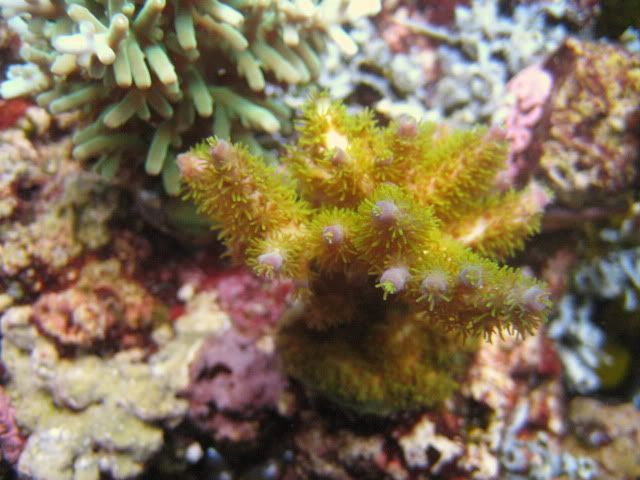 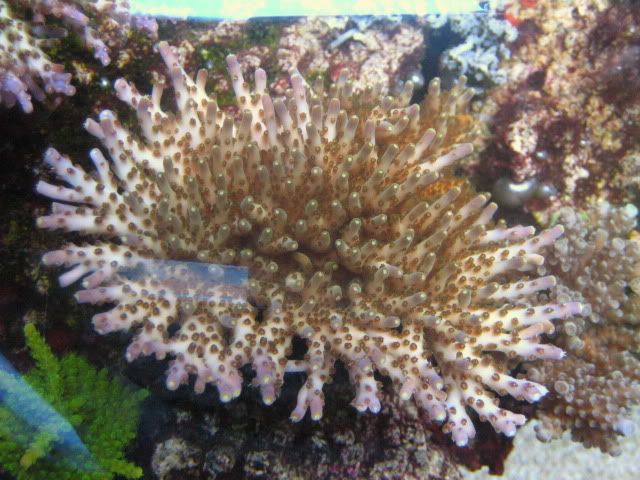
__________________
Do or do not....there is no try. |
|
#29
|
|||||
|
|||||
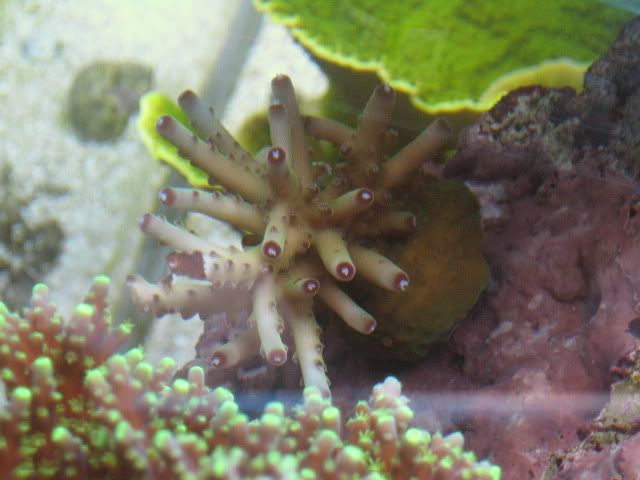 And here is that FTS you were asking for Brett 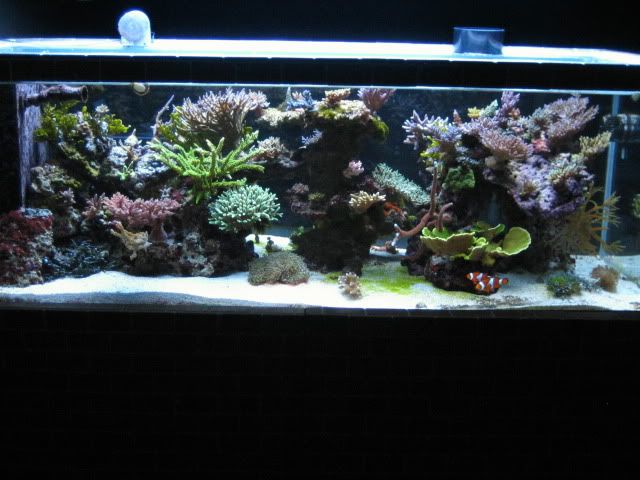
__________________
Do or do not....there is no try. |
|
#30
|
||||
|
||||
|
Looking good. Love the center rockwork.
__________________
Mark...  290g Peninsula Display, 425g total volume. Setup Jan 2013. |