
 |
|
#1
|
|||||
|
|||||
|
From two burnt pumps in two consecutive weekends to getting back from quitting the big tank, I had to get a skimmer for my tank. After many consideration and having a constrain called "the budget", I decided to get the bubble magnus curve 7 from Concept aquarium. Some of the basic specs:
- Needlewheel protein skimmer - Capability : 700L-900L(185G -240G) - Pump: ROCK - SP2000 - Pump power: 16W, 220V 50Hz /110V 60Hz - Dimensions: 235×200×530mm(9.25" * 7.87" * 20.8") - Water Level :9.5"-11" - Airdraw: 520 lph (couldn't find this anywhere till I opened the box and went through the spec sheet of the pump) Anyway, brought home this big box  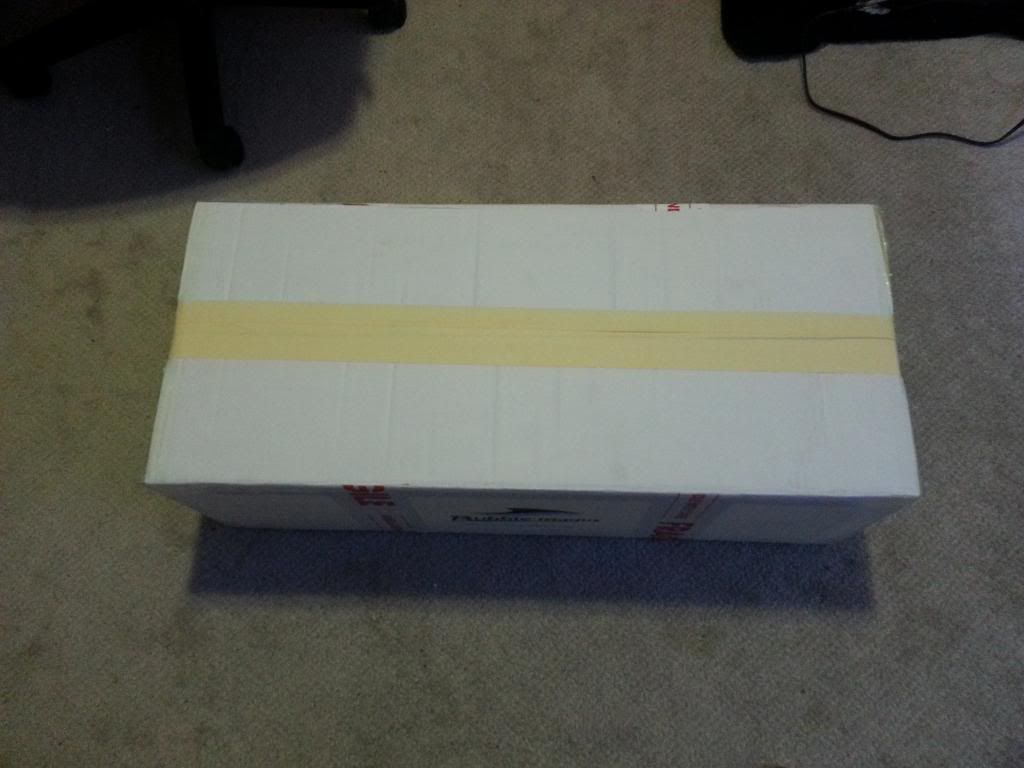 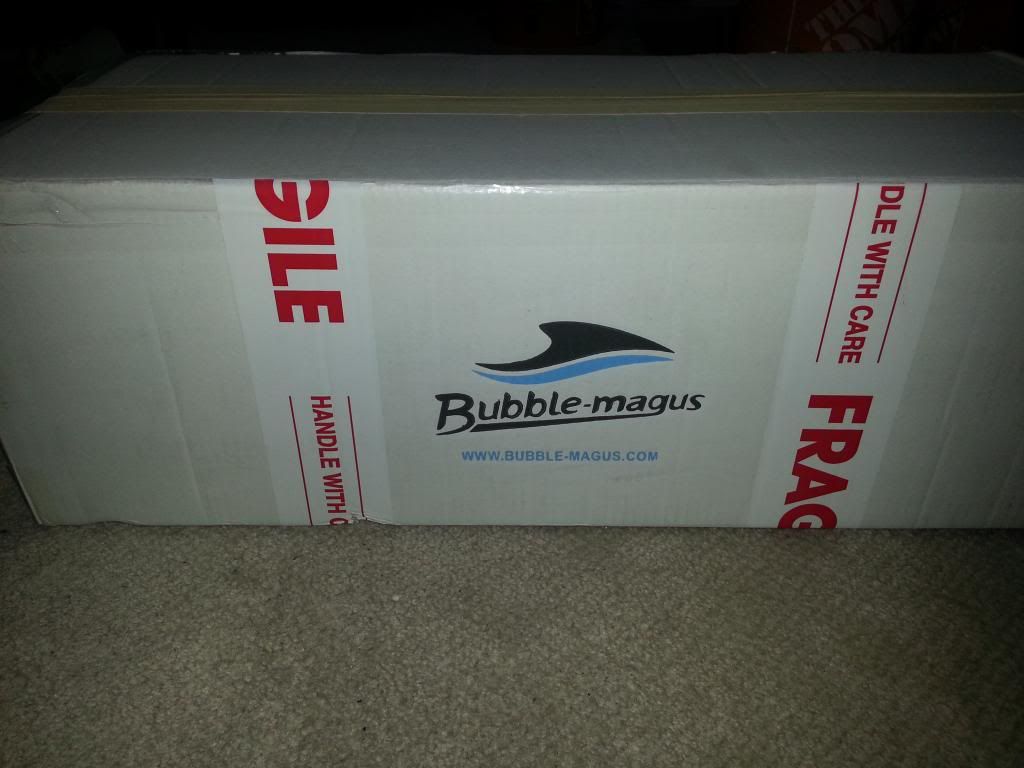 Opened up the box: 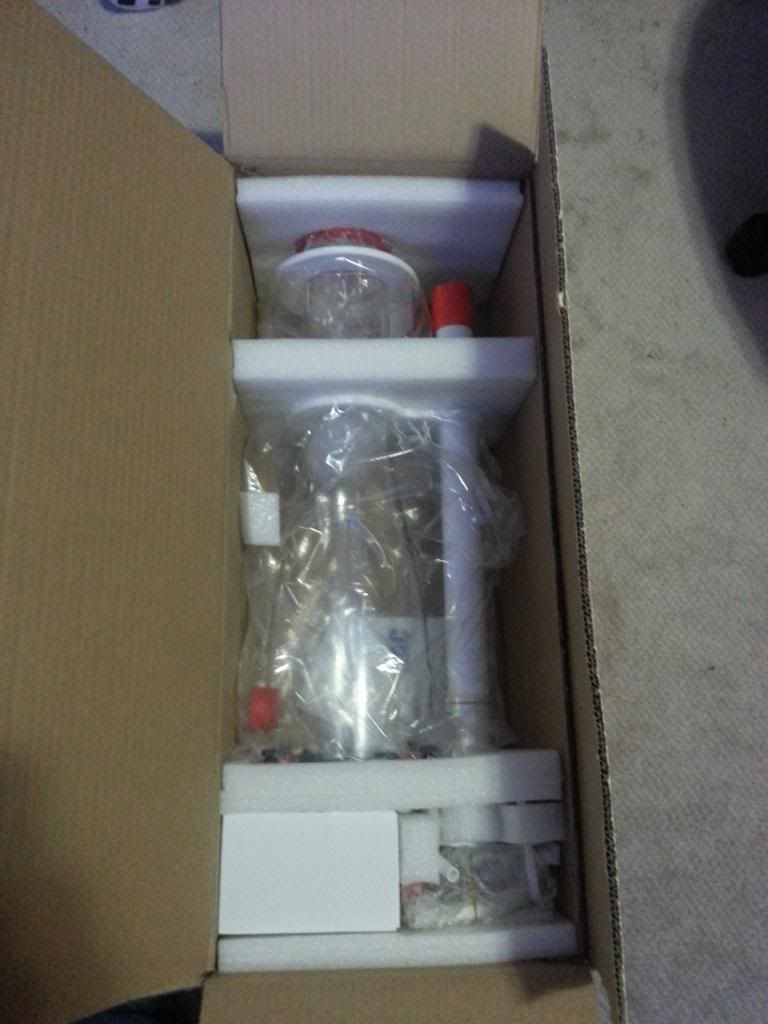 I am pleased with how the things are packed. Things are tightly packed and seems rigid enough to take enough bumps. Here's the pump: 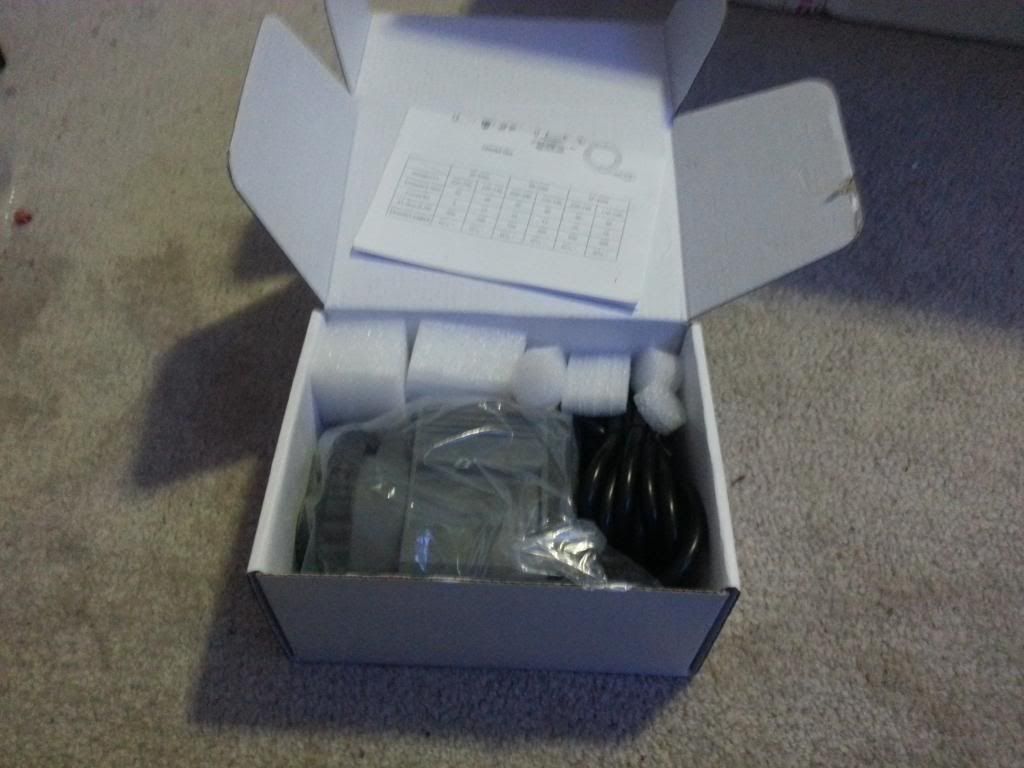 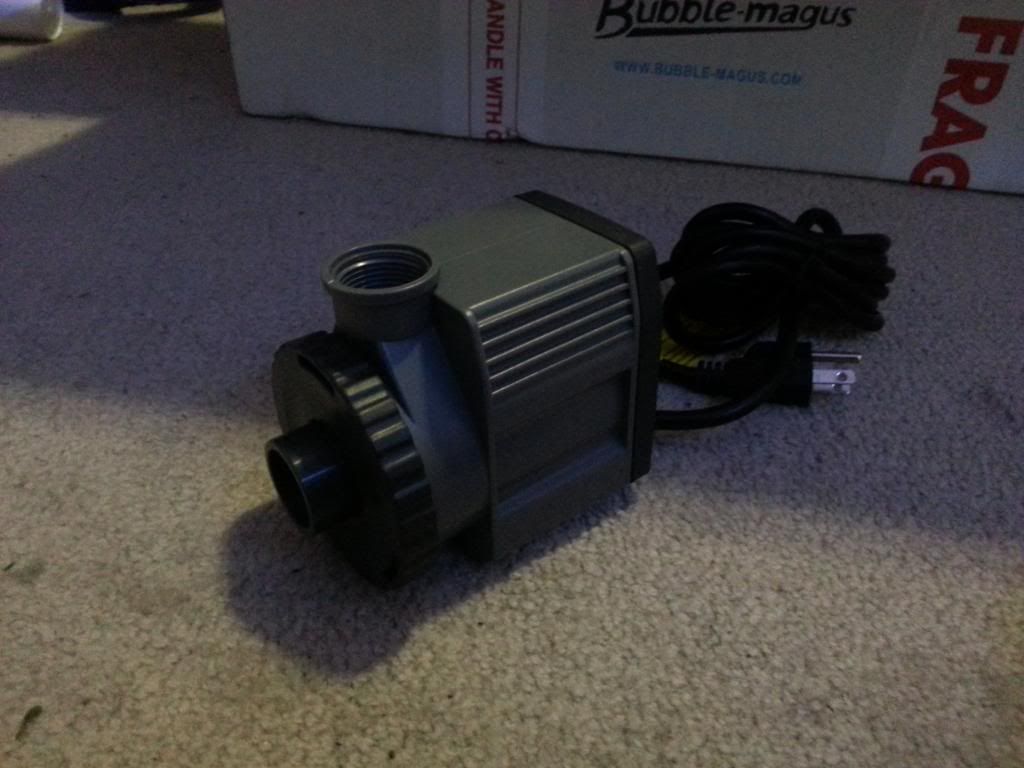 I am no expert in pump but this pump haven't been reported as problematic yet over the internet. Its a rock sp2000 pump which is made by bubble magus for this skimmer. The best part of this pump, I would say, is it rated at 16w ONLY which is a lot efficient for a pump which pulls in 520lpb air. Here's all the goodies taken out: 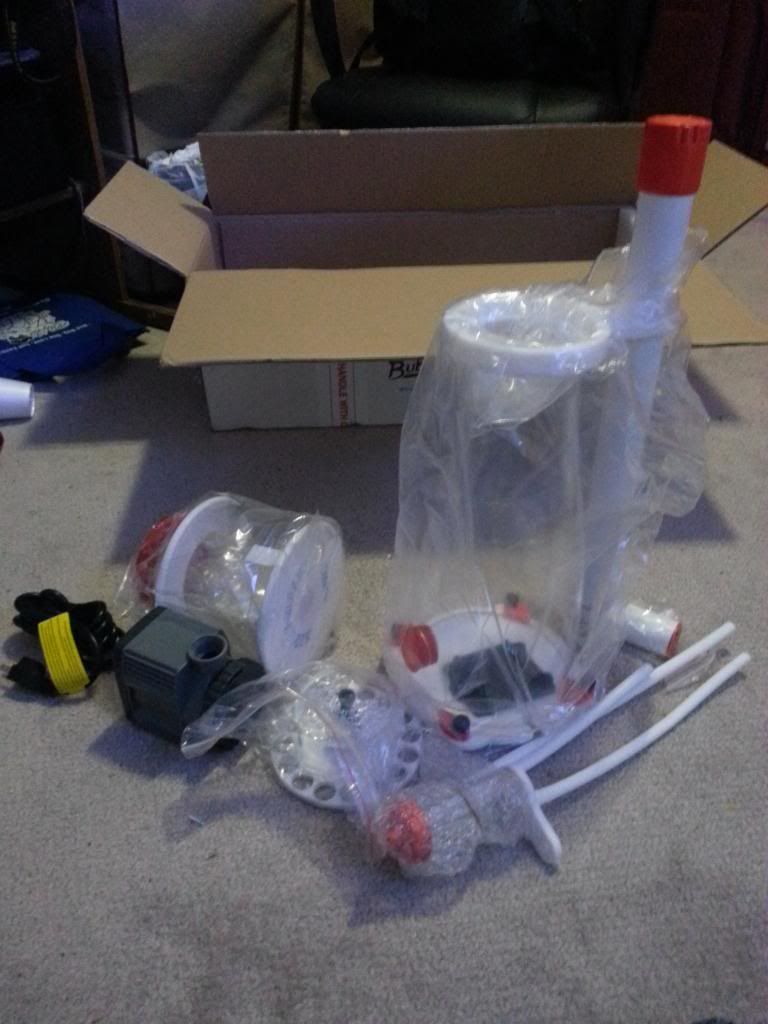 The main conical seamless body: 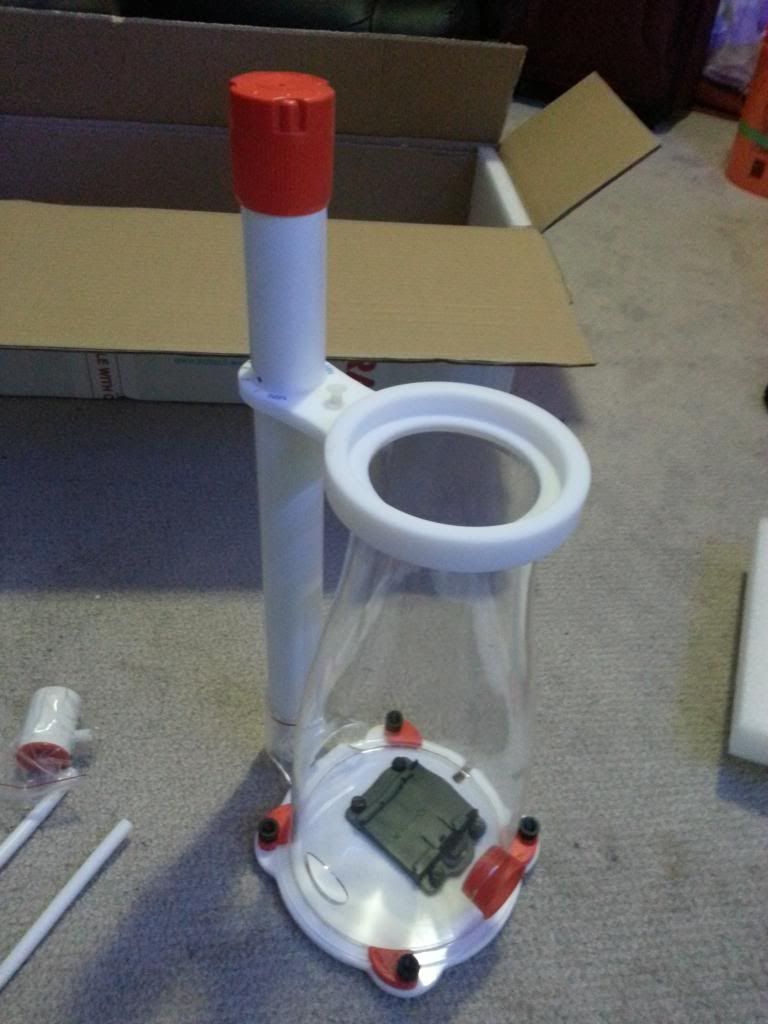 The whole thing is extremely well built. I don't know how bubble king can make a body better than this. Thick acrylic? More expensive acrylic? Maybe they use gold water to make it shiny?  (sorry for bashing bubble king; other than the red dragon pump, I don't really see how a skimmer can be any different). I particularly like the seamless body since joined bodies generally have a higher chance (atleast higher than a seamless body) of causing leaks. And something that I loved about this skimmer is there's a marked dial: (sorry for bashing bubble king; other than the red dragon pump, I don't really see how a skimmer can be any different). I particularly like the seamless body since joined bodies generally have a higher chance (atleast higher than a seamless body) of causing leaks. And something that I loved about this skimmer is there's a marked dial: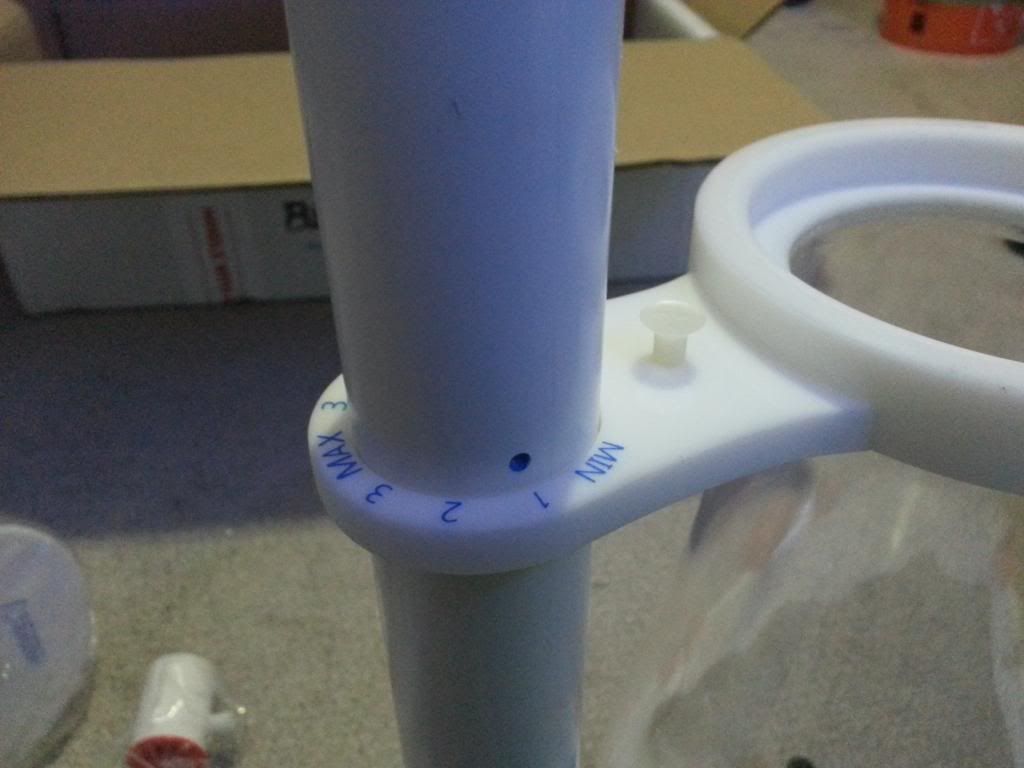 For my vertex skimmer, I had to use a sharpie to mark the point where I keep the tune but for this, remembering the number will be good enough. The flow pipe is very smooth to turn too which was an issue with my vertex in80 (had to hold to skimmer to turn it). The cup is BIG! For my tank, I am pretty sure it can hold almost two weeks worth of skimmate in the cup. 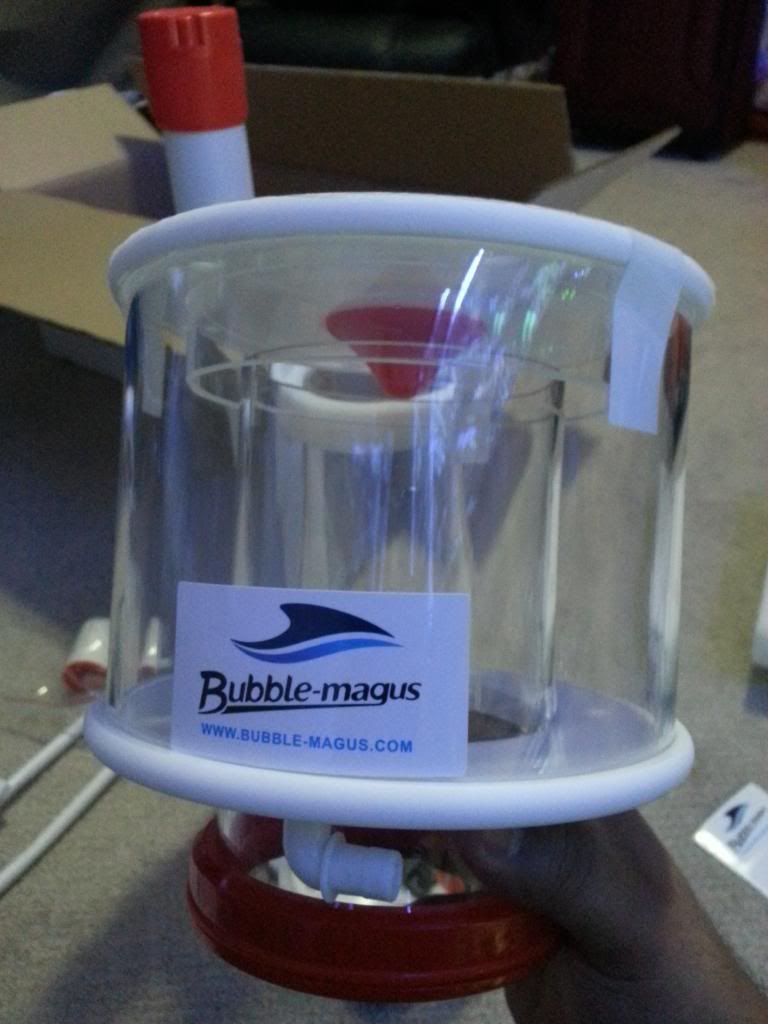 It connects to the body with a O-ring which pressure fits with the neck of the skimmer body. This is where my first complain comes: the cup is not easy to put in or pull out like my vertex which was also a pressure fitted cup. Not a deal breaker and maybe it will be easier to pull out with time. The cup also have a drain pipe: 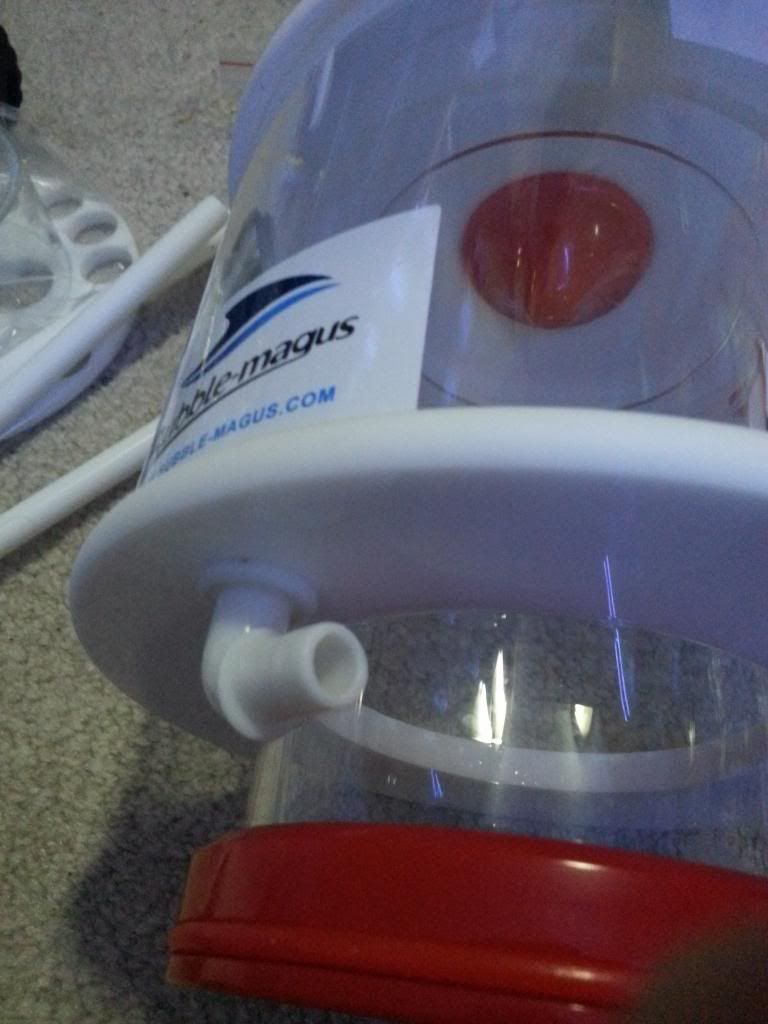 There are three air tubes, one to connect to the drain outlet and has a cap on the other end), one for the connection between the pump and the silencer and a spare one. Well thought of, particularly being from a Chinese brand. The caps: 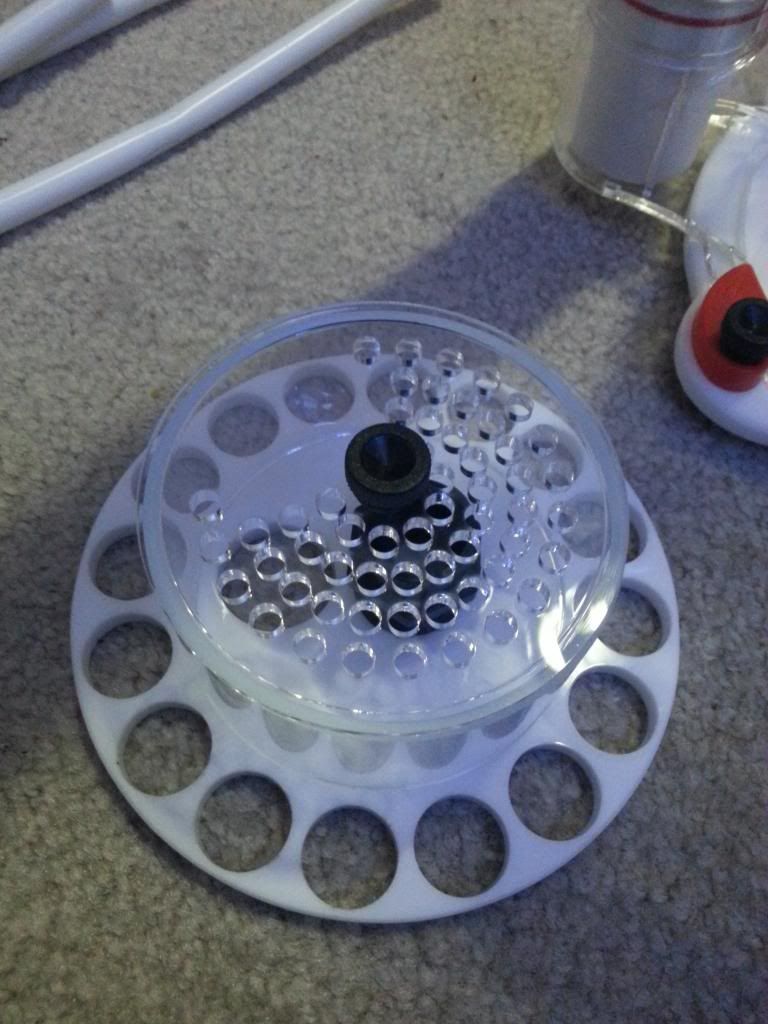 The instruction for assembling is not the best but it was fairly easy other than the part I put the pump in the wrong way. Still, I thought about a step by step setup: Step 1: Rotate the red screws which connects the skimmer body and the bottom place to separate them. Step 2: Slide in the pump into the black slot (the pump should have been the other way around): 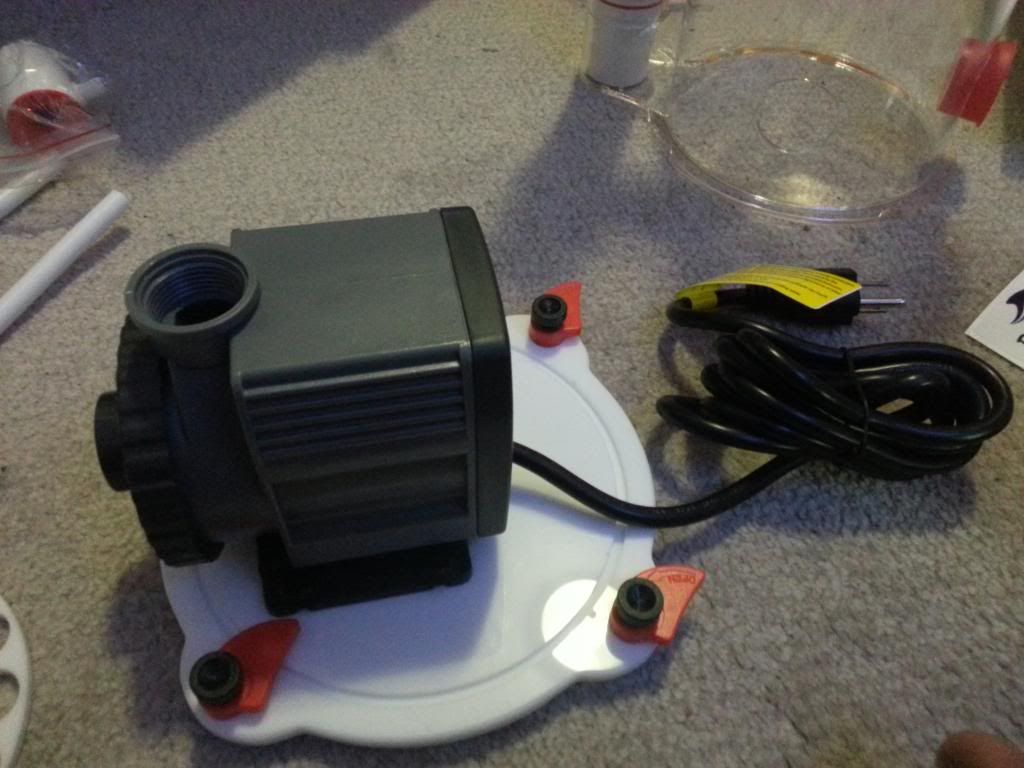 Step 3: Put the white disk on the pump and use the threaded adapter to fix it with the pump outlet (notice the problem with my initial pump position?  ) )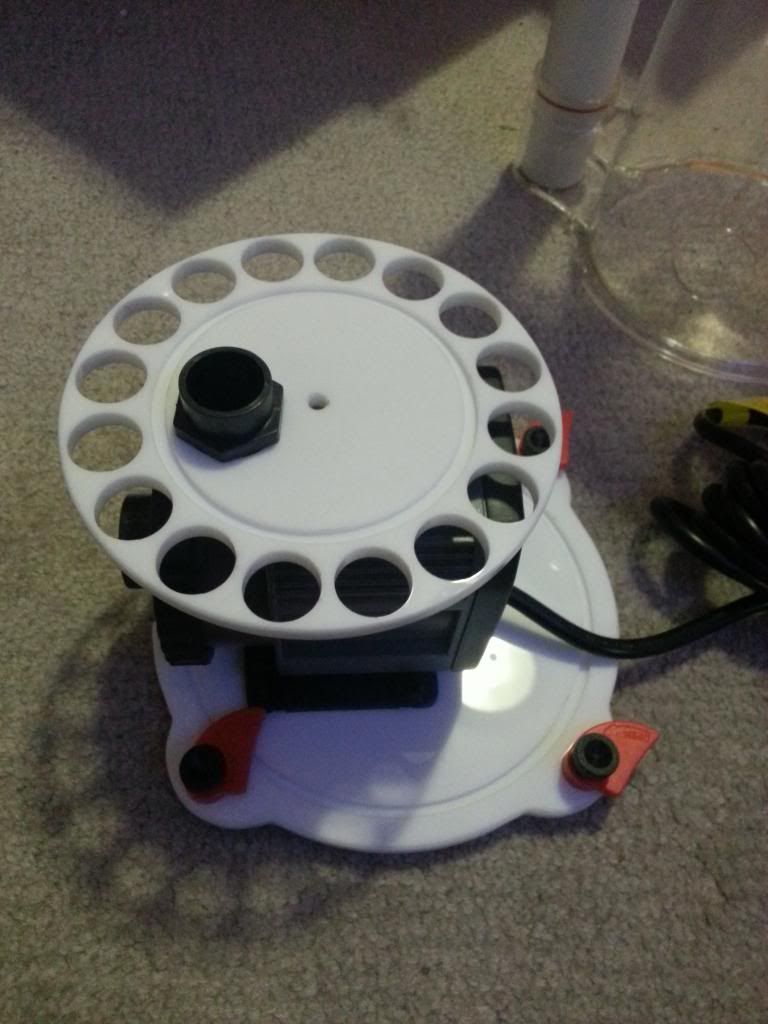 Step 4: Put on the acrylic cap on the white disk and use the black plastic screw to secure it with the disk 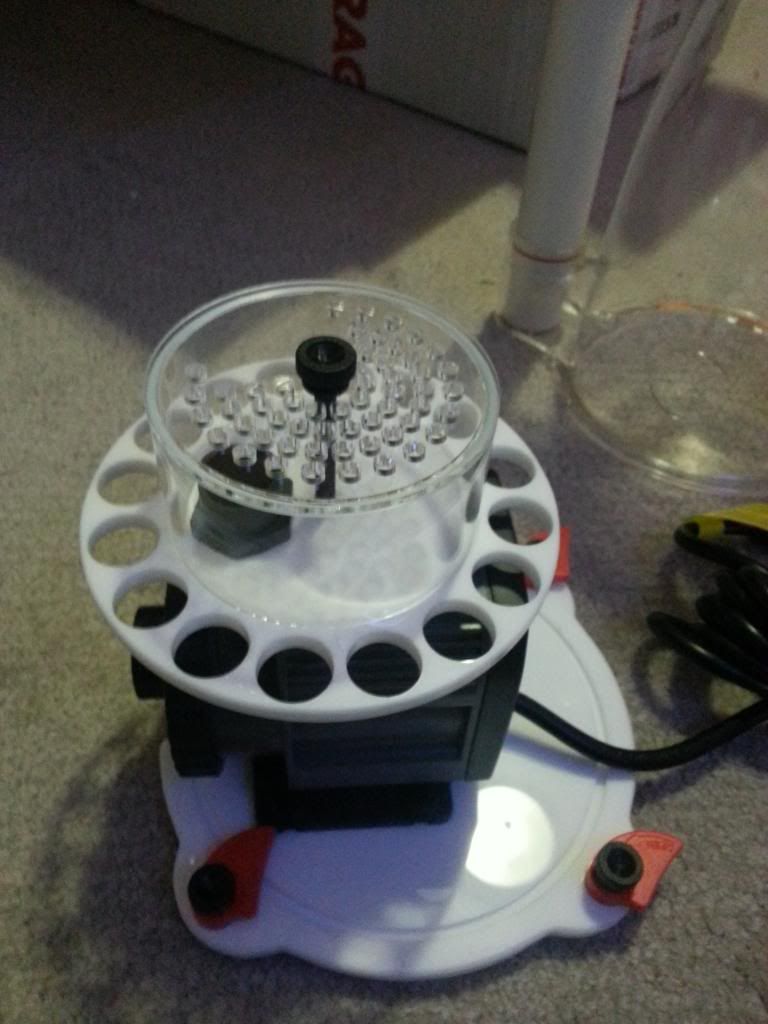 The correct setup should look like this: 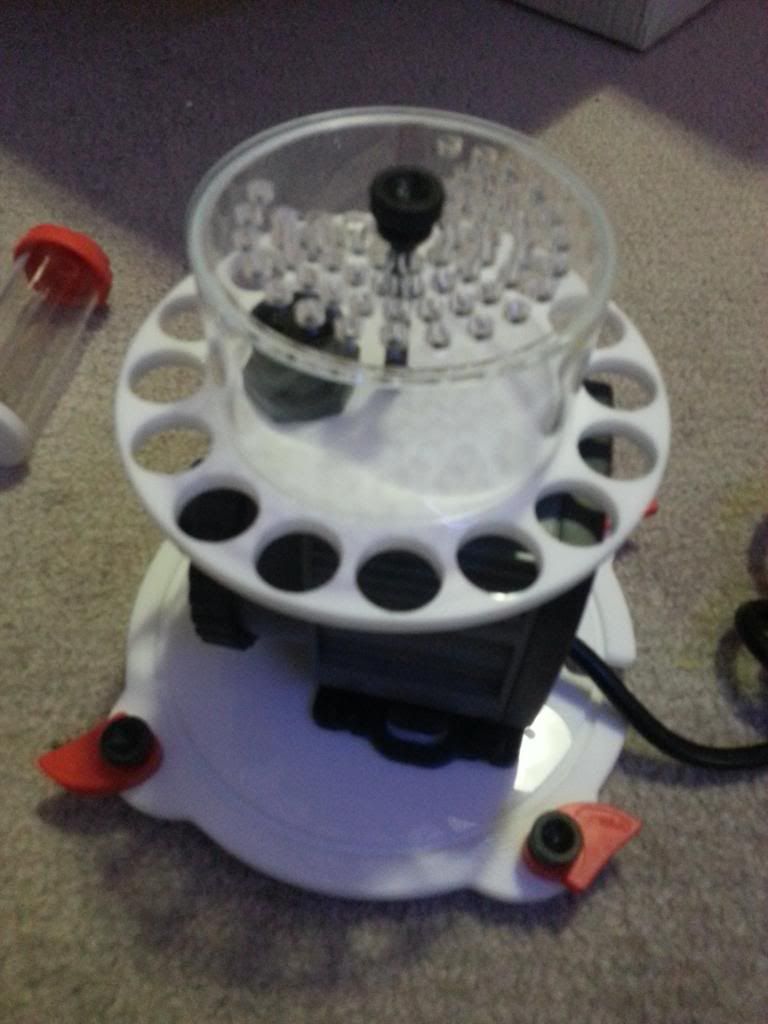 Step 5: Put back the body and secure it to the bottom plate with the screw. There are two "inlet cuts" on the body so that you can choose whichever round cut you would like the inlet of the pump to be. 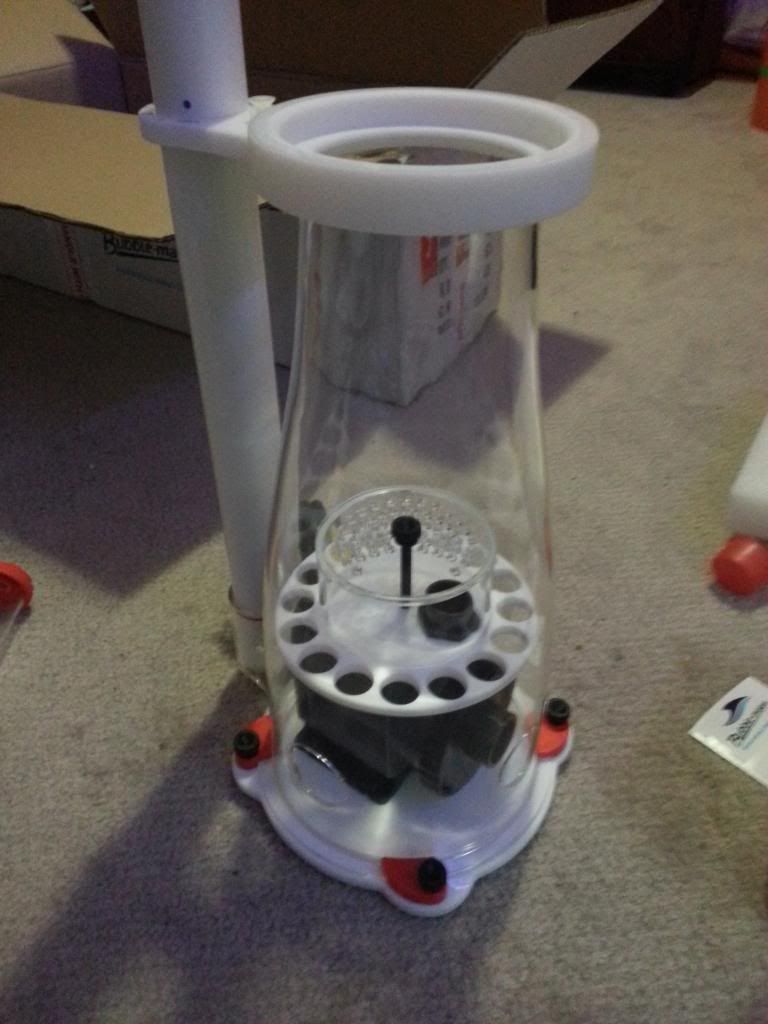 Step 6: Put the red air vent cap on the inlet of the pump through the hole. Step 7: Put the silencer right beside the air adjusting pipe. There's a plastic screw to secure it. This is where I find the 2nd problem: one twist of the screw with the screw driver and the star cut gets damaged. Again, not a deal breaker but a bump! Step 8: Connect the air tube with the silencer and the red air vent cap. The finished product should look something like this: 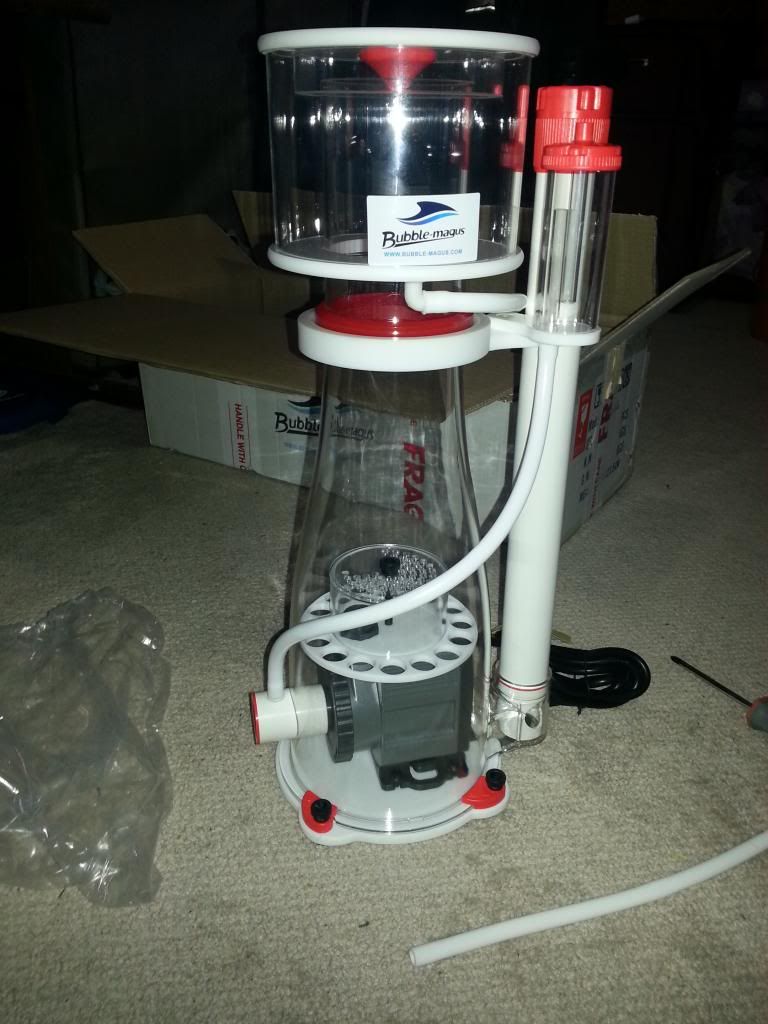 After assembling the skimmer, I started the 24hrs vinegar bath. 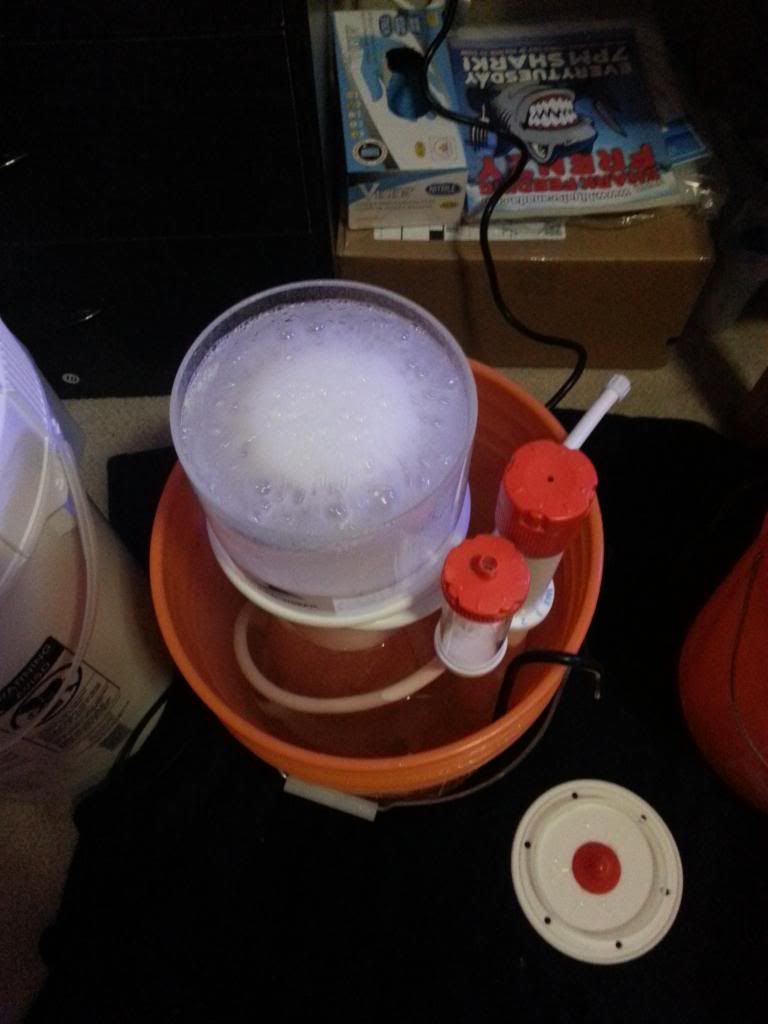 Will be putting it into the sump tomorrow evening and will report back with how things are. For now, I would say the pump is considerably quiet but will comment on that once I get it in the sump. For now, I am very pleased with what I bought. In terms of built, I couldn't have got a better skimmer even with few more hundreds. Like I said, in terms of BUILT  This review will continue..................................
__________________
You wouldn't want to see my tank. I don't use fancy equipment and I am a noob  |