Canreef Aquatics Bulletin Board  

Go Back   Canreef Aquatics Bulletin Board > General > Tank Journal

Reply
 
Thread Tools Display Modes
  #11  
Old 04-04-2014, 05:34 AM
clownin about's Avatar
clownin about clownin about is offline
Junior Member
 
Join Date: Feb 2014
Location: Vancouver
Posts: 21
clownin about is on a distinguished road
Default

Question is, is any of this stuff actually going to work? Plugged it in & voila! Nothing. Nada. Nope. After testing the LED's & the wiring with my multimeter I came to the conclusion that my brand new power supply was a dud. At least I hoped it was the power supply & not my crazy wiring job. O.K exchanged the power supply for another one & voila! We have light!!!
Reply With Quote
  #12  
Old 04-04-2014, 05:35 AM
clownin about's Avatar
clownin about clownin about is offline
Junior Member
 
Join Date: Feb 2014
Location: Vancouver
Posts: 21
clownin about is on a distinguished road
Default

I was going to use a timer while I came up with some sort of DIY arduino to control the LED's with but I broke down & got a Coralux Storm X LED controller instead. See, I'm not always cheap. Well, O.K., after pricing the cost of all the arduino parts & the time involved it seemed like a no brainer to me.
Reply With Quote
  #13  
Old 04-04-2014, 05:36 AM
clownin about's Avatar
clownin about clownin about is offline
Junior Member
 
Join Date: Feb 2014
Location: Vancouver
Posts: 21
clownin about is on a distinguished road
Default

Stuffing all the live rock + corals from my 120gal into the 70gal made things a bit cramped but I can live with it. At least the pair of clowns I've had for 17 years still seem to be happy, but I'm sure they miss all that extra room they had before.
Reply With Quote
  #14  
Old 04-04-2014, 05:56 AM
clownin about's Avatar
clownin about clownin about is offline
Junior Member
 
Join Date: Feb 2014
Location: Vancouver
Posts: 21
clownin about is on a distinguished road
Default

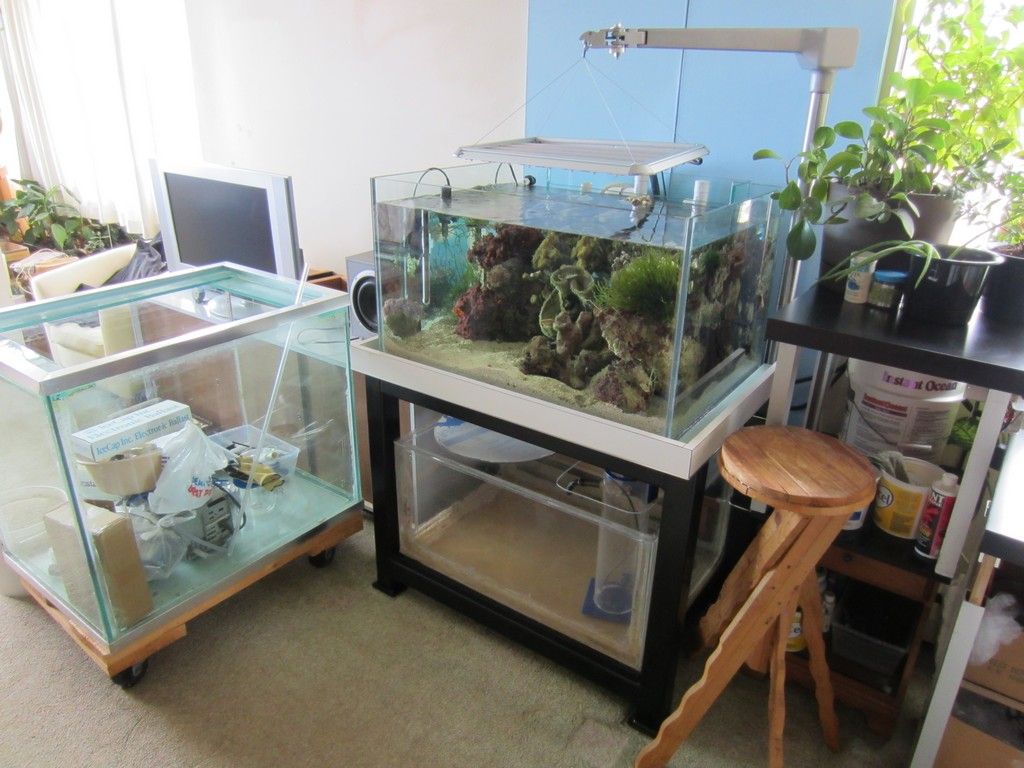
I still had to set up my old 50gal sump. Once I emptied it, the clear fiberglass resin I used to seal some pinhole leaks began to separate from the plexiglas. When I built it 15 years ago I used a hand scribe to cut some of the plexiglas panels. Cutting acrylic with a table saw will give you nice straight edges, cutting it with a hand scribe, um, not so much. One needs to have perfectly square edges to properly glue acrylic otherwise you can end up with leaks. So back then I fixed a few small leaks with fiberglass resin. After scraping all the old flaking resin I then reapplied clear fiberglass resin on the inside edges & this time I also incorporated some fiberglass mesh. I accidentally folded over one of the resin soaked mesh pieces onto an area of the plexiglas that I wasn't planning to cover with resin & it etched the plexiglas so it doesn't look very pretty...of course it just had to be the front panel. The main thing is that it doesn't leak. After water testing it for a few weeks I finally set it up, placing my old skimmer inside along with the return pump & live rock (plus 20 years of coral skeletons from those specimens that didn't survive over the years, RIP). Now I can finally get the overflow working & get rid of all that scum floating on the surface of my new tank. In the photo you can see my old 120 & a table/cabinet thingy I built from an IKEA LACK table top, scrap aluminum & an old night stand. This holds a kalkwasser bucket and other aquarium related items. My LED controller & power supply are attached to the side of it.
Reply With Quote
  #15  
Old 04-04-2014, 05:59 AM
clownin about's Avatar
clownin about clownin about is offline
Junior Member
 
Join Date: Feb 2014
Location: Vancouver
Posts: 21
clownin about is on a distinguished road
Default

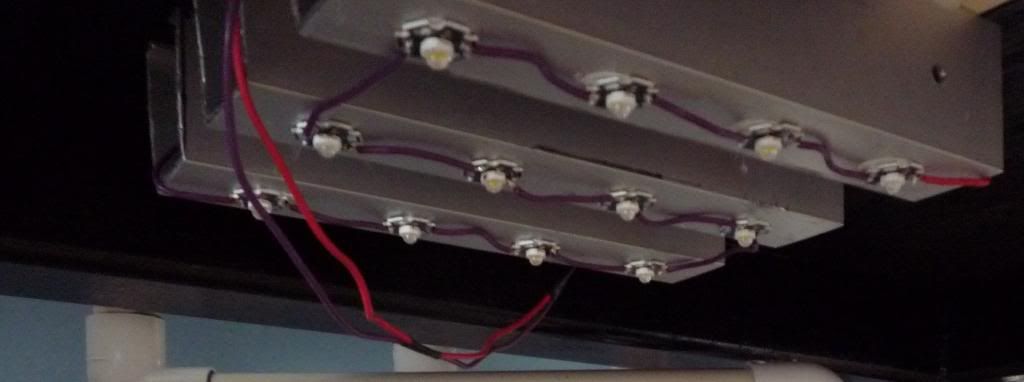
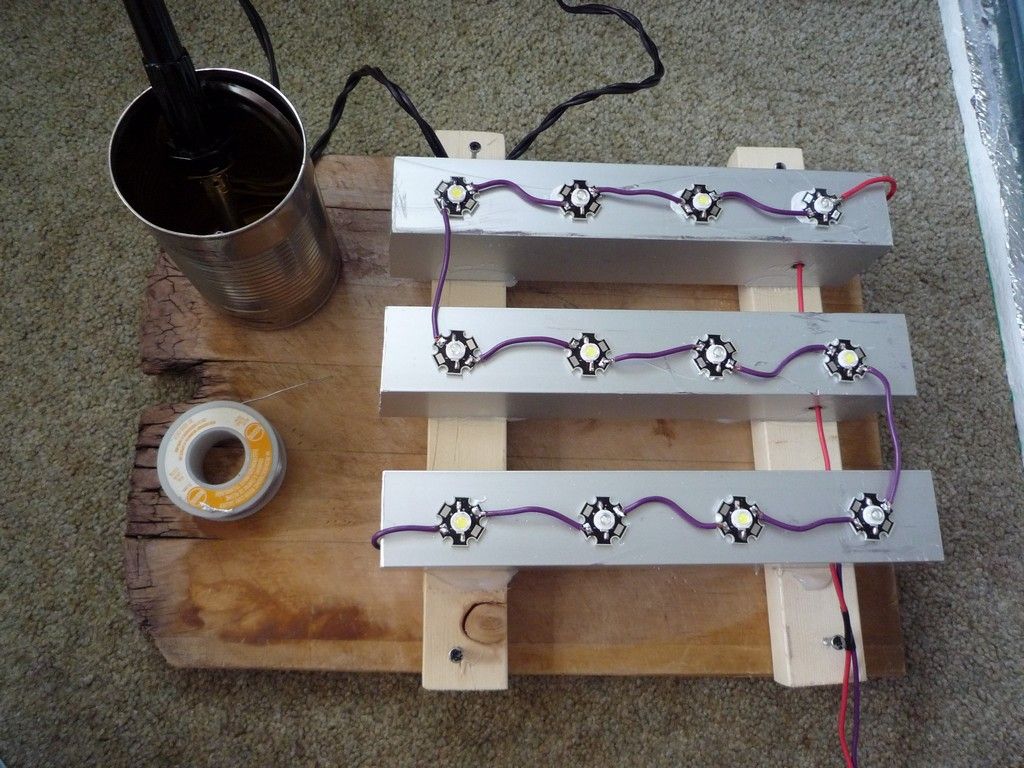
I also mounted 12 LED's on a small heat sink above the sump so I can place extra corals/caulerpa frags down there when needed.


Last edited by WarDog; 02-29-2016 at 04:50 AM.
Reply With Quote
  #16  
Old 04-04-2014, 06:13 AM
clownin about's Avatar
clownin about clownin about is offline
Junior Member
 
Join Date: Feb 2014
Location: Vancouver
Posts: 21
clownin about is on a distinguished road
Default

Here's what the 70 looks like so far:
Reply With Quote
  #17  
Old 04-04-2014, 06:20 AM
WarDog's Avatar
WarDog WarDog is offline
Darth Moderator
 
Join Date: Mar 2013
Location: Maple Ridge, BC
Posts: 3,106
WarDog will become famous soon enough
Default

Nice DIY Gerald! What are you going to do with the 120?
Reply With Quote
  #18  
Old 04-04-2014, 06:30 AM
clownin about's Avatar
clownin about clownin about is offline
Junior Member
 
Join Date: Feb 2014
Location: Vancouver
Posts: 21
clownin about is on a distinguished road
Default

The 120 has already been sold & will be a very nice reef tank soon. I miss the 120, but I have a lot less glass to keep clean now.
Reply With Quote
  #19  
Old 04-04-2014, 06:42 AM
WarDog's Avatar
WarDog WarDog is offline
Darth Moderator
 
Join Date: Mar 2013
Location: Maple Ridge, BC
Posts: 3,106
WarDog will become famous soon enough
Default

Quote:
Originally Posted by clownin about View Post
Around 1994 I purchased a standard 4' 45 gal aquarium. Here is a shot of the 45:
Is this the DIY canopy you gave me like 20 years ago?!
Reply With Quote
  #20  
Old 04-04-2014, 07:01 AM
clownin about's Avatar
clownin about clownin about is offline
Junior Member
 
Join Date: Feb 2014
Location: Vancouver
Posts: 21
clownin about is on a distinguished road
Default

Ha-ha, yep! Sure is!
Reply With Quote
Reply


Posting Rules
You may not post new threads
You may not post replies
You may not post attachments
You may not edit your posts

BB code is On
Smilies are On
[IMG] code is On
HTML code is Off
Forum Jump


All times are GMT. The time now is 10:18 PM.


Powered by vBulletin® Version 3.7.3
Copyright ©2000 - 2024, Jelsoft Enterprises Ltd.