
|
|
|
#1
 09-15-2009, 09:09 PM
|
|||||
|
|||||
|
Well!!! It only took 3 years but
Here we go.
Way back sometime around mid May 2006 my mom had a beautiful custom fresh/water/saltwater stand. (33 FW on top & 20 SW on the bottom)  First class setup with the skimmer on the front 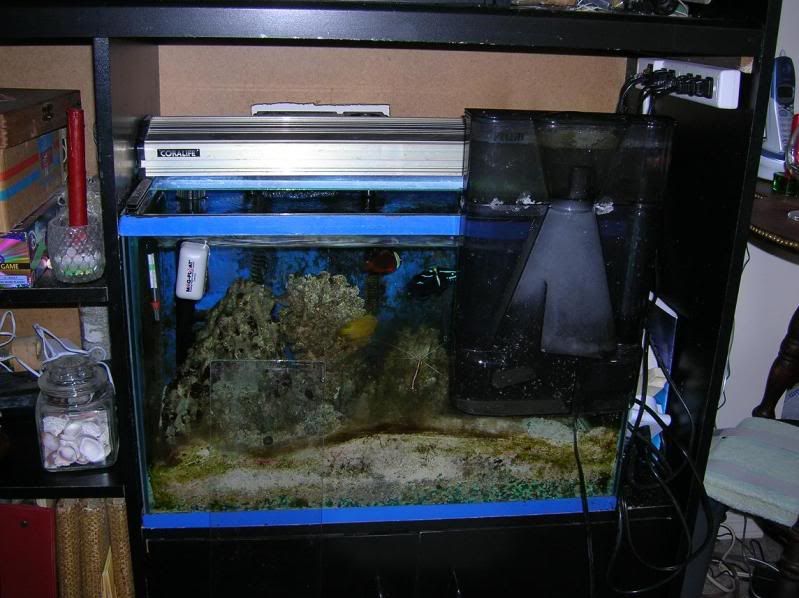 It was soon discovered that the little 20G was evaporating water out the back of the tank, right through the seams.  So an emergence temporary 25 G tall & stand were setup. 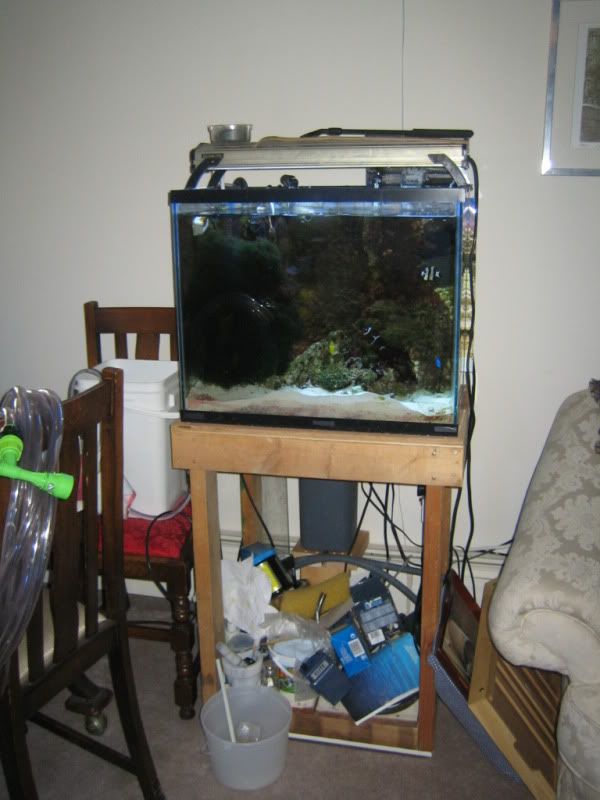 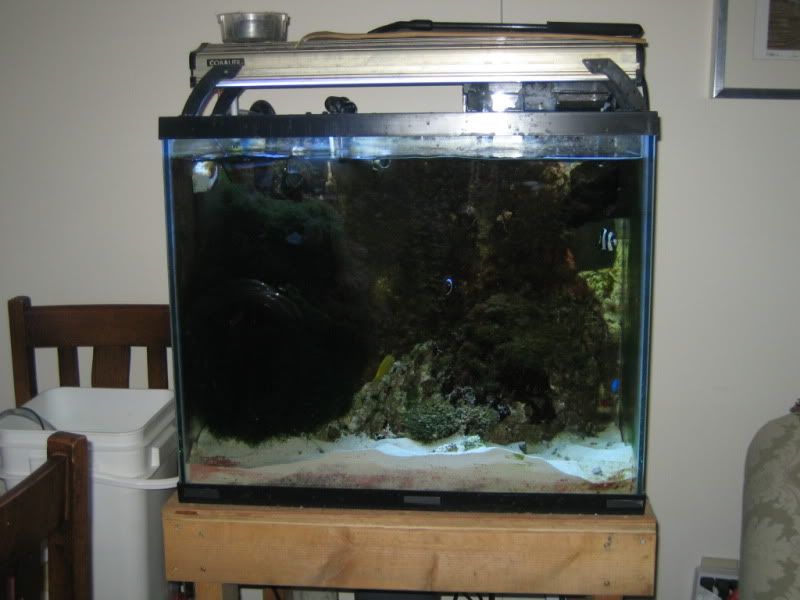 New tank now had room for skimmer on the back, (Still didnt work but at least you couldnt see it.)  This was much better quality with auto top-up and everything. 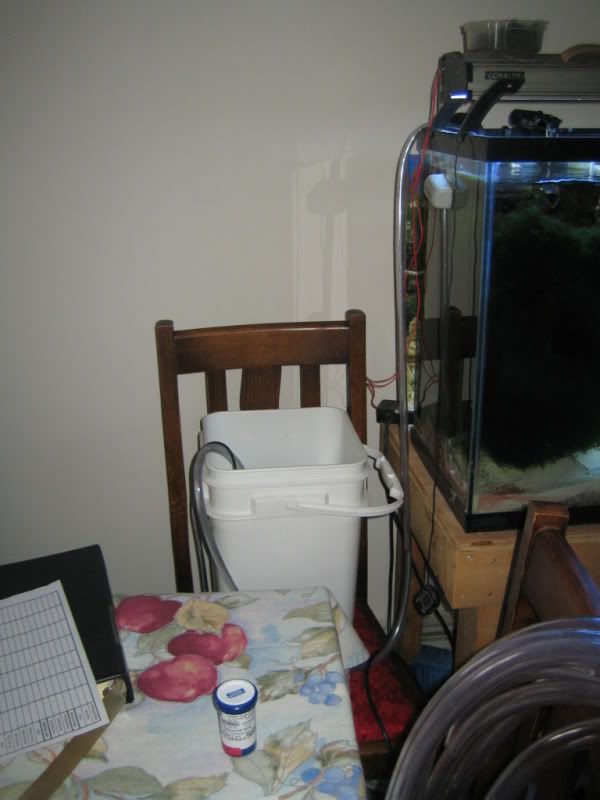 At least the new couple like their new digs.  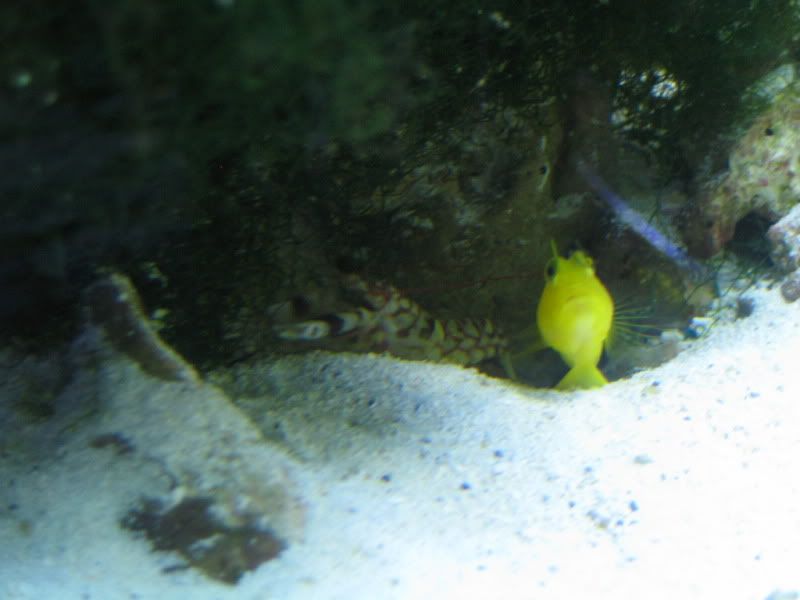
__________________
Enquiring minds want to know 
|
|
#4
09-15-2009, 09:25 PM
|
|||||
|
|||||
|
Now the concept was to re-build the stand (old TV cabinet) they had been using into a cooler bigger stand.
So I came up with the idea for a 55G on top with a half hidden sump/refugium on the bottom  I even spent $20 on an extra on a second stand for spare parts. 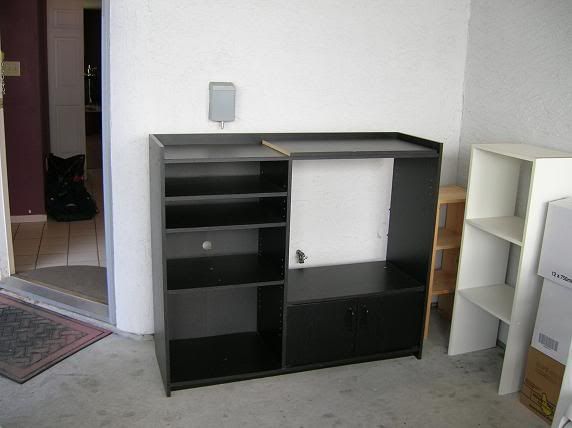 Now during the design stage I had picked myself a 75 to setup for myself. Many months past as my skill in woodworking is lacking. So came the day I moved from the third floor and was able to free up my old planted 50 for my mom. But also got a smoking deal on a 95 (Journal on that later) so I gave the 75 to my mom. Well all my stand plans and work out the window. So after a cry for help with stand building 04scoobysti came to my rescue. (Once again LOTS of thanks) With my months of planning it took him all of an hour to glue, screw & slap everything I had laying around into a stand. Dragged it upstairs and tossed the tank on top and all was good. 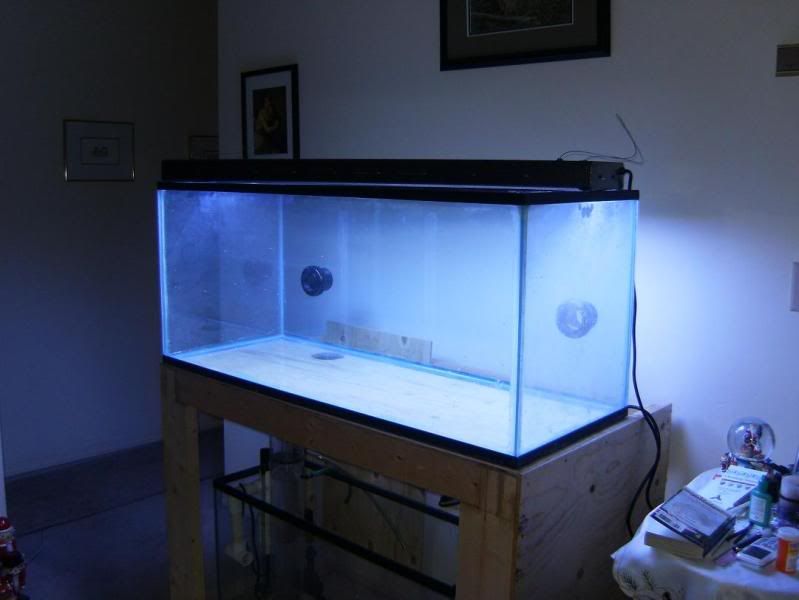
__________________
Enquiring minds want to know
|
|
#5
09-15-2009, 09:40 PM
|
|||||
|
|||||
|
After many hours trying to figure out how to run the plumbing from the bulkheads I found another 75 pre-drilled on the bottom
so upgrade again
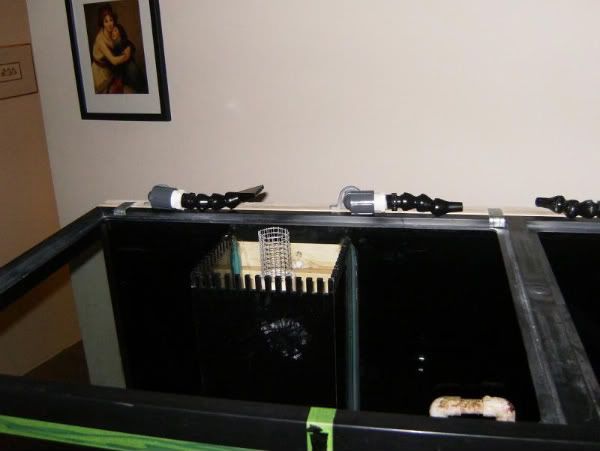
And still no water. But now looks much better. (other 75 still for sale) 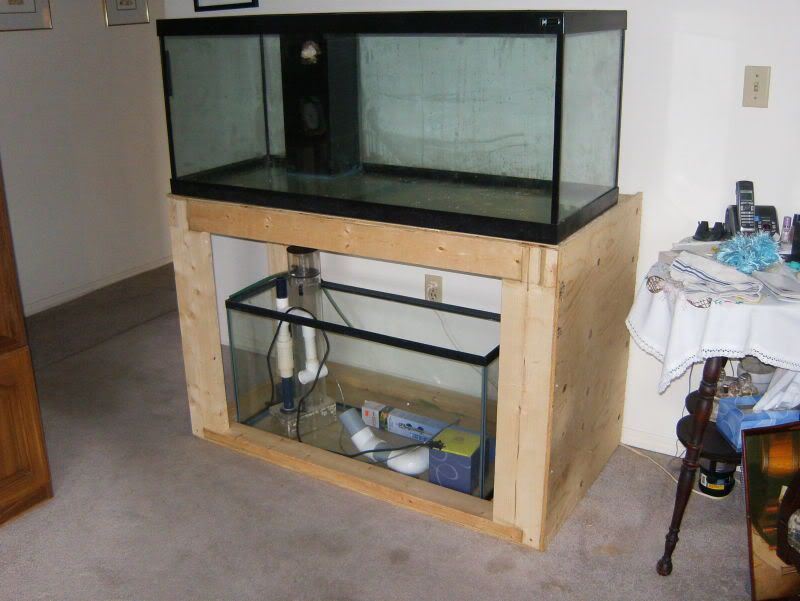 So now with the final (and yes I mean final) tank on top I fitted the temp sump & skimmer into the bottom 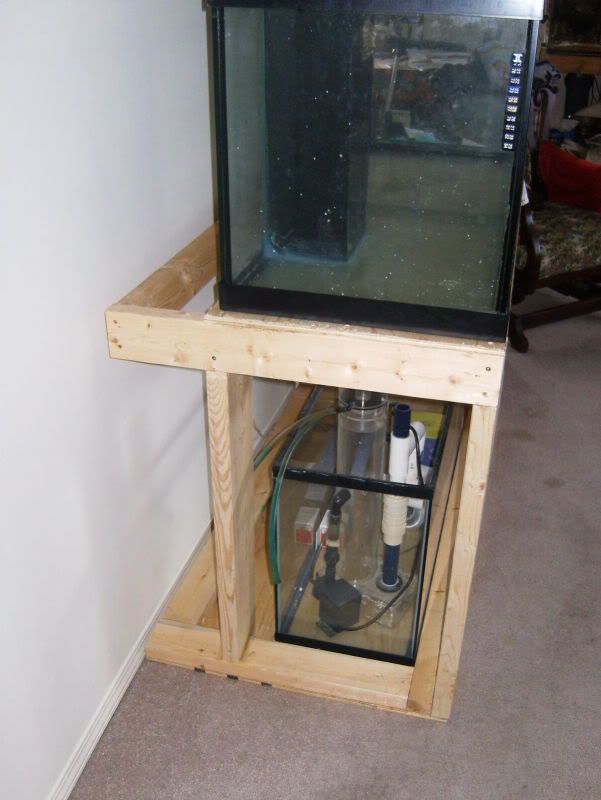 Now once again lets skip a few (many many) months into the future and end up a couple of months ago. Got to OA and started picking up the final touches. Then came the big push when my dad came to town for a short visit and I dragged him (and his many different talents) into finally getting water into the large glass box in his living room. We painted and caulked the stand to make it completely water proof. Up to the point of filling the bottom to check for leaks. (Which came in really handy later) We mounted the American DJ power bar onto the side  Then drilled a hole near the top and bottom so we can easily feed plugs through the side. 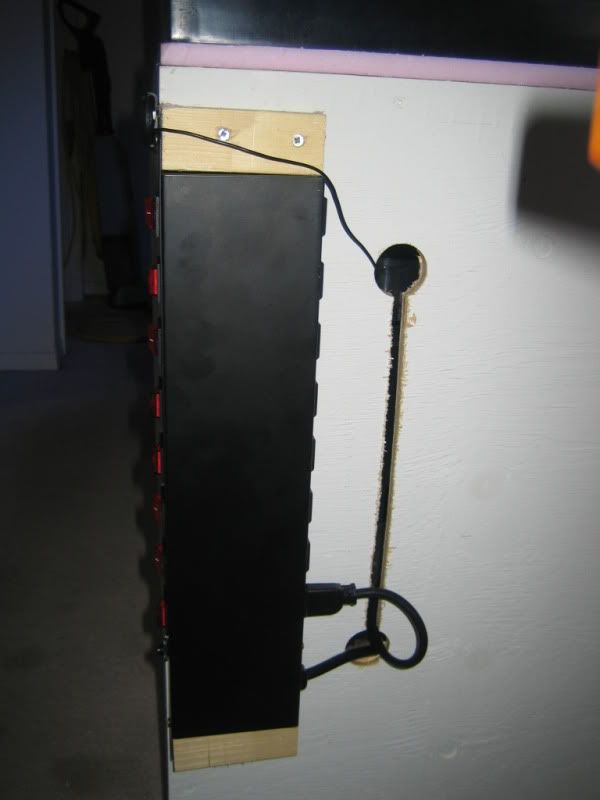
__________________
Enquiring minds want to know
|
|
#6
09-24-2009, 06:17 PM
|
|||||
|
|||||
|
Next came the drain. Wants to run it to the front of the tank so my mom could easily swap out the filter socks.
Funky drain layout to get where I want it. 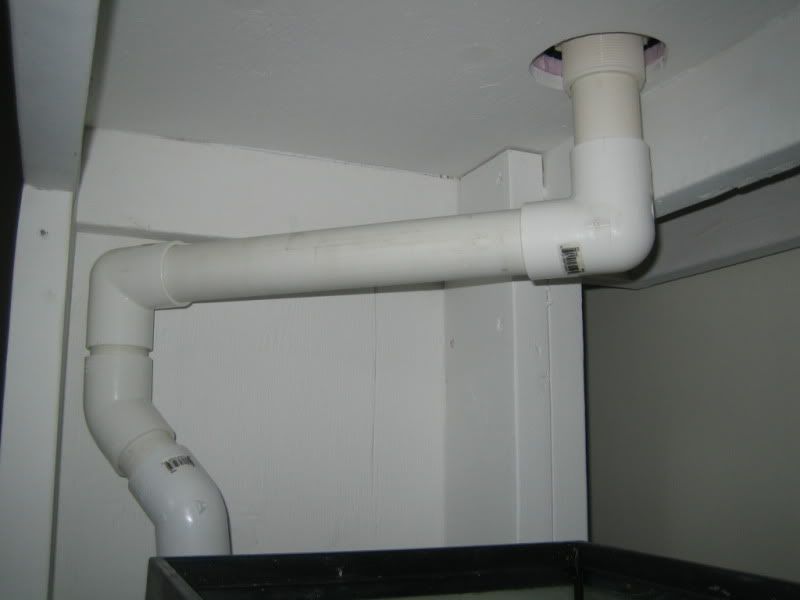 And it dropped right where I wanted it to. (Just) Remember to measure twice. Cut once. BUT remember to make sure you are gluing back into the right order  
__________________
Enquiring minds want to know
|
|
#7
09-24-2009, 07:24 PM
|
||||
|
||||
|
Wow, quite the adventure you've had already. I'm glad that you ended up building the new stand because that TV stand would have colapsed in my opinion and you would have been picking your stuff up off the floor instead of admiring it in the tank.
Keep up with the updates cause we all like to see a tank build.
__________________
Mark...  290g Peninsula Display, 425g total volume. Setup Jan 2013.
|
|
#8
09-24-2009, 09:21 PM
|
|||||
|
|||||
|
Now on to my master plan
The Return from the Sump (I know, sounds like a bad 60s horror but what can I say)
 Using Sketchup I came up with this mad plan. Now the big job was to figure out how to put it into play. 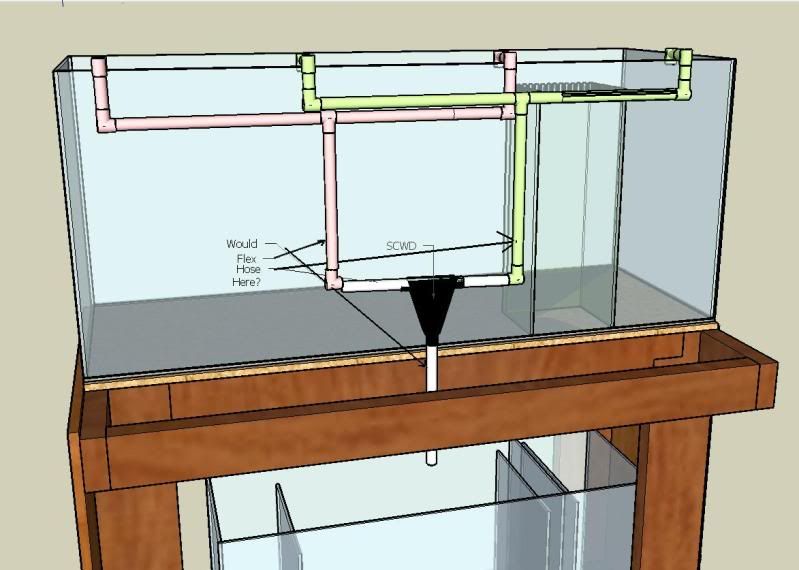 Everything looks better on the PC so figured I would do a layout on the tank to see how it would look or work. (Well it aint pretty but hey it served its purpose) 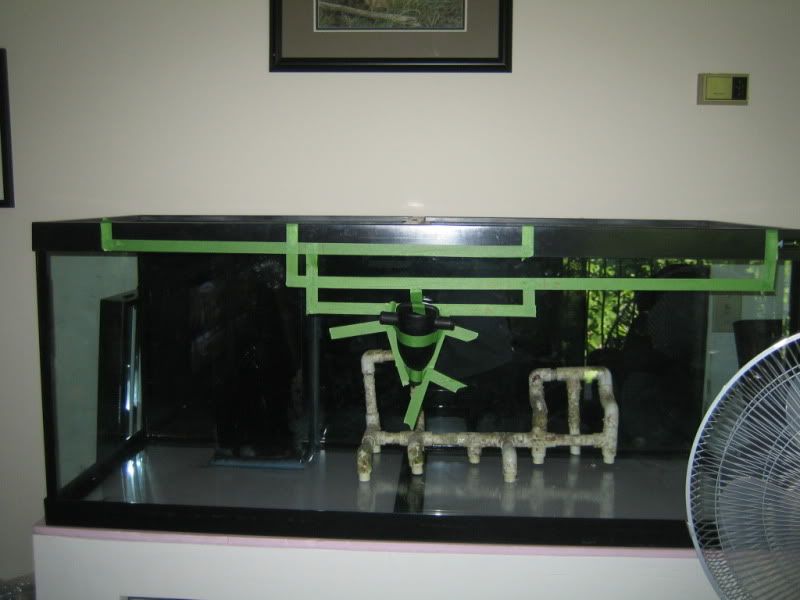 Then add a little colour to help follow the flow and away we go. 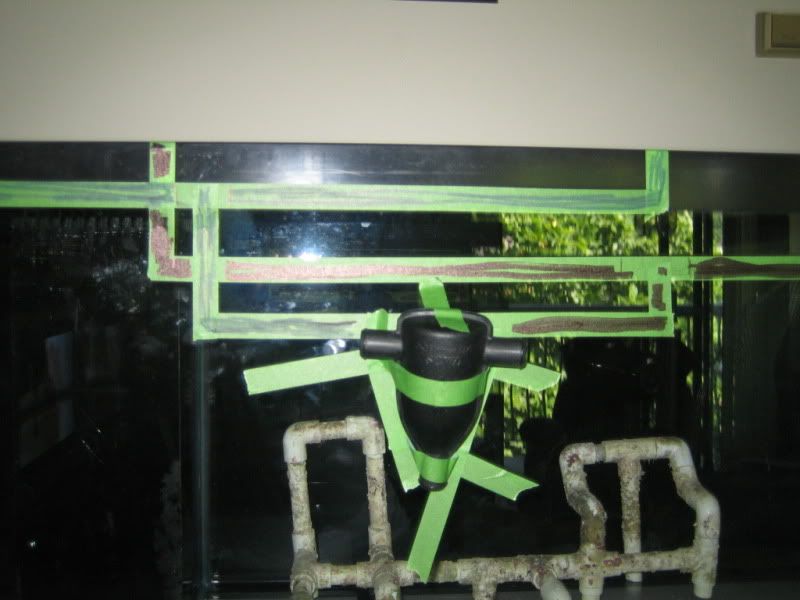 So we start with the bracket to hang everything off of on the back. (Also worked on the bracket for the lighting but that is for later) 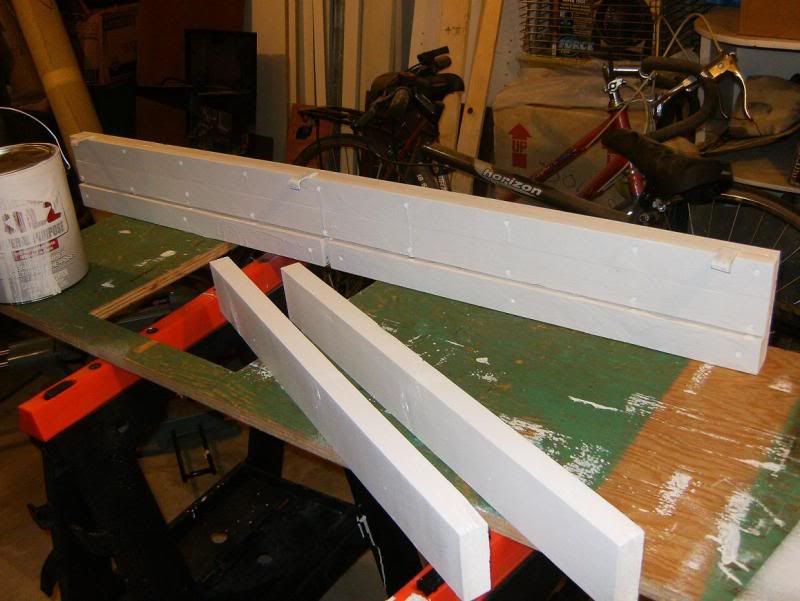 Fit nicely into place and then painted black. In this picture you can also see when I painted the back I taped off the overflow so I can see if anybody ends up in there. 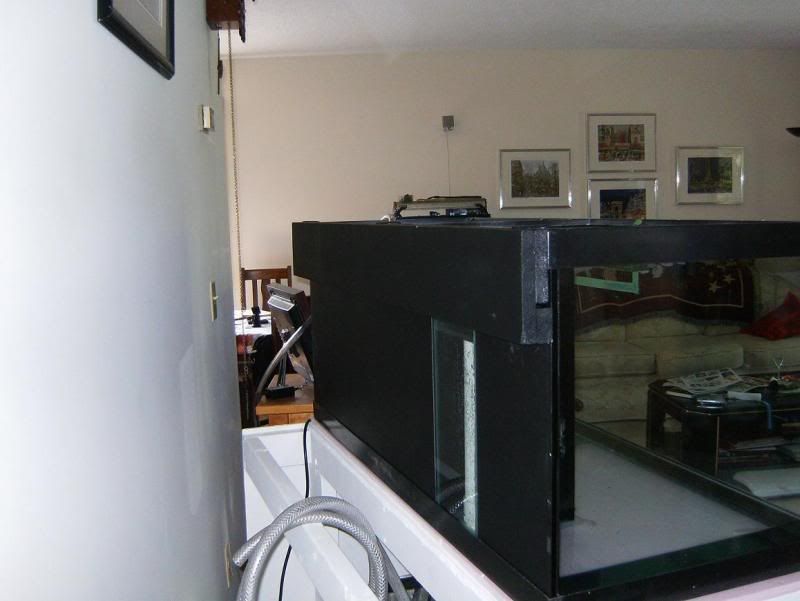
__________________
Enquiring minds want to know
|
|
#9
09-24-2009, 09:38 PM
|
|||||
|
|||||
|
We laid the returns on top for positioning and found that there was a bit too much rolling around for what we wanted so
  My dad popped the top framing off and carved notches for the 45s to fit into and there No more wiggle. 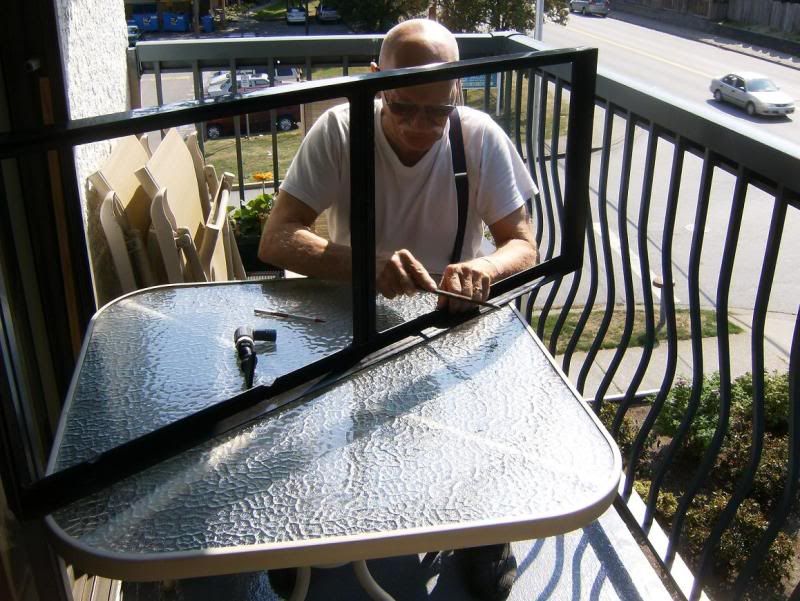 Once we were happy with the position we started to cut the flex hose and decided the SCWD needed to be lowed so we added a bracket at the bottom and there you go. One crazy flex hose octopus (well half octopus as there is only 4 legs) return.  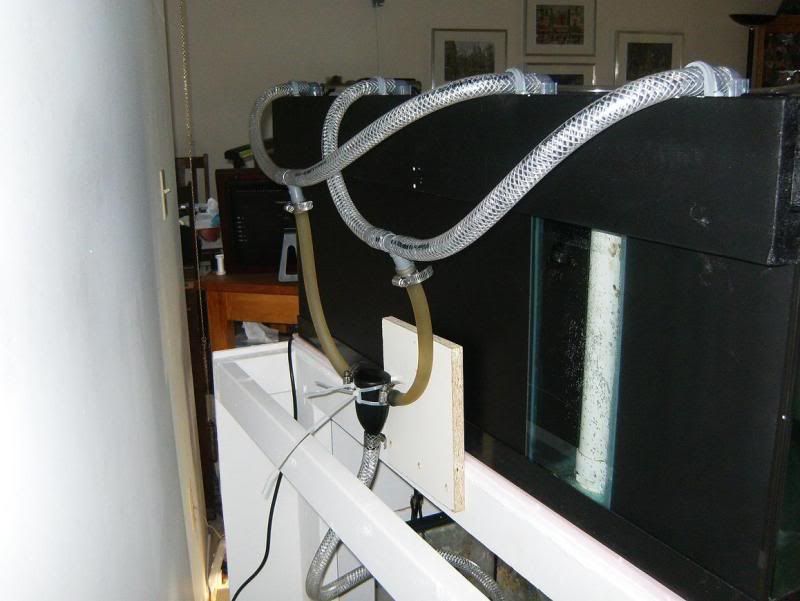 A quick fill and with joy and relief all the water stayed in the tank and none on the floor.  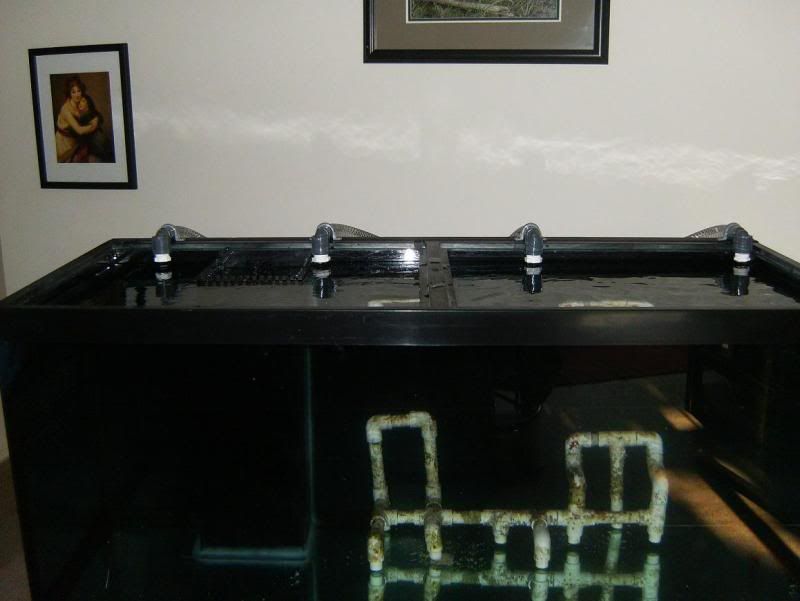
__________________
Enquiring minds want to know
|
|
#10
09-24-2009, 09:55 PM
|
|||||
|
|||||
|
LIGHTS
ACTION
Aquarium!
 I know my mom didnt want too difficult of things to look after for corals so decided to go for T5s Got a great deal from Wendell at OA on a nice set 4 bulb unit (2 10K & 2 actinic) Measured out where the middle was going to be and then had to figure out to get the lights out there. One day I was wandering around Home Depot in the gardening section and found these 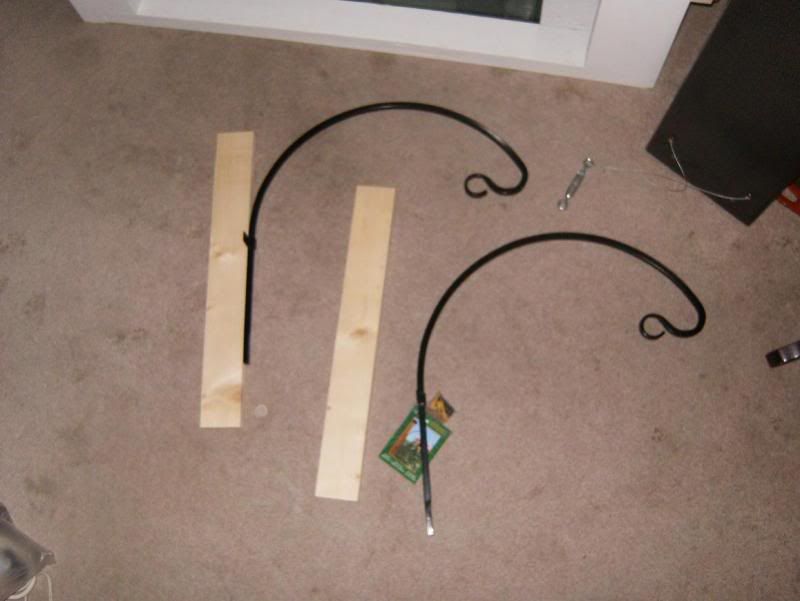 Measuring them out the dropped an inch short of where I wanted to, so now I use the extra wood you saw before. With a quick plumbing for vertical off we go 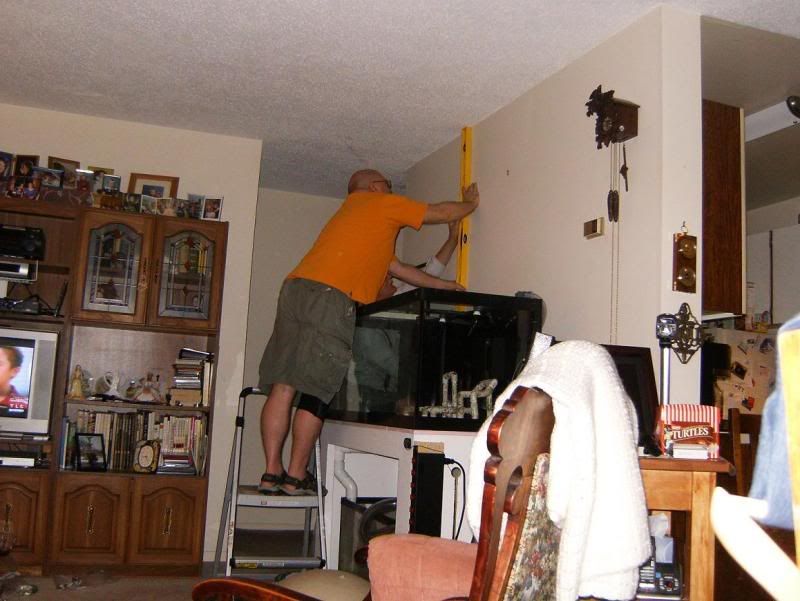 With the 2 brackets in place my dad and I mounted the hangers. The first one  And the finished product.  We hung the light and plugged it and what do you know 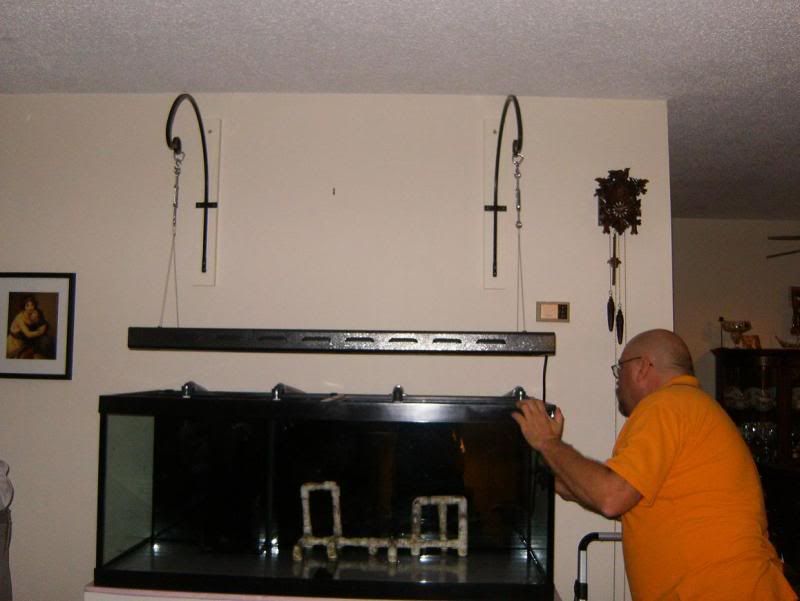 It lit up and didnt fall down as shown by my daughter. 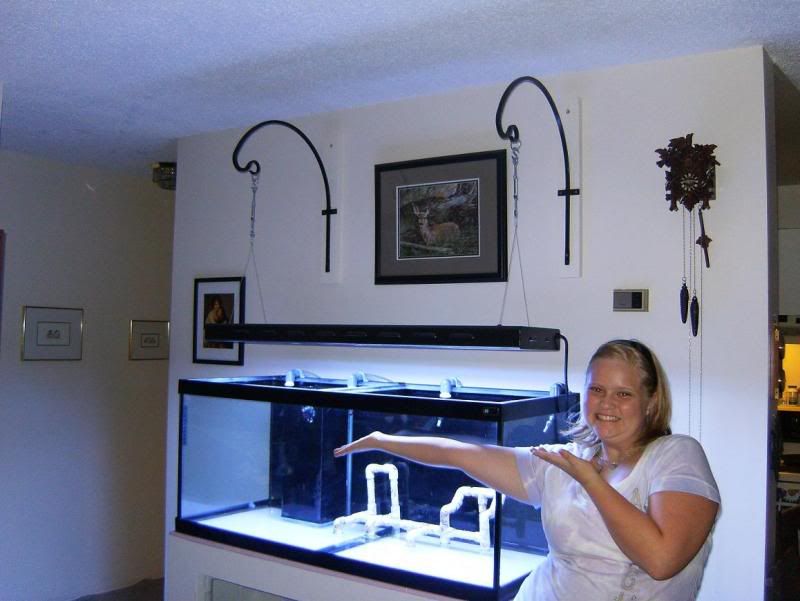
__________________
Enquiring minds want to know
|


 Linear Mode

