
 |
|
#21
|
|||||
|
|||||
|
Talk a bout DIY GOLD!!! Subscribed, loved the previous builds even more stoked on this one!
|
|
#22
|
|||||
|
|||||
|
So tried to move the stands into place tonight.......hmmmm
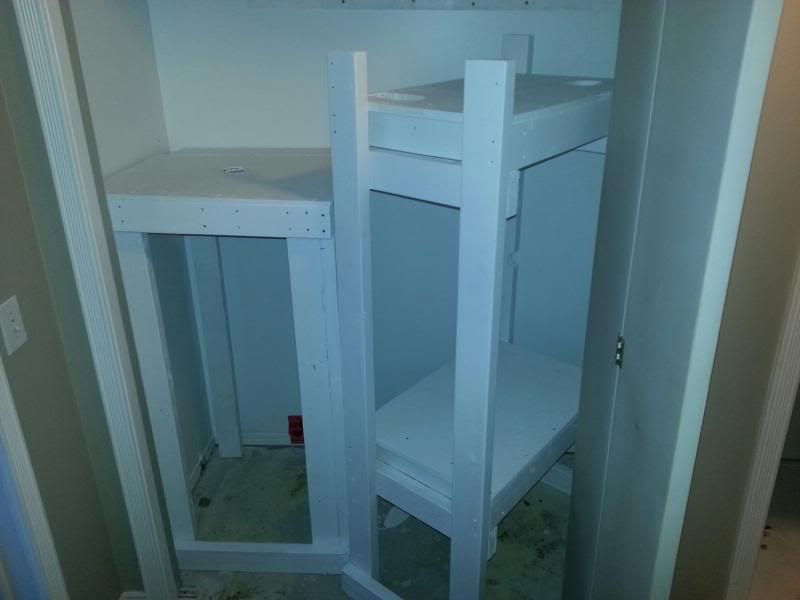 So after some mad Jenga, I squeezed them in there to check the fit. 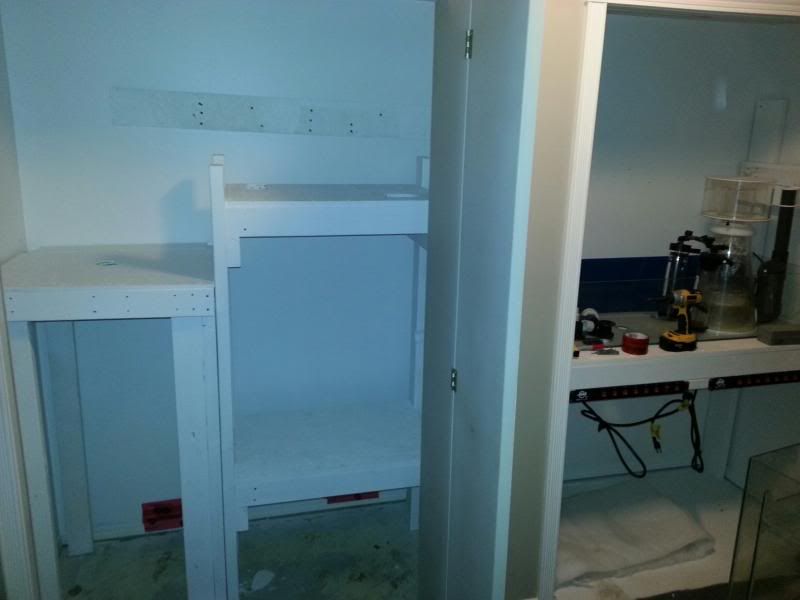 Closet Door closes without issue. Lots of clearance actually. 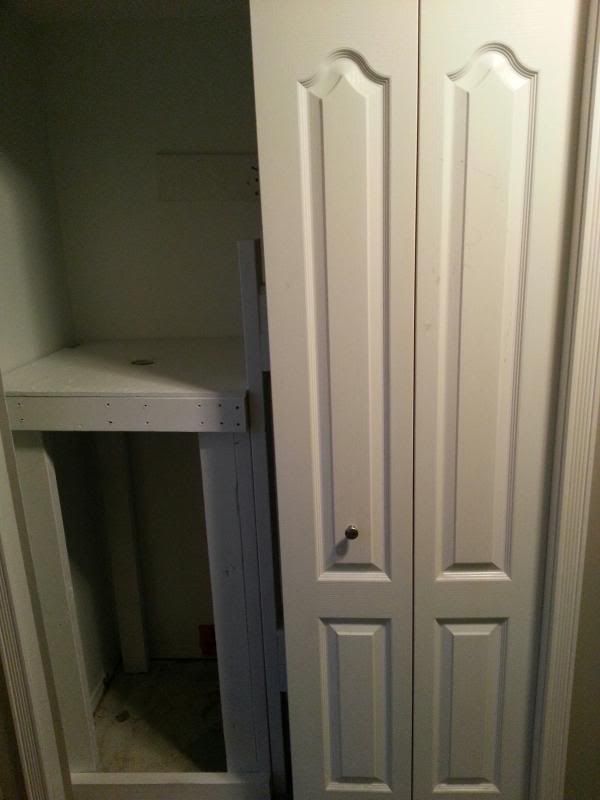 And I have another issue..... Where the heck do I put the RO unit now?????? It did go on that crooked mounting panel behind the frag tank. I think I'm going to mount it higher above the frag tank. I could still mount it behind the frag tank, as there is lots of room, but then replacing filters and viewing my TDS meters would be ridiculous. 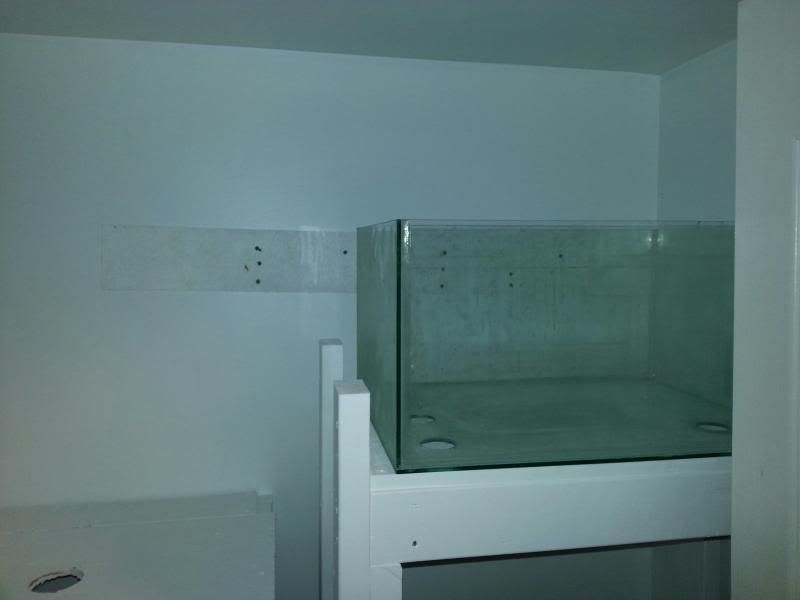 And a scope of the closets together: 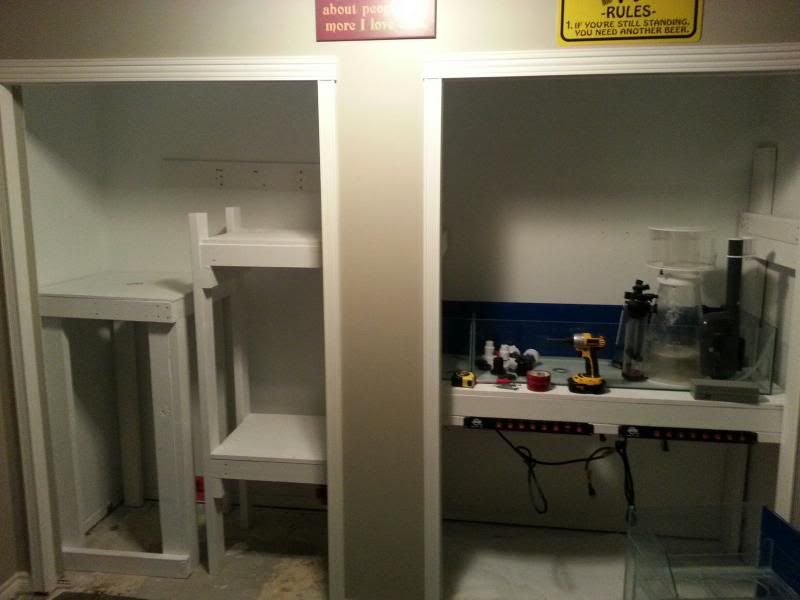
__________________
 They call it addiction for a reason... |
|
#23
|
|||||
|
|||||
|
Nothing beats doing reef maintenance at waist height! Setup is looking sweet!!!
__________________
View my Aquarium & Reef Controller build here:  The Ultimate DIY Aquarium Controller of the 21st Century!!! LED's, PH, Salinity, Clock, LCD, ATO, Auto Water Changer, Variable Speed Cooling Fan Control and lots, lots more...... |
|
#24
|
|||||
|
|||||
|
Nicely done! Waist height maintenance is pretty awesome. I like how it's all hidden behind closets, that's almost like a chapter out of chingchai's build. I can't wait till its all up and running. It's gonna be great!
__________________
Though a tree grow ever so high, the falling leaves return to the root. 300DD - 140DD  TOTM Fall 2013 Last edited by Bblinks; 06-13-2013 at 04:02 PM. Reason: I think I need another beer! Lol |
|
#25
|
|||||
|
|||||
|
Quote:
I only wish this was even close to the scope of chingchai's build!!! Everything about it was top of the line. I think one of his shiney cabinet doors cost more than my whole system. LOL
__________________
 They call it addiction for a reason... |
|
#26
|
|||||
|
|||||
|
So. A tonne has changed. But now this build is on in full force. The winter really sucked. I hate the cold weather. And working out in my garage would have sucked. Now that the weather is nice... it's on! My main issue with my water change design, was standing water after a water change. I hate that idea. Call me OCD, but I hate it. There was simply knowhere to drain access sitting water. So the Basement it was. Details below.
Some major changes to my design: 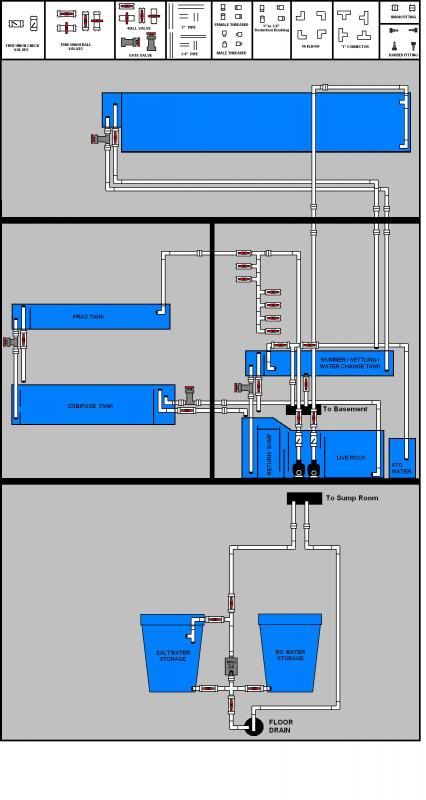 And the typical plumbing supply pictures! I took this after the water change system... So it could have been cooler :-) - Let the plumbing begin! 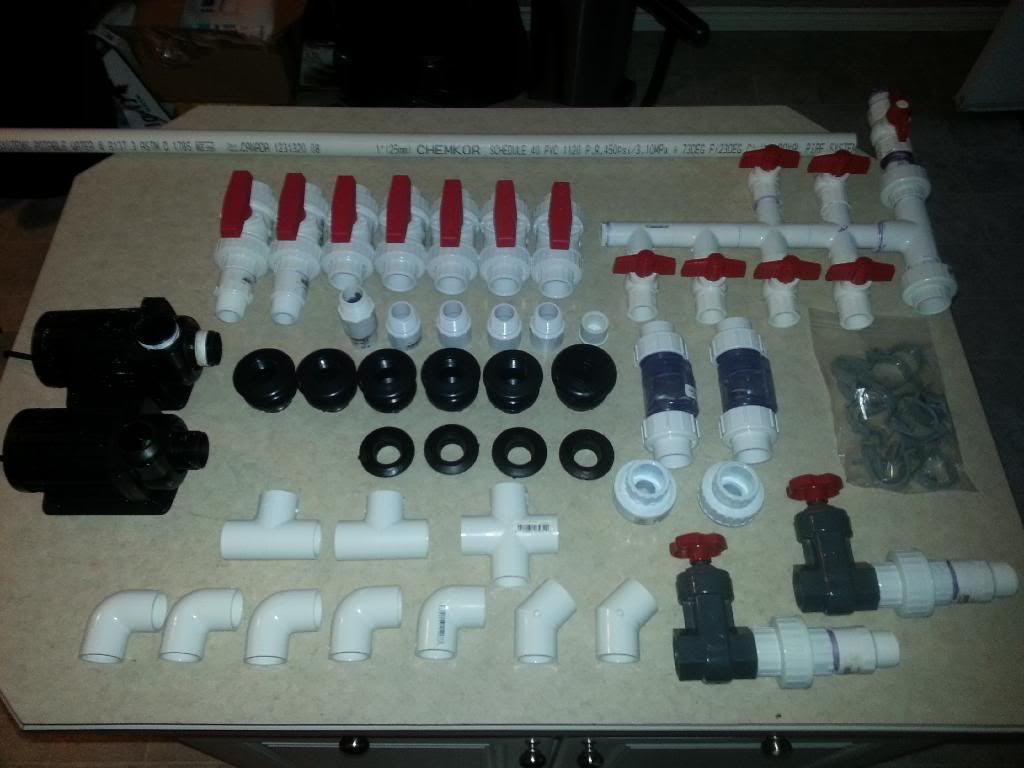
__________________
 They call it addiction for a reason... Last edited by FishyFishy!; 04-23-2014 at 08:03 PM. |
|
#27
|
|||||
|
|||||
|
1. Water change station is now down in my laundry room. I will pump the water up via a Mag24 into the water change tank. This allows me much more space for my frag and DSB/Fuge tanks. Hopefully when I get to water test this weekend, the Mag24 will be ok with the 10 ft head. The pump is plugged in to an extension cord that I ran from the laundry room and hooked up to my American DJ switchable power bars. this allows me to be upstairs to turn the pump on and off when the tank is full. The drain system remains the same.
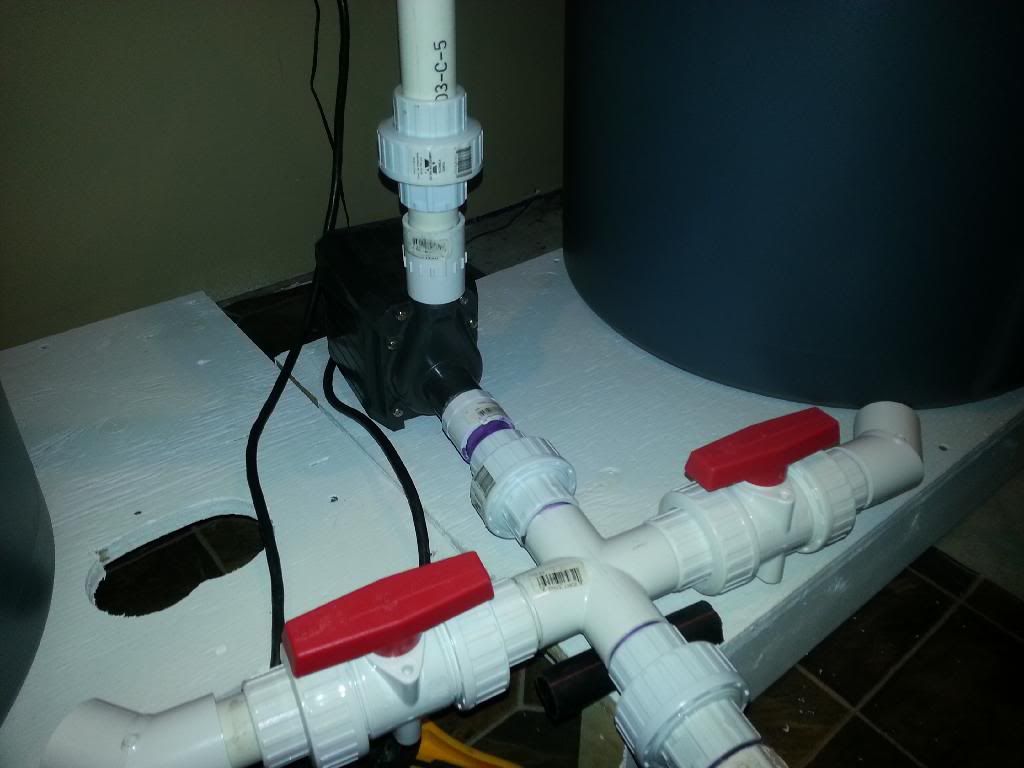 I still have to drill the holes for the uni-seals in the Brutes. Out of the 10 hole saws I have... I don't have a 1.75" for the Uni-Seals. So thats next. Here is the Mag24 all hooked up. 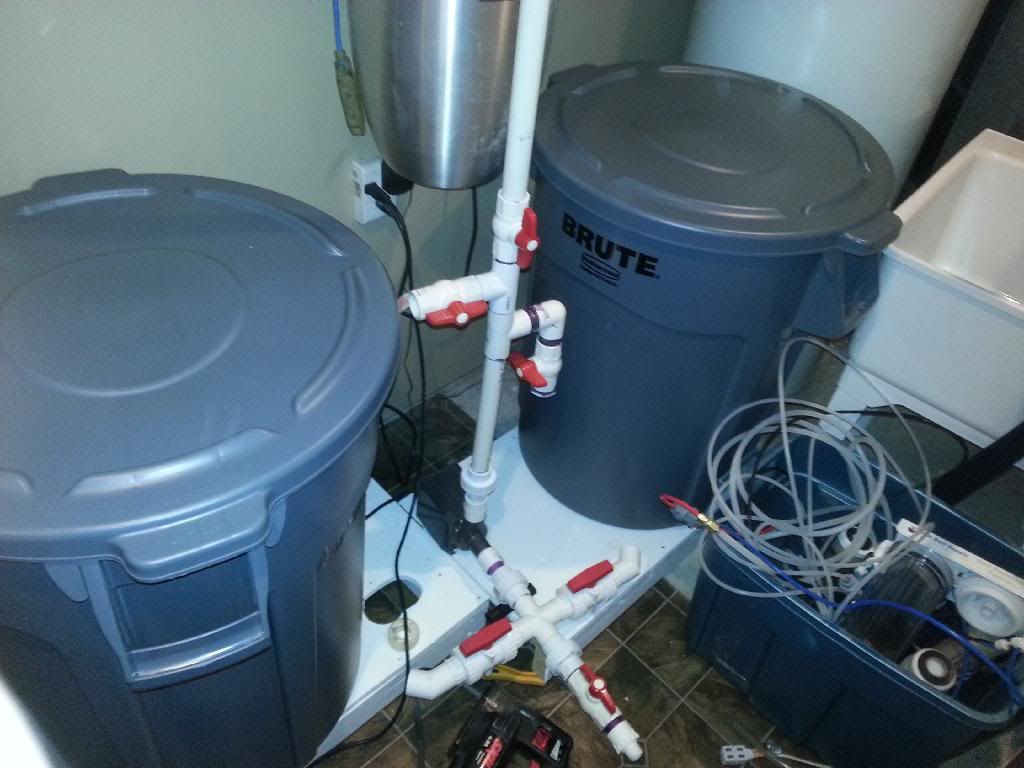 Goes up to the roof 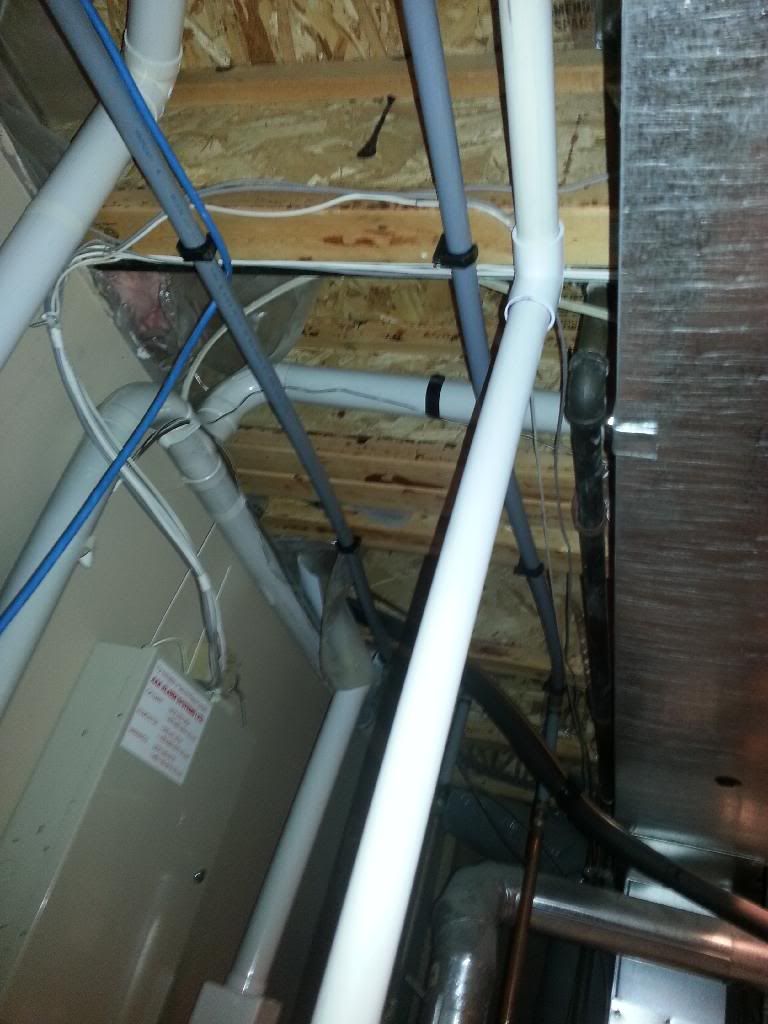 Along the roof 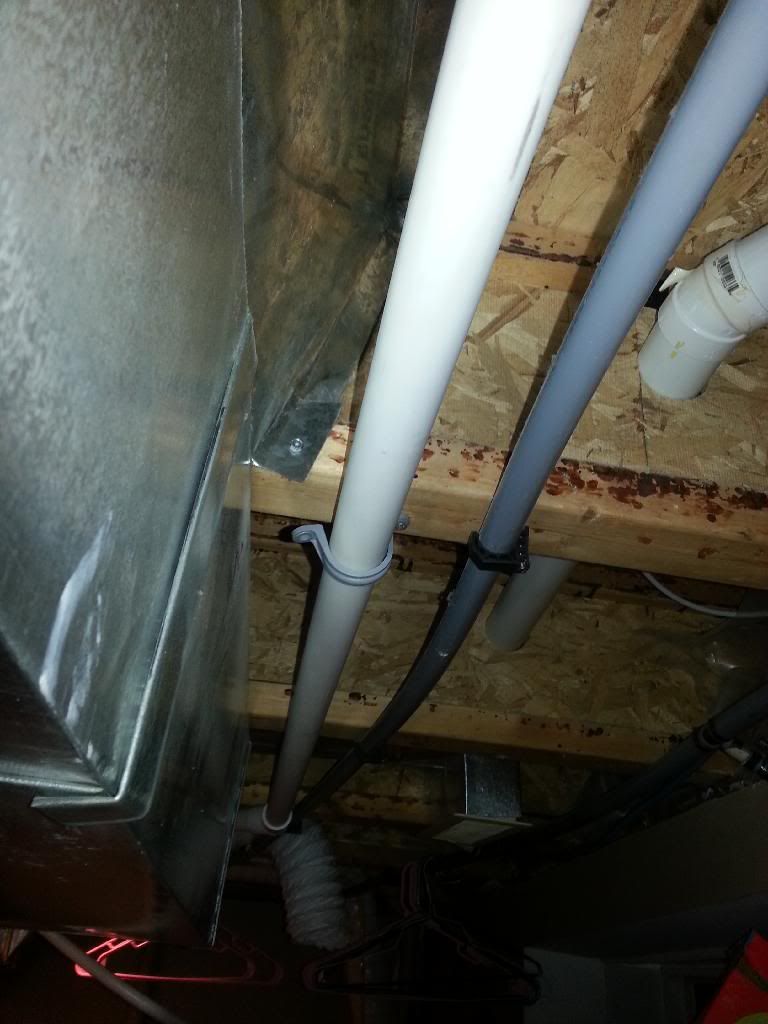 And towards the tank through the floor 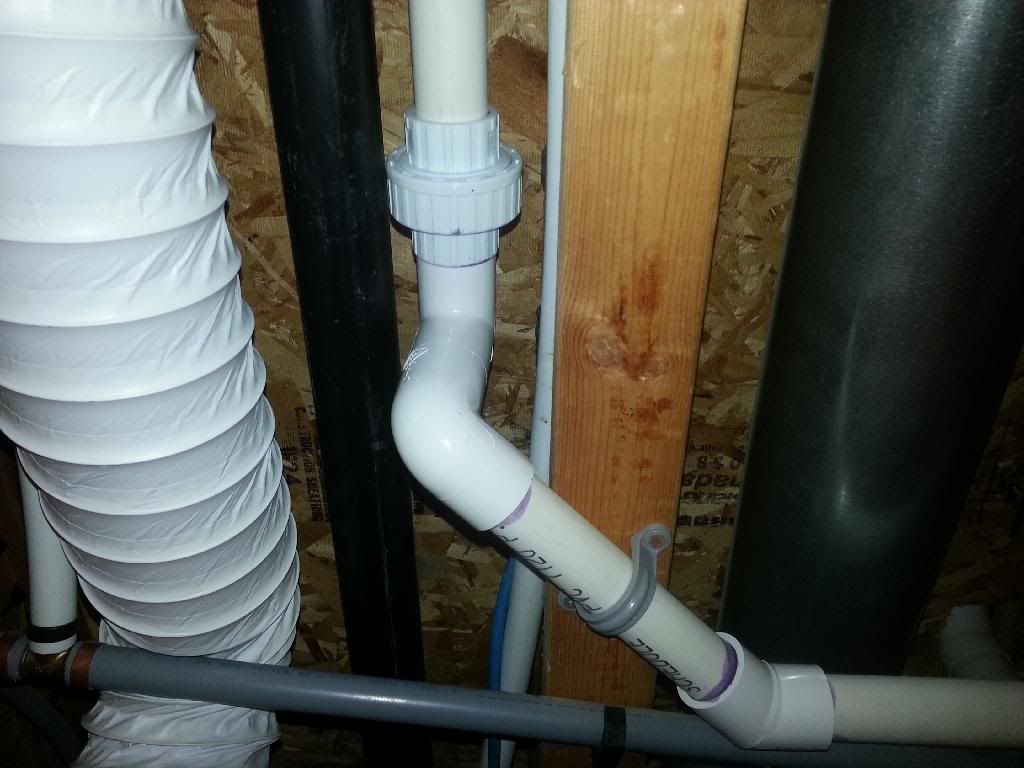 You can kinda see the depths of the floor here. On the other side about 8 feet away is the tank. Here you can also see my dryer hose for the vent fan, and the black ABS drain pipe. 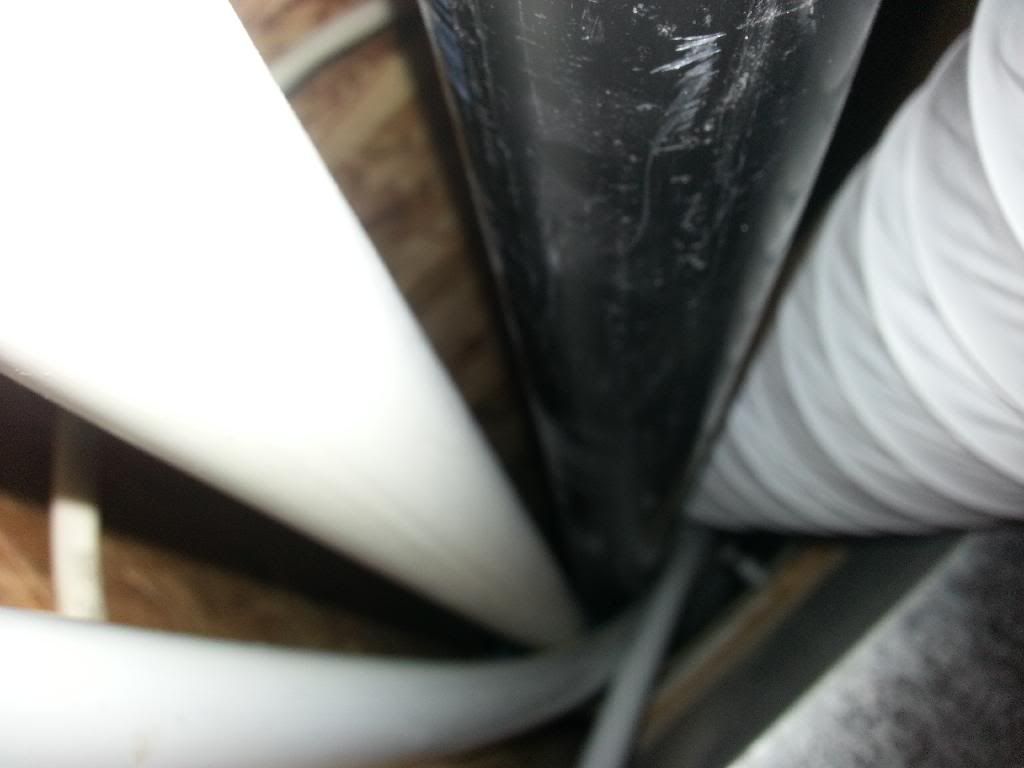
__________________
 They call it addiction for a reason... Last edited by FishyFishy!; 04-23-2014 at 08:13 PM. |
|
#28
|
|||||
|
|||||
|
2. I had Concepts build me a new 1st stage sump tank. This tank is designed to be the settling/skimmer/calcium reactor/water change tank. New dimensions are 50"X24"X12". Doing this, I can now use the original 50"X15"X9" as a perfect frag tank!
Check it out in all it's glory! Makes my monster skimmer look tiny! 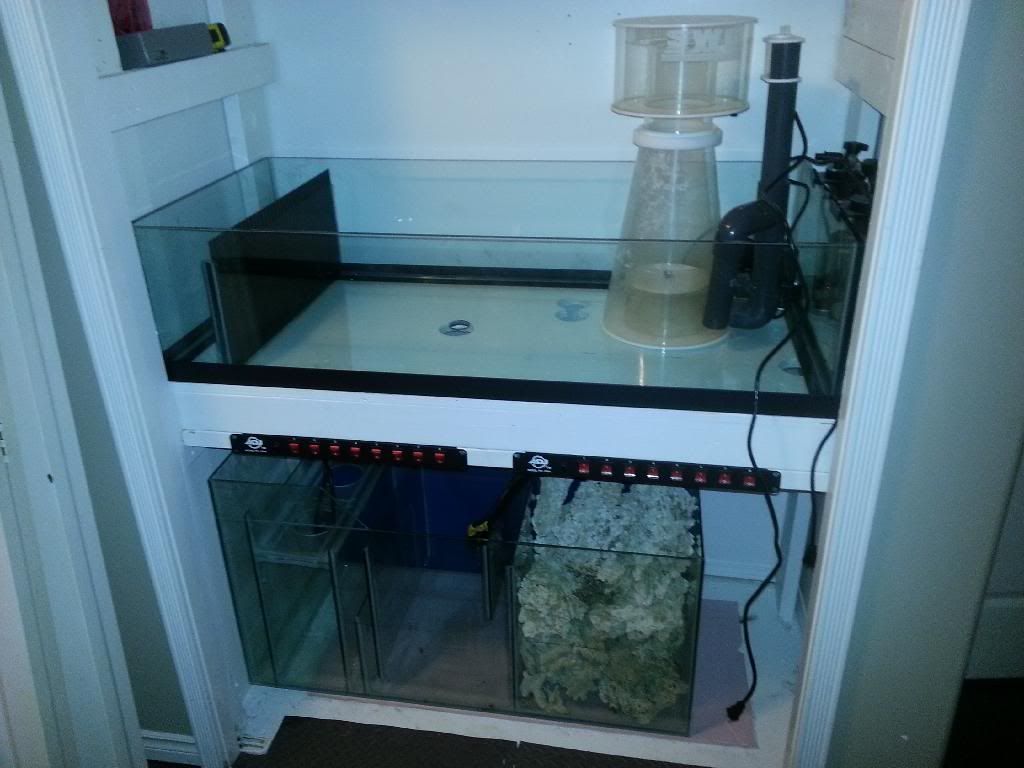 Concepts as usual did a fantastic job. I'm going to get them to build me a new bottom sump thats a little shorter in the future.
__________________
 They call it addiction for a reason... |
|
#29
|
|||||
|
|||||
|
I also made this little acrylic holder/protector for my power supply. The nice thing about this build, is that I'm using three different circuits for the power, so I won't be overloading any one circuit, and I don't have to add a whole new dedicated set of breakers.
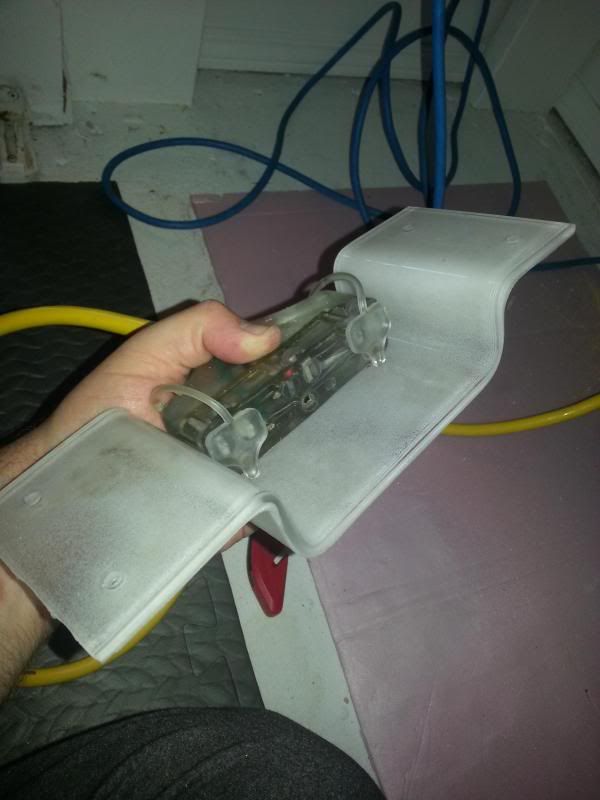 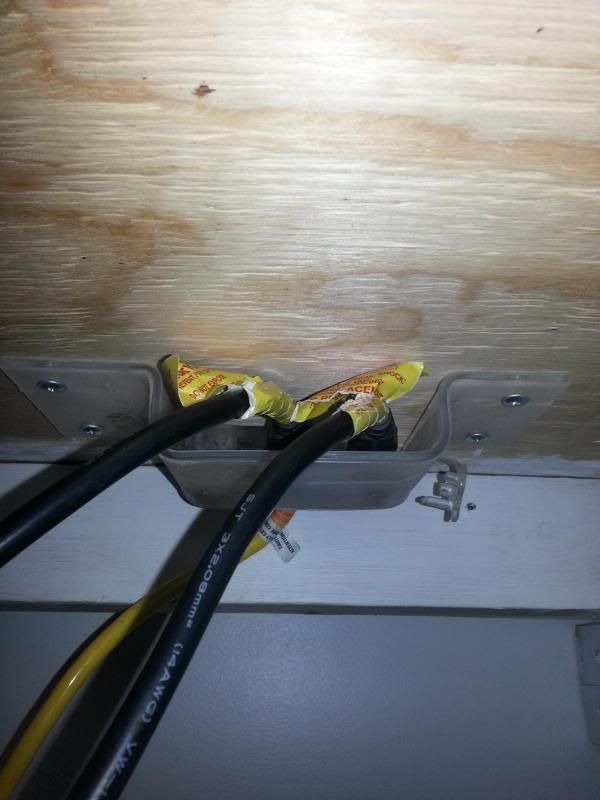 Next up, I have to go get my three new RO canisters from Eli (he was kind enough to order them in for me!). For anyone who missed my other post, I left them in the garage over winter and they exploded. Must have had water inside that froze. Here is the damage: 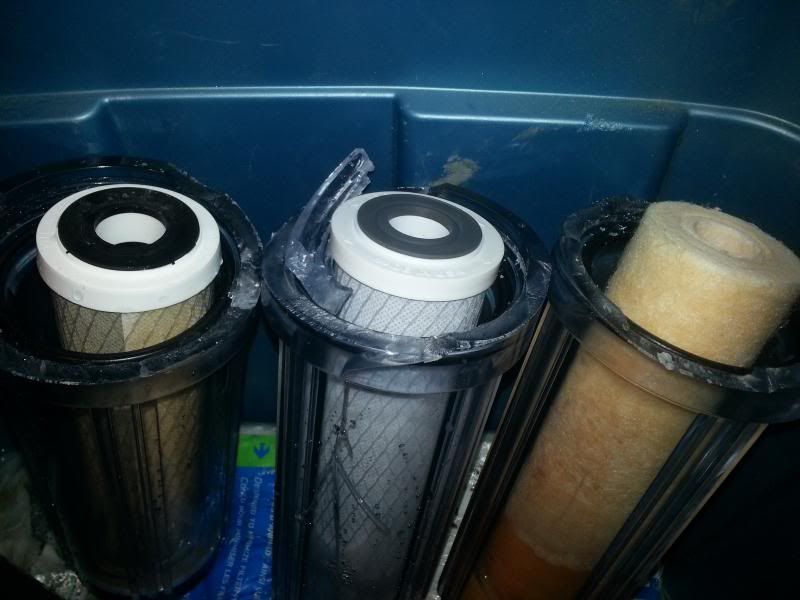 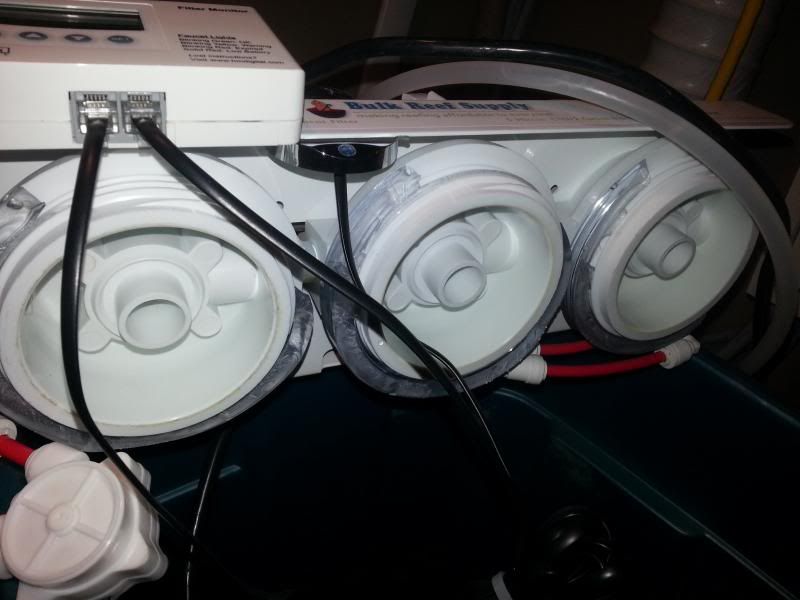 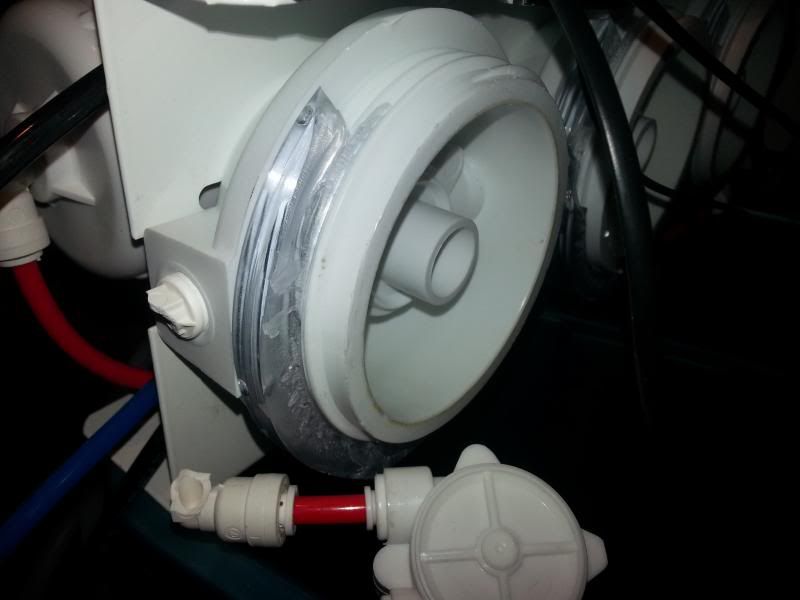
__________________
 They call it addiction for a reason... |
|
#30
|
|||||
|
|||||
|
Holy Paint Skills Batman!! I like the look of that way better than sketch up ... awesome work!
Set up looks very well planned. I really like the way you have your support tanks set up, very smart idea. Pretty sure when I plumb in my frag tanks and ATO Res and Fuge during my move in the fall ... I'll be coming back to this thread. Pure genius in terms of simplifying maintenance. And if there is one thing that ends up being an absolute truth in this hobby for me after 10 years ... if maintenance is difficult to do, it likely won't get done. The easier it is, the more frequent it will be kept on, and the better your system will be as a result of that. So, in all, awesome job!!
__________________
LoJack's 144 Gallon Reef Build |