
 |
|
|
|
#1
|
|||||
|
|||||
|
|
|
#2
|
|||||
|
|||||
|
|
|
#3
|
|||||
|
|||||
|
The 45 was replaced in 1999 with a custom 120 gallon (36”x26”x30”) that I built out of 12mm glass. At that time I also had a 32” tall stand built with 3” square steel tubing purchased from a scrap yard. Yes, it is old school & quite heavy...built to last. The stand's lower level is home to a 50 gallon acrylic sump that I built out of scrap plexiglas. The sump contains a protein skimmer & a return pump along with at least 40 lbs. of live rock. I built a foot wide platform about one foot off the floor behind the 120 so I had access to the rear. Lighting was metal halide & VHO actinic covered by a large canopy with removable panels as the metal halide was housed an industrial aluminum shade like the ones used in warehouses. Here are a couple pics of the 120:
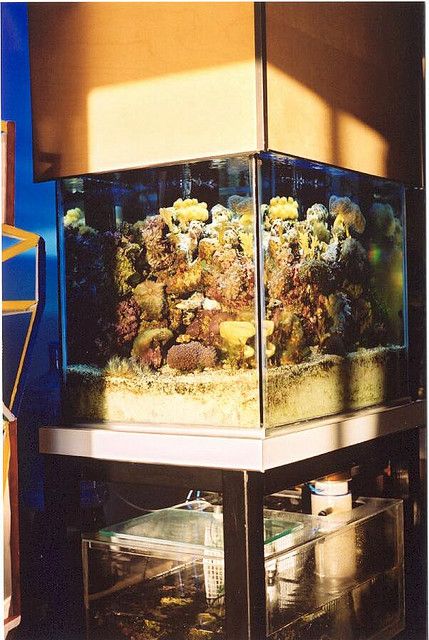 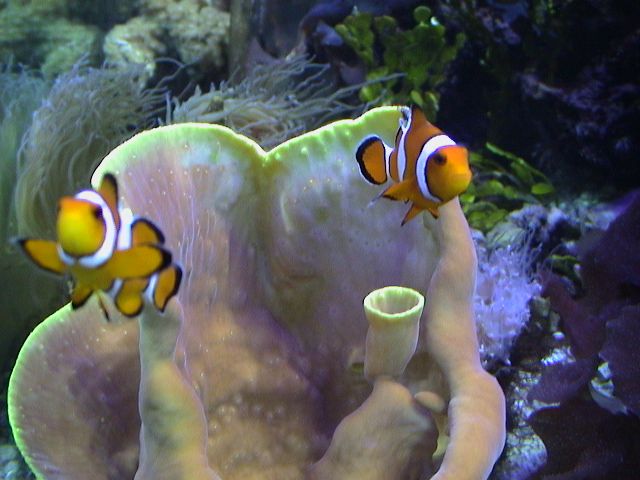 |
|
#4
|
|||||
|
|||||
|
Recently I was offered to rescue a large piece of furniture that my dad built back in the 70's. To fit it properly in my apartment would require the re-positioning of my 120gal aquarium. I decided to build a smaller tank that would hopefully be more manageable & would also be a better candidate for LED's due to less depth. I also didn't relish the idea of having to move the 120 again, things change as you get older, my back just ain't the same. Thus began my new, downsized tank project. The new tank would have the same footprint as the 120 except have a 19” depth, this allowed me to use the original stand. I also wanted to try a few “improvements”: deciding to go with a beananimal external overflow & as previously mentioned, switching the lighting from metal halide & VHO florescent to LED's. The new tank would also be rimless. I really enjoyed looking down into the 120 from the top but I always needed a step ladder to do it. At least this would no longer be necessary with the new 70, however it also wouldn't have the depth, there are pros & cons to everything. It's all really just going to be one big experiment.
 |
|
#5
|
|||||
|
|||||
|
I used free software called “sketchup” to draw up some of the parameters. The upper corners on the back of the tank were to be drilled for two 1 1/4” holes for the return bulkheads & the middle 24 inches were notched 2” for the weir. Once I was satisfied with my design I ordered the glass & had most of the visible edges polished & beveled. The front will be Starfire, the rest is all regular 12mm float except the external overflow which is made with 10mm. Once I brought the glass home it was time for assembly. After a bit of research I decided to use GE SCS1200 construction silicone, so I went & purchased some clear for this project. It had been a while since I had last built an aquarium, so I was a little rusty. I first placed the front Starfire pane onto the bottom piece which was on the floor on top of a piece of styro & used my aquarium stand to act as a horizontal brace to lean the front pane against. After masking, applying the silicone & cleaning off the excess goop it was time to relax & wait for it to cure a bit...Houston, we have a problem.
 It appears the rear pane had somehow shifted approx. 1/8” over & was no longer perfectly sitting on the bottom pane, slightly overhanging it. I could have left it but being a somewhat picky bastard I decided to take it all apart & redo it. Oh the fun! Here are some photos of the dis-assembly: It appears the rear pane had somehow shifted approx. 1/8” over & was no longer perfectly sitting on the bottom pane, slightly overhanging it. I could have left it but being a somewhat picky bastard I decided to take it all apart & redo it. Oh the fun! Here are some photos of the dis-assembly: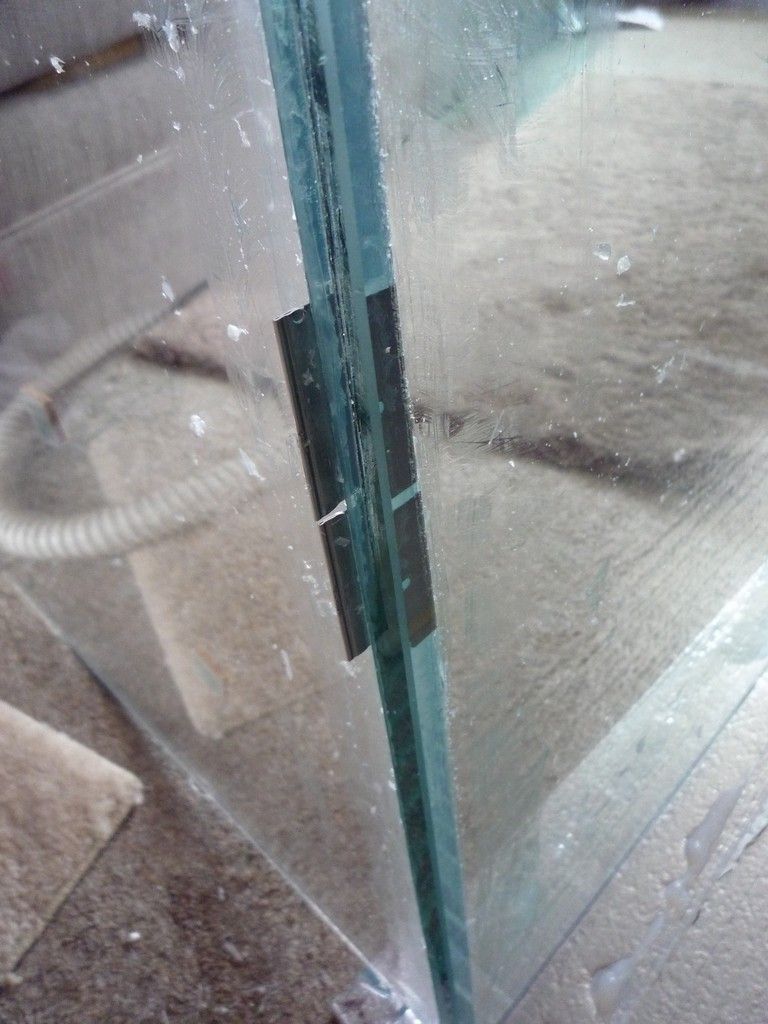 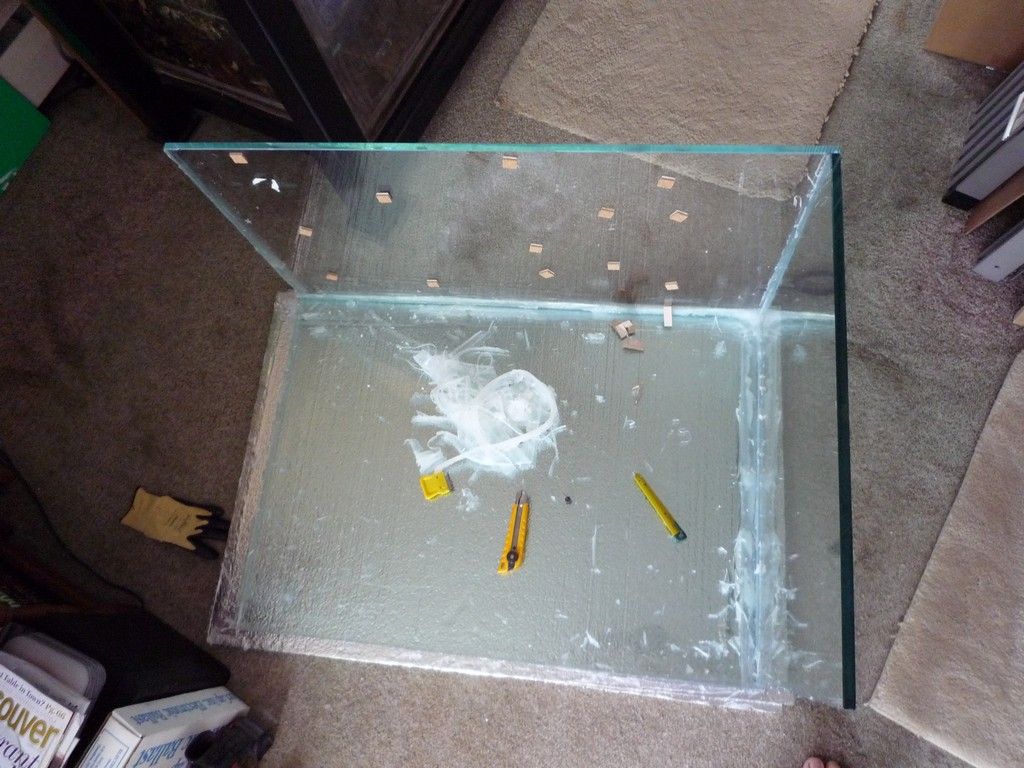 |
|
#6
|
|||||
|
|||||
|
O.K. Time for some elbow grease...so WTH cleans silicone?!! Lots of fresh razor blades, lemon & stainless steel wool, that's what. I used a vise grip with a new razor in the jaws to try & cut apart the panes. My gaps were tight making some of the panes very difficult to pry apart, one razor blade snapped on me, good thing I was wearing protective gloves as my knuckle went right into the broken edge of the razor blade that was still stuck in between the panes. Nothing like trying to remain calm at 3AM (seemed like a good time to work on it) whilst one is bleeding to death. Got my new gloves all messy, at least I didn't get any hemoglobin on the carpet. Alright, got the bloody(!) panes apart, now it's time to head over to the bathtub for some scraping & scrubbing. I placed some vintage floor mats from a 1973 Comet GT (I just knew they would come in handy eventually) on the bottom of the tub to keep the glass from sliding around too much & damaging the tub. Took the lemon & coated the silicone with it, then razor'd as much as I could with a ton of fresh blades. After that I scrubbed it to death with the stainless wool. Many hours later & I am finally ready to start my project over again. One thing I did notice is that the Starfire being a softer glass is much easier to scratch than regular float, I also managed to chip it.
 Here's me scrubbin' the back piece: Here's me scrubbin' the back piece: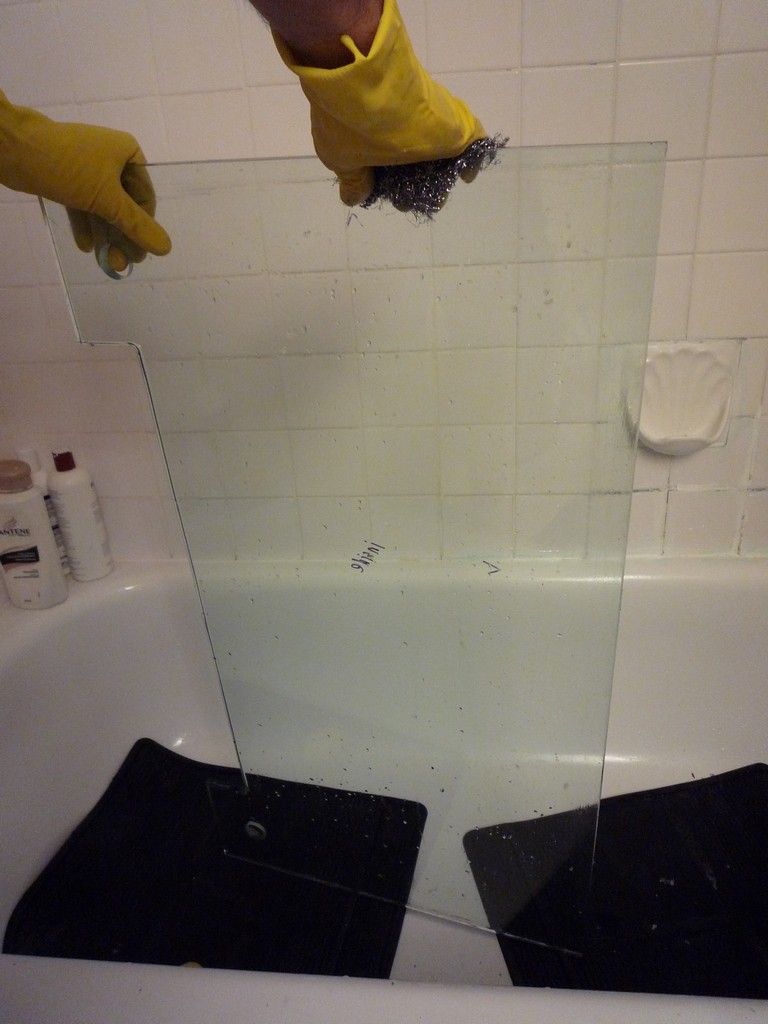 |
|
#7
|
|||||
|
|||||
|
Is this the DIY canopy you gave me like 20 years ago?!
|
|
#8
|
|||||
|
|||||
|
Ha-ha, yep! Sure is!
|
|
#9
|
|||||
|
|||||
|
Nice setup for the lights, where did you find that swing arm?
|
|
#10
|
|||||
|
|||||
|
Says Craigslist in his post.
__________________
 They call it addiction for a reason... |