
|
|
|
#9
 04-02-2013, 06:22 AM
|
|||||
|
|||||
|
I gave the foam a day to finish expanding and cure and then took a sharp pointed knife and started cutting away the excess. I started with the back and sides because they dont take a whole lot of thought. Before starting on the front I placed the frame in the aquarium to ensure the back/side fit was okay. It was good so bit of a relief there . The egg crate is no longer flimsy at this point because of the foam structure but is still subject to slight bending. Easy to carry around but still needed to be fully supported underneath when worked on.
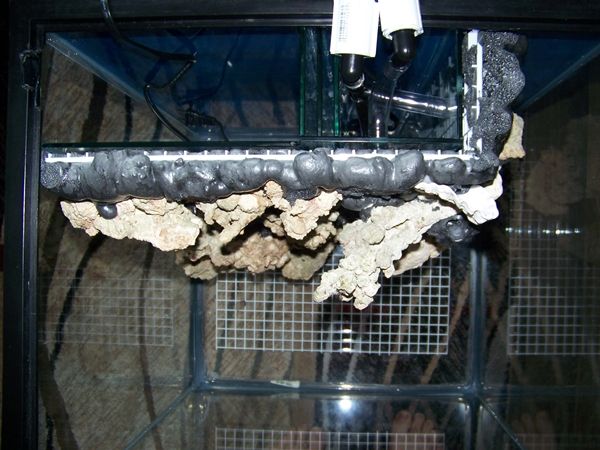 While it was in the tank I trimmed the top because I could use the tank frame as a guide on how much to cut away. It was then back outside to do the front. I wanted my end product to be as 3 dimensional as possible with the rocks standing out so I carved out a lot of the foam between and above them. I filled ¾ of the bathroom garbage can with the extra bits. 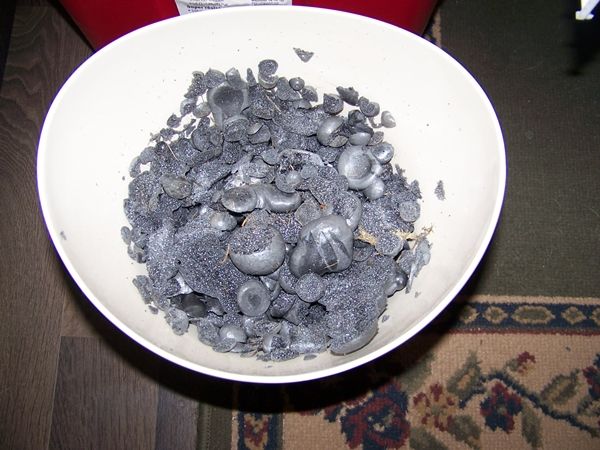 I left the most foam at the bottom of the rocks to provide extra support for their weight and just gently carved the foam shape to match the rocks a bit better than the intestine look. In a couple of spots I carved too much and exposed some small pieces of the zip ties which would have to be camouflaged later. Heres a close up of the foam once it is carved; no longer smooth skinned but rather exposed air pockets. 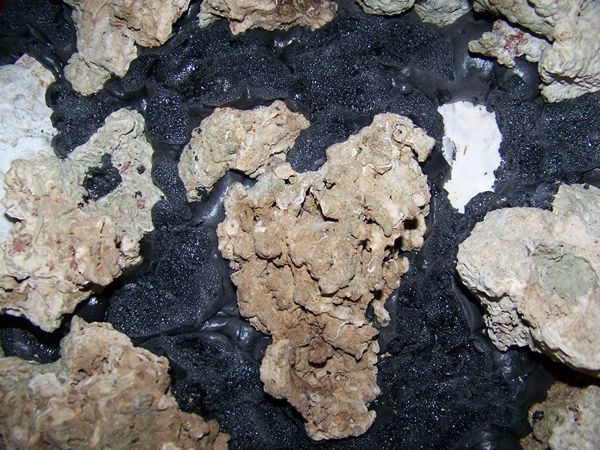 The next step once I was happy with the shape was to epoxy and sand. In preparation for this build I spent the most time researching the epoxies that other people had used. I know nothing about epoxy so had to reduce my search to 1) products that had been successfully used in a reef 2) products that were reasonably easy to locate and 3) products that didnt only come in gallon buckets. I ended up following some European reefer advice and went to the locally hobby shop to buy epoxy that would be used on model boats/planes. I used 1 ½ packages of this 30 minute epoxy to complete the job. 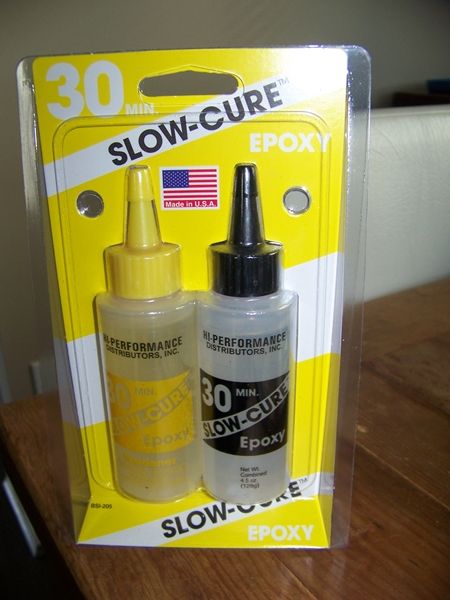 This same epoxy comes in different curing times like 5 minutes, 10 minutes, 20 minutes etc. labelled prominently on the package. When I compared the small print on the packages the curing time was directly proportional with its ability to used with water. E.g. the 5 min is no good for any water application, the 15 minute was water-resistant, and the 20 minute was the first one to state water-proof. Adding a little bit of security in my mind I went one better and bought the 30 minute blend. Then it was off to the dollar store to buy some bulk throw away paintbrushes to apply it with. Once you have used the epoxy the brushes are absolutely ruined so buy the cheapest ones you can find of suitable size. I ended up using 3 just to get this job done as they harden and become difficult along the way. The big brush on the right was not the right tool for the job - the smaller ones worked much better. 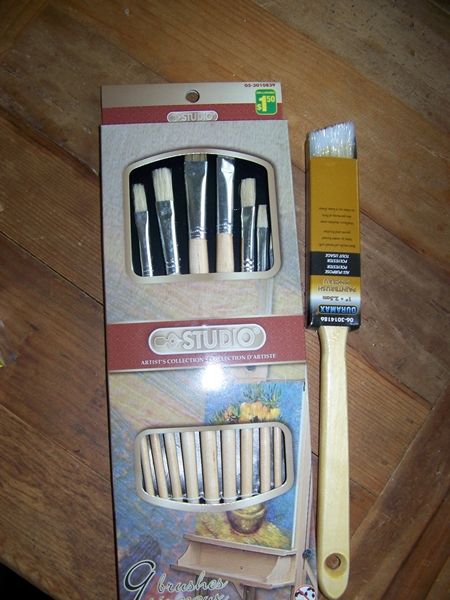 I had some sand from an old reef setup that I had rinsed a couple of weeks prior. It had been drying on a Rubbermaid lid in anticipation of this step. I mixed the epoxy a little bit at a time, coated it on to the foam one section at a time, and then liberally sprinkled sand all over it. Because of the shape of the background I had to keep rotating it in order to be able to sprinkle the sand and get it to stick. This was the longest part of the project taking me the better part of an afternoon but was also the most satisfying. Here it is drying on the back steps. 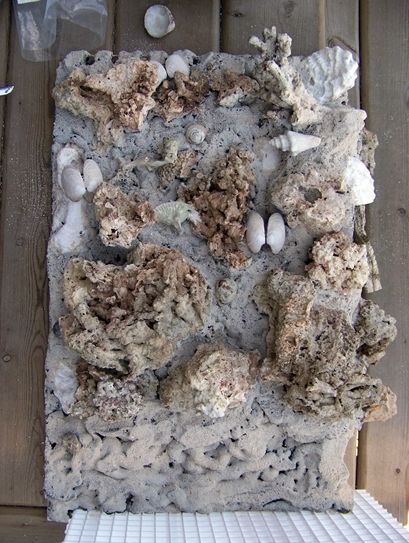 Next up is the installation and in tank shots. 
|


 Threaded Mode