
 |
|
#1
|
|||||
|
|||||
|
I've always wanted a saltwater tank. I've only ever been allowed to have freshwater tanks, but I've got a new Wife that has liked my old freshwater tanks and when I brought up the topic of getting rid of those tanks and building a saltwater setup she was all for it.
Last year I started building my tank, and refugium/sump. This year I got to build the stand and started buying what I needed to get the tank wet when I got everything purchased. It'd be a long process since I have a lazy ex-wife that can't work fulltime cause it'd take away from her tv time.  I used photobucket to hold the photos so I wouldn't use disk space here as there is a lot of pictures. I used photobucket to hold the photos so I wouldn't use disk space here as there is a lot of pictures.I'm posting everything that has come together since I first started last September. Here I purchased a 13"x48" piece of tempered glass for the bottom of my 55 gallon display tank. I picked up some 1x2 oak I was going to make into my own trim but couldn't get it level and square so I ordered black trim for it and was told that was the size of the bottom was 13x48 which is wrong so I had to put all the glass aside and start over. 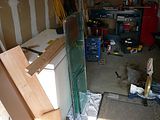 We had large item garbage pickup near the shop and my boss told me if I wanted a big aquarium there was one around the corner. So I took a quick trip to the corner and loaded a broken 35 gallon tank and put it in the back of my car. The bottom and sides where broken. After work that night I pulled it all apart and threw out all the glass and cut new pieces for the tank. I figured it would make a good tank for my refugium/sump. Here's the build of it. Getting ready to cut all the pieces. 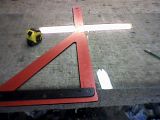 Measure Once.... 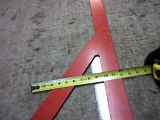 Cut Once... 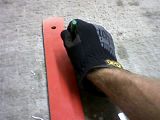 Sanding the sharp edges off the pieces of glass. 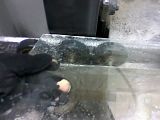 Pieces cut cleaned and dried off. 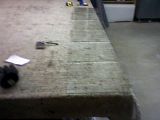 Sump is together and ready to put the dividers and baffles in after I clean the dust from the tank sitting at the shop for 2 weeks.  First divider is installed. 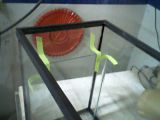 Inlet, DSB, and left baffles done. 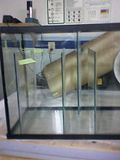 Return, right baffles and skimmer section are in place. 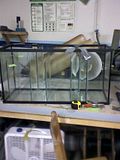 Refugium/Sump is finished, dried and home. The acrylic on top was to build an overflow with but decided to drill the tank instead. I did build the overflow and it worked...after I fixed all the leaks in it. 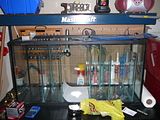 All the pieces are cut for the display tank and I'm getting ready to drill the overflow in the back of the tank. 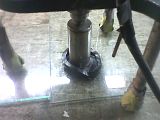 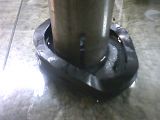 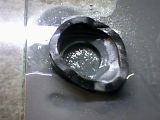  The ABS fitting fits in the hole. 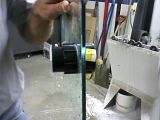 Here's all the pieces laid out for the display tank and ready to put it together. 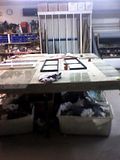 One of my bosses, Terry, holding the pieces while I take pictures and tape the pieces together. 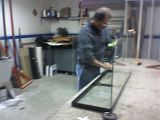 Me putting the back on while Terry learns how to use a cell phone to take pictures. 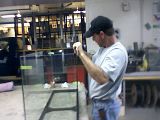 Ok, enough pictures...can you hand me the tape please. 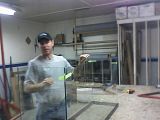 All put together and ready to be caulked. Back view. 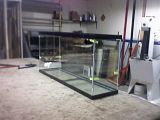 All put together and ready to be caulked. Front view. 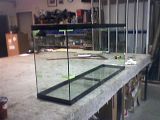 All caulked and drying. 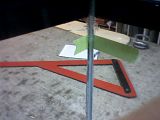 I wanted 55 gallons of water in the tank so I made it taller than a normal 55 gallon. 22 1/4" high. 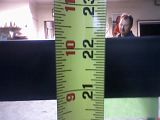 Standard length. 48 1/4". 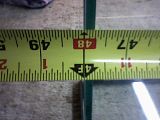 Standard width. 12 1/2". 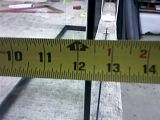 Sump/Refugium getting filled for a leak test. Had a leak in one of the baffles and as long as there was a few inches of water the bottom didn't leak. I drained it, dried it, resealed it and it held water for 3 days. 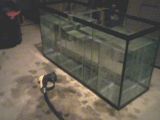 Display tank being leak tested. 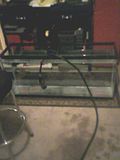 No leaks in the display tank. 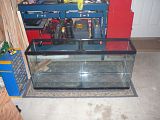 |