
|
|
|
|
|
#1
 02-22-2012, 07:43 PM
|
|||||
|
|||||
|
I recently aquired a pewter colored 7 Gallon Fluval Edge Nano from a friend (for free...yay!). I decided to go for a nano setup since my 155 build is going terribly slow. I've also decided to go with LED's for lighting, and a 15 Gallon (water volume, not dimensions) 20" X 16" X 15" sump. So that will put the total water volume at roughly 22 gallons. I think it will make for a more stable evironment for the edge.
I'm also toying with the idea of doing a suspended fuge above the sump that would be either drain line or pump fed. More on that one when it's all set up and I see how much room I have to play with inside the stand. Here is the tank as it came to me: 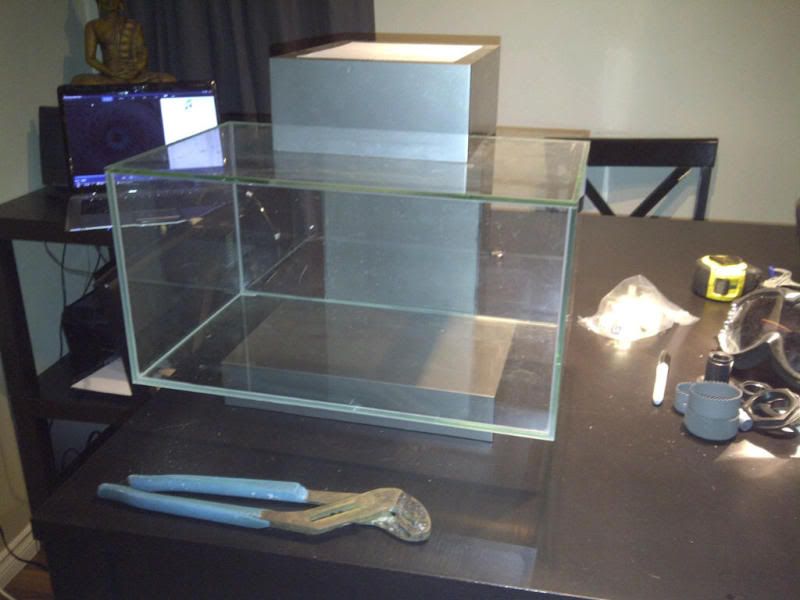 Current equipment that I have lying around - 150W Jager heater Tunze 9002 Protein Skimmer 20 X 16 X 15 glass sump TLF 150 phosban reactor for Chemi-pure elite Tunze ATO 2 Koralia Nano powerheads (upgrading to Vortec MP10 asap) Oceanic BioCube 29 stock return pump Oddysea 150W 14 Halide with 2 X 24W actinic T5 Pendant (until LED's arrive) When LED's arrive it will be 6 cree royal blues and 6 cree cool white with dimmable drivers. I'm ordering from Rapid LED, so from what I heard everything should go well. Stock - Not sure! pom poms, porcelains, sexy shrimp? shrimp/goby combo? pair of misbar clowns? Buncha florida and yuma rics, birdsnest SPS, torch and frog spawn for sure... and whatever else comes along.
__________________
 They call it addiction for a reason... 
|
|
#2
02-22-2012, 07:58 PM
|
|||||
|
|||||
|
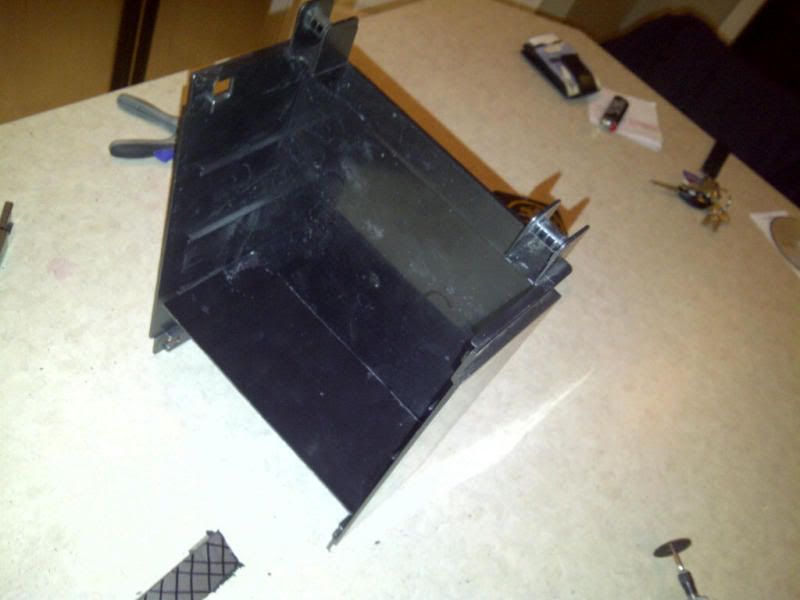
Remove the rear filter cover portion of the tanks stand and remove the backing. Cut a piece of acrylic to fit the bottom. There is a bunch of slats that sit inside the cover, I used the second from bottom to rest the acrylic on.
__________________
They call it addiction for a reason...
|
|
#3
02-22-2012, 08:04 PM
|
|||||
|
|||||
|
The small cover that sits against the glass of the aquarium is too tall for the overflow section. I trimmed it down to the edge where the plastic lip of the aquarium meets the glass.
Trim area 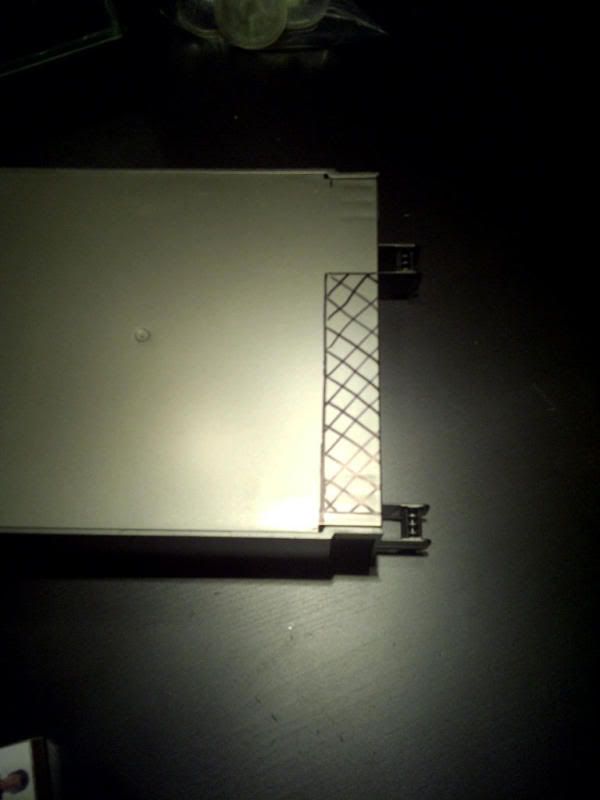 Cover back together 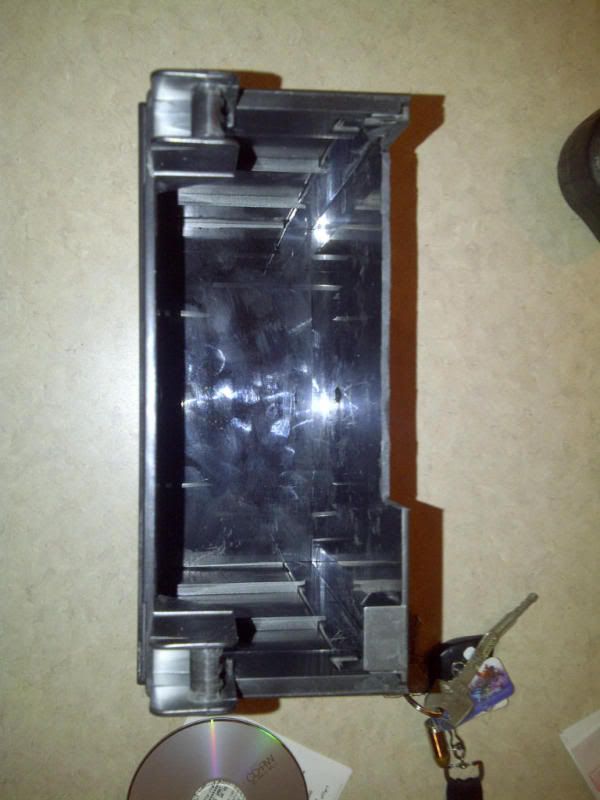
__________________
They call it addiction for a reason...
|
|
#4
02-22-2012, 08:10 PM
|
|||||
|
|||||
|
I decided to go with 1" for the drain, 3/4" for the emergency, and 1/2" for the return... why??? Because thats what I had laying around for bulkheads and plumbing! haha.
Here are the holes drilled in the acrylic 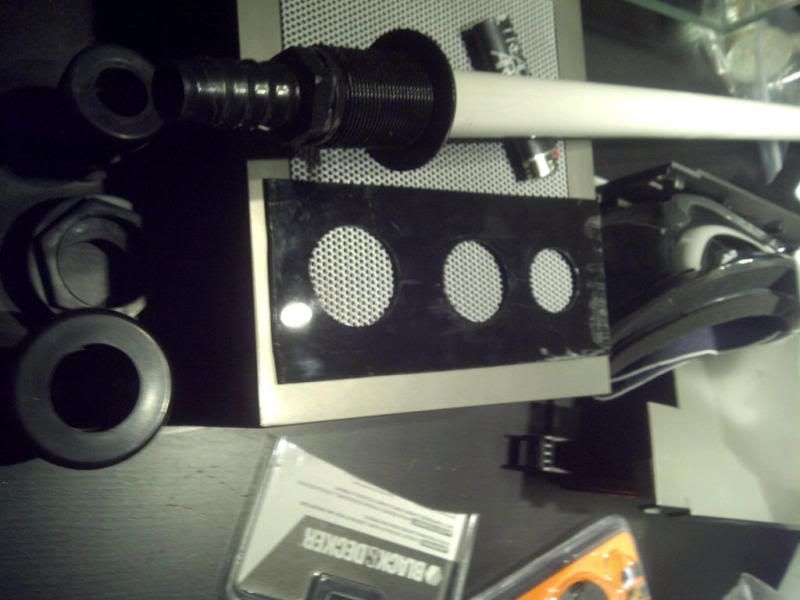 Test fit inside the overflow again - 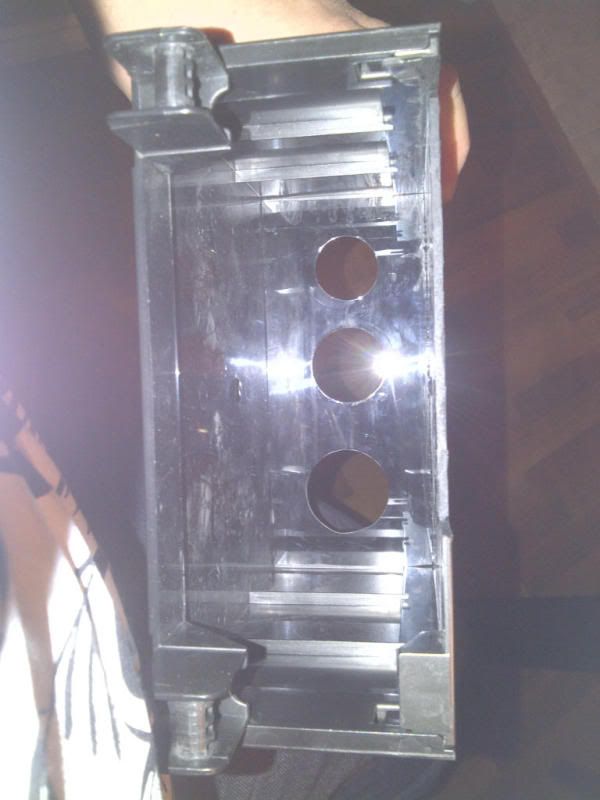 Bulkheads in for test fit 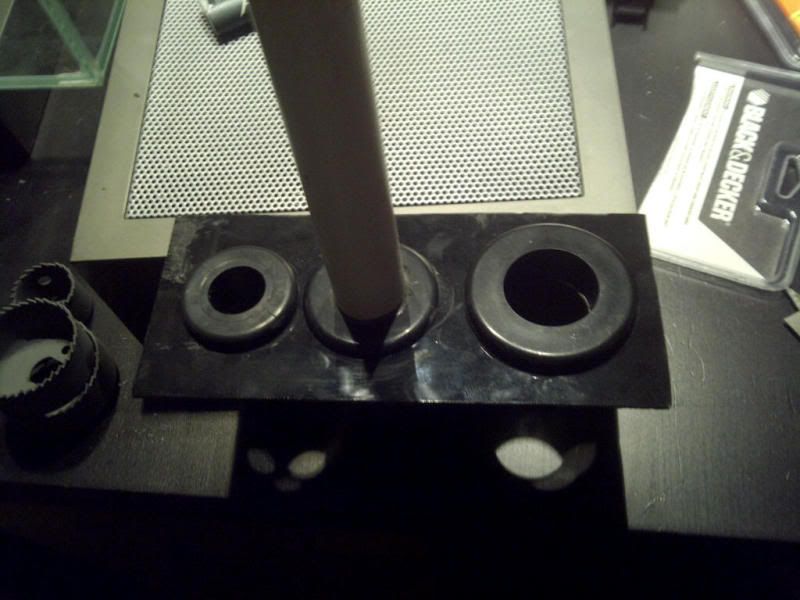
__________________
They call it addiction for a reason...
|
|
#6
02-22-2012, 08:17 PM
|
|||||
|
|||||
|
So, the next thing to do it make the rear overflow section water tight. I used some crazy acrylic glue to seal all the parts together, and after for safety I also siliconed the entire inner perimeter.
(warning... don't open the can and stick your nose in to see what it smells like....burnt my lungs in a bad way)  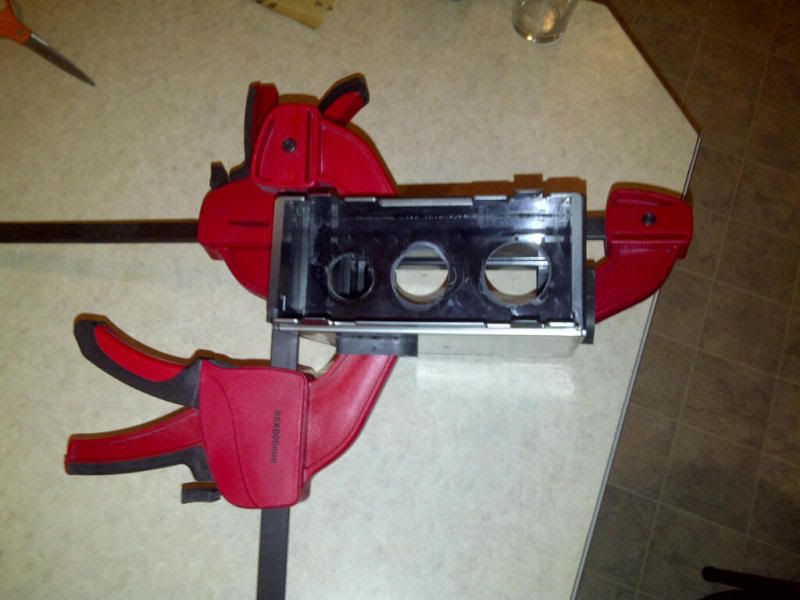 Acrylic weld is seen here - 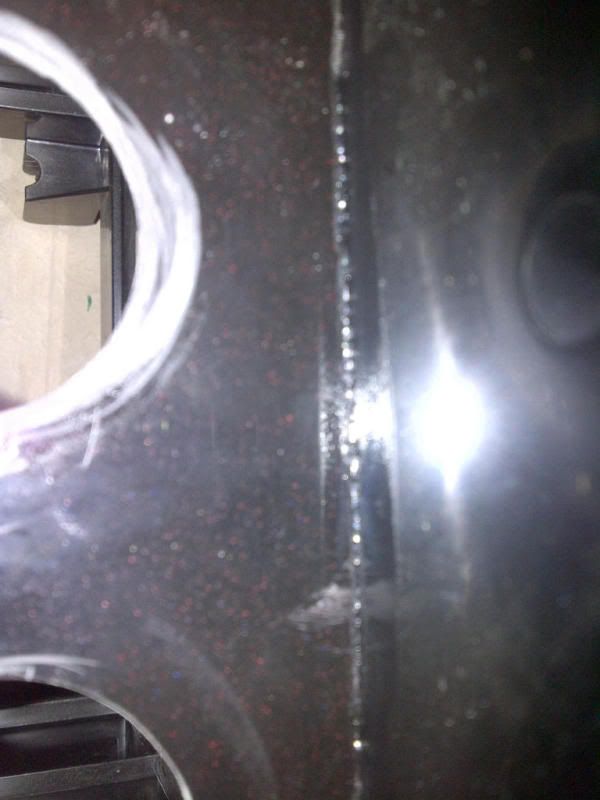 And now all together with the silicone in place 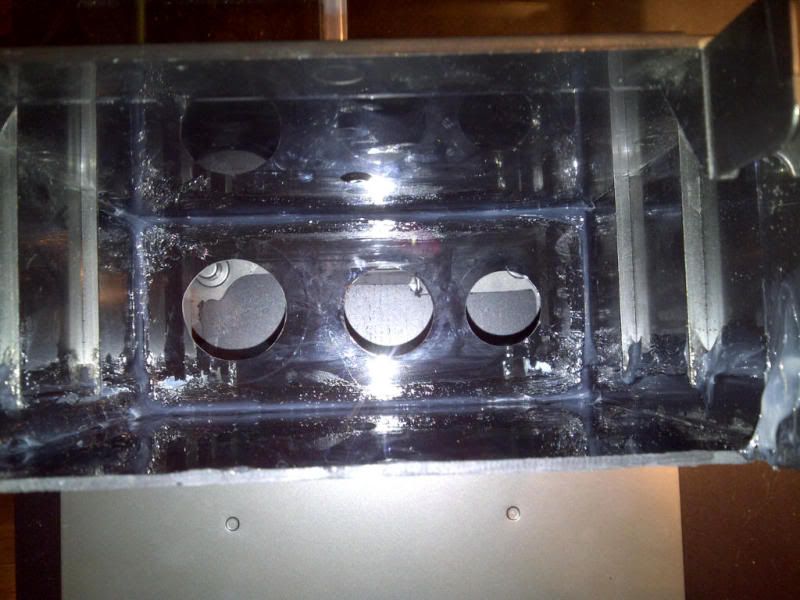 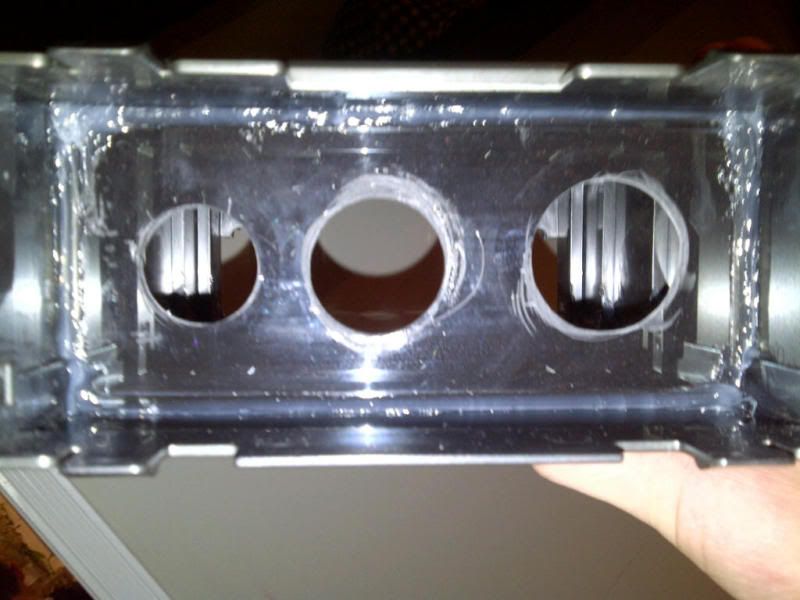 And bulkheads installed 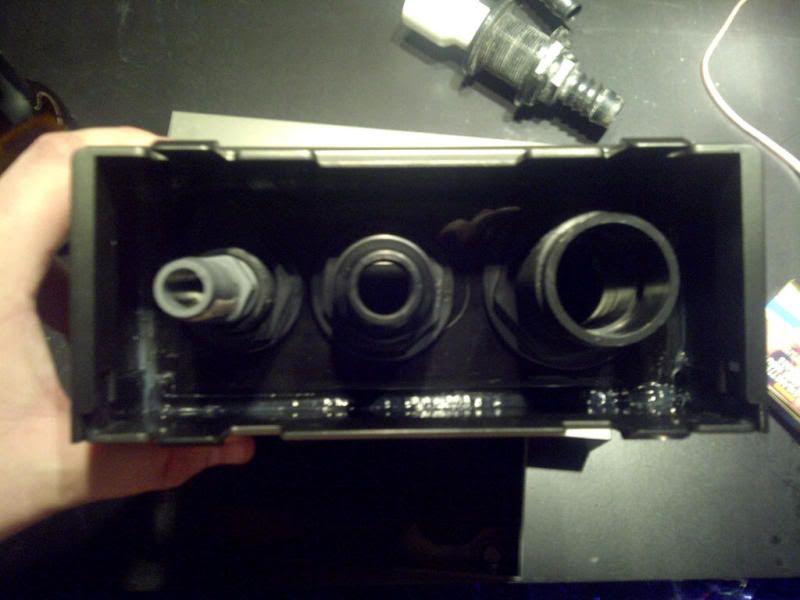 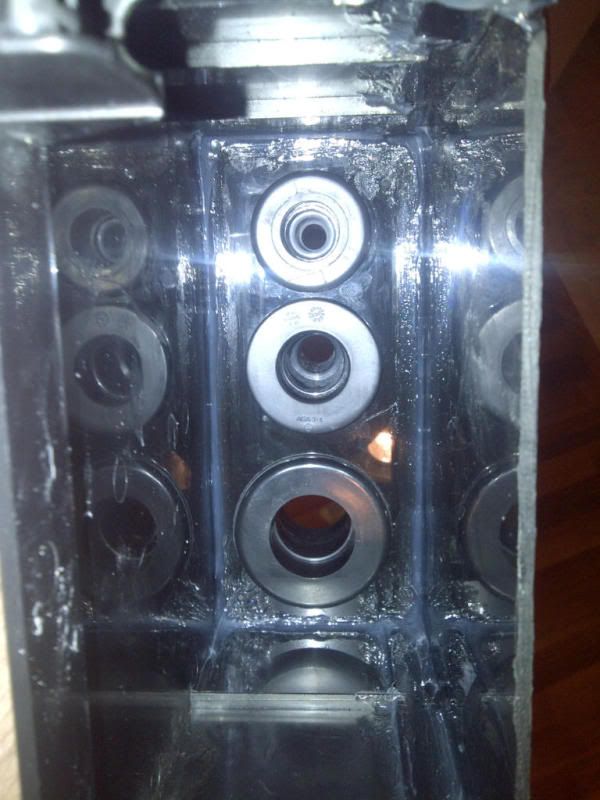
__________________
They call it addiction for a reason... Last edited by FishyFishy!; 02-22-2012 at 08:19 PM.
|
|
#7
02-22-2012, 08:44 PM
|
|||||
|
|||||
|
Luckily, the top edge of the tank is plastic, making it easily modifiable. Since I did not want to glue/silicone the stand/cover and the tank together to allow water to flow directly into the back chamber, I decided to go with this:
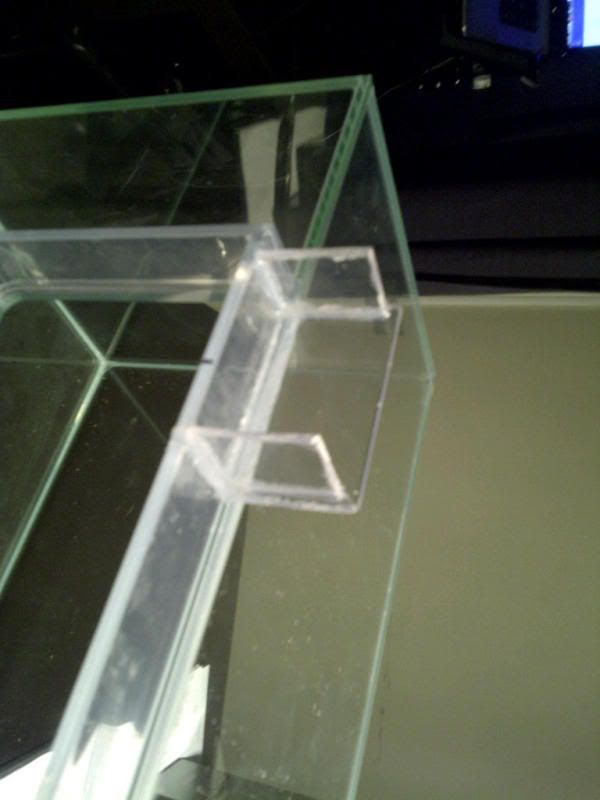 Now, water will flow over the crack between the tank and stand, without worrying about leakage. I can also direct flow to add a layer of floss to pre-filter the water going into the drain. I don't have to worry about overflowing the overflow box with the emergency drain either. Few more pictures 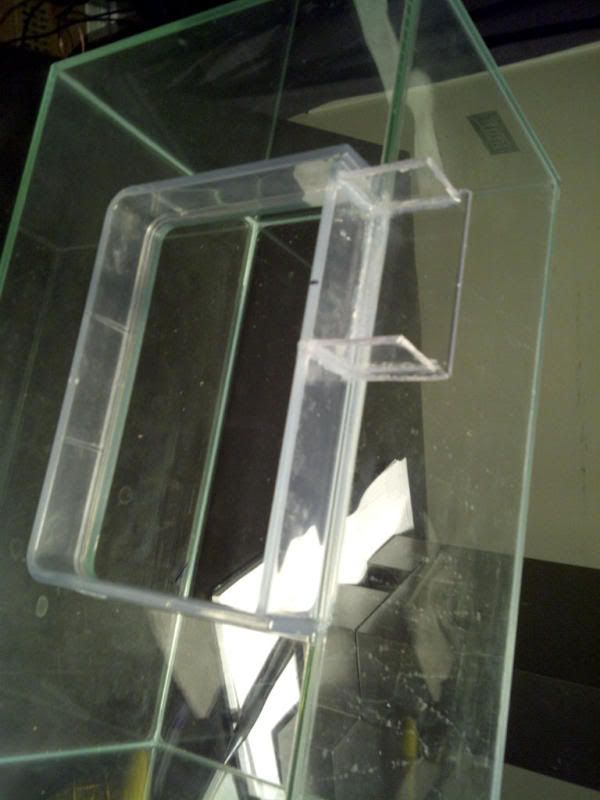 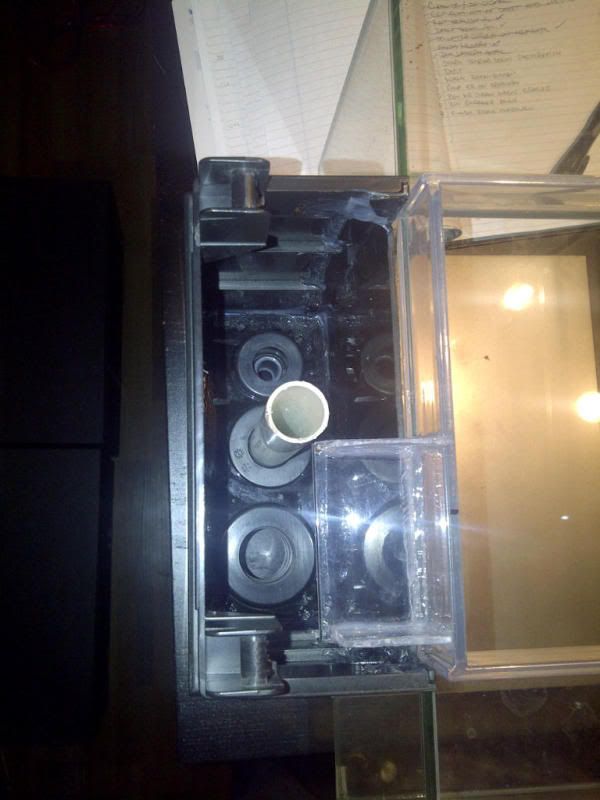 I have yet to decide how I want to do the tank side overflow. I'm going to either drill a bunch of holes, dremel slats (comb style) or cut it out completely and silicone some egg crate in there.
__________________
They call it addiction for a reason...
|


 Hybrid Mode
