
|
|
|
#1
 11-28-2012, 08:58 PM
|
||||
|
||||
|
Hello I've never had a build thread before...
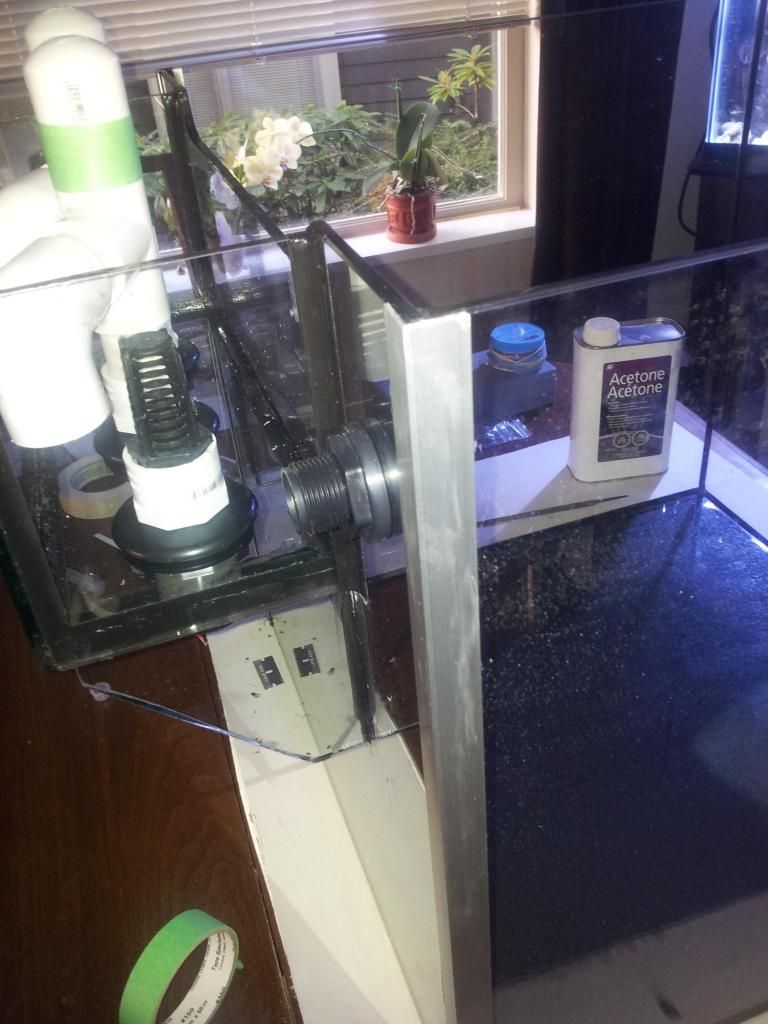
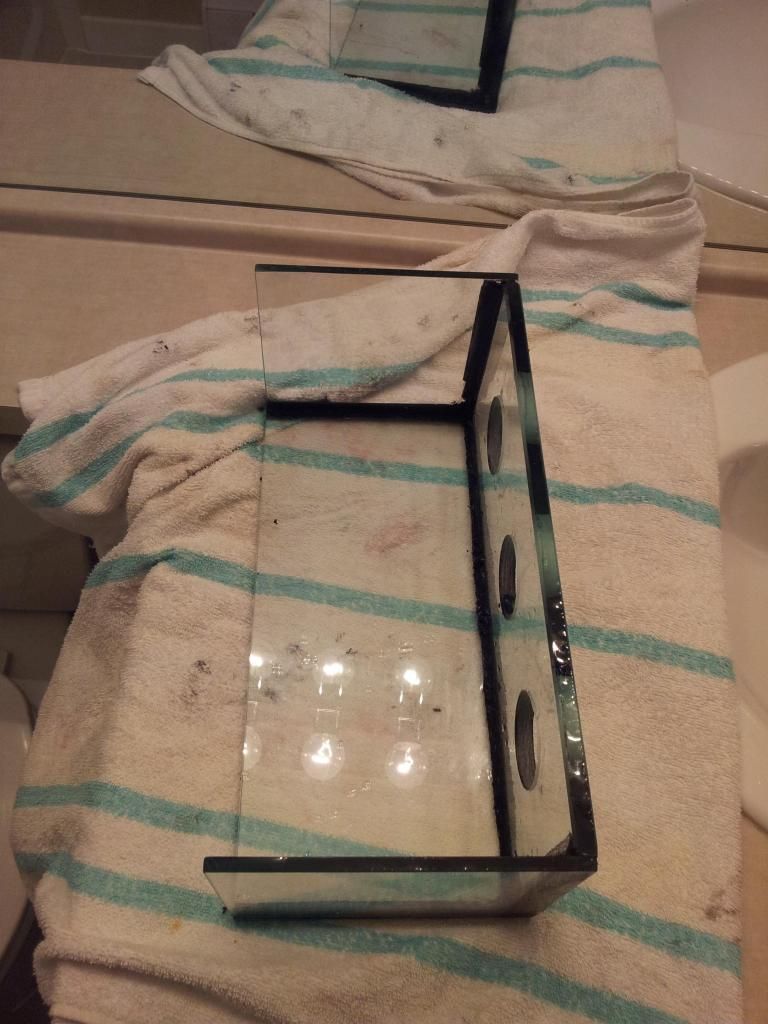
I've enjoyed looking at other peoples builds and have learned a lot. I'll try to post lots of pictures rather than long winded text. I started with a 20" superbright Current USA tank, basically a Solana minus the filtration chamber. I'm replacing a 37g Column tank with this setup. I want to clean up equipment and eliminate hang on CPR overflow on current system, and go rimless too! I first notched the rear of the tank for a an external overflow box using a ring saw: 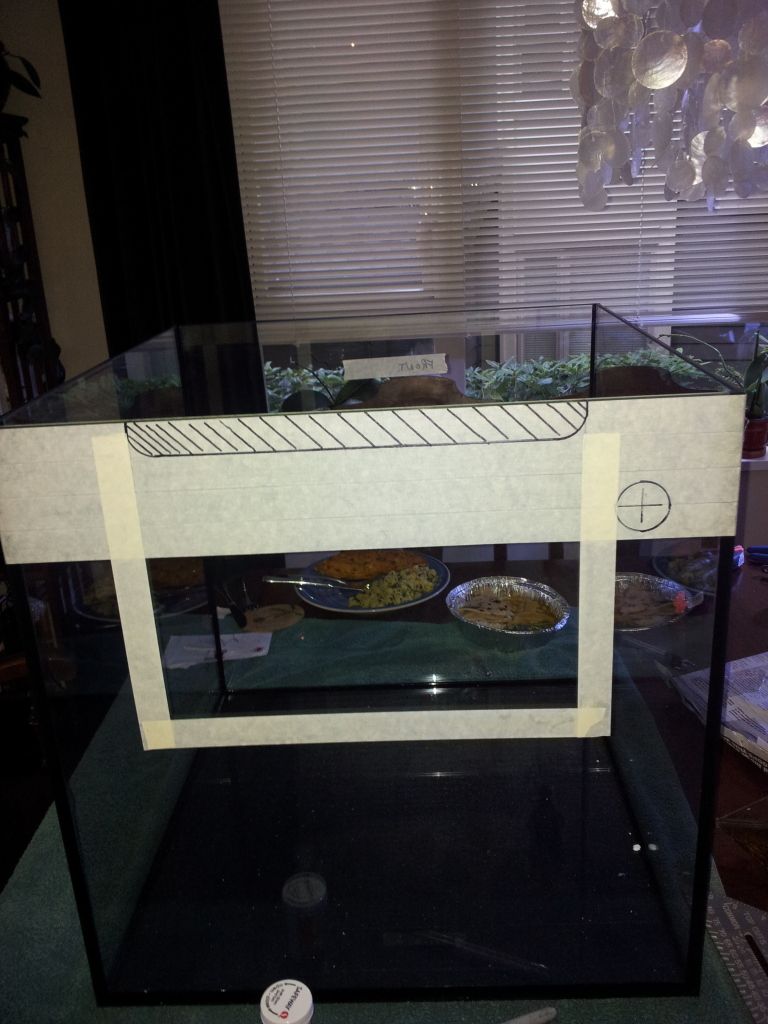 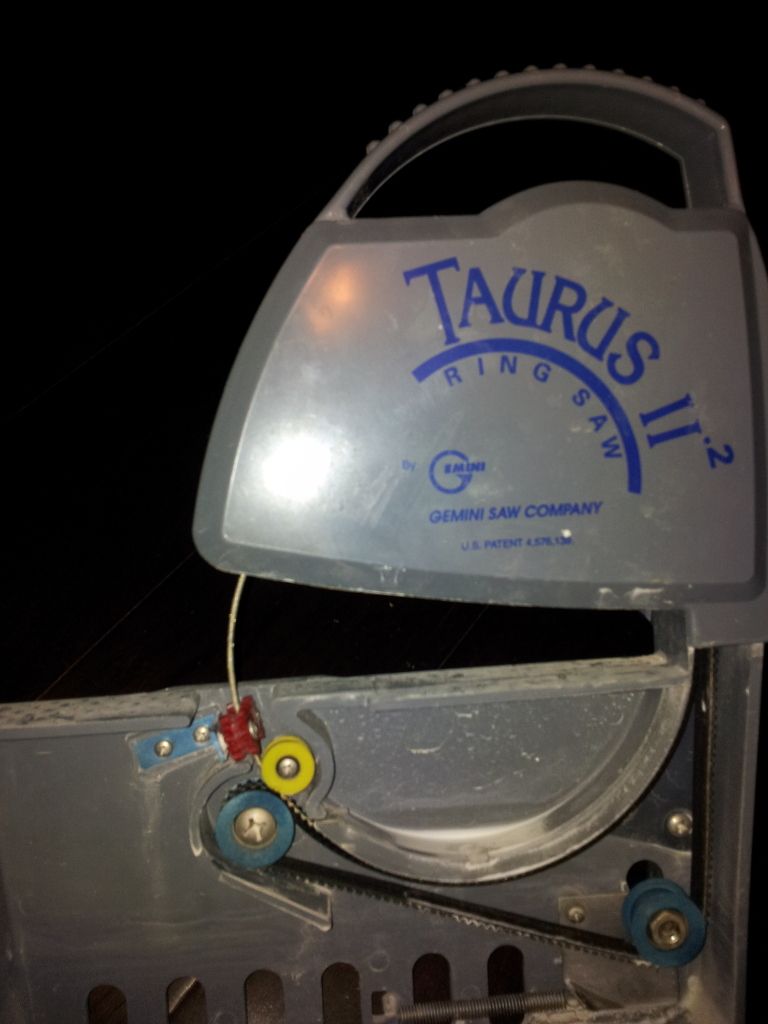 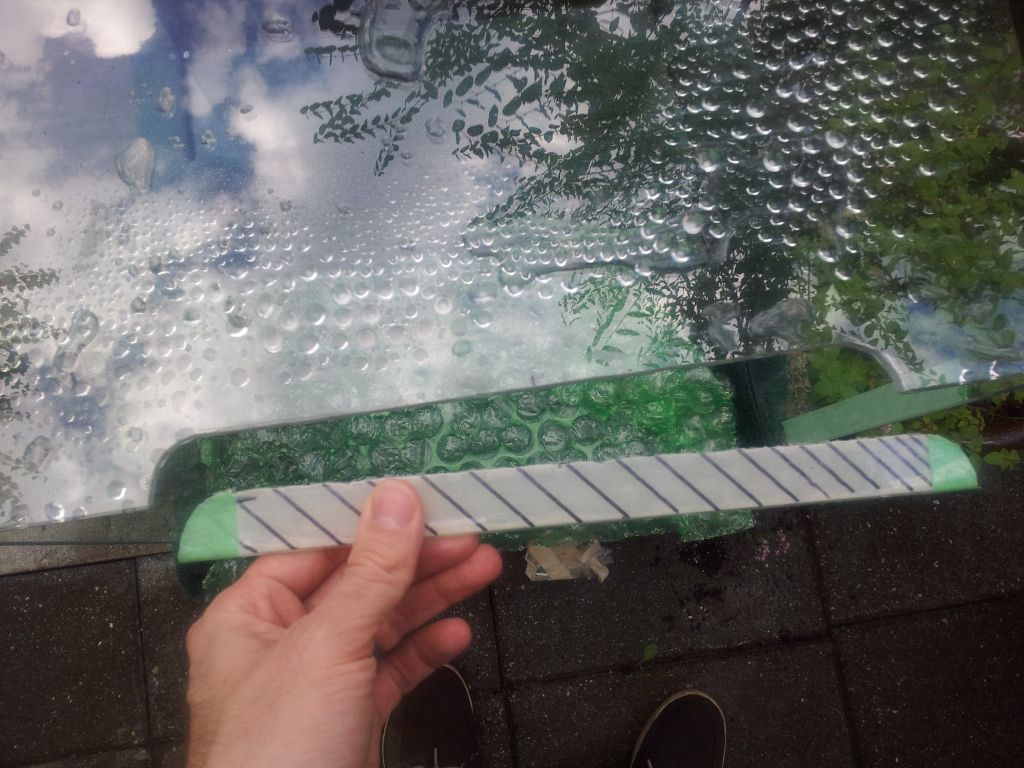 
|
|
#3
11-28-2012, 11:40 PM
|
||||
|
||||
|
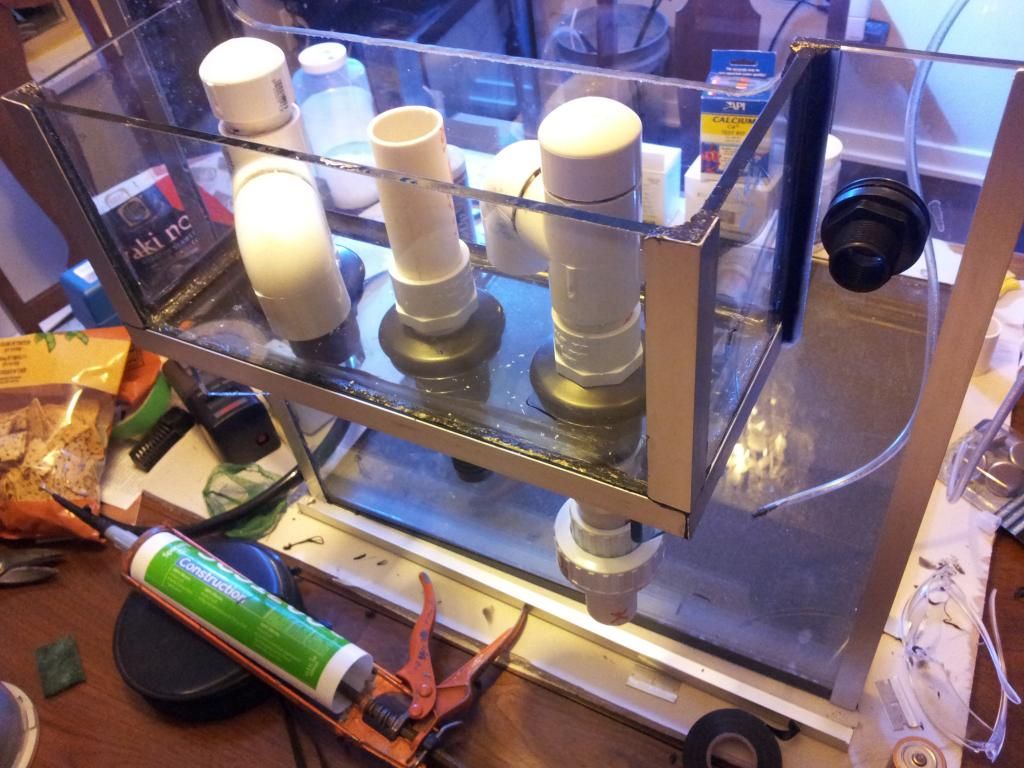
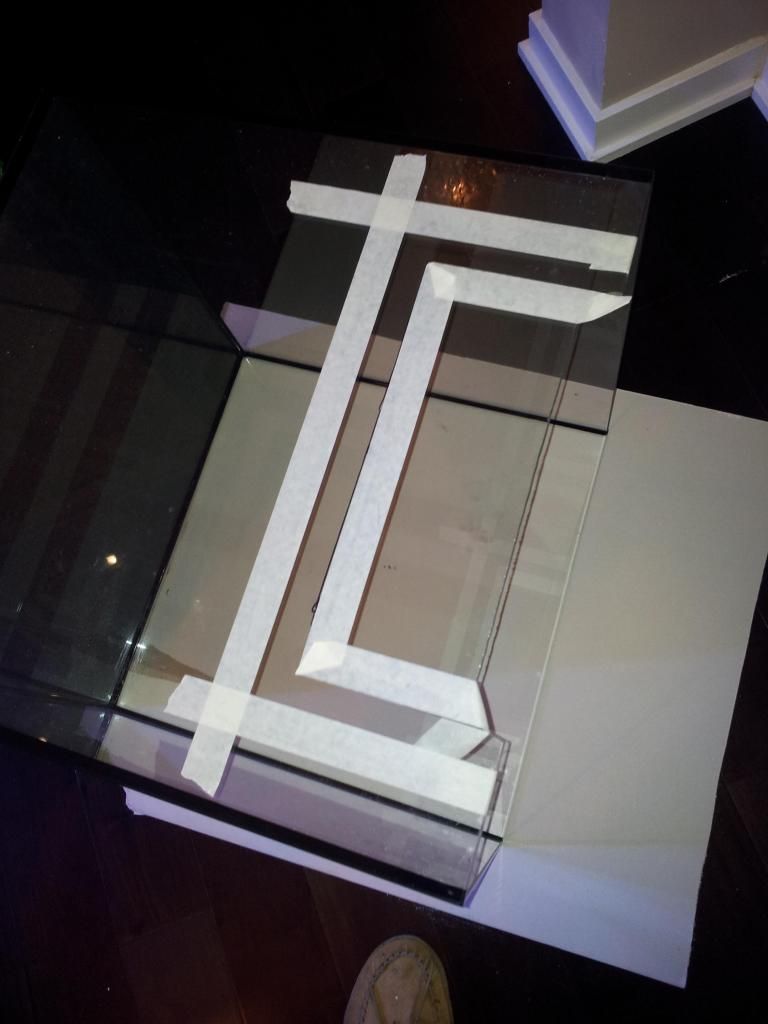
I was a little worried about all of the weight from overflow box and plumbing, on such a tiny/thin tank. I added some gussets to the box and some aluminium angle to the back panes. Now rather then only pulling on the tanks thin seem of silicone, the load is transferred to the panes :
  Last edited by nerdz; 11-28-2012 at 11:50 PM.
|
|
#5
11-29-2012, 12:19 AM
|
|||||
|
|||||
|
Nice work
I also like the gussets, and the extra thick box bottom
|
|
#6
11-29-2012, 12:58 AM
|
||||
|
||||
|
Thanks guys.
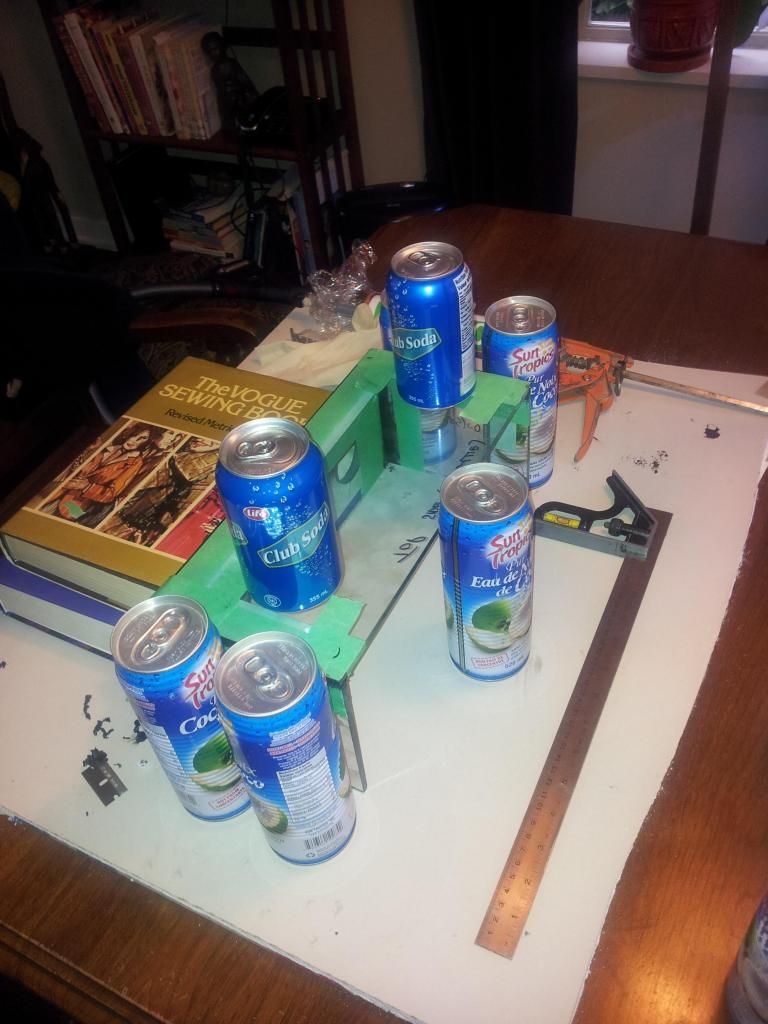
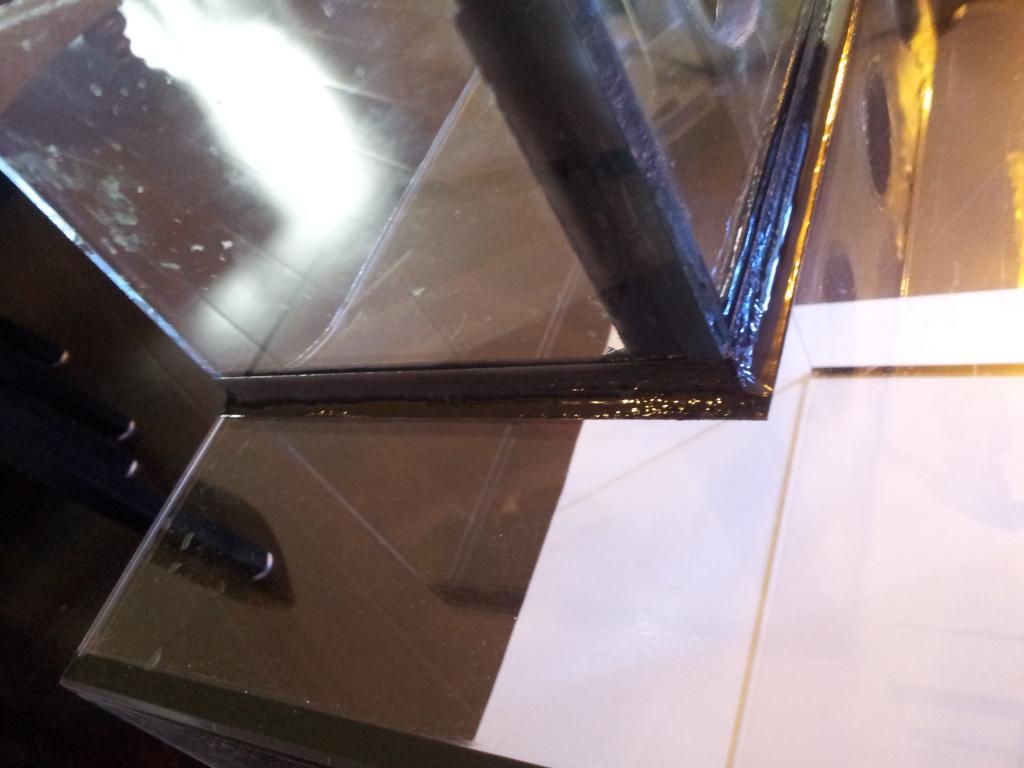
I had always planned for the sides overflow of the overflow box to extend past the bottom pane, the same shape as the gussets... Fast forward to a newborn in the house and 2am, l forgot and cut them short. Ya, the bottom drilled with the 3 x 1" bulkheads is 10mm glass. Super heavy, hopefully it'll make up for my hack drilling job! Last edited by nerdz; 11-29-2012 at 01:06 AM.
|
|
#7
11-29-2012, 02:20 AM
|
||||
|
||||
|
Quote:
Too funny, I'm busted... You'll have to see my sewing forum to answer that Ya, my wife's. Honest...
|
|
#8
11-29-2012, 02:24 AM
|
|||||
|
|||||
|
Quote:
But honestly, anything as a tool in a build works Keep the pics comin'
|
|
#9
11-29-2012, 04:22 AM
|
||||
|
||||
|
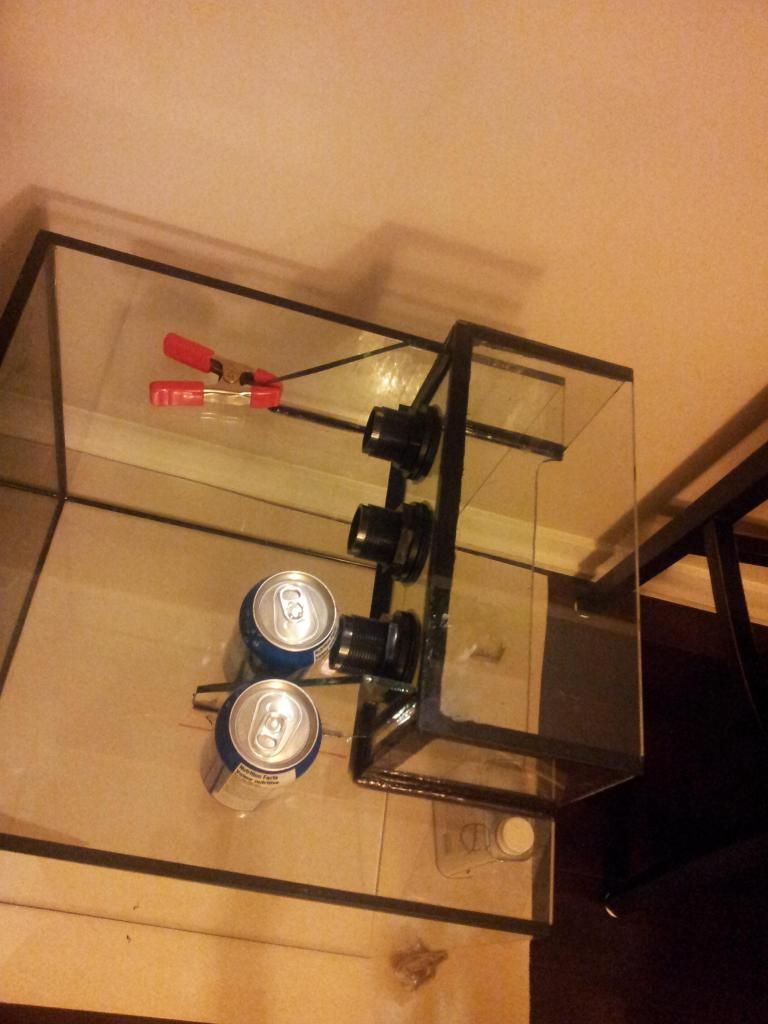
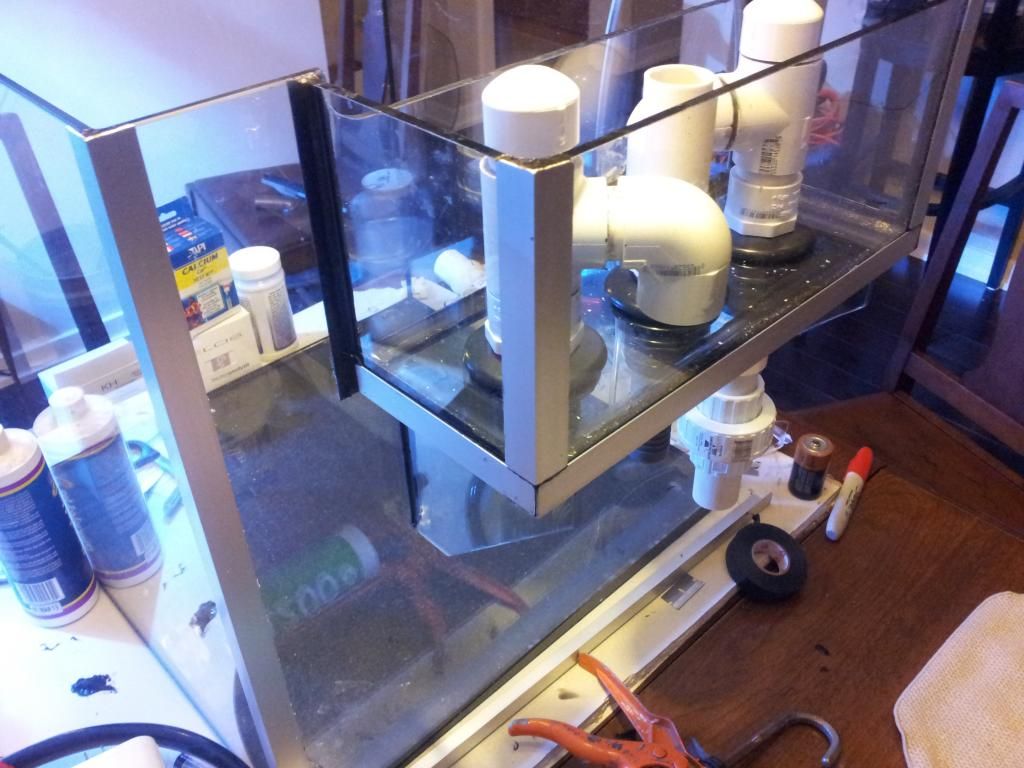
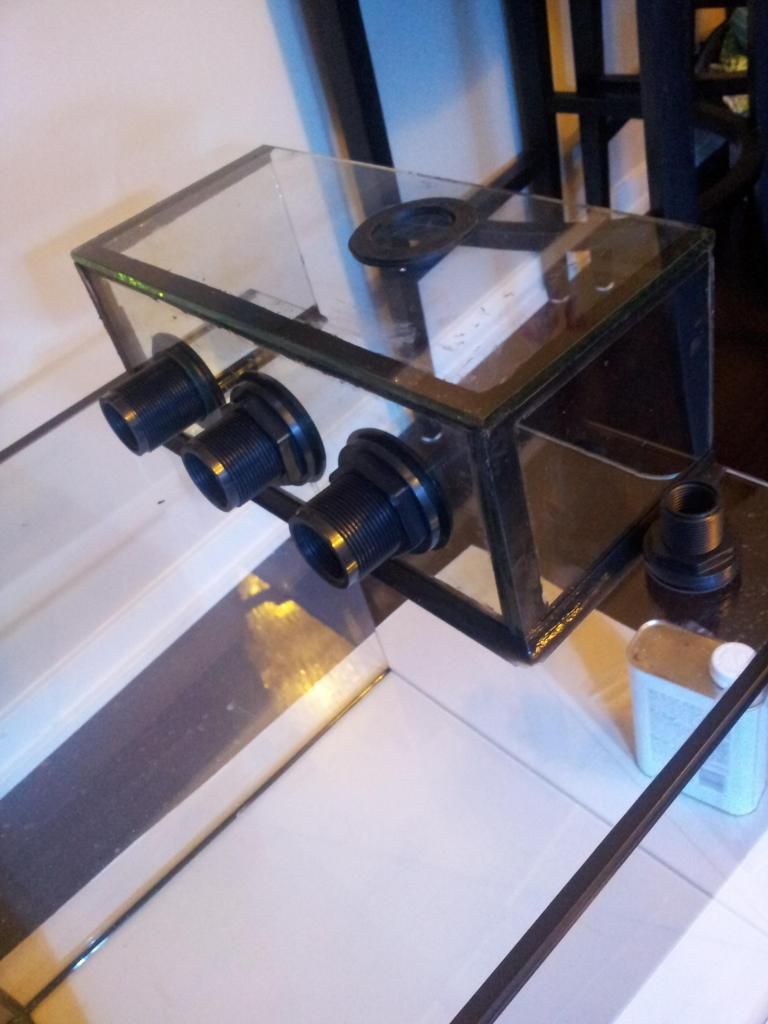
I had some aluminum angle left, so I trimmed the overflow to beef up the seal and to make it look a bit better. Also, you can see my bean animal plumbing. I trim .5" of each face of fitting to make it more compact. I didn't want ugly plumbing towering out of overflow.
  Last edited by nerdz; 11-29-2012 at 04:24 AM.
|
|
#10
11-29-2012, 07:32 PM
|
||||
|
||||
|
Hello
I painted the back side of my previous tank blue with tremclad paint. With this new tank I cannot do this because of the external overflow, (You would see all plumbing). What can I do? Paint inside? Or, maybe a better option, install acrylic in the tank on the waterside. Any tips? Where to buy in GVRD? 1/8" or 1/4" to help from bowing? Black or Blue? Maybe mention another option I haven't even thought about! I really have no experience and any advice would be great. Last edited by nerdz; 11-29-2012 at 07:36 PM.
|


 Linear Mode

