DIY Light: Part II
Unfortunately, I encountered some issues with the lights that I hadn’t anticipated. First, there was a lot of wires. In fact, six strands are necessary here to power the LEDs from the + and - on their drivers and I also have the LED fan to power for cooling the unit. I needed a way for the unit to look “professional”. I didn’t want it to look like a DIY build. I had thought of trying to run the wiring down through the conduit used to hang the light, but it still wouldn’t be consistent with the “rimless” look I was going for.
Moreover, what about storing the drivers and those connections? When I picture well-designed systems, the owners give careful consideration to cables and wiring. I wanted the same.
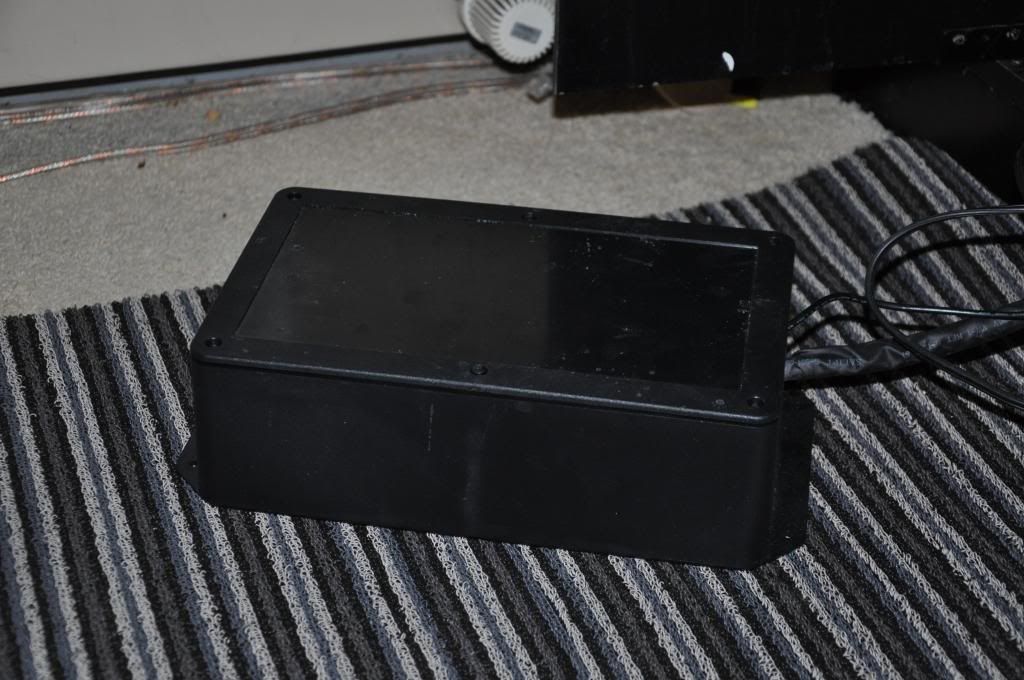
I ordered a poly “project box” from an online retailer. I think it was $30 shipped. I stuffed everything inside and Dremel’d some holes for the power cables.


With the lid secured, it almost looks like something you might pay for! (I've since wiped off the salt spray for a glossy finish.)

I still had to get power up to the LEDs, though, and I couldn’t think of an answer. I knew I didn't want to have to worry about running individual power wires up to the light (8, including the fan). It wouldn't look clean.
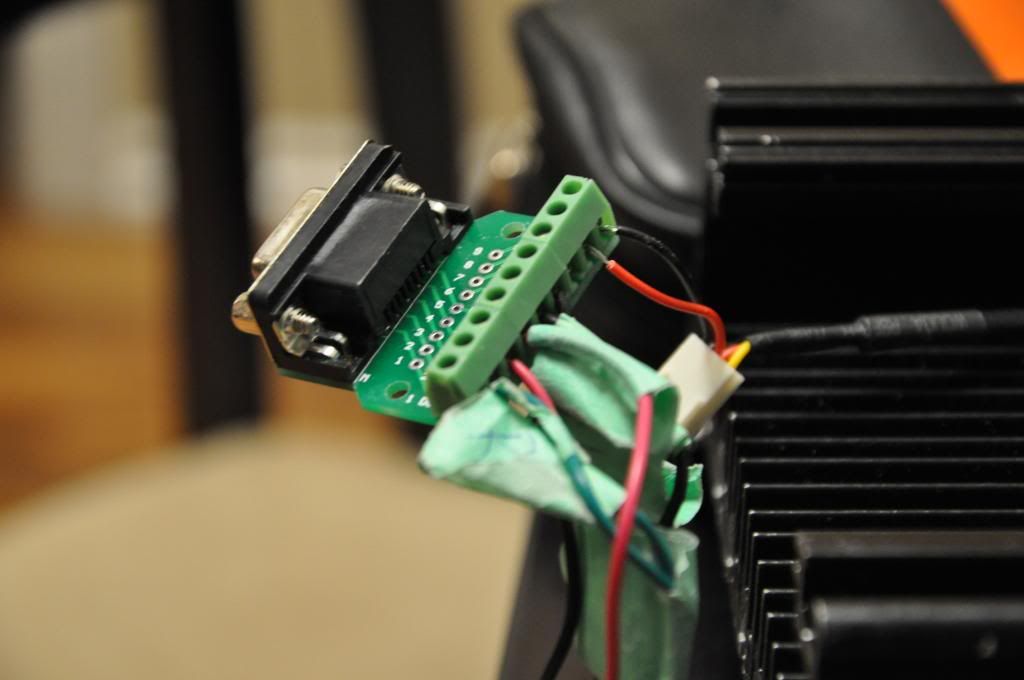
I ended up seeing a very interesting possibility to power the LED lights from a user on Reef Central. I’d never seen a DIY solution such as that before and was astounded that no one asked for more details about it. I contacted the user and he offered all the assistance he could in spite of a language barrier. The solution for this is using a standard 9-pin computer monitor cable to connect the wires:


As you can see above, all you need to do is map out your wires. As you can see (squint!), they are numbered 1-9. Make sure both sides are the same and, when you connect… well…
I hope this works…
 GREAT SUCCESS
I’m actually surprised more people are using this as a method as it was alarmingly easy and inexpensive. A word of caution: find your cable before ordering your connections. I assumed it would be like an HDMI cable, where the cable was Male-Male and needed Female receptacles for the connection. Not so with 9-pin cables. Evidently, the common 9-pin cable is a Male-Female and not Male-Male. As a result, I scoured eBay looking for such a connection and found only one seller to help. The cable is grey (vs. Black) but I’ll have to make do. I found a seller selling the female connection hubs for less than $3 each, so this DIY tip can make your fixture look “Pro” for as little as $10:

Ta Da! I have three strings of lights and the cooling fan all powered through the VGA cable. I find that this gives the unit a very professional look and it’s now prepped for a finish. I haven’t made a final decision about how I’m going to finish the light just yet, although I have a good idea.
The light is going to be controlled through my Reef Angel Controller. Adding a controller to my tank was something I knew I would want to do and I based the DIY light on the fact that it can be controlled with custom code from the Reef Angel.
Currently I have the light scheduled to be on moonlight over the night with the actinics ramping from 5% to 65% over 4 hours starting at 7am (and going from 65% to 5% over four hours starting at 5:30pm); and the Daylights coming on (from off) at 10am and doing a two hour ramp beginning at 10:00 maxing at 40%. At 5pm the light begins its sunset from 40% to 1% for two hours and goes off entirely at 7pm.
I’ve also added custom code for simulated cloud/weather/storm periods.
Based on how corals react to the light intensity, I will have to adjust the percentages accordingly.