PART III: DIY LED Light
Ive been excited for LED lighting for some time and following along the testing and development of LEDs in the Reefkeeping community has shown that many of the initial concerns regarding LEDs have been dealt with without issue.
The gurus over at Nano-Reef have very well documented plans and ideas which was the basis behind this build. I had considered buying a pre-made fixture for some time, but without an affordable option for a full-spectrum light at the time, I made the decision to go home made.
Im not hugely talented with building things like this, so I went with a solderless build and had remarkable success. Its unbelievably easy to put a light like this together and would encourage anyone not afraid to get their hands dirty to go.
My kit is based on the following:
Makers LED Heat Sink Kit (includes: fan, heatsink, finishing components, hanging kit, etc.)
LEDs (all solderless):
3 x Ocean Coral White (3-up star includes 3 leds per unit which is a Red/Blue/White hybrid)
6 x 3-Up (Each has 2 x Royal Blue; 1 x White)
6 x Hyper Violet
Meanwell Drivers (2 x 60-48P; 1 x. 60-27P) on PWM Dimming Signal for use with Reef Angel Controller.
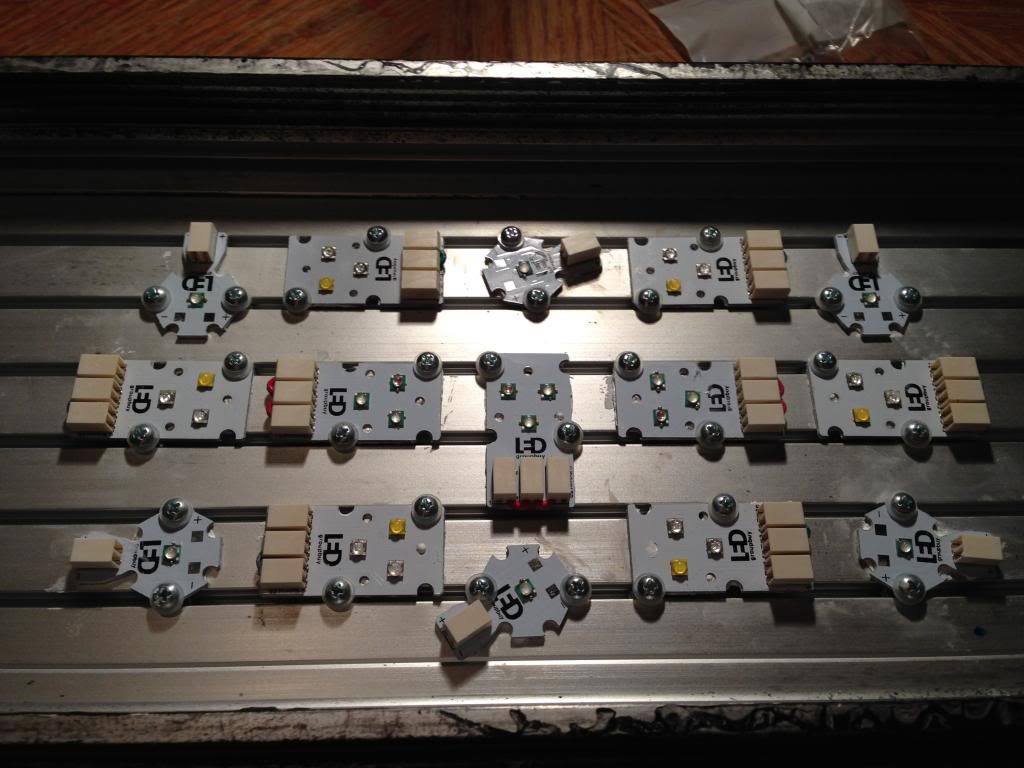
After laying out the pattern for the lights (with room for expansion), I affixed them to the heatsink with a thermal paste and screwed them into the slots. As you can see, the heat-sink is designed for plug and play DIY-ers.
Heres my layout. Designed for an even spread.
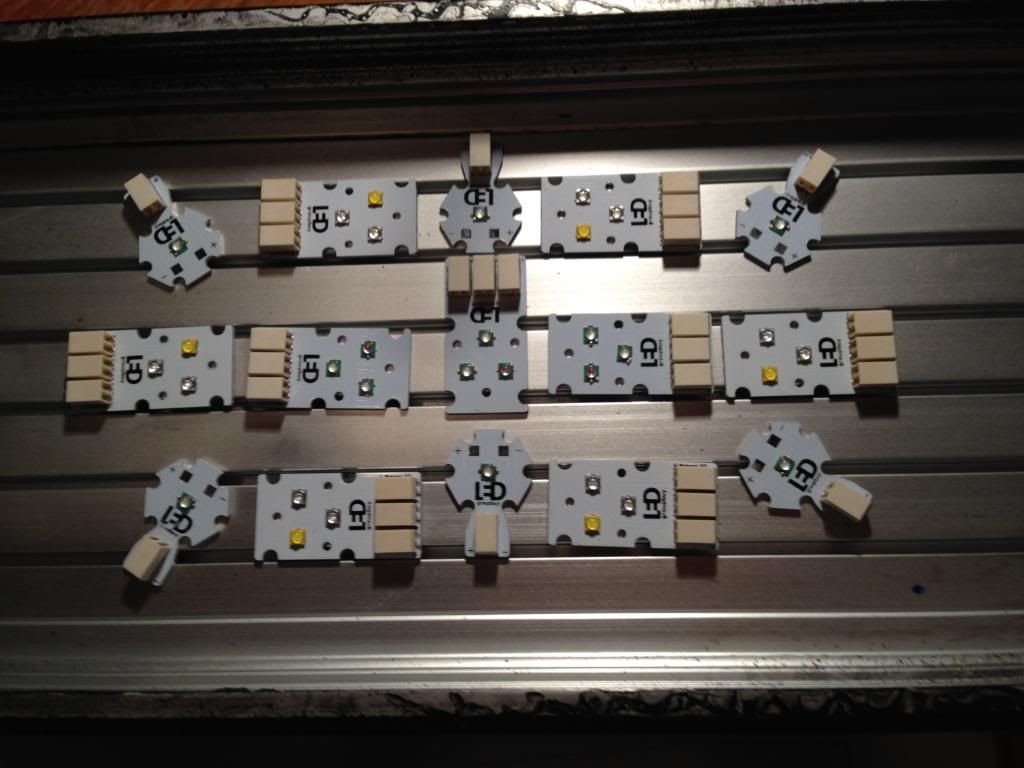
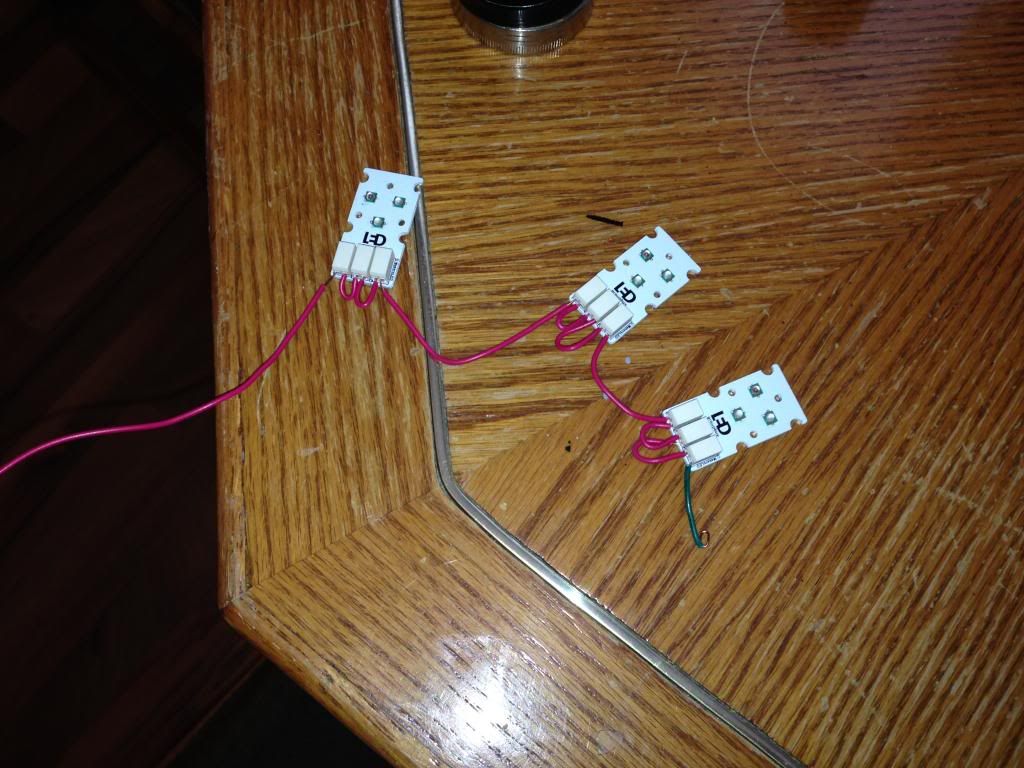
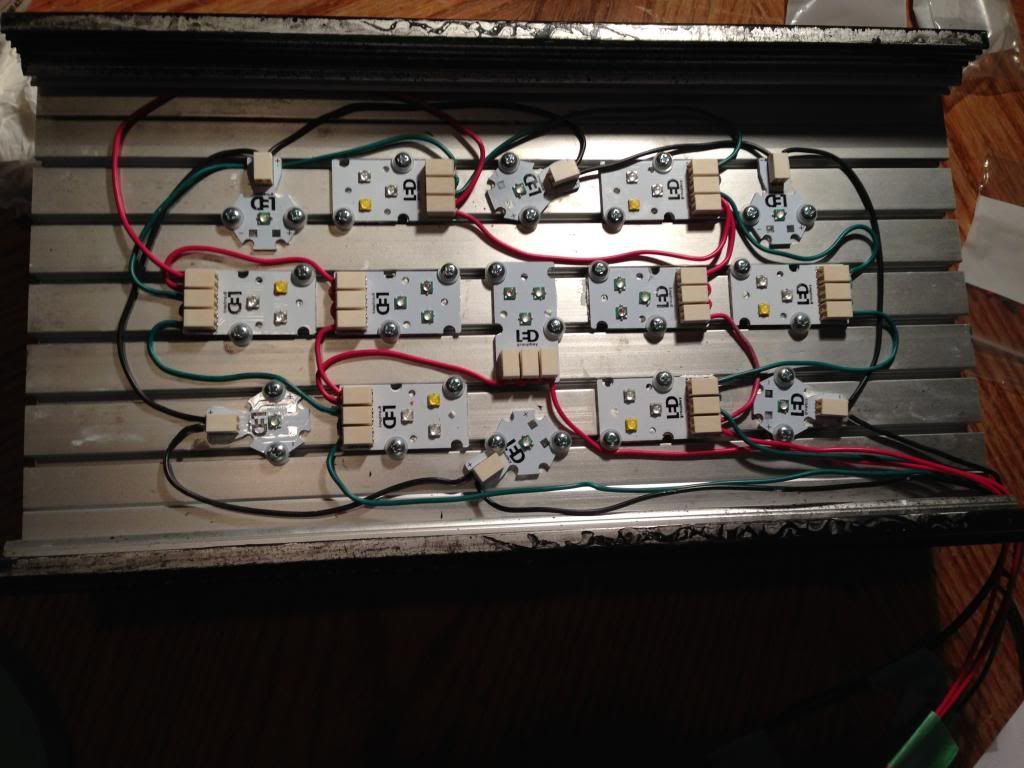
Wiring the LEDs is easy. Cut your wire (I used 20 or 22 gauge solid core) and strip about ¼-½ from each end. Carefully insert the wire into the solderless connection. Youll feel a click as the wire slides into the catch and is locked in. Give a light pull (just to make sure its secure) and if it is, connect the wires! The only problem I had was that the OCW and the 3ups are not wired the same way. The OCW has positive starting on the right-most side and the 3ups have the + on the left. Once I sorted this out, I had no issue powering the lights.

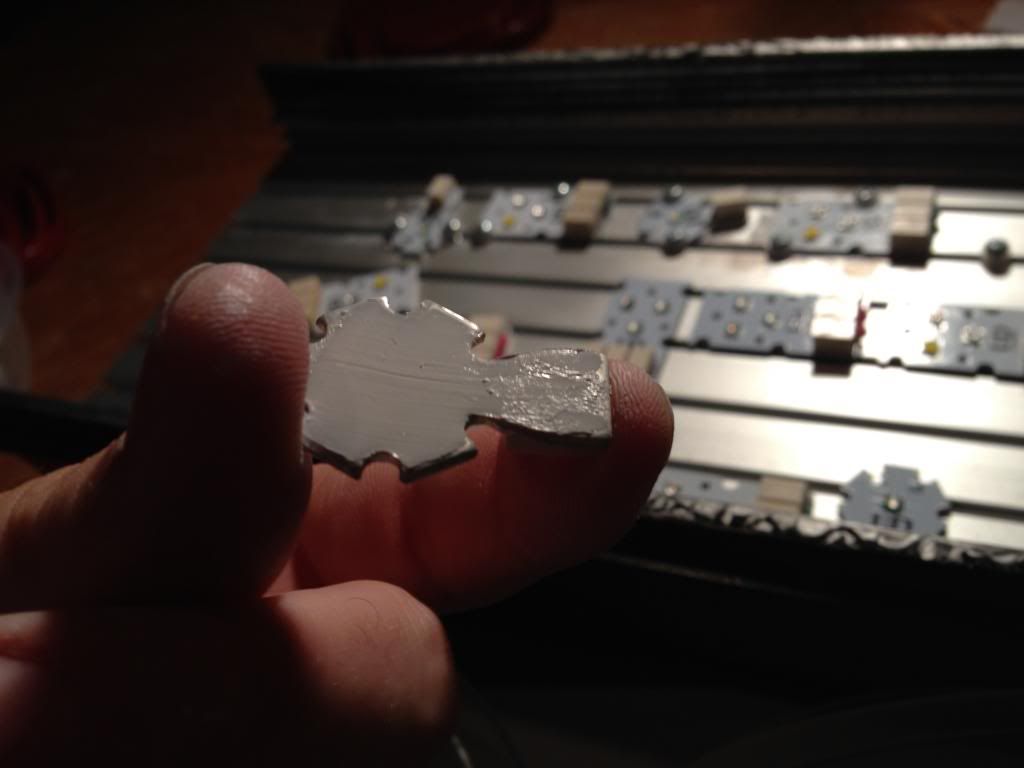
To attach the LEDs to the heatsink, I had to apply a small amount of thermal paste, to ensure proper heat exchange and cooling of my LEDs. You only use a small amount and spread it evenly and thinly with a firm plastic card (similar to a credit card).
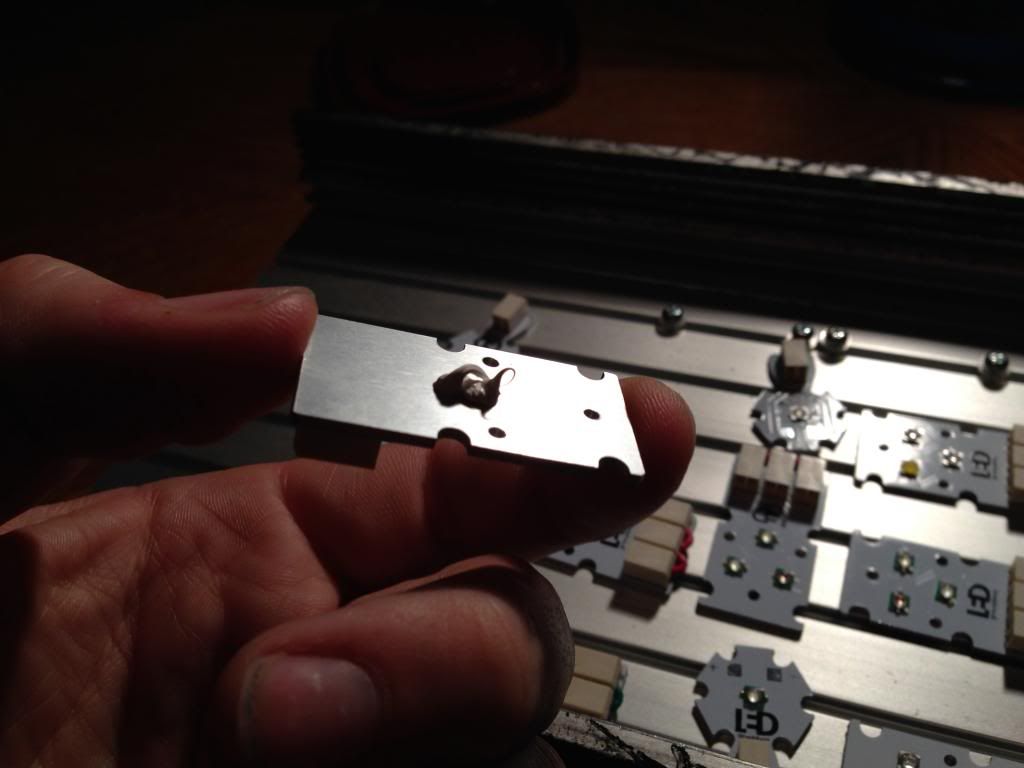
Then place the LED on the heatsink, align with the rails, and attach with an included screw. No drilling, not mess!
I wired my Hyper-Violet lights to the 60-27, and split the remaining lights between the two 60-48 Drivers. The Reef Angel comes standard with two dimming channels, with the option to upgrade with an expansion pack. I only need Daylight and Actinic for the time being, so I wired the Hyper Violet LEDs and the OCW LEDs to the same channel and left the Blues on their own actinic dimming. Ideally, I will run the Actinics for a moonlight setting.
To be continued in...
PART III: DIY LED Light II: Electric Boogaloo