So onto the set up and some photos (the important part)
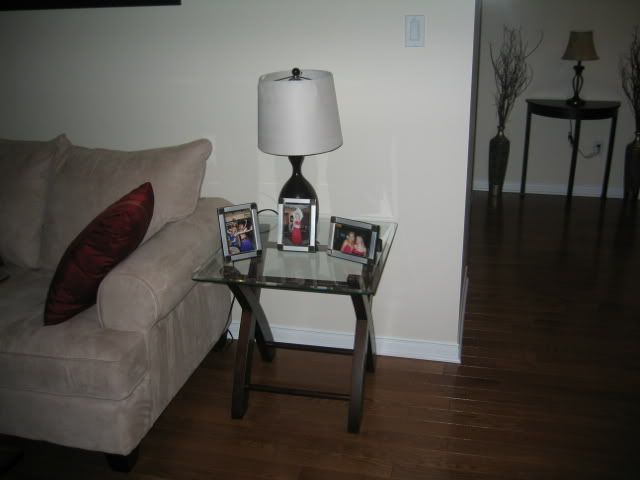
So my wife loses one of her side tables in favour of the tank, I am sure I can find room elsewhere for her belly dancing photos!
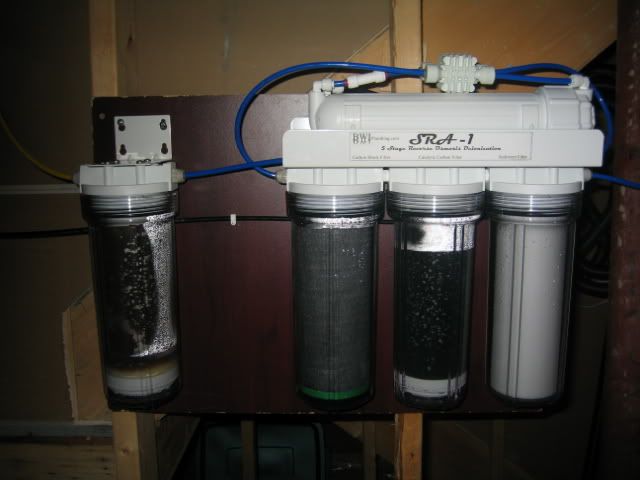
The first thing that arrived was the 5 stage RO unit from BWi plumbing.
Here is the spec
Membrane - watts
5 stage RO/DI
Stage 1- 1 Micron Sediment NSF® certified
Stage 2- Catalytic Carbon for Hydrogen Sulfide and Chloramines Removal 12 x 40 mesh size
Stage 3-0.5 Carbon Block Cartridge for Long Life and High Chlorine Reduction 20,000Gal Capacity NSF® certified
Stage 4- 100 GPD Membrane TFC 96%-99.5% rejection rates max PSI 125
Stage 5- Nuclear Grade Mixed Bed DI Resin Cartridge for Demineralization flow 1GPM
The set up was easy. First thing was to take a tee off the homes humidifier
This saved the need for a seperate tap, although a shut off has been put inline to the unit.
The RO unit was securely mounted near the furnace so i could utilise the basement furnace drain for waste.
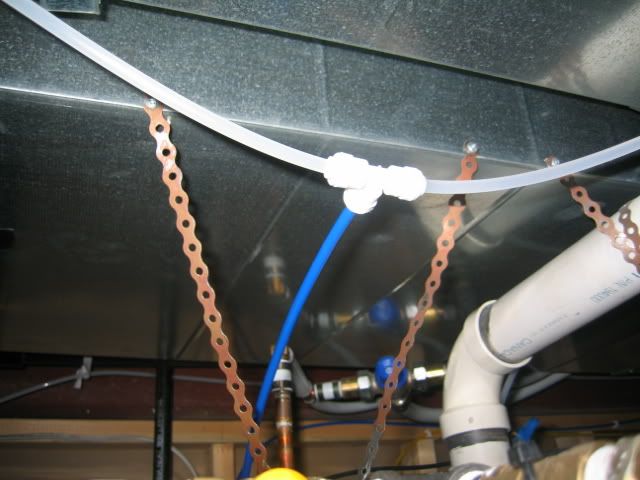
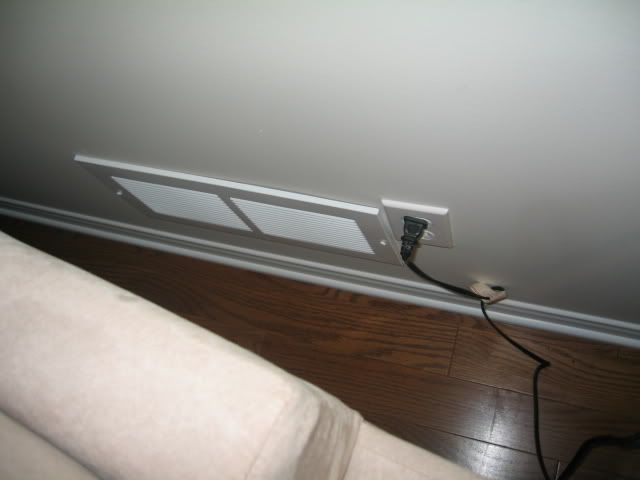
The RO will be used for direct auto top off as well as filling the auto water change container, so a line had to be run to the front of the house. At this point the decision came whether to put a pipework duct in the dry wall down to the basement, but then i realised the there was a air return by the side of the tank which was perfect for running the pipework for the ATO and the AWC.
Here you can see the duct boot I will be going through

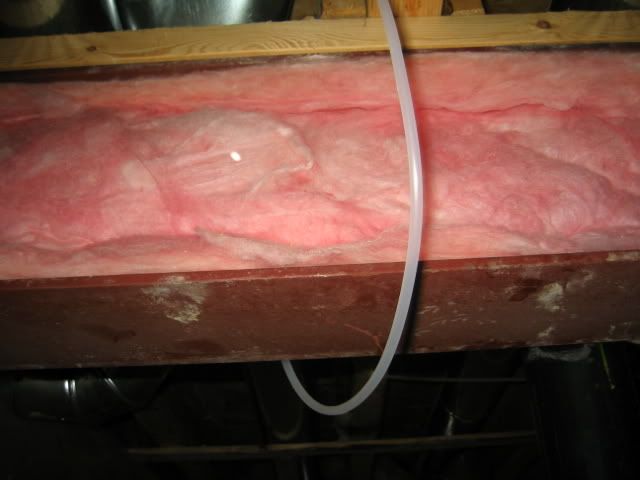
Where it comes out
And the feedline waiting to be extended to the first floor
For the ATO I will most likely use two solenoid valves, one will be for redundancy. The ATO will be controlled by the ProfiLux as will the AWC.