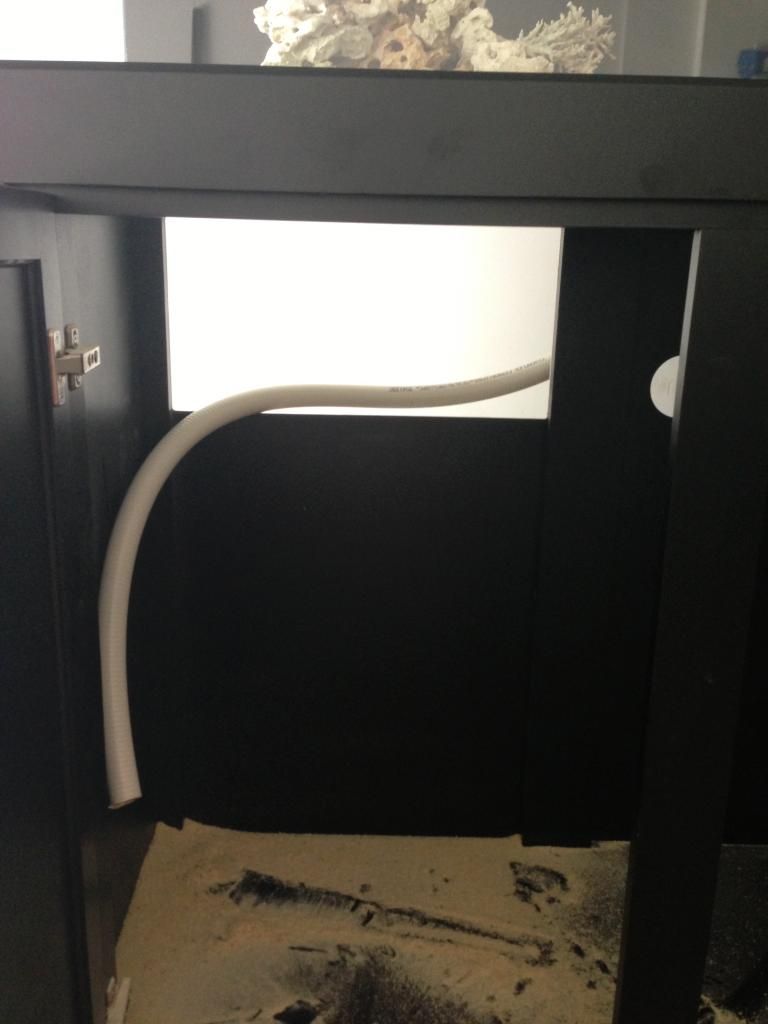
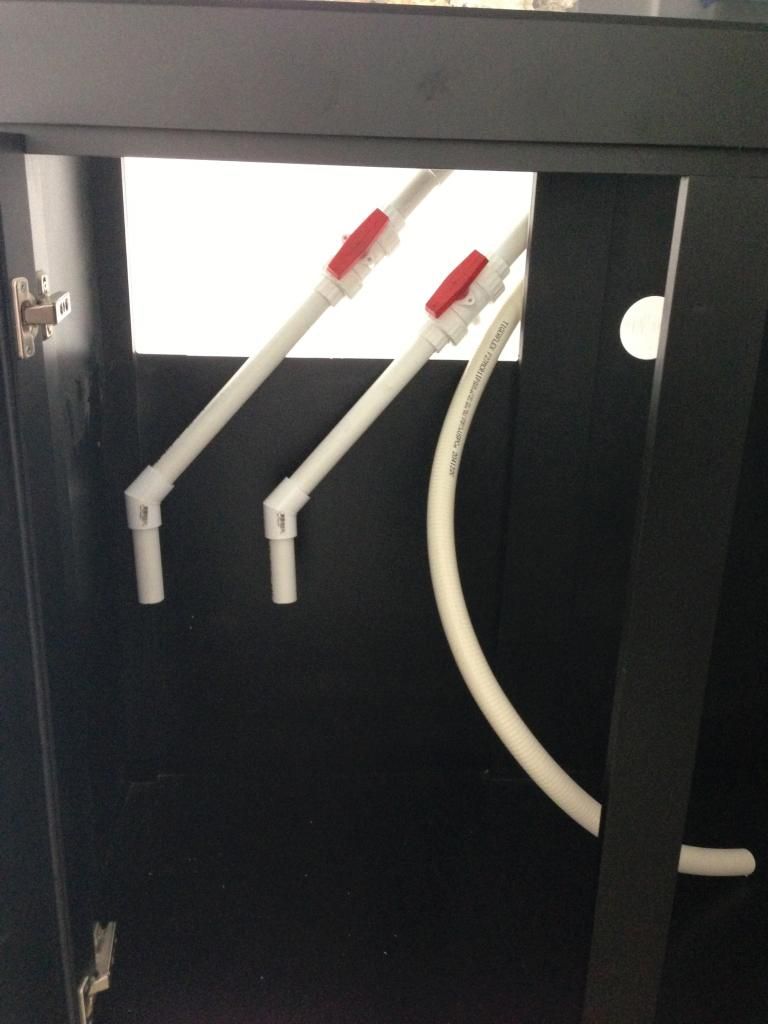
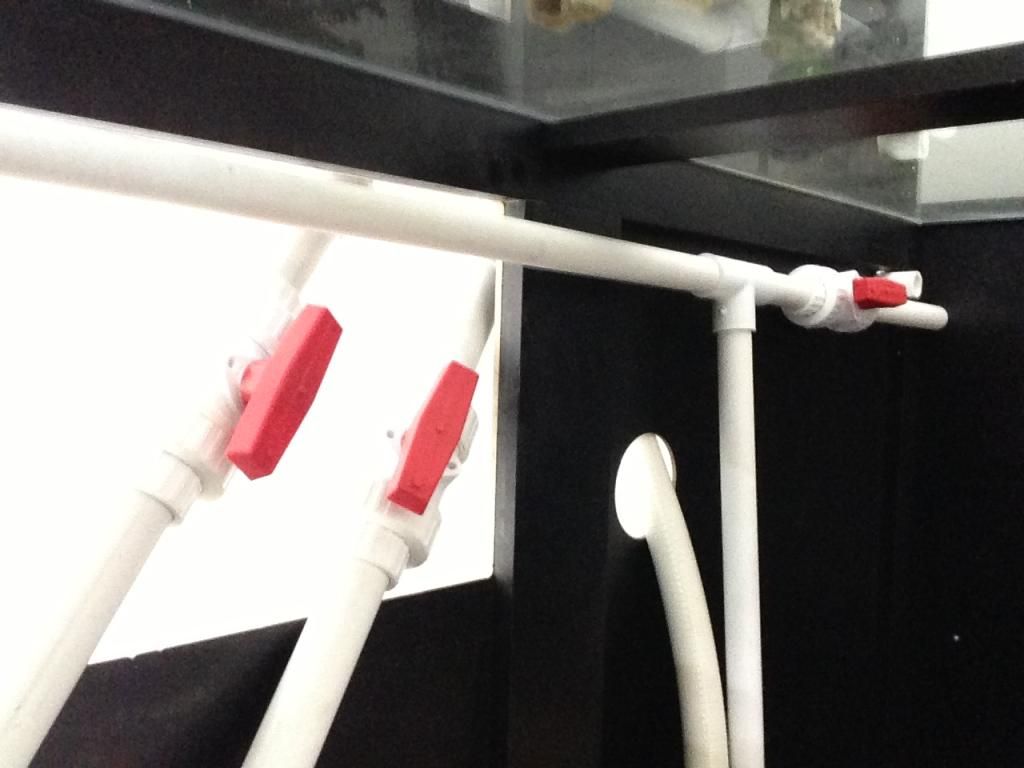
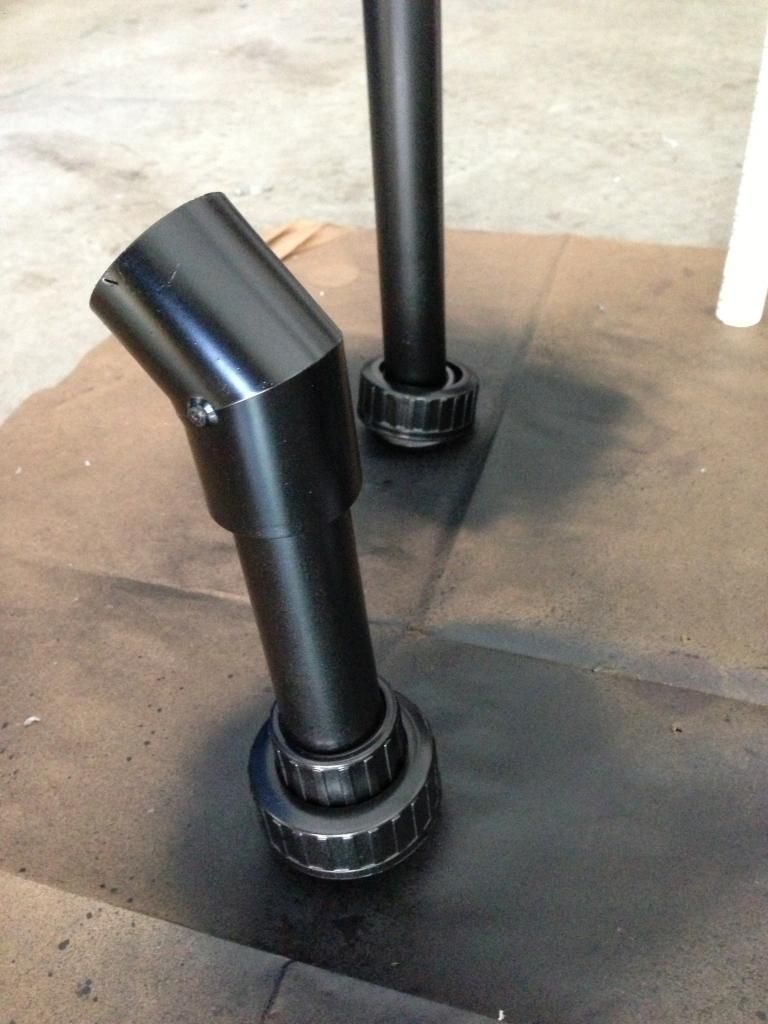
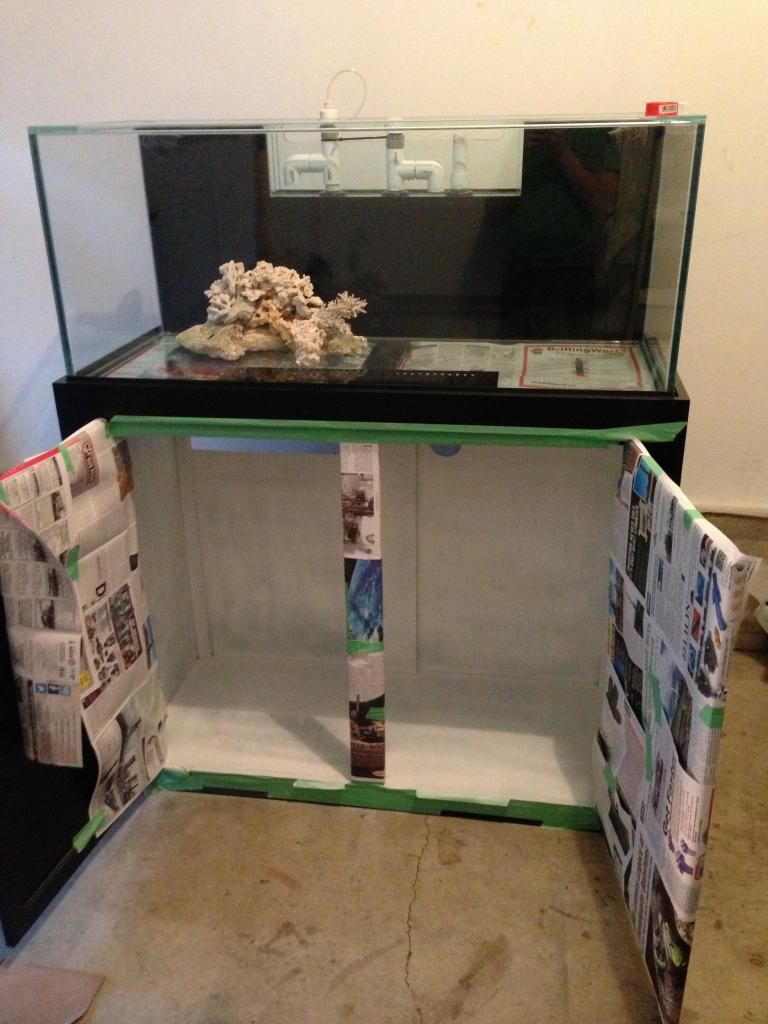
Next I had to cut a space out of the back panel of the stand for the drain lines. The first 2 lines on the BeanAnimal overflow are hard-plumbed with ball valves, the third line, the emergency drain, is an open line run with flex-pvc (honestly just because I had it, there was no specific reason to use the flex line). Once the plumbing was all set, I sprayed it matte black. Its not a great finish, and a lot of it has worn off now, but it looked good to start with!
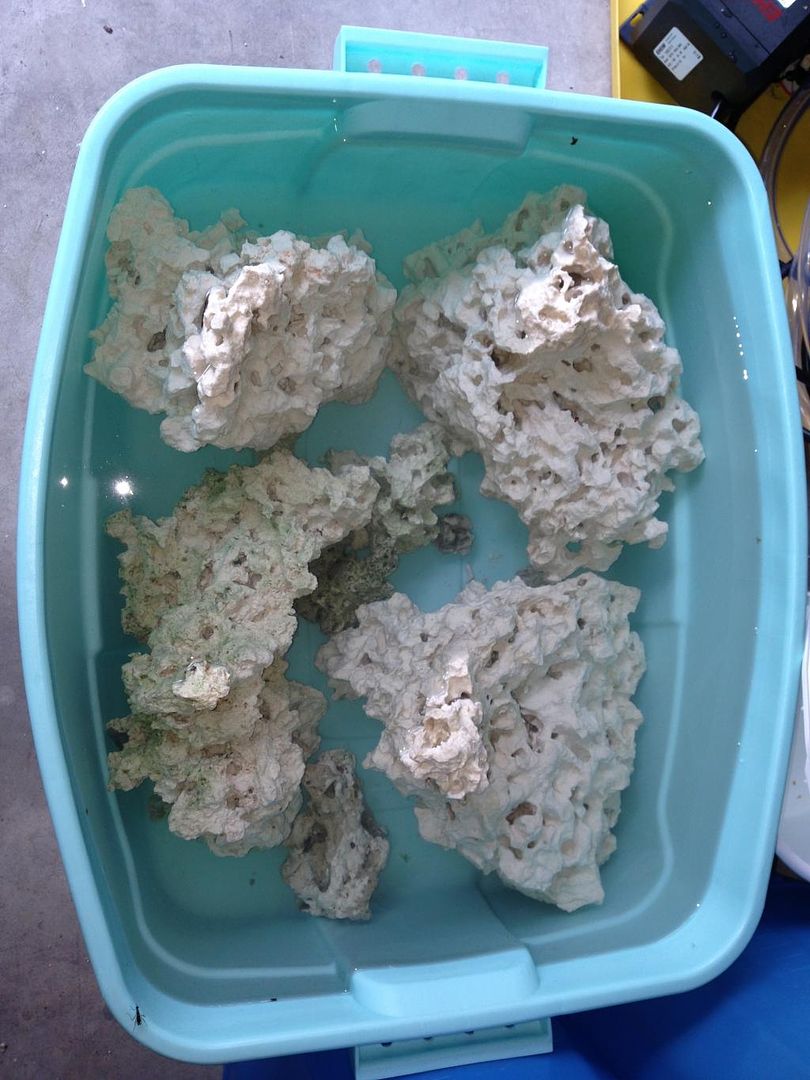
Got the new rock soaking. As this was a brand new setup, I let the rock cure in the tank (for 2 months or so) before adding any livestock.
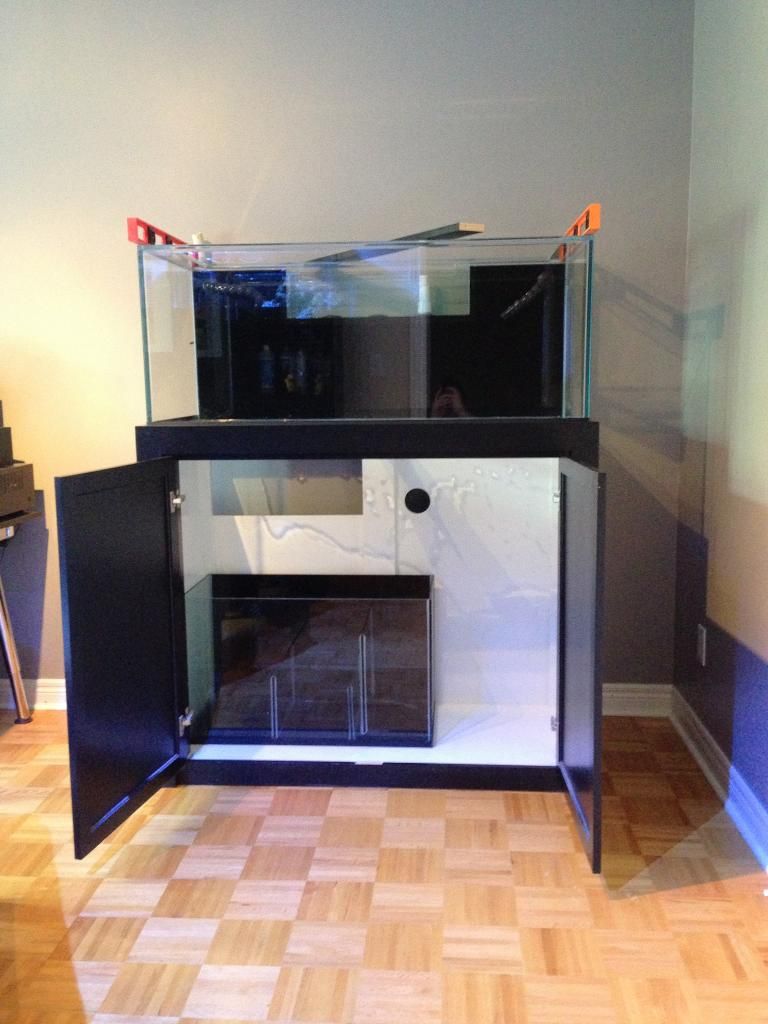
Then finally, sprayed the inside of the tank white and sealed the bottom panel with caulk, just in case there were any spills in the future. This has been a life saver!
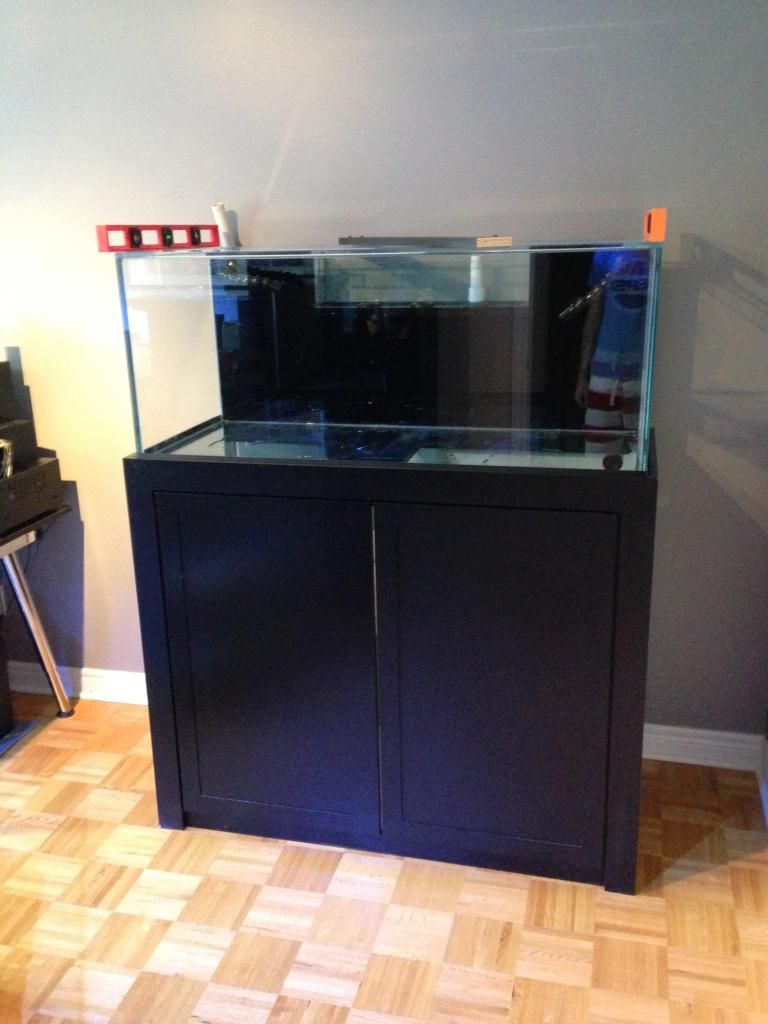
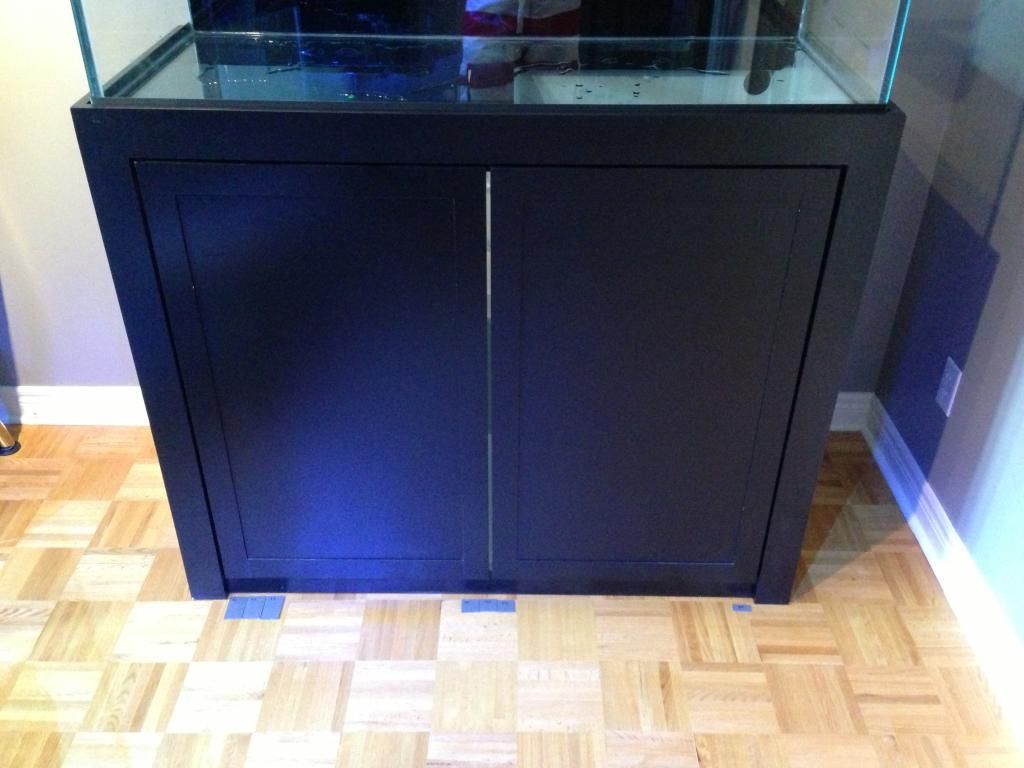
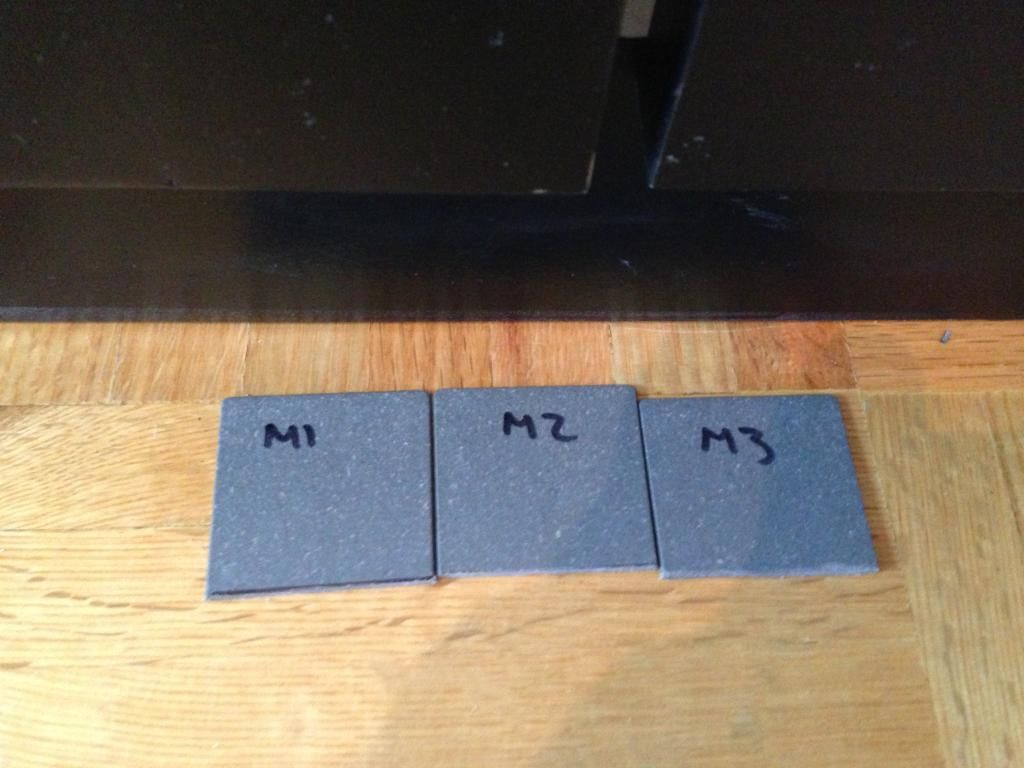
Once that all dried, we moved it into the office and levelled the complete unit, front to back and side to side with plastic (composite) flooring shims from Lowes. Each one was labelled and cut to length before being tapped into place.