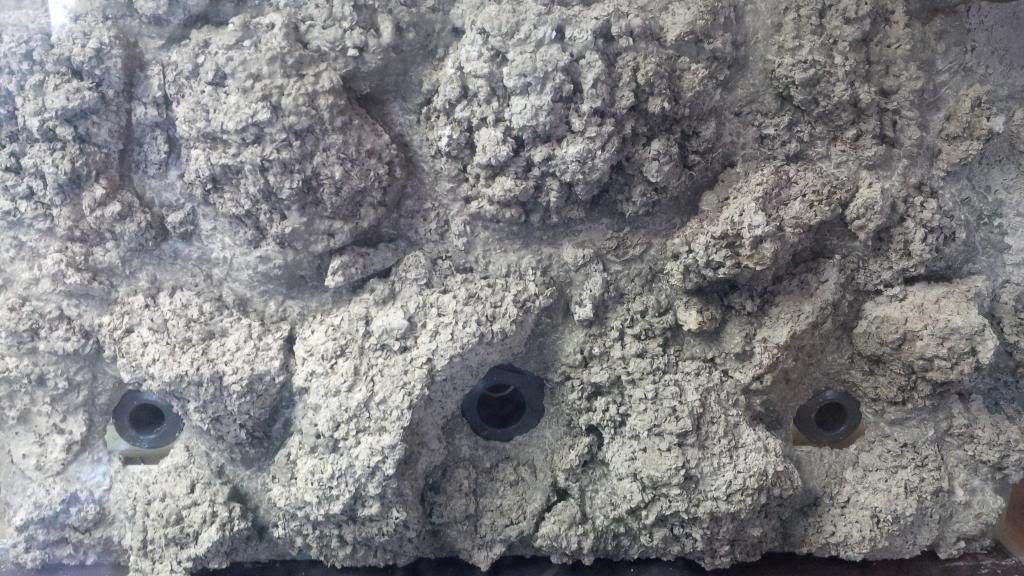
I found anther shot of the back rock wall showing a bit more detail.
With the back wall in place, it was time to get water into the system. I had been hording RO/DI water already for that moment, but I have only storage for about 50 gal, and that made hardly a dent. So, like many before me, I hooked that 1/4" plastic hose from the RO/DI unit over the rim..and let'er trickle..for a long time.
And eventually it was full.
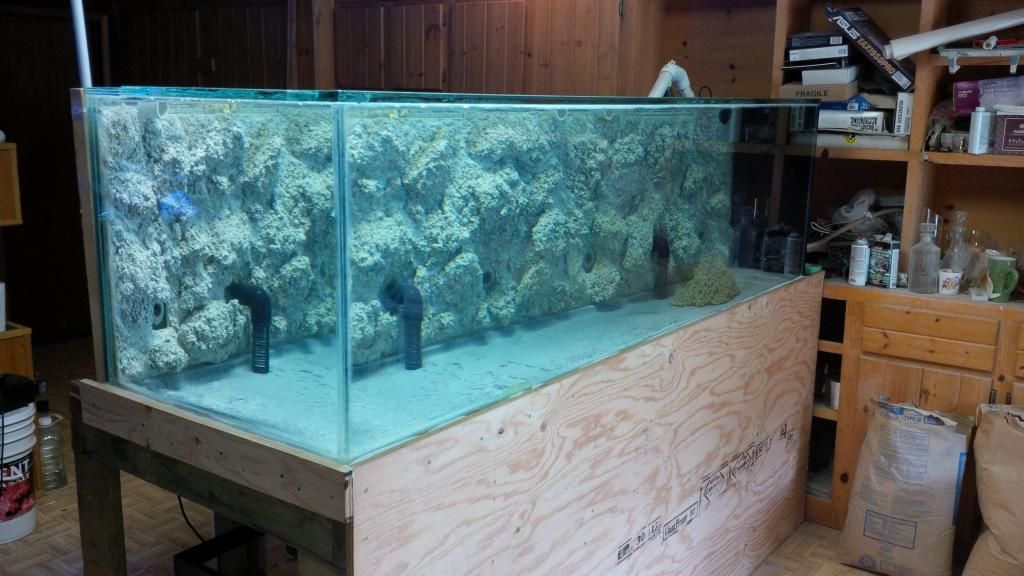
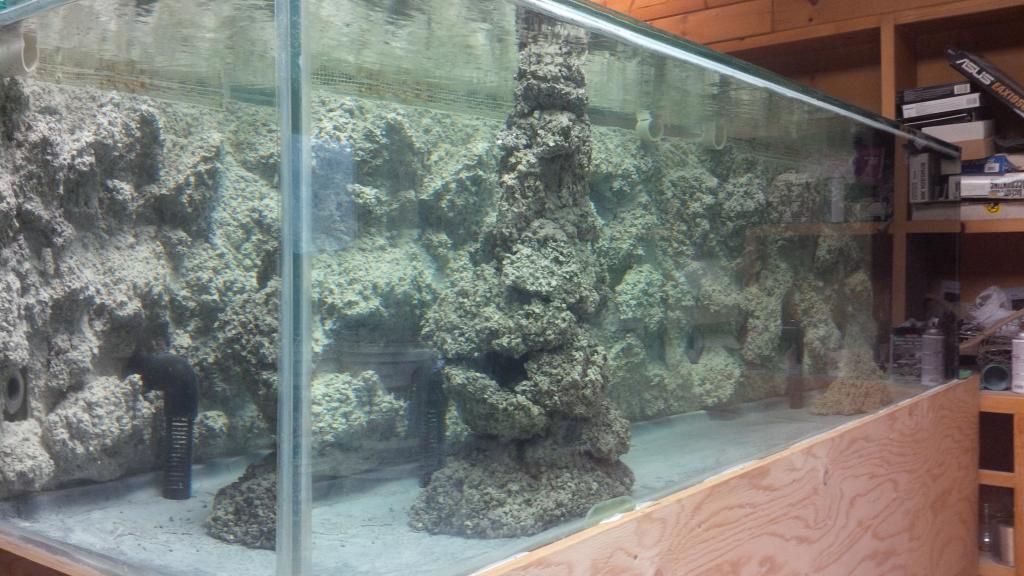
A couple of notes to the above picture.
First, you may notice the whitish deposit on the bottom pond liner. That is residue from mixing salt in the tank. I am not to crazy about this Coral Life stuff, I prefer IO. It was a pain to get off the glass. On a positive note tho, I don't mind the lighter color of the bottom, also the rock work was 2 different shades of gray due to the different cement mixes for rock and the concrete used to bond the rocks together. The residue made this all blend together.
Second, I installed 2 intake strainers for the CL, made out of 1.5" PVC and a 90 elbow. The PVC pipe was slotted on the table saw and then the works was painted black with Krylon.
At this point I had also put in some clam meat to start things up.
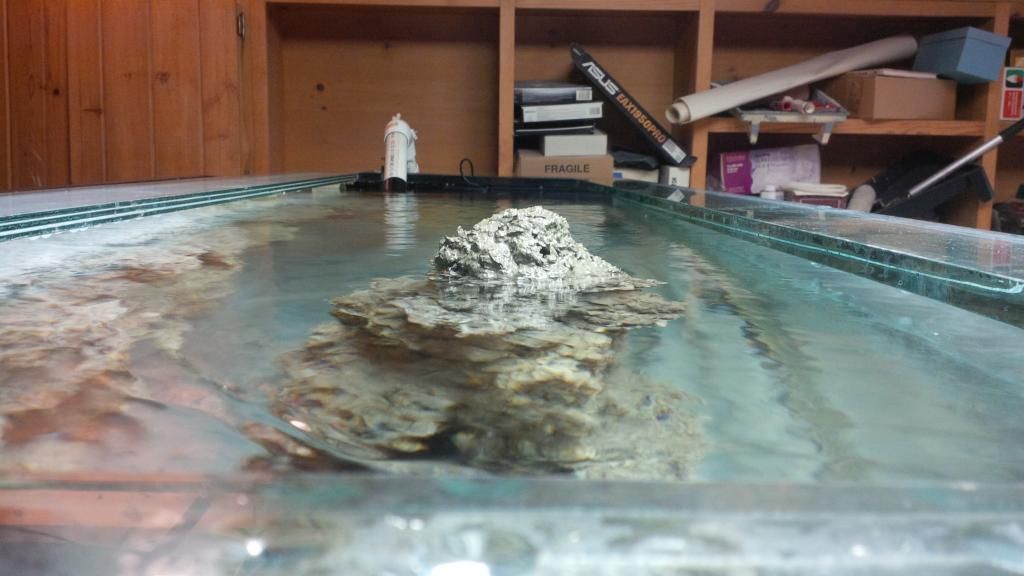
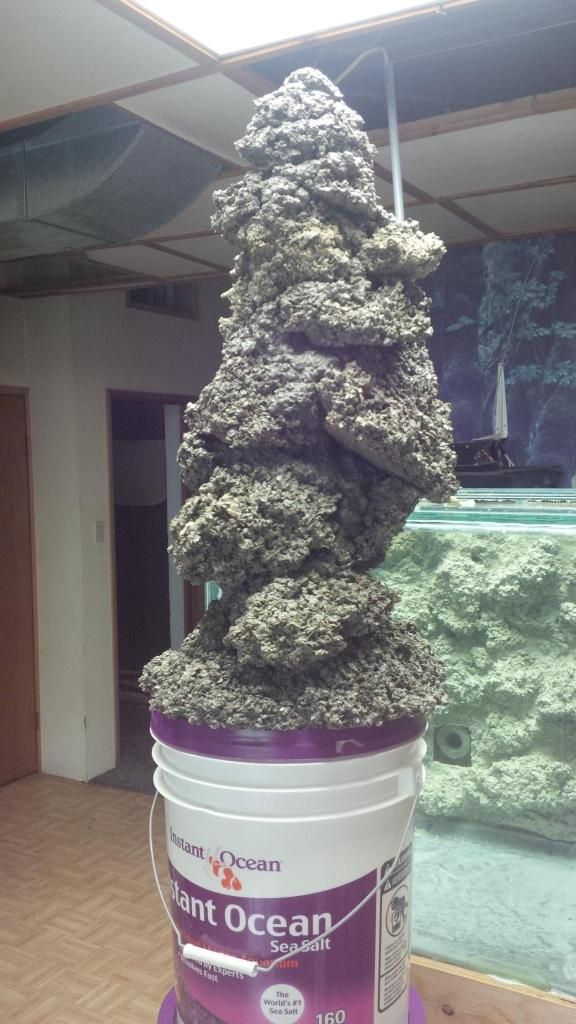
Next adventure was the moving of a almost 30" tall by 20" diameter, at the bottom, rock tower I had made some time earlier. It had been curing in a garbage can for the last couple of month and was ready to go. I am doing it by myself and the weight of the thing is something like 70lbs.
Step 1 was to get it onto a stack of IO buckets. (Sorry for the terrible focus on the pic)
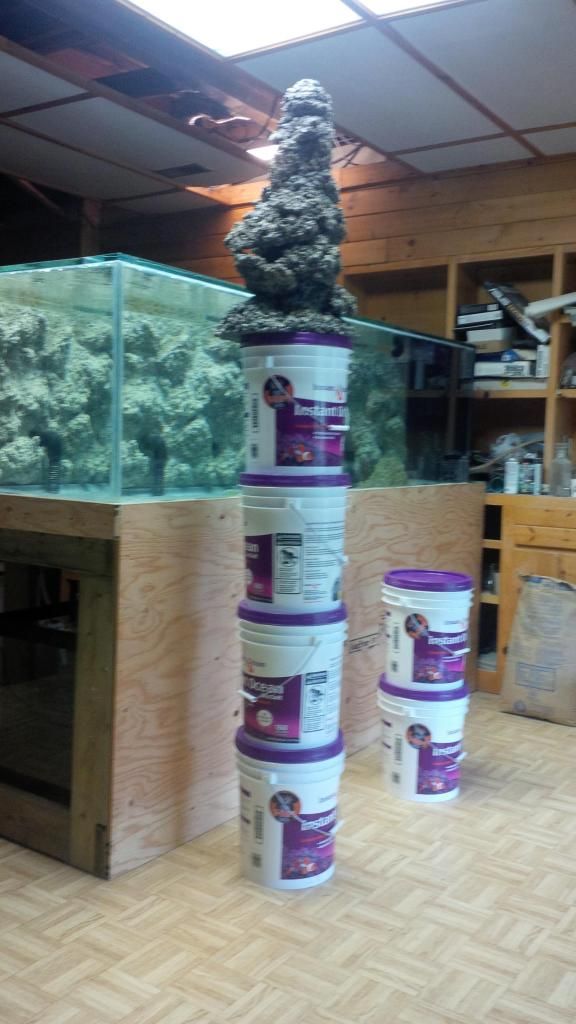
Step 2 set it onto the edge of the euro bracing, carefully
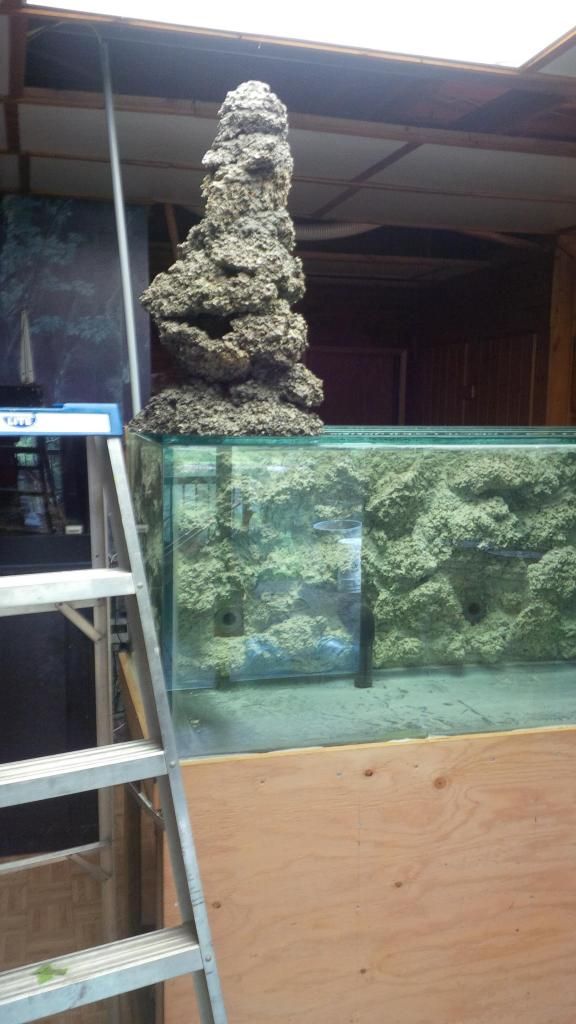
And in..thank you for salt water buoyance making the tower lighter as I had to lean over the tank from the ladder, lowering it in.

Just a tad tall