The DIY Stand. I built the frame of the stand out of 2x6 lumber to prevent the need for a center brace.
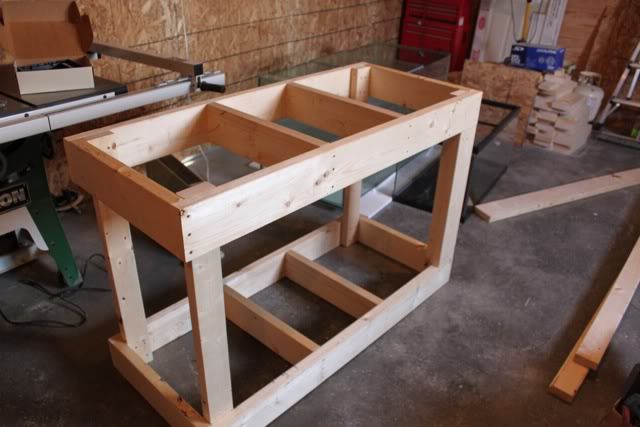
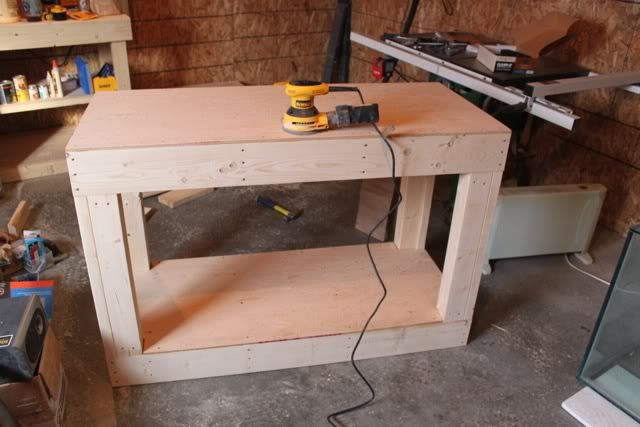
Just basic good one side plywood for the top and the inside bottom since you weren't going to see it anyway.
Then I assembled the face frames. I originally wanted to build my stand out of maple, however I live in Thompson and you can't be overly picky here. Red oak was available, so Red Oak is what I ended up going with.
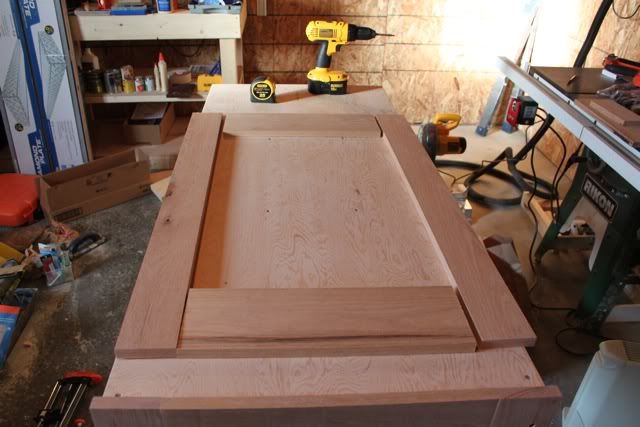
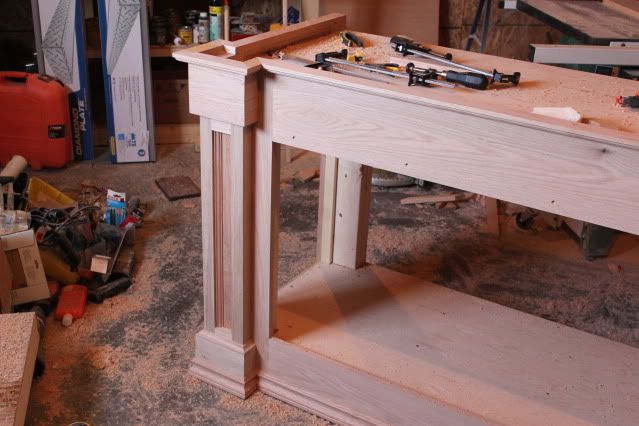
Once I had the face frames completed, I began building up some pillars to add some 3D depth to the stand. This was going to be a show tank, so I had to adventure out a little further with my woodworking ability and try and a few new things.
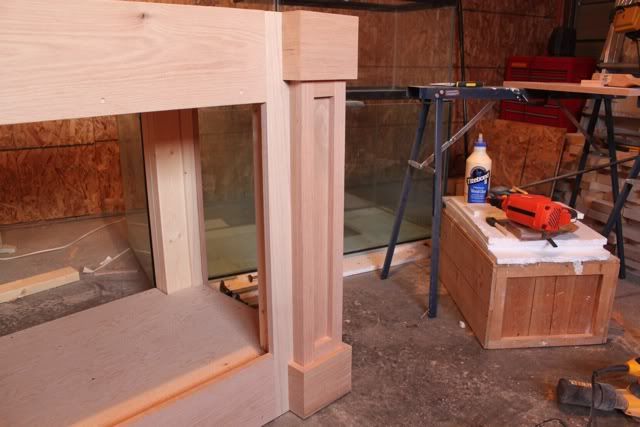
This photo shows a little better how I built up the pillars
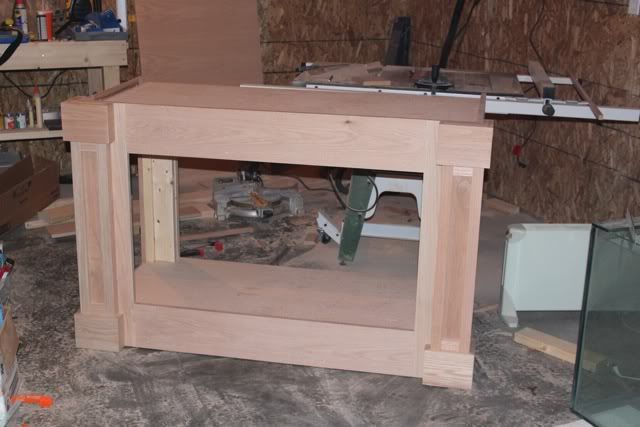
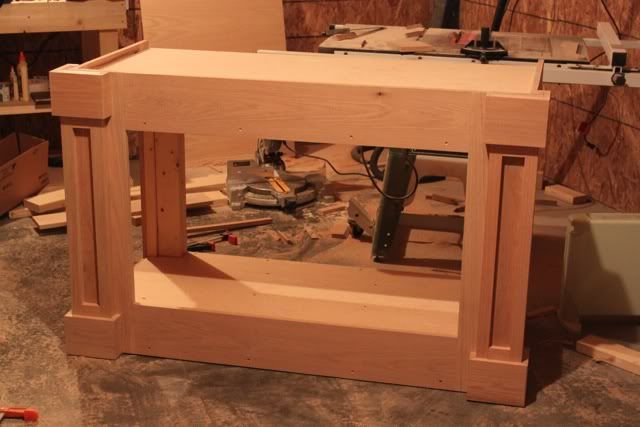
And the look of the stand before I added any of the trim
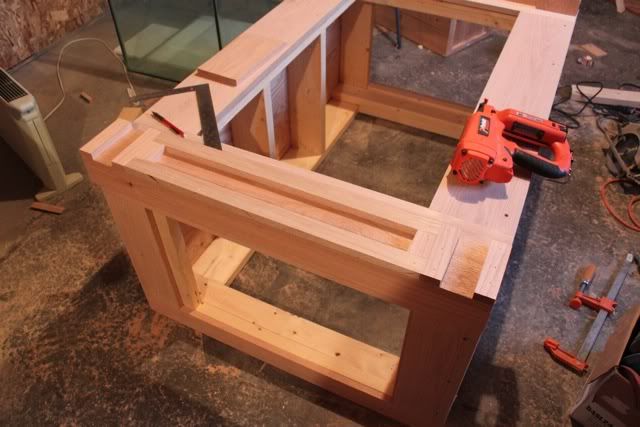
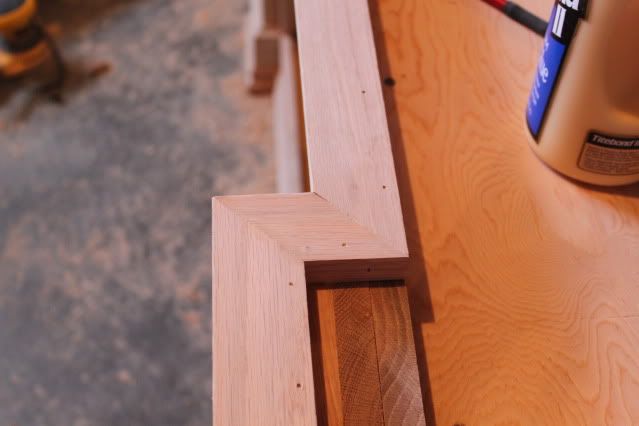
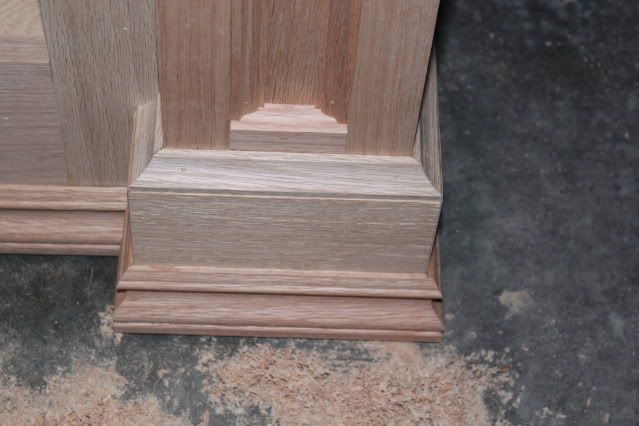
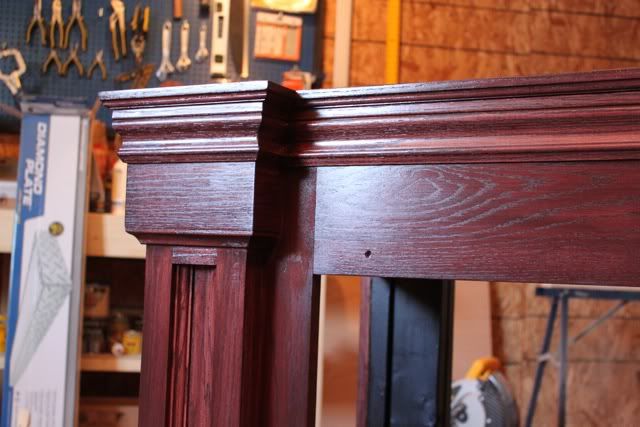
The Rail cap that I built for the top edge of the stand could not be purchased, so I got creative with some oak and my router and made it myself. The trim that you see on the bottom of the stand is actually purchased, its the only trim I was able to buy rather than make. Its a standard 3 1/2" oak baseboard for your walls.
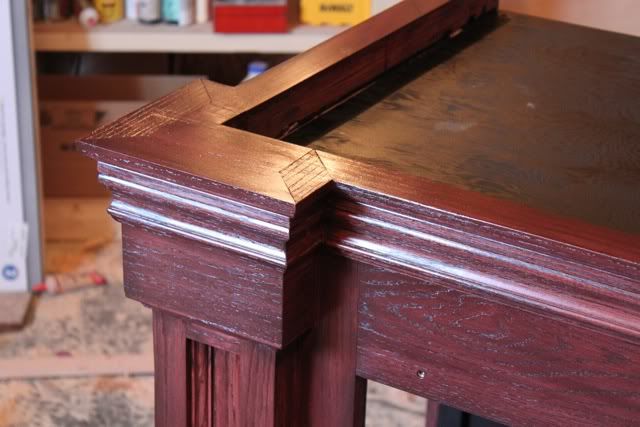
This photo shows the assembly of the rail cap. I designed it so that no end grain would show through when everything is finished. End Grain stains darker than everything else, and I didn't want that to happen on this build.
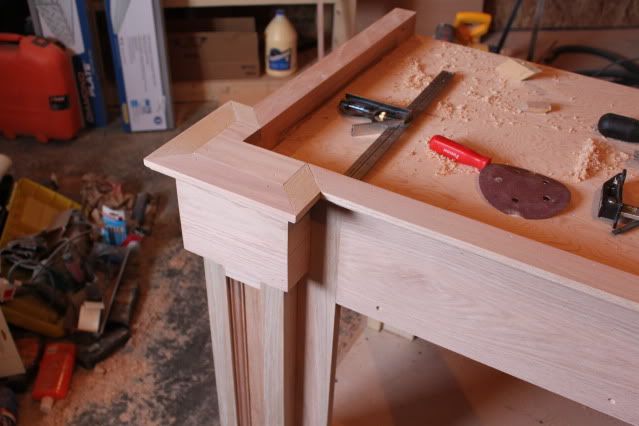
Then I cut pieces of oak to fill the tops of the built up material at the tops of the pillars.
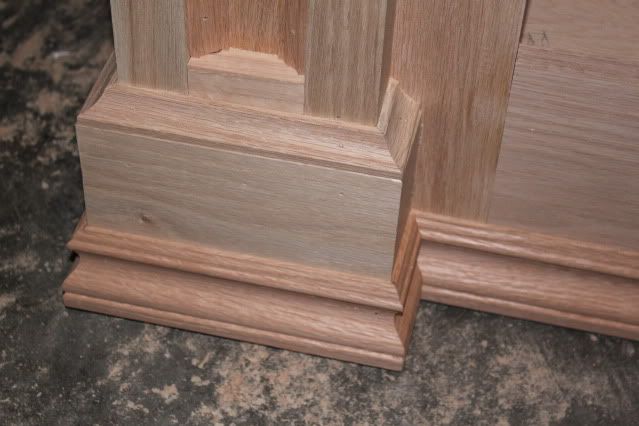
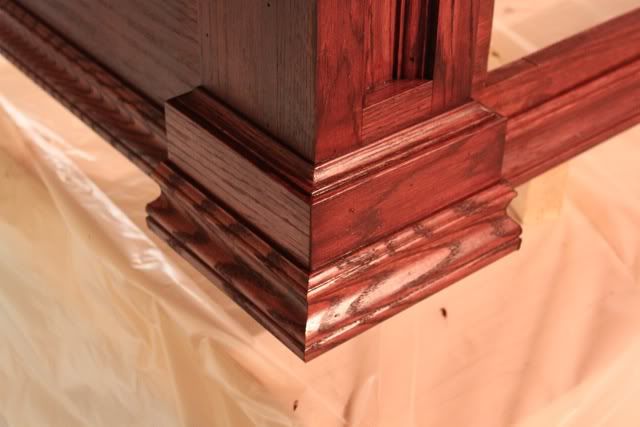
a 3/4" cove bit and 1/2" 3step bit allowed me to make the trim that finished off the pillars. Here is a close up that shows each of those in one shot. The baseboard on the bottom, the cove that hides the mitres, and the step to provide a smoother transition inside of the pillars.
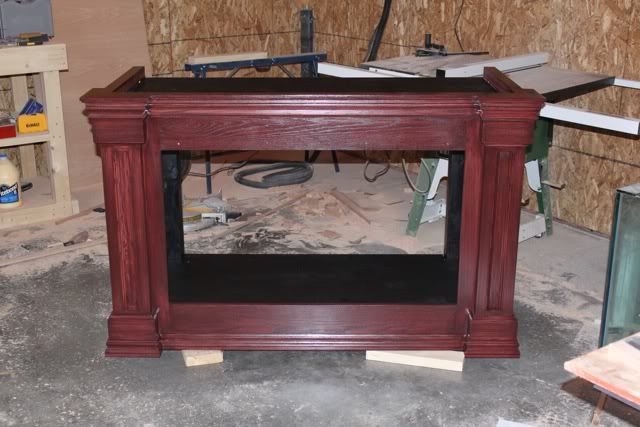
Then came the stain. I went with a water based Mahogany and 3 coats of water based Poly.
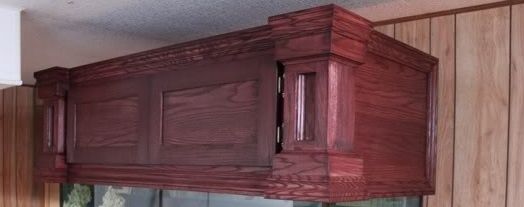
The Canopy was built in a very similar fashion so I won't bother with build photo's. here it is before stain and doors.

With the stain applied. I also painted the inside white with a high gloss acrylic paint. This will help to reflect more light than a dark interior would, directing the light into the tank.
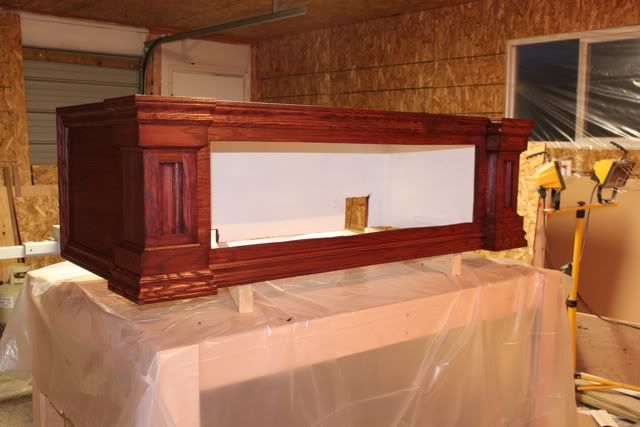
Shiny Shiny lol
And the Canopy with Doors: