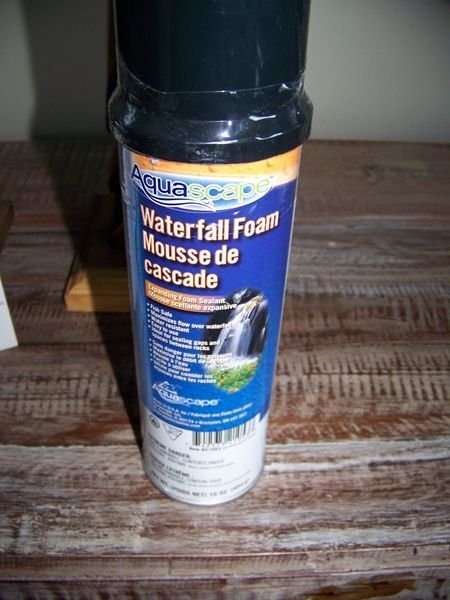
So the next step was to start applying the foam. For this I purchased a 20oz can of black pond foam which is used to make waterfalls and seal pond rocks outside. It is more UV resistant than the standard yellow "Great Stuff" foam and also has "fish safe" stamped right on the can. Nothing against the Great Stuff foam, it's a lot cheaper and has been documented as used for these types of backgrounds. It is also about 1/4 of the price of the pond foam. If I was doing a huge tank I might have considered it but luckily for me I only needed one can so went with the pond stuff for more peace of mind for me.
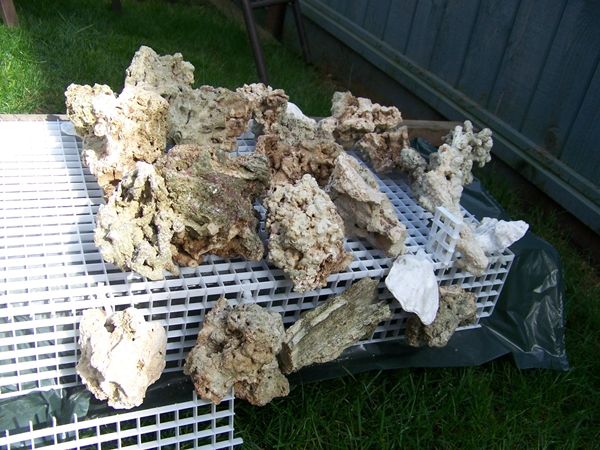
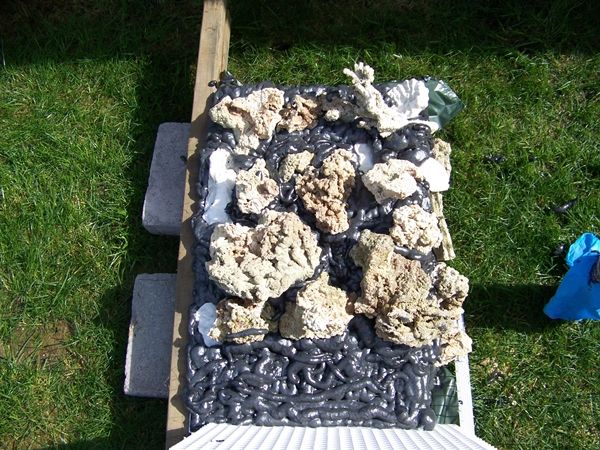
I put the egg crate on its back and placed a garbage bag underneath. This would help stop the foam from pushing through and being wasted on the wrong side of the egg crate and also makes it easier to clean up afterwards. This is truly one of the messiest, stickiest substances to work with - gloves and old clothes are a must. I positioned the rocks to make them as prominent (least flat) as possible as the intention is to have them become shelves to place frags on when it is done.
Then it was just a matter of spraying as little as possible for coverage knowing that the foam would expand somewhat. Here's a picture when it was first completed.
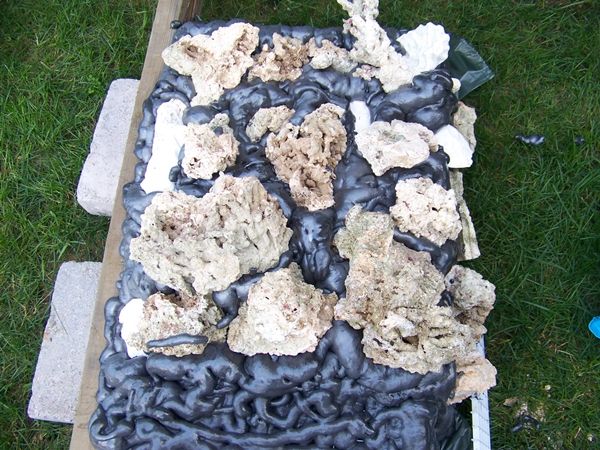
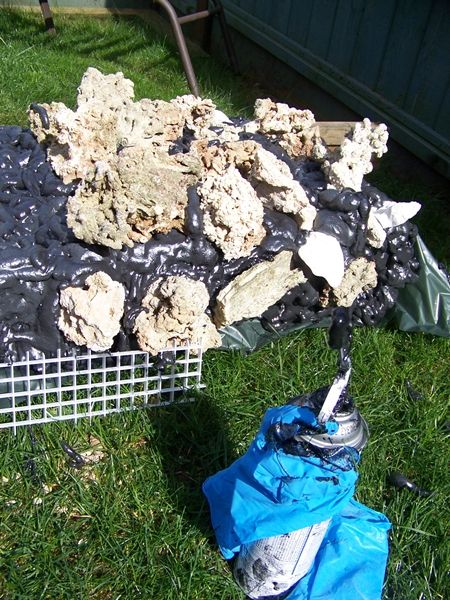
And here's a picture about 15 minutes later when the foam has almost completely expanded. If you look just below the bottom-most rocks it is a good comparison.
Here's a look at the can afterwards. I couldn't un-stick the glove.
Up next is making it look real...the arty part!