My hand and legs have been healing well from the sump ordeal and I have been tinkering with the build a little on weekends. Since I posted a bit of a spoiler in my other build thread I thought I better do a photo dump here as well.
First I laid 3 coats of Kilz on some plywood and then siliconed them to my stand. The stand needs to keep the moisture in the fishroom.
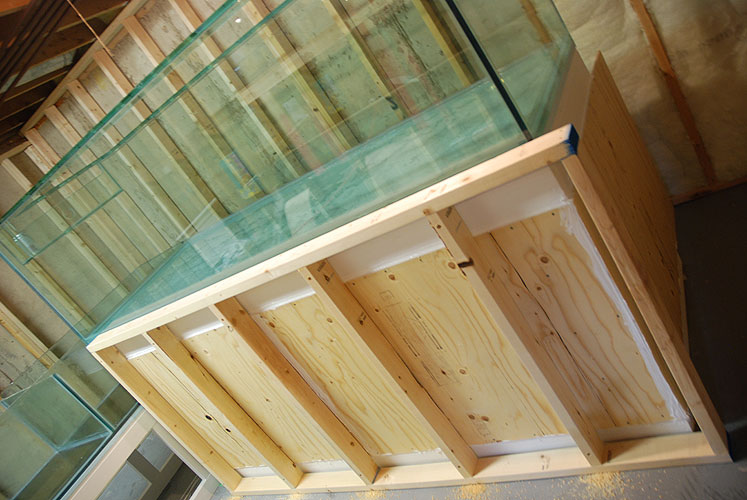
Then I framed around the stand and popped insulation in there. The stand also needs to keep the noise and cool air in the fishroom.

Framed the canopy which surrounds the tank but does not touch nor rest on it. You can see the 2x4 rail mounts across the floor joists for the plywood to connect to. I had to clear all the water pipes that pass through my condo unit into the adjacent units.

Here's two shots after the 1/2" plywood went up.


Walking in the doorway to the fishroom you can see where the laundry tub will be installed. Future frag tank is sitting on it for now.

Here's the sump that nearly killed me. I smartly maneuvered this thing onto its stand alone thinking to myself 'you're a dumbass brett'. I redid all the inner silicone and removed the center brace and mounted it on-end to create my 40g water change area. I could not dry-fit the brace back into this tank after I took it out so obviously the previous owner braced the tank while full! This meant the baffle had to be installed at a slight angle but it is rock solid with tons of contact as that brace was 5/8". The tank itself is all 1/2" and won't be even close to full hence the choice to remove the brace. My frag tank will be shelf-mounted above the water change compartment.

Going further in you can see my rear access corridor. It's about 18" wide and I'll make a moveable platform that I can move around to step up on for mounting corals etc.

Here's two shots showing the skin after a few rounds of wood-filler. The first pic sorta shows the plywood ceiling I installed. You can't see in these pics but I have applied silicone between all the plywood and canopy 2x4s. The plywood seams will also be 'coned and then it will all be sealed with Kilz. Sealed room! I may even run some silicone in the 1/2" gap between the canopy and the tank itself to further seal the area and prevent water that splashes on the bracing from running down the glass.

