After I got the floor tiled, the next step was to bring in some electricity to power the tank. I didn't want to have extension cords hanging out either side of the stand so I decided to run 2 seperate 15 amp circuits to the wall directly behind the stand. Running the wires above the supsended ceiling was the easy part. Getting them from above the ceiling to the holes that I had cut near the floor wasn't quite so easy. After several "thinking" beers, I had an epiphany.
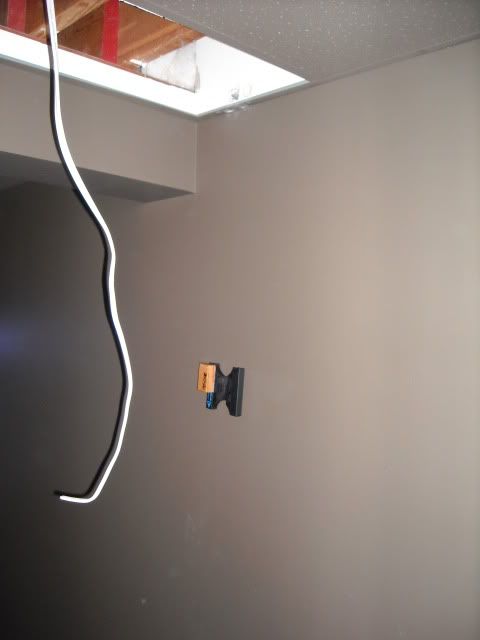
However it seems that my idea to use a glass cleaning magnet to string a rope behind the drywall was only good in theory. The magnet with the rope attached on the inside of the drywall kept getting snagged on the insulation behind the vapour barrier and would get hung up.
3 and a 1/2 hours later and several more "thinking beers", Success!
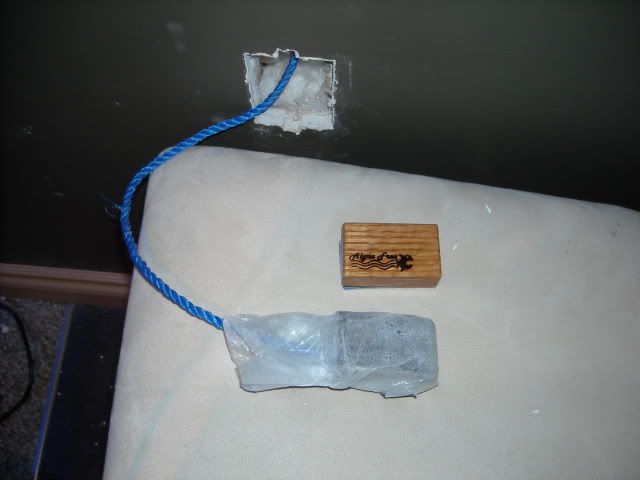
I really wasn't looking forward to doing the whole process again for the 2nd outlet however it only took about 10 seconds. The magnet didn't get hung up even once on the way down so that was most spectacular.
After installing the outlets, the next step was to get my stand painted and sealed to create a moisture barrier.
3/8" Plyboard attached to form the bottom of the stand
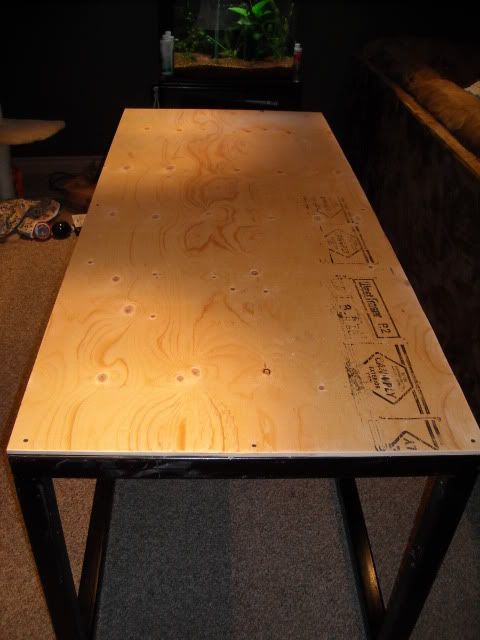
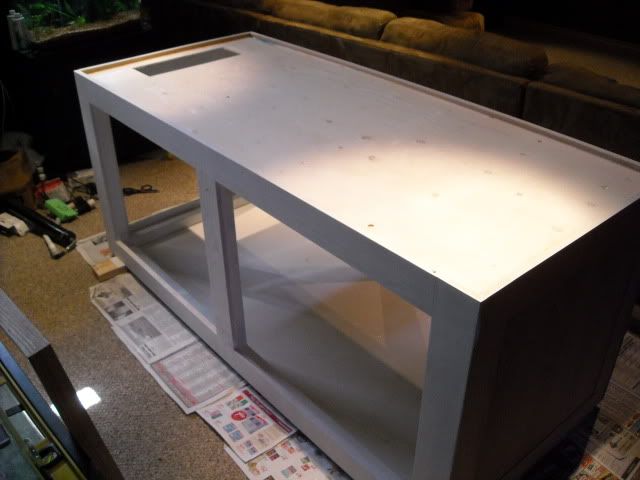
Stand getting primed and the bottom painted with oil based paint
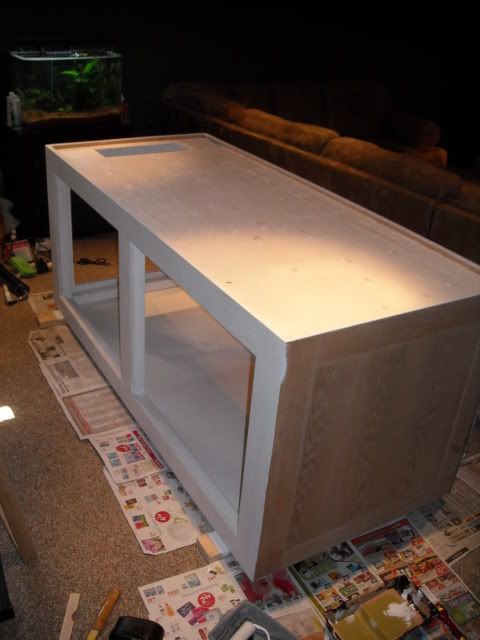
Exterior getting painted and I ran a bead of silicone where the 3/8" bottom plyboard meets the 2" steel stand. That way, if the worst should happen and I ever do get a leak, the stand itself should hold about 10-15 gallons of water before it overflows onto my basement floor.
I still have to install the doors and finish the stand but that will be done after all the livestock has been transferred over from the 90 gallon tank.
Once the stand was all painted up, myself and 2 friends lugged the heavy beast from the floor and got it centered and levelled on my tile.
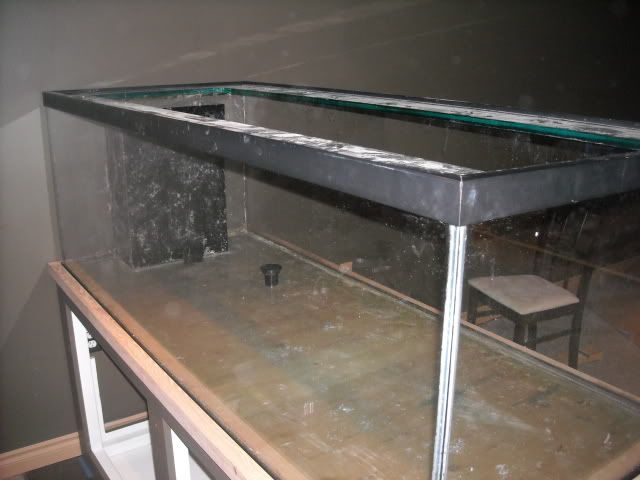
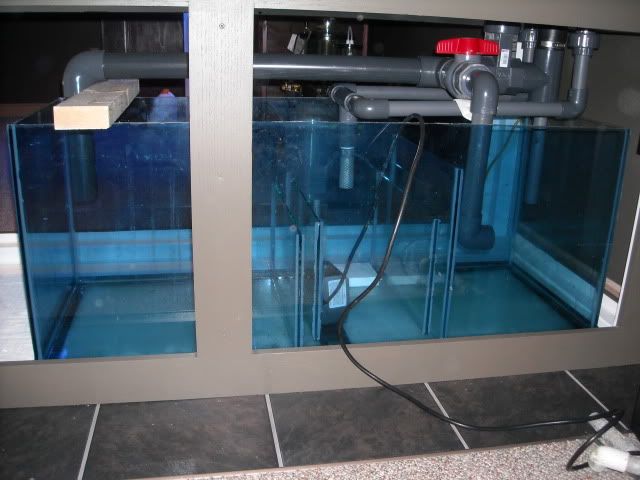
Once the tank was on the stand and I recovered about 25% of the floor in my basement, I started working on making the sump I received functional and reliable. I had to remove several acrylic baffles that were secured with what I can only assume was an entire tube of silicone for 2 baffles. Then I removed all of the inside beads of silicone as I was going to re-do these once I installed my own glass baffles.
Sadly, when I was removing several pieces of 3/8" acrylic that the previous owner had siliconed over some holes that he was no longer using for bulkheads, a massive chip got taken out of the tank while I was removing the final piece of acrylic.

So obviously I had to remove the entire pane of glass and replace it.
After siliconing in a new pane on the end of the tank, I re-siliconed the inside beads and started installing new baffles.

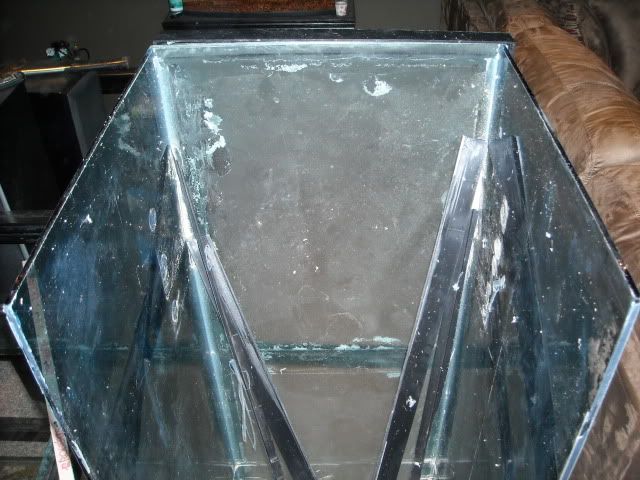
And here's a finished shot of the sump with the 3 different compartments. Skimmer will go on the far left along with a filter sock and a mag 9.5 to feed my manifold. The central compartment will contain 2 heaters and a mag 18 for the return pump. The right compartment will act as a refugium to store excess live rock and possibly some chaeto algae.